

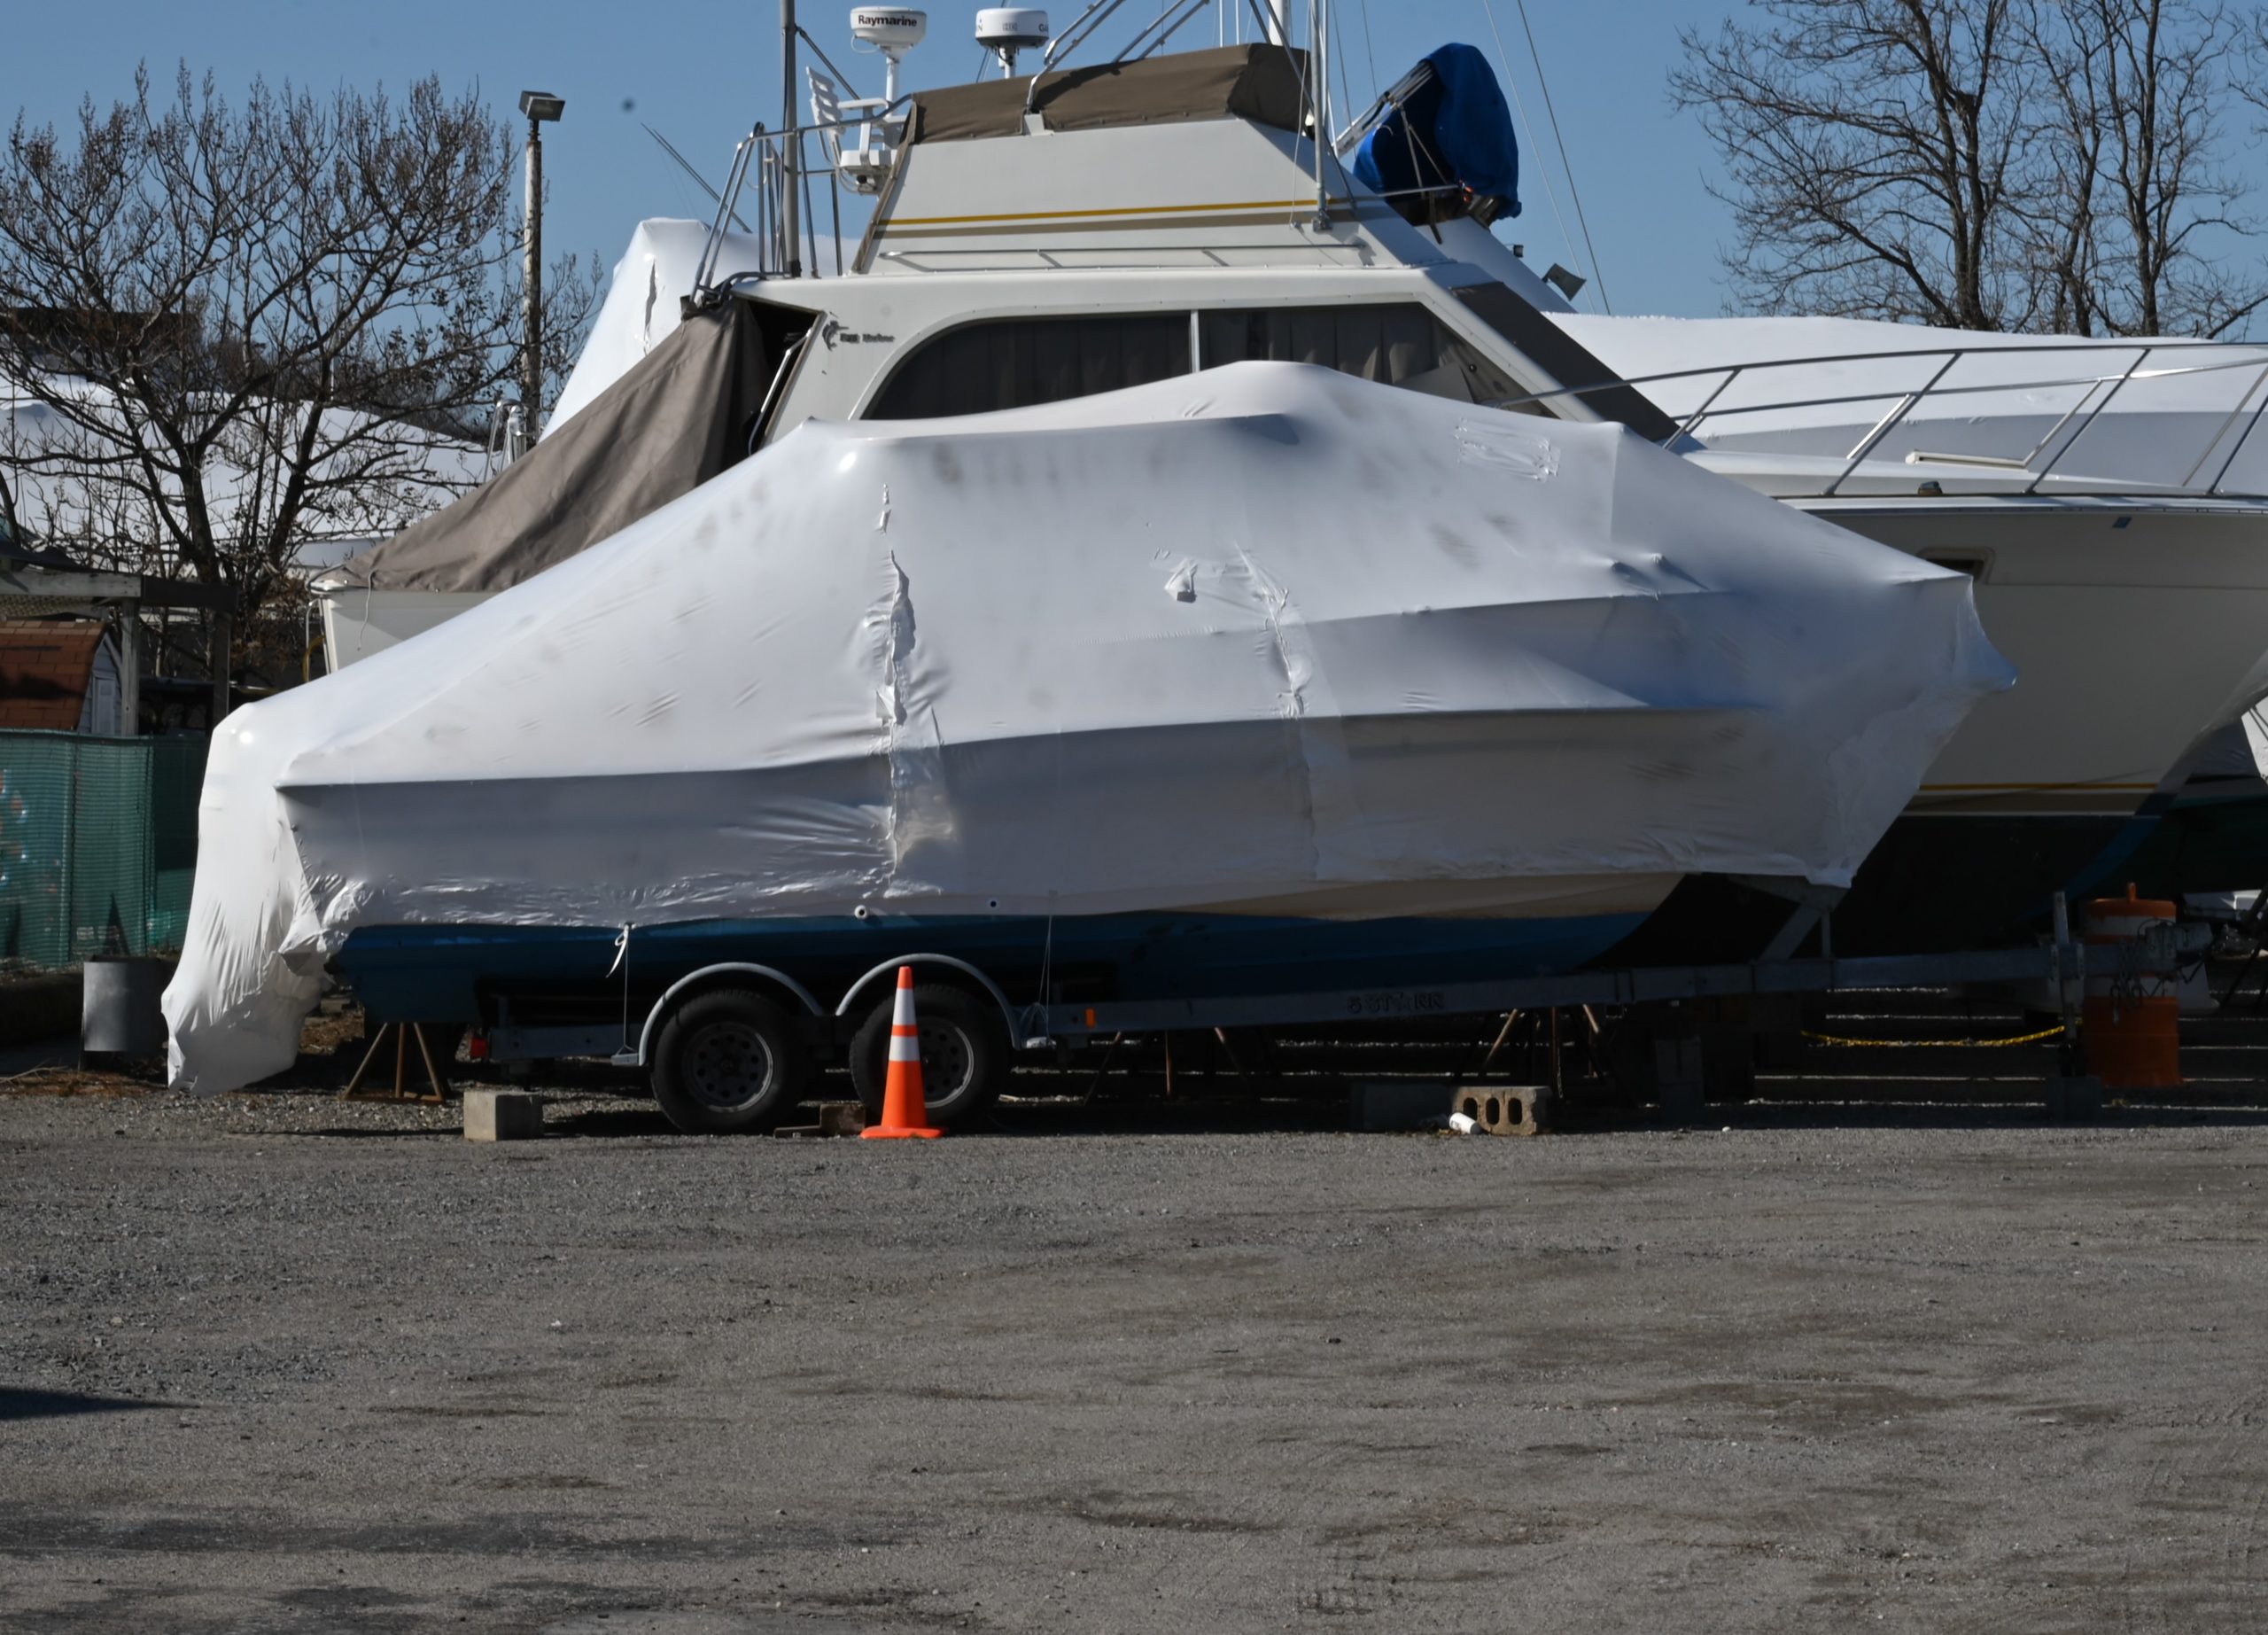
WINTERIZING TIPS
ENGINE FLUSHING
Most mid-sized and high horsepower outboards manufactured after 1999 feature a convenient freshwater flushing port that is either located on the side of the engine’s mid-section, or just under the motor pan. While this is a convenient fitting for flushing the motor either at dockside or when your boat is on a trailer, many manufacturers recommend that this flushing port not be used when the engine is running.
Following this advice, a pair of single-feed or twin-feed ear muffs will do the job and will inject cooling water at the bottom of the motor in the skeg intakes, allowing it to flow over the impeller and up into the powerhead. When running your outboard when it’s high and dry, be sure to look for the telltale stream of water squirting out from under the engine pan to confirm that it’s getting enough flow. Five minutes of either flushing the engine (off) with freshwater via the port, or running it at idle speed with the muffs attached should do the job. Be sure to let all of the water drain out of the engine in the down/lowered position before tilting it up, to insure that you won’t have any freezing problems in the cooling system path.
ENGINE FOGGING
All internal combustion engines can benefit from fogging out the cylinders prior to the winter layover. Two-stroke, four-stroke, inboard, outboard, whatever…the fogging process will protect the cylinders’ internals like pistons, piston rings, the combustion chamber walls, valves, etc. from the ravages of corrosion, sticking and startup friction. One method of “fogging” your engine is to spray a can of fogging oil into your engine’s fuel intake system while it is operating at idle speed, so that it works its way down into the cylinders and causes a blue-gray cloud of smoke to exit via the exhaust. This upper cylinder lubricant will leave a slick surface on the aforementioned internal cylinder components that will prevent corrosion, sticking or binding up over the cold winter months.
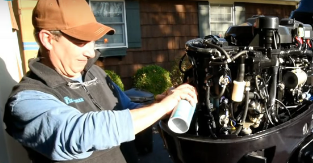
Yet another way to accomplish the same engine fogging task is to winterize your fuel system and your engine simultaneously using a separate dedicated 6-gallon fuel tank, which is the method that I prefer. I fill up a plastic outboard fuel tank with 2-gallons of 93-octane petrol, add double doses of Oil and fuel stabilizer to the mix and then remove the engine’s fuel line from the primary fuel filter and feed it directly from the portable tank. Running the engine at idle and slow-trolling speeds (700-1500 rpm) will eventually generate a similar blue cloud of foggy smoke as the oil is distributed in the upper cylinders and burns off during the combustion process. Some DIY boater’s like to go the extra yard and remove the spark plugs to add an extra squirt of the engine fogging or Marvel Mystery Oil to each cylinder before replacing the plugs. Be sure to follow the do’s and don’ts for engine flushing when running your outboard out of the water.

ENGINE OIL CHANGES
Now that your engine is warmed-up from the fogging process, if it’s a four-stroke outboard (or inboard), it’s time to change your engine oil and filter. After setting up the appropriate oil pan to catch the drippings and some absorbent paper towels to clean up any mess, drain the oil from the engine and once that is done, then remove and replace the oil filter. After reinstalling the oil drain plug, refill the crankcase with the appropriate quantity of fresh 10W-30 or 25W-40 marine grade four-stroke oil (check your engine manual for more specifics), put all the parts back in place that were removed to access the filter and drain plug and you are done. Be sure to dispose of the used oil properly.
LOWER UNIT OIL CHANGES
Whether you own a two-stroke outboard, four-stroke outboard, or inboard-outboard stern drive, good practice requires that you change the lower unit oil as part of the complete winterization process. Once again, use the same oil pan that was employed during the engine oil change process to catch the used lower unit oil, which will begin to flow freely once you tilt the engine drive into the down position and remove the upper and lower drain plugs. The quantity of gear oil in the skeg’s internals will typically range from 10 to 32 ounces, depending on the make and model of your outboard or outdrive.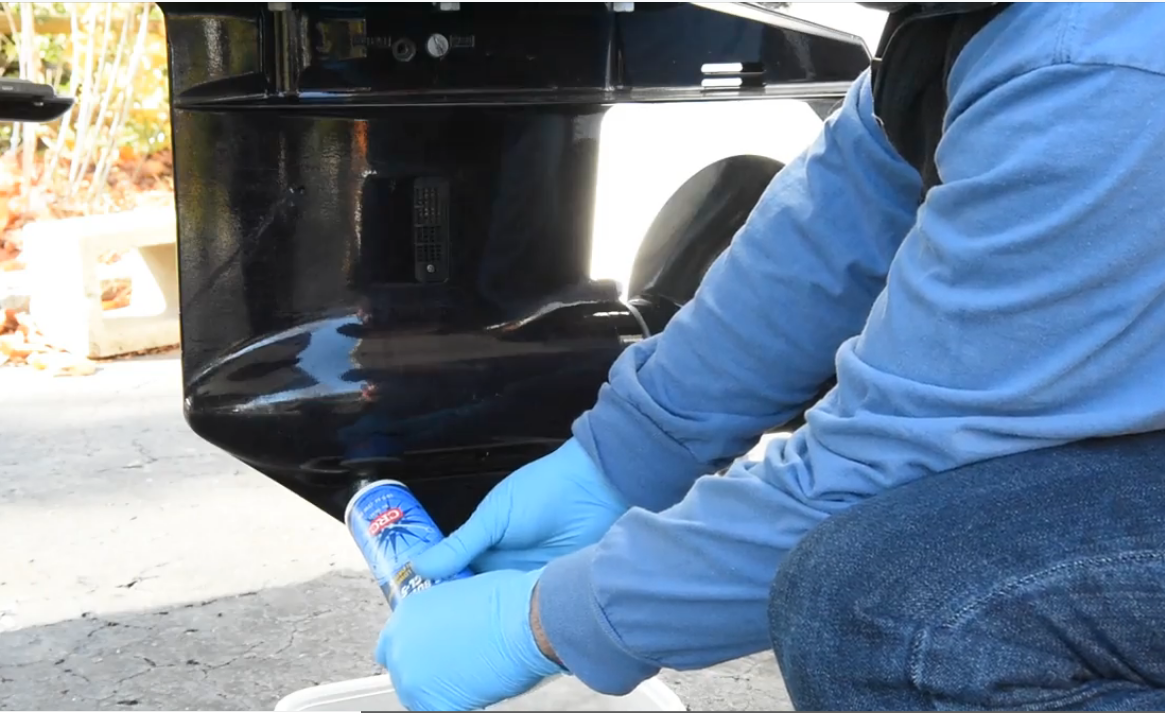
Once the old oil is drained out, check the color, which is a helpful indicator of your lower unit’s condition. A consistent brown or charcoal color is good and signifies normal wear. If you have a milky or white color in your oil, that’s typically a sign of water getting in from somewhere and it might be time to consult your local marine mechanic to pressure test your lower unit for leaky seals. Also check the magnetic tip on the lower engine oil drain plug for excessive metal parts. Too much might be a sign of advanced gear wear.
To refill the gearcase, plug in the appropriate connector into the skeg’s lower threaded opening, attached to a clear hose and a 1-quart oil bottle equipped with a hand pump. Push down on the pump to inject oil into the lower unit. When it starts to flow out of the upper drain hole you are done, so reinsert the drain plug, remove the pump apparatus and then reinsert the lower magnetic drain plug. Be sure to dispose of the old lower unit oil properly.
BATTERY MAINTENANCE
If you can remove your marine batteries without too much difficulty, it’s always a good idea to clean and degrease the terminals, give them a full slow charge, refill any battery cells with distilled water if necessary and put them in a cool dry place sitting atop wood blocks (like short sections of 2x4s) to minimize any potential for discharge. If it’s difficult to remove them from the boat, then clean and remove the terminals, give them a slow charge, and then cover the end caps to protect against potential shorts from any cross connections.
CLEANING & WAXING
I’m not a huge fan of cleaning and waxing the boat for winter storage, only to have to clean and wax the boat again in the spring. It’s advisable to give it a quick wash and clean off some stubborn stains and spots. Detailing agents that clean and shine at the same time are always energy-savers. I also like to power-wash the boat’s bottom to remove any algae, marine growth or loose bottom paint flakes, but be advised, the rules for doing this have changed depending on where you call home port, due to environmental concerns. Before I put my ride away for the winter, I like to spray the backside of my center console’s electronics panel and the onboard engine connections with a de-moisturizing agent. Corrosion Inhibitor sprays are a great idea and leave that leaves a thin invisible film of long term protection over your electrical connections to minimize and saltwater corrosion.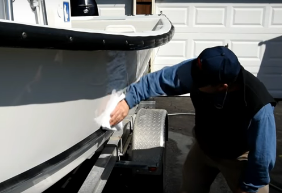
Depending on how much free time you have on your hands, your tool kit and skill set, there’s a lot more that you can do to amuse yourself over the winter and take care of your pride and joy. These include changing out spark plugs, swapping out the impeller and water pump housing in your lower unit, installing new electrical panels and much more.
