Mini tunas on mini pencils; here’s how to make ‘em!
Albie fishing has become a big deal over the past five or six years. It wasn’t that long ago that most anglers (myself included) thought these pelagic visitors sounded almost impossible to catch, especially from shore. It was standard info that anglers would have to use hair-diameter fluorocarbon leaders and the smallest, most realistic tins, tied direct while whispering from beneath some kind of water-camo shroud because of their superheroian (made that word up) eyesight and sophisticated pallet.
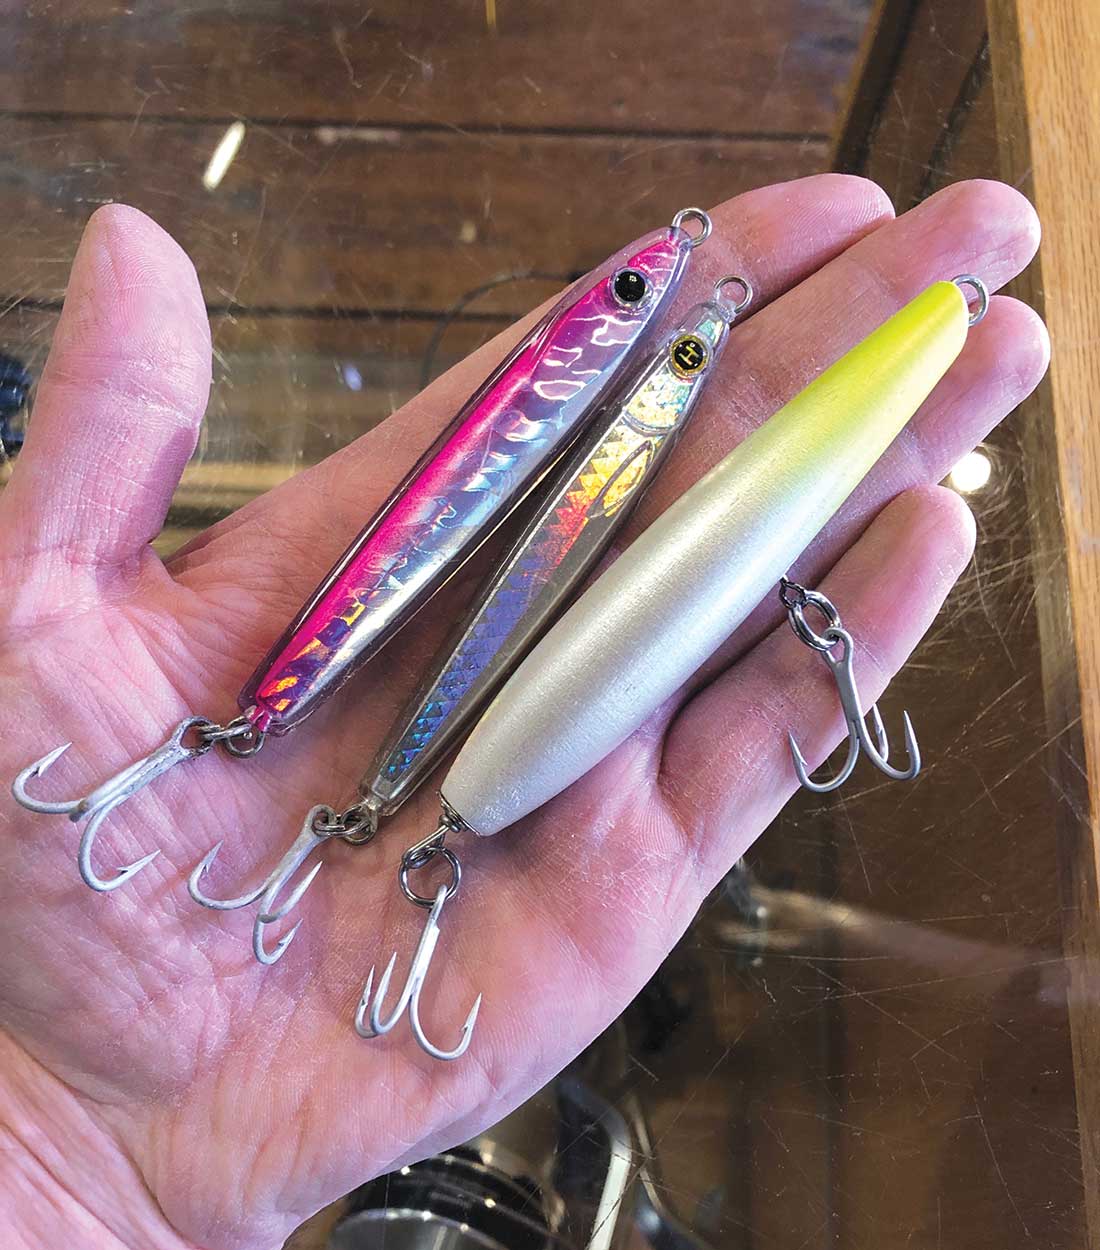
Just about everyone is albie-obsessed now, and we’ve all learned that the truth about their selectiveness is much more on par with the size of their brains—they’re not all that difficult to catch when they’re on the feed and they’re not nearly as picky as those early pioneers of albie chasing tried to make us believe. I’ve seen them taken on Super Strike poppers, 3-ounce pencil poppers and even a 9-inch plastic spook—exceptions, certainly not the norm.
But as chasing albies from shore has exploded in popularity, surfcasters seem to have this unbreakable connection to the plugs they throw for stripers. And although an albie on a darter will probably never happen, we can definitely make a pencil popper that will fish—more or less—like a tin ripped on the surface and we can make it in roughly the same size as a 7/8-ounce epoxy jig. If you save most of your small scraps of good wood like I do, then you can almost certainly find a handful of pieces large enough to crank out a 3-3/4-inch plug.
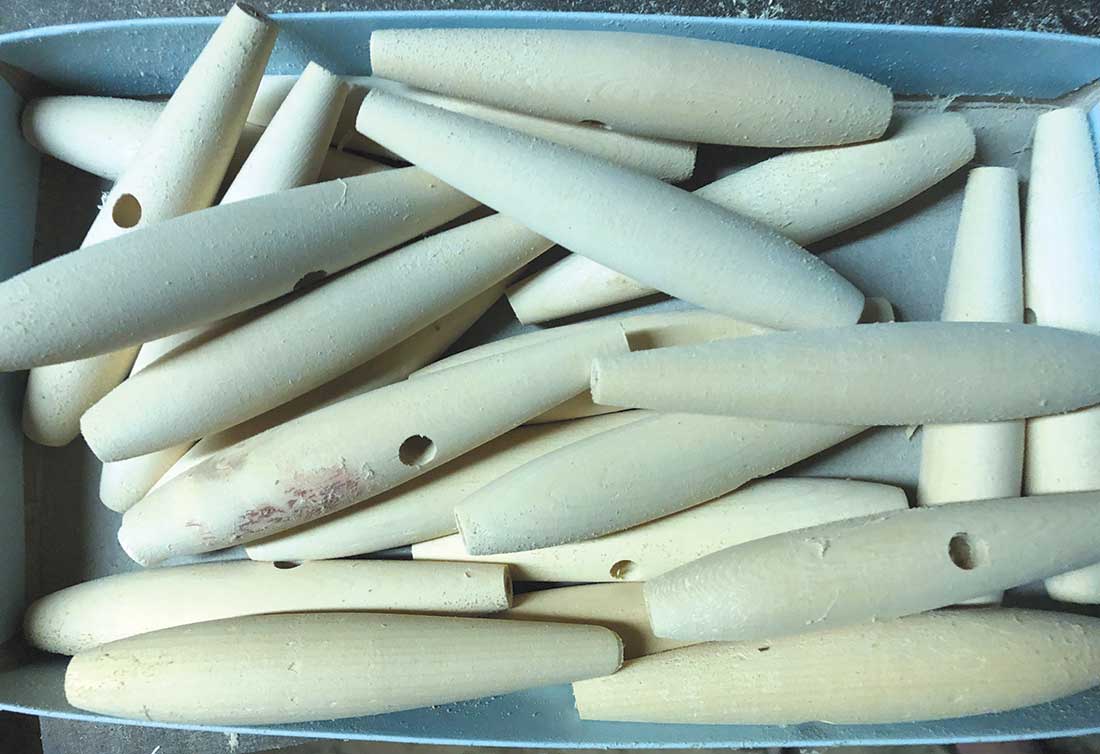
Yes, that’s right, this thing is TINY; it only takes like 15 seconds to turn it. At its widest point this little pencil is just 3/4 of an inch in diameter, so any piece of wood that can be cut into 7/8 x 7/8 squares a minimum of 4-3/4 long is fair game. I had a pile of 5/4 AYC scraps sitting in a box so I made all mine out of that, but I wouldn’t balk at using just about anything from pine to maple, from basswood to mahogany; this plug is so small that it shouldn’t make too much of a difference—and experimenting may lead you to the perfect configuration that you can keep secret and slay green torpedoes when no one else is hooking-up.
Lathe Work
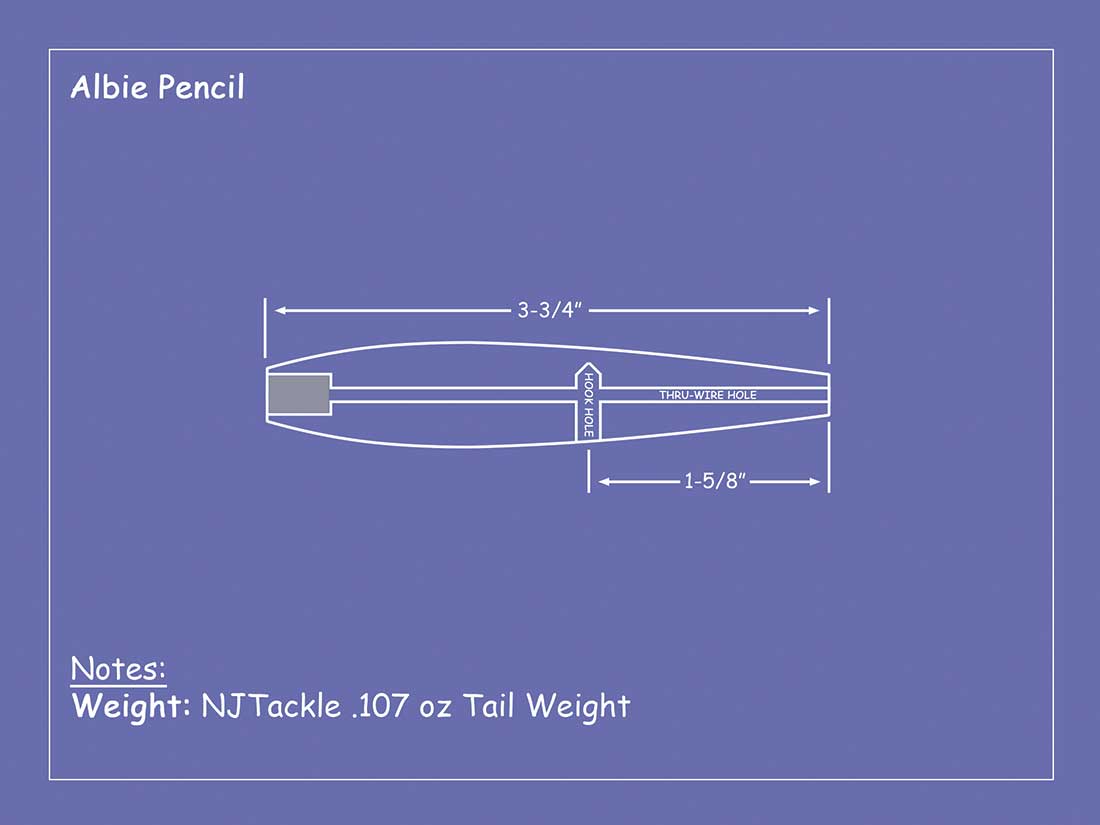
Start by ripping your stock down to 7/8×7/8 (1×1 is also fine) and then cut your pieces at 5 inches, find the center at both ends by connecting opposing corners with a ruler and pencil and set the block spinning in the lathe. Use a gouge to round off the corners (leaving about a half-inch of each end square) now shut off the lathe and lay out your reference marks with a ruler and a pencil. Start by making a set of marks that are 3-3/4 inches apart, then make a mark at 2-1/2 inches back from the nose and then another at 3-1/4 inches. Turn the lathe back on and touch each mark with your pencil to carry them around the body of the plug in a ring. Using a small, sharp skew chisel work your piece down to these diameters:
Nose: 3/8-inch
2-1/2 inch mark: 3/4-inch
3-1/4 inch mark: 11/16-inch
Tail: 7/16-inch
This is one of those designs that really doesn’t have to be perfect, so don’t be beating yourself up over a missed target diameter. Just do your best to connect these dots with a fluid shape that looks—more or less—‘pencil-poppery’. And definitely make more than two or three; albie fishing can be really frustrating at times and being able to switch between 1,000 colors often dampens the pain when the fish aren’t showing much love.
Easy Drilling
Once you have your shapes completed, sand them quickly on the lathe using 220-grit sandpaper. Then head over to the drill press to make some holes. Start by drilling a 1/4-inch hole in the belly at 1-5/8 inches back from the nose—this will hold the swivel for your belly hook hanger and should be drilled a touch past halfway through. Then chuck a 5/32-inch bit in the press and thru-drill it right there on the drill press. The last step is to cut the square off the tail and drill a 1/4-inch hole into the tail for the tail weight, this hole should be drilled a little more than a half-inch deep. Now cut the square off the nose at a slight angle and give all the rough edges a light sand.
Sealing is next; give these plugs a bath in a 60/40 mix of interior gloss urethane and mineral spirits. Wipe them down and allow them to dry for a minimum of 48 hours—when sanding produces a fine white dust, they’re ready to go. Sand each plug lightly to knock down the sheen and any particles that may have stuck in the sealer. Then wipe them off with a tack cloth and spray them with one or two coats of Painter’s Touch All Purpose Primer or a similar product. When the primer is dry, you’re ready to paint.
Color Me Albie
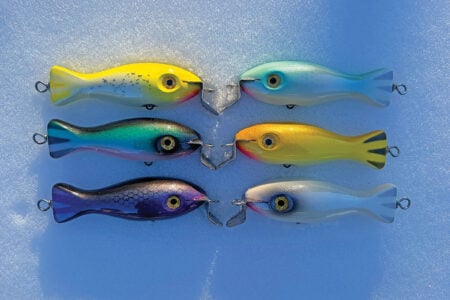
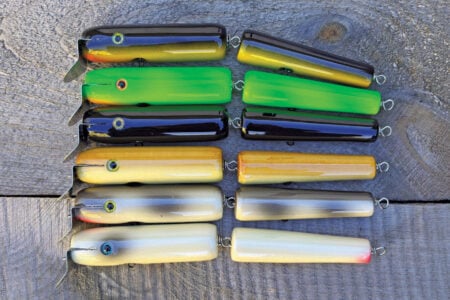
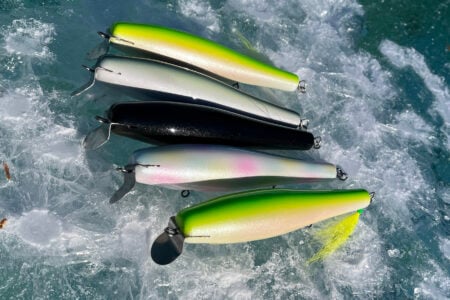
Now it’s time to picture that epoxy jig rack and channel that rainbow of colors. Basic baitfish colors are a must—black over silver, olive over silver, natural silverside and anchovy colors as well. But it’s equally possible that bright pink over silver, or chartreuse over white or electric chicken will be tops for the 2020 albie season, so don’t take this mission lightly. Get creative and you’ll be setting yourself up for the best shot at hooking a speedster on your own wood. When the paint has dried, give them a coat or two of your favorite epoxy or clear spray finish.
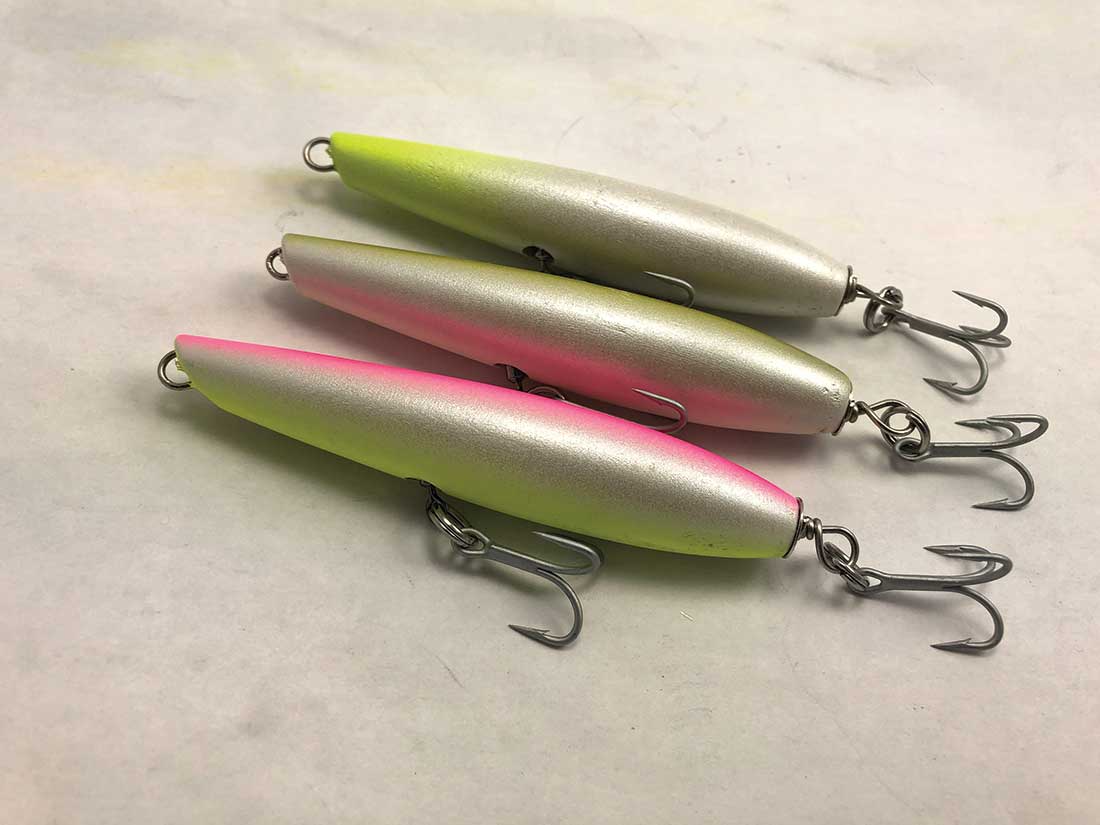
You’re going to have to get the thru-wire for these plugs at a welding shop—it’s the next size down from 1/16-inch which is .045 diameter. To get the loop in one end, bend about 1 inch of the wire back on itself in an elongated hook and squeeze it around a 3/16 drill bit with a pair of needle nose pliers to guide the wire in one hand and a pair of vise grips to squeeze the wire in the other. Slide the wire through the plug, threading a #4 Spro power swivel placed into the belly hole on the way by. I go back and forth on using nose grommets for this plug, they’re kind of large and look clunky, so I sometimes just epoxy the nose loop into place and allow it to cure overnight before finishing assembly, try both and see when you like better. Then slide a .107-ounce tail weight from NJTackle into place and cover it with a .325-inch tail grommet and wrap the wire into a neat tail loop. Then attach a pair of size 4 trebles with #4 split rings and you’re ready to slay albies next fall.
These plugs will catch other species as well. They are great for small schoolies or tailor bluefish, and I haven’t tried it, but I’d bet they’d crush summer largemouths as well. If you find that the plug isn’t giving you the action that you want, try removing one of the hooks to see if you can dial-in the action. And if you want one that you can fish very slowly, try making a few without any weight in the tail. I hope you’ve enjoyed this deviation from the norm, I think I’m going to keep it weird for this winter, stay tuned.