With catch & release increasingly popular and in some cases necessary, and growing concern about release mortality, this is a tool you should not be without.

A hook-out is a fishing tool that should be on every boat, especially during these times when release mortality is at the forefront of fishery management. Also referred to as disgorgers and dehookers among many other names, this efficient and simple to make tool allows anglers to unhook fish without having to touch them. You simply loop the hook-out over the hook and lift the fish up, using the fish’s weight to slip it back into the water for a quick and safe release. I was first introduced to the tool on a blackfish trip but it can also be used for many other species, including stripers, blues, weakfish, cod and sea bass to name a few. Using the hook-out has many benefits for the fish and also for the fisherman. It eliminates handling, which protects the fish’s slime coat and time out of the water. It also protects anglers from cuts and bites from bycatch like spiny dogfish and toadfish. You are able to release the fish without even bringing it in the boat. It is very rewarding to use a handmade tool while out fishing. A hook-out is easy and fun to make, plus it can be customized with paint, lettering, and different finishes. Follow the steps below to make your own hook-out and you’ll be on your way to performing much easier and safer releases.
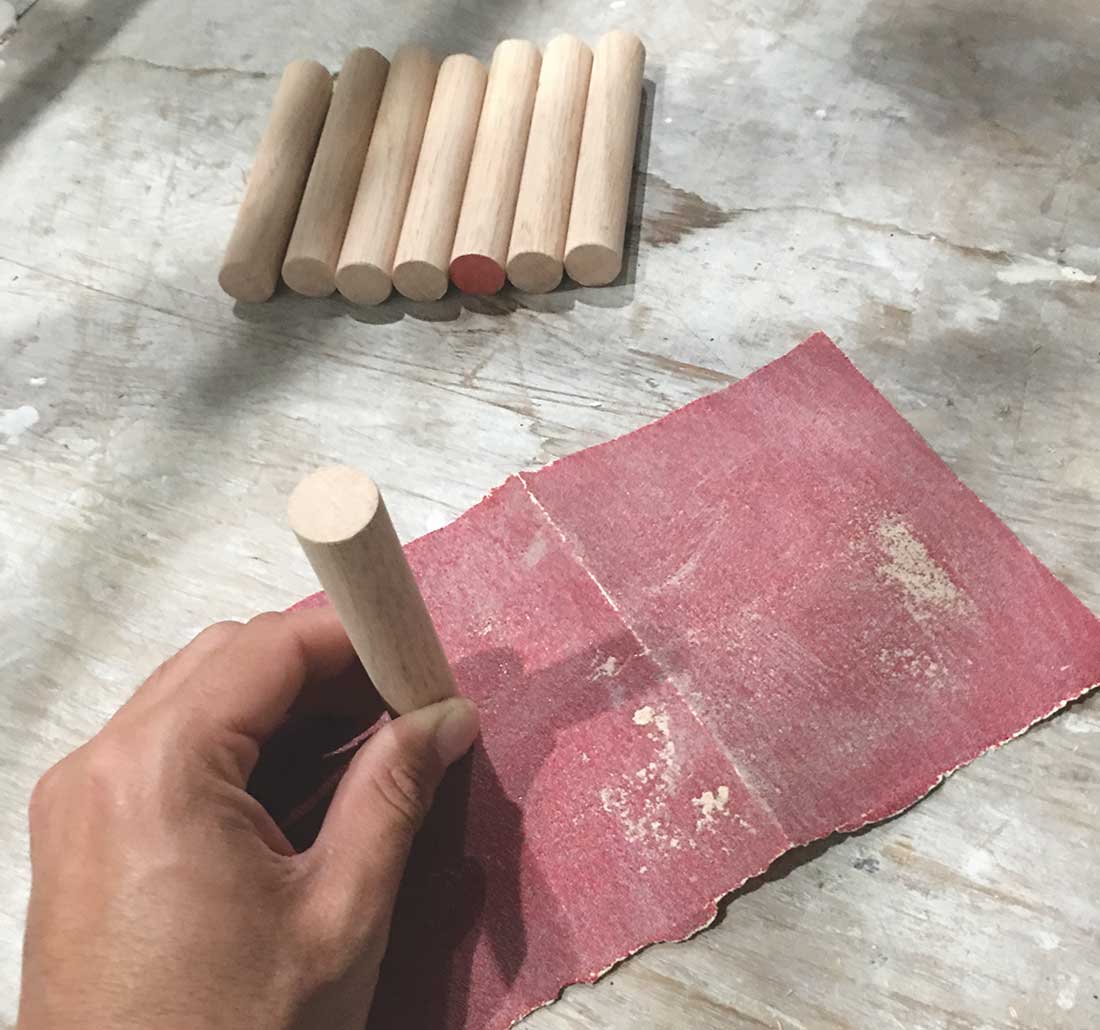
Start with a 3/4-inch x 3-foot oak dowel, which you can get at Home Depot, it’s only a few bucks. This is going to be the handle material. With a chop saw cut them into 4.5-inch pieces, which will give you eight handles. They are quick and easy to make so you can give them out as gifts or make a stockpile for years to come. After cutting your pieces, sand the edges down until they are smooth.
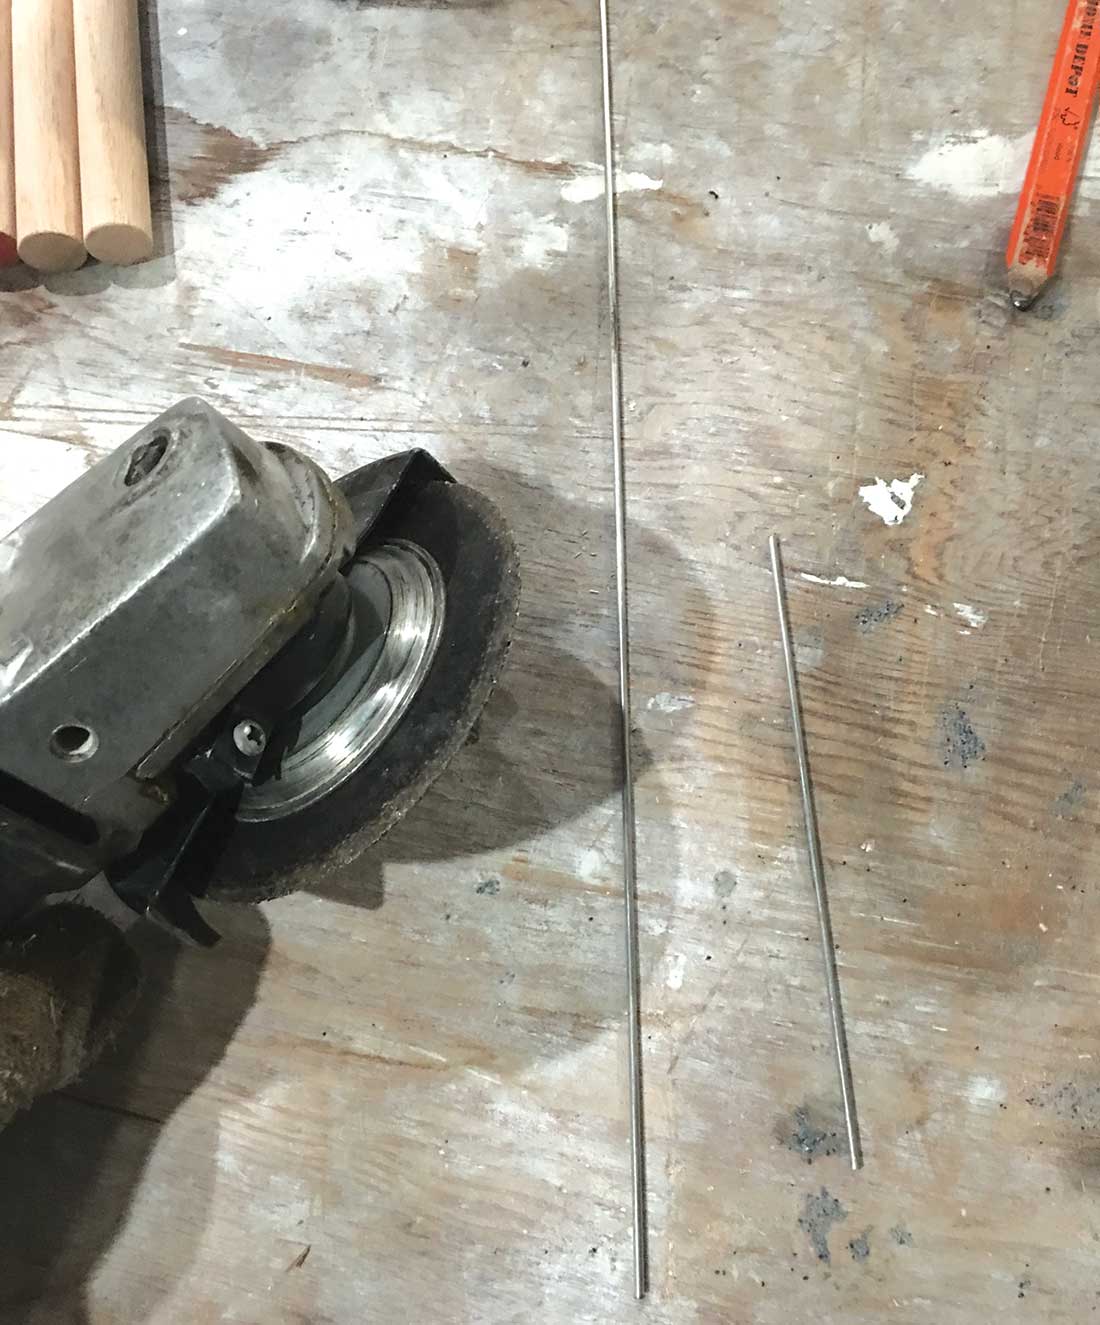
The next step is to cut the wire section of the hook-out. I use 1/8-inch stainless steel welding wire because it will not rust. You can also use brass or other material you have handy but do not use anything that will bend or rust easily. I cut the wire into 7-inch sections with a grinder but a pair or heavy duty cutters will also work. You can extend the length of the wire to expand your reach when releasing fish alongside the boat.

Now it is time to drill a hole in the center of the handle. It should be the same diameter or slightly larger than your wire you cut in the last step. You can use a vise to hold the handle while you drill the hole.
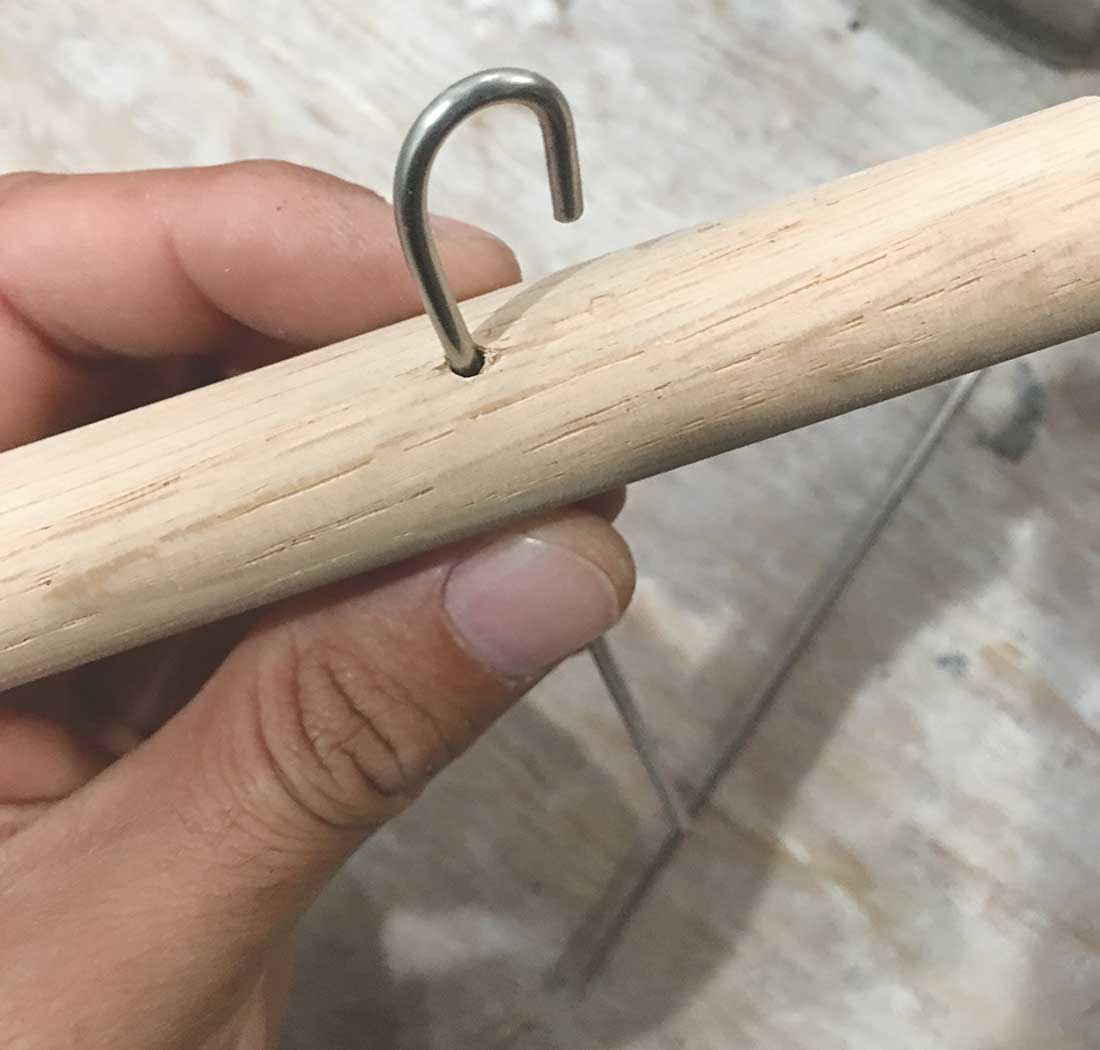
Grab the end of your wire with a pair of needle nose pliers and bend it over as shown. (If you are using thick wire you may have to heat it up with a torch before bending it; use safety goggles and gloves.) Press the wire to the wood to mark the second hole you will need to drill so you can recess the wire into the handle.
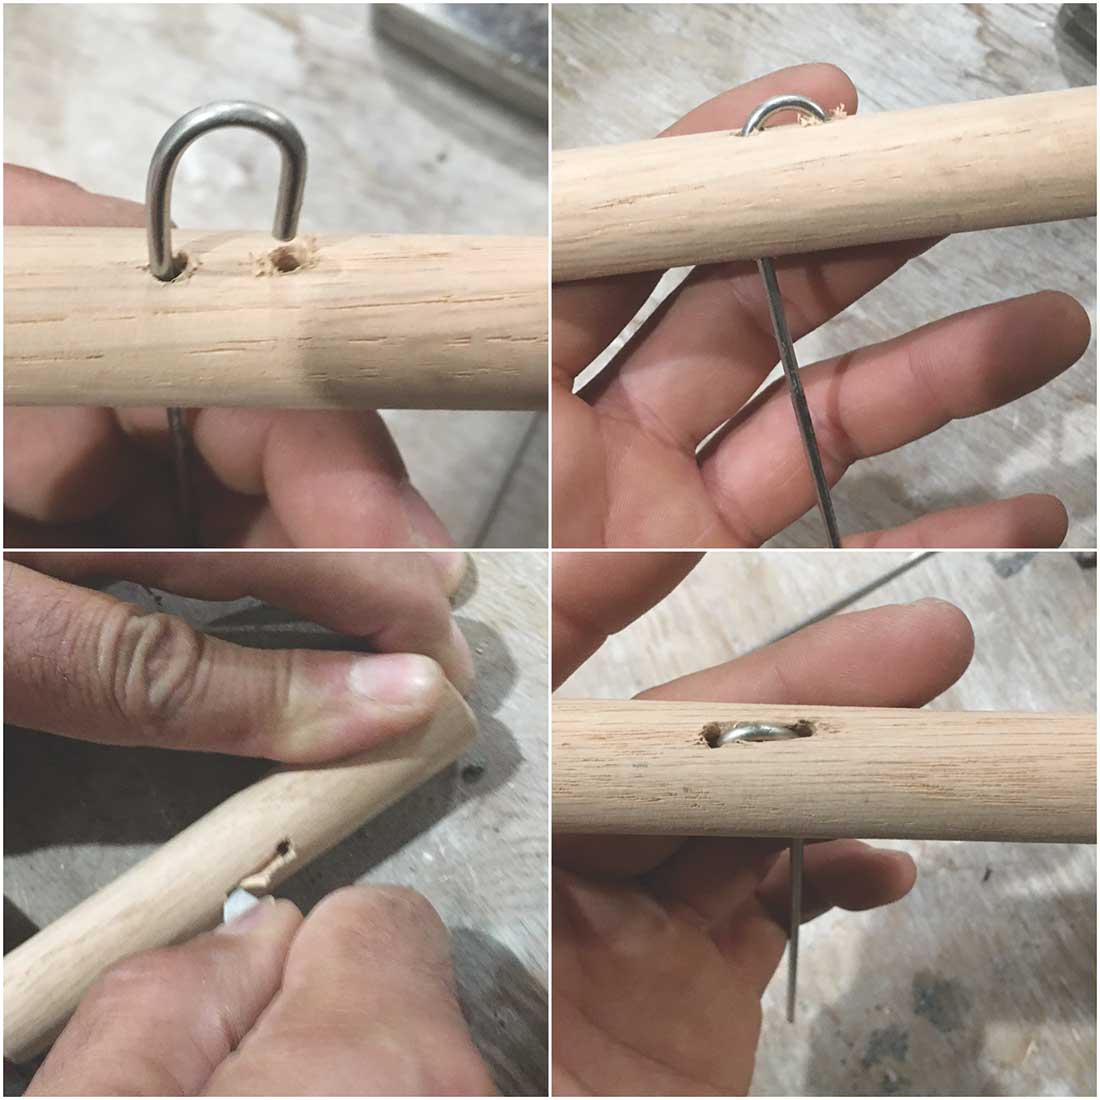
Drill your second hole half way through the handle to recess the bent wire sticking out, if you want to take it a step further to fully recess the wire you can cut out the wood material between both holes with a razor knife.
Next, you are going to make the bend in the other side of the wire. This is the working part of the tool and it is important to make sure the bend is perpendicular to the handle. This will make dehooking fish easier and you will have better leverage. Grind any sharp edges down off of this bend to avoid it chafing your line.
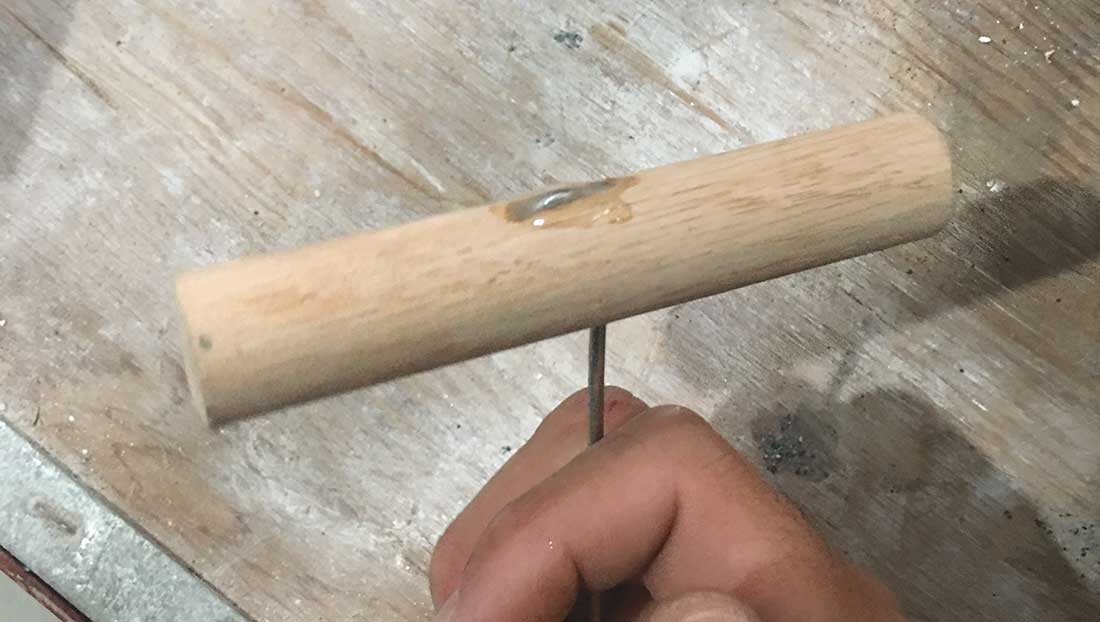
Now it is time to secure the wire to the wood handle. Mix some quick drying epoxy and fill both holes in the handle. When they are filled press the wire into the handle and let it dry.
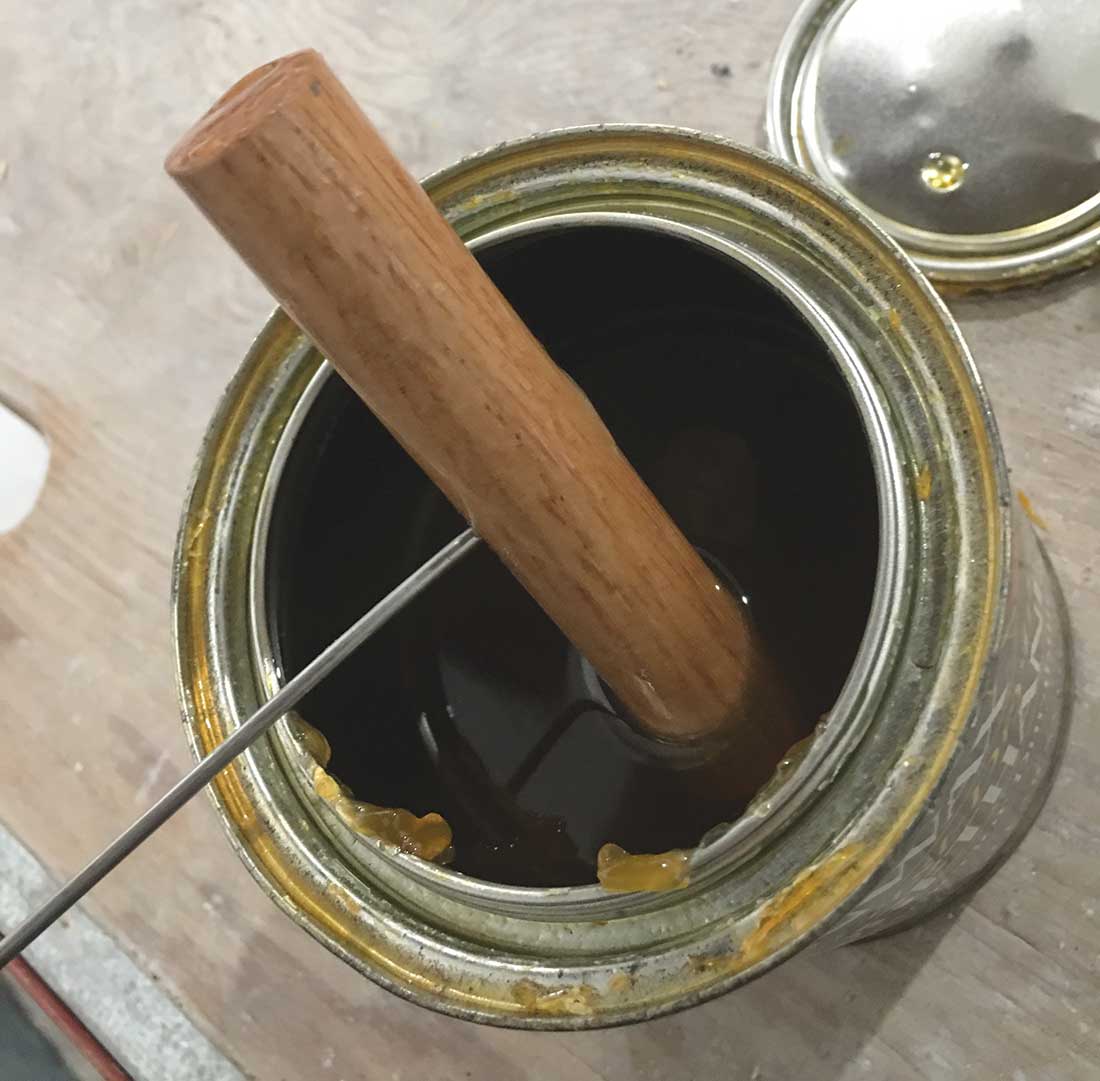
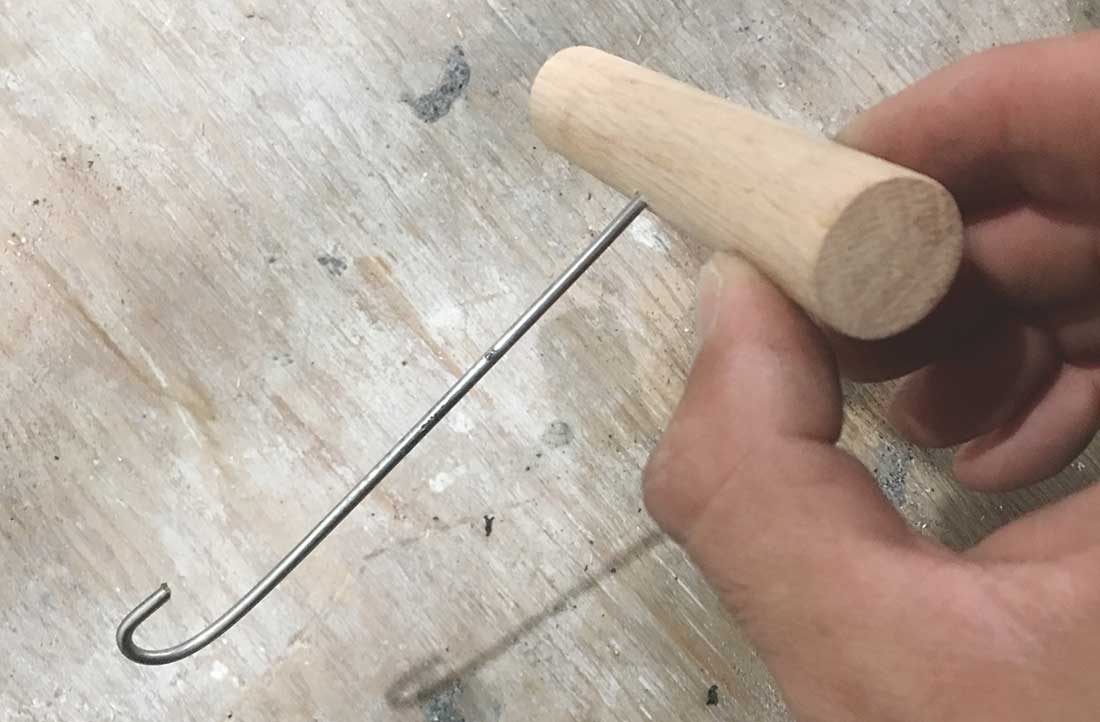
After it is dry, dip the handle in polyurethane to protect the wood handle. You can also use paint to finish the handle to give it a personal touch.