Here are five useful repairs, replacements and reconditions that can help have your boat ready for splashdown.
Your boat engine’s propeller is one of the most critical links in the propulsion chain that takes you reliably to and from your favorite fishing spots or weekend getaways. When a prop is in peak condition, your vessel’s fuel efficiency, speed and range are maximized, which makes for a very predictable and pleasant boating/fishing experience. With many boat owners switching over to stainless steel propellers (vs aluminum) due to their inherent reliability and longevity for outboard installations, the prop’s condition is frequently a passing afterthought. Near misses with ubiquitous sandbars, floating or sub-surface debris and other hazards, can turn that efficient three or four-blade wheel into something that better resembles the chopping blade in your kitchen blender. A sure sign that something might be amiss with your prop is a loss of cruising and/or top end speed, extended time to get up on plane, and/or unwanted vibration at certain RPMs.
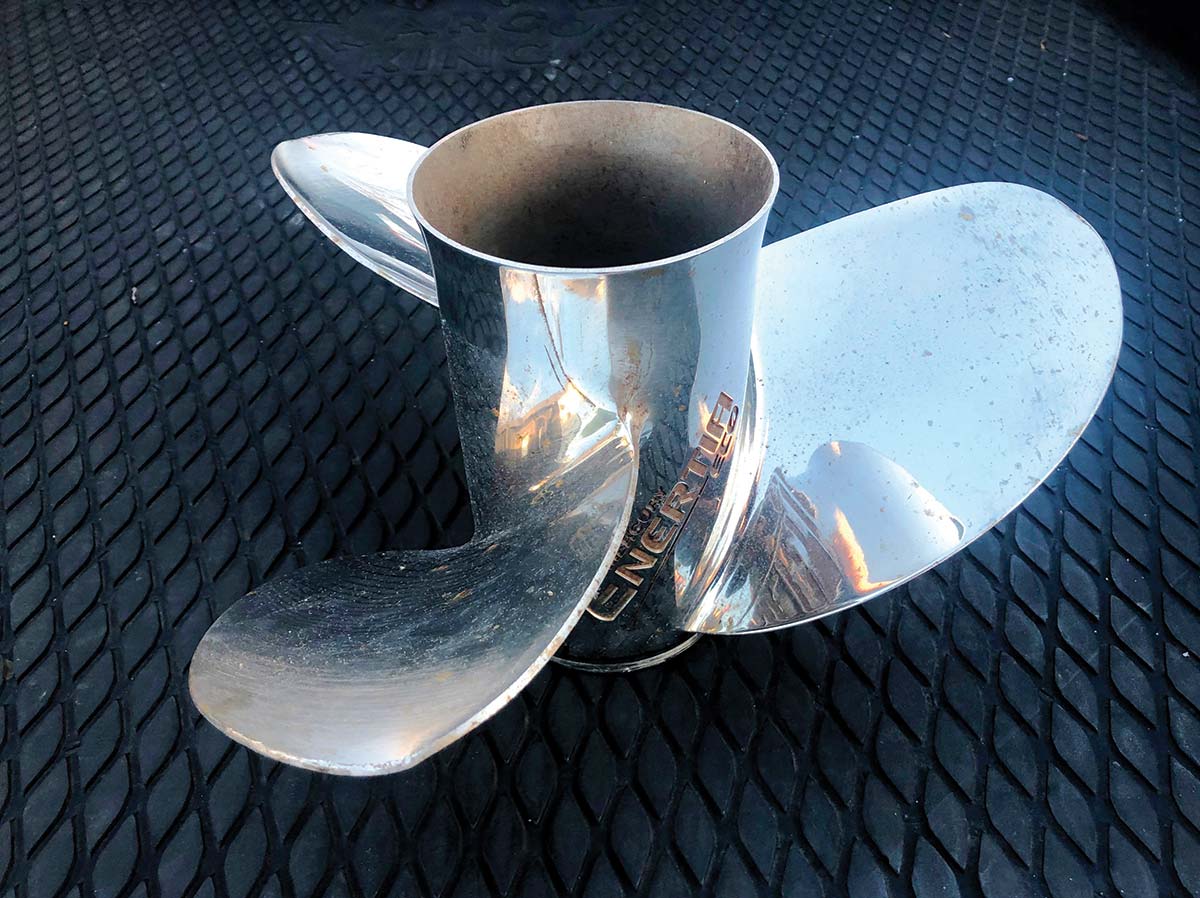
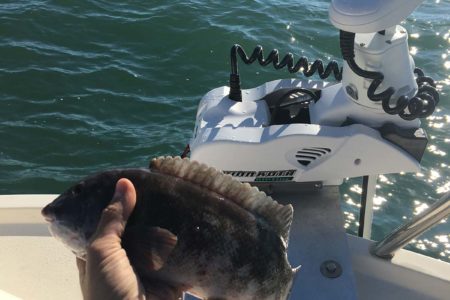
I was blasting though Shinnecock Inlet at 4100 rpm in an unfavorable wind-against-tide situation on day in late July last season, white-knuckling a series of 5-to-6 foot breakers. Suddenly the Merc made a terrible clunking, grinding noise that made me instantly sick to my stomach. My two passengers looked at me with horrified expressions as I cut back on the throttle and limped into calmer water on the backside of the east jetty. Picking a safe out-of-the-way spot, I shut off the engine and tilted it up to observe that all three of the 16×17 ECO’s prop blade tips were bent and gnarly. I also noticed that the cavitation plate’s large overhead zinc anode was MIA. It was obvious that the two screws that kept the large sacrificial anode in place under the cavitation plate decided to let go at an extremely inopportune time, in the worst possible circumstance. If this was an aluminum prop, I never would have made it through the inlet – score one for the stainless steel team! I was able to limp back home at 23-knots with the damaged prop and quickly changed it over to a spare wheel back at the marina. The moral of this story is that stainless propellers are a great upgrade for your boat.
However, replacing a prop like this can cost upwards of $600 to $800 or more, and I wasn’t about to discard this new one that had less than 25 hours on it, so off to the prop shop it went for a major reconditioning and rebalancing. The cost for this was a fraction ($150-$200) of the price for a new wheel. For those props that aren’t as traumatized as my Enertia ECO, I spoke with JR from Johnson Props in Freeport, NY to get a feel for what a standard buffing treatment might cost. If no added metal is needed and all that is required is some buffing on the leading edges of the prop blades and rebalancing, the cost is a reasonable $75 to $100. If you spin a hub, which is a problem on some props that don’t have a user-replaceable core like Mercury’s Flo-Torque II hub inserts, a new rubber one can be pressed into place for $80 to $100. Of course, conditions and prices will vary, so if you have any questions, the best way to get this done is to take it over to your local prop shop and get an estimate of how much and how long it will take. There are usually extra charges if you have a mirror-finish prop. You will likely recover the cost of servicing your damaged or scraped prop with enhanced performance and fuel economy.

Canvas
A boat’s canvas package can keep its passengers dry in the rain, shield them from spray in bouncy seas and also prevent the sun from baking everyone to lobster-esque colors during those long summer days out on the briny. But the canvas takes a beating and requires some TLC to keep things tight and dry. Snaps are one of the first components of a canvas package that start to show some wear. It’s a good idea to lubricate the snaps every spring with some Vaseline jelly or silicone grease, but sometimes it’s a real pain to get them apart. If they are jammed shut and no amount of reasonable effort can separate the parts, spray WD-40 in small doses along the crease of where the male and female sections of the snaps pressure-fit into place. Let it sit for a few minutes and then gently try to pry them apart with a small slotted screwdriver. Tread carefully here, since if you try to force it, a variety of bad things can happen, from slipping and piercing the canvas with the screwdriver, to jamming it into your hand and having to make an unscheduled trip to the local medical facility – I have done both. Try to work the blade of the screwdriver around the perimeter of the snap and as you begin to observe some degree of separation, give it another squirt of the WD-40 to smooth the process. Once the male/female sections of the canvas snap are apart, wash the junction off with warm, soapy water, rinse, clean any visible corrosion with a soft brass brush, rinse it off again and then apply a coating of Vaseline or silicone jelly to both parts. That should make the canvas snaps fully operational for the bulk of the season. If you need to replace some of these due to worn out or missing parts, repair kits can be purchased in a variety of quantities from a few to a few dozen or more, depending on the size of the project. The screw stud snap set includes a cap/socket on the “female” half while the “male” side includes a self-tapping screw and collar to both penetrate and fasten to fiberglass, wood and other materials.
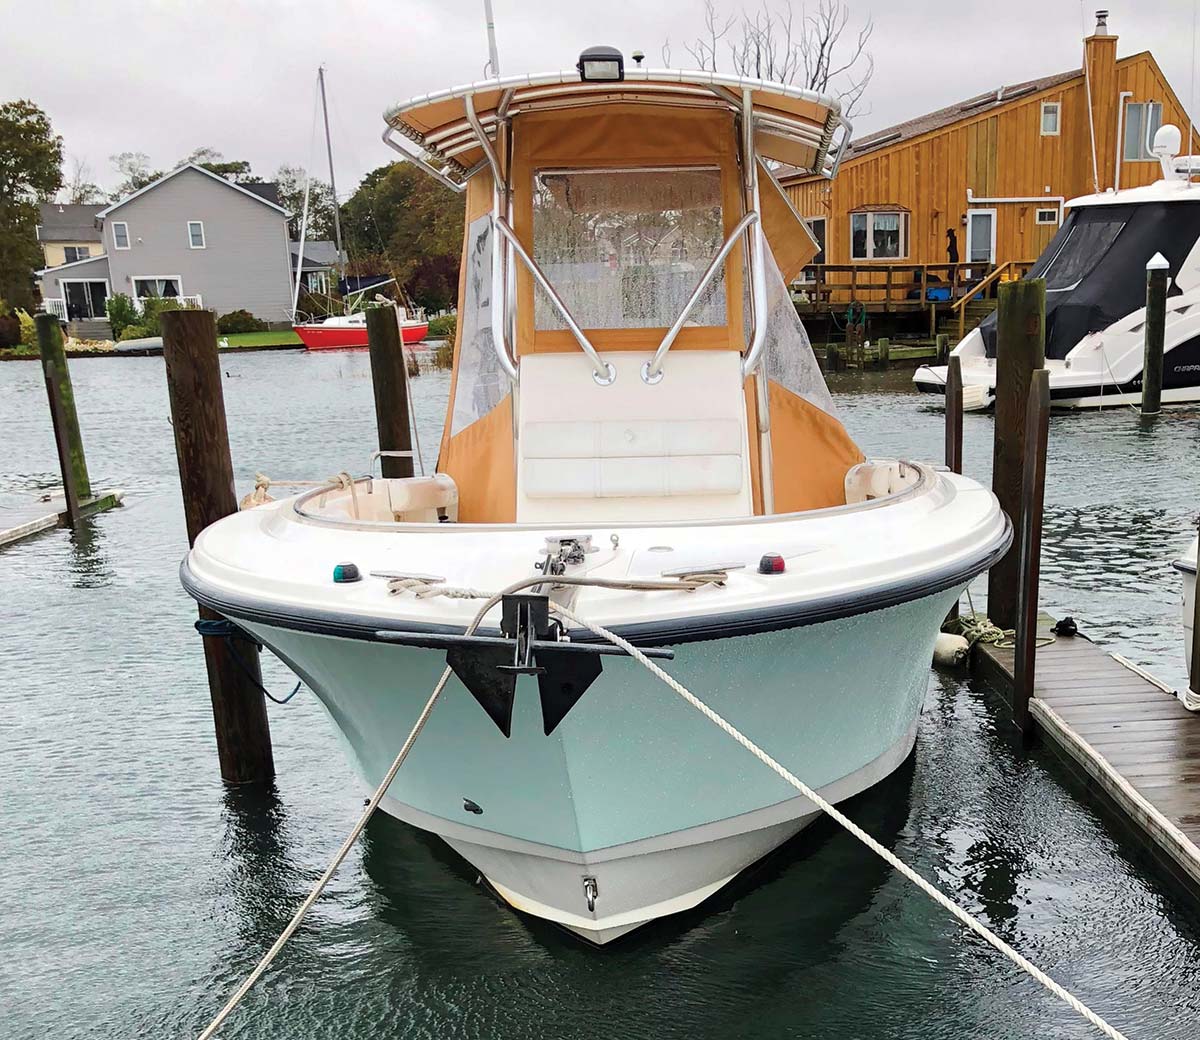
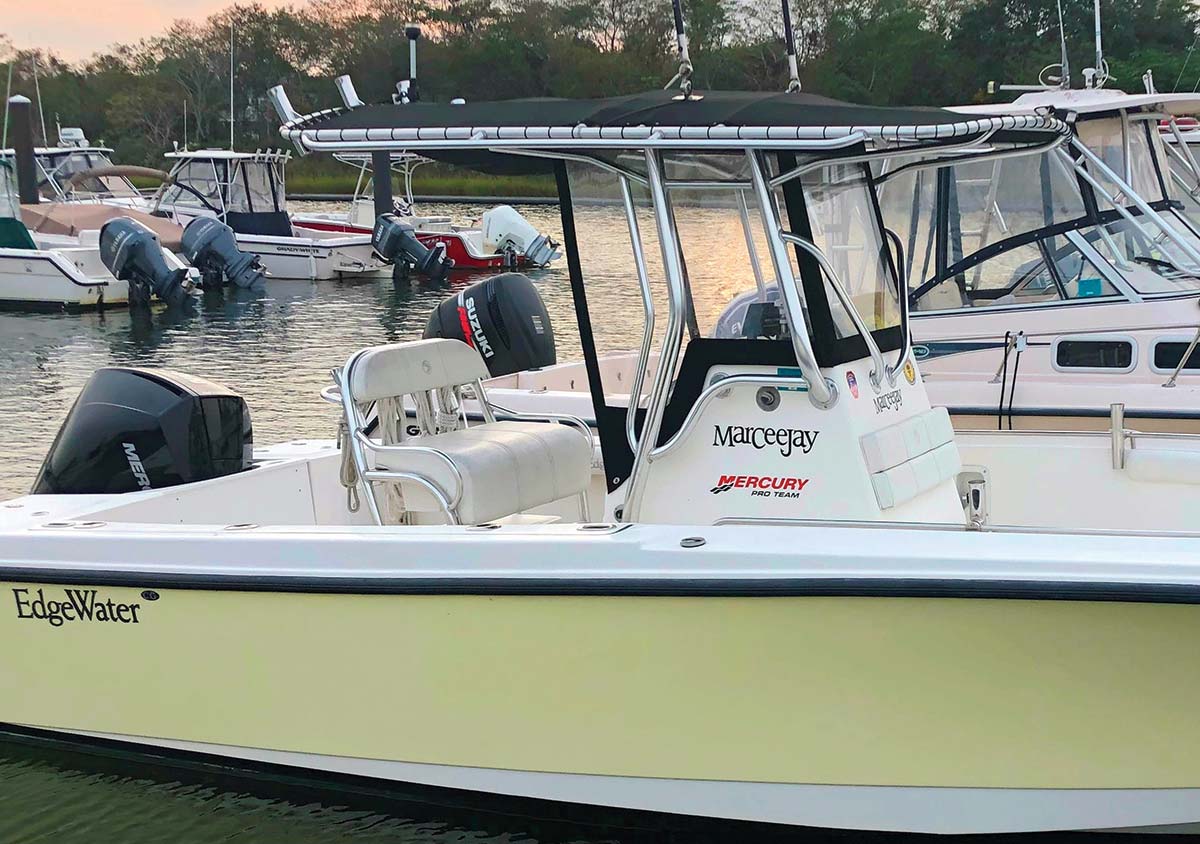
For canvas covers like those found on center console T-Tops, I check mine every season for any tears or rips. If everything looks good, I will usually apply a can of waterproof spray to the topside of the material that is available at most marine stores. This preventive maintenance typically keeps leaks to a minimum for the entire season. If I encounter any moisture issues during the summer or fall months, a second dose of the fabric waterproofing spray solves the problem. If you are looking to upgrade and have the budget to make it happen, going with new canvas for the first time, or augmenting an existing package, can be a welcome addition to your boat that adds to its functionality and enjoyment. A few years back, I decided to remove the clear acrylic windscreen on my 228 Edgewater CC and replace it with a three-sided clear canvas package that included Isinglass (clear vinyl) on the port and starboard sides, with an EZ2CY clear screen on the forward section. My buddy Jeff Miller, who owns the same year boat (a 2006 Edgewater 228 CC) went the extra yard and added removable clear wing canvas sections to his ride, which adds an extra measure of protection from salt spray when heading to/from the offshore grounds with the wind up in bouncy seas. Clear vinyl enclosures need to be maintained and require periodic cleaning and polishing, with touch up spray applications during the season. Be sure to use the correct cleaning and maintenance products for your brand of canvas, as they are not all created equal.
Starting & House Batteries
Depending on the type of batteries you use on your boat (lead/acid; AGM/absorbed glass mat; lithium, etc.), you can expect anywhere from three to five seasons of use before it’s time to get the lead out and replace it with a fresh power source. Some battery manufacturers recommend removing these 12-volt marine power cells from the boat each season, storing them in a cool, dry place while trickle-charging them periodically to insure reliable start-ups and performance in the spring. I must admit that I haven’t precisely followed this recommended protocol with my two Edgewater CCs and have still experienced four to five years or more of reliable operation with my marine power cells. The key is to choose a quality battery to start, secure it solidly in your boat so that it doesn’t get banged around, add distilled water to recommended levels (if it’s not sealed) and be sure to slow-charge it once or twice during the winter months. You should also clean off any obvious corrosion from the battery terminals, exposed cable clamps or wiring (warm soapy water and a wire terminal brush), and add some lube to slow down the corrosive process that might occur over the course of a long season.
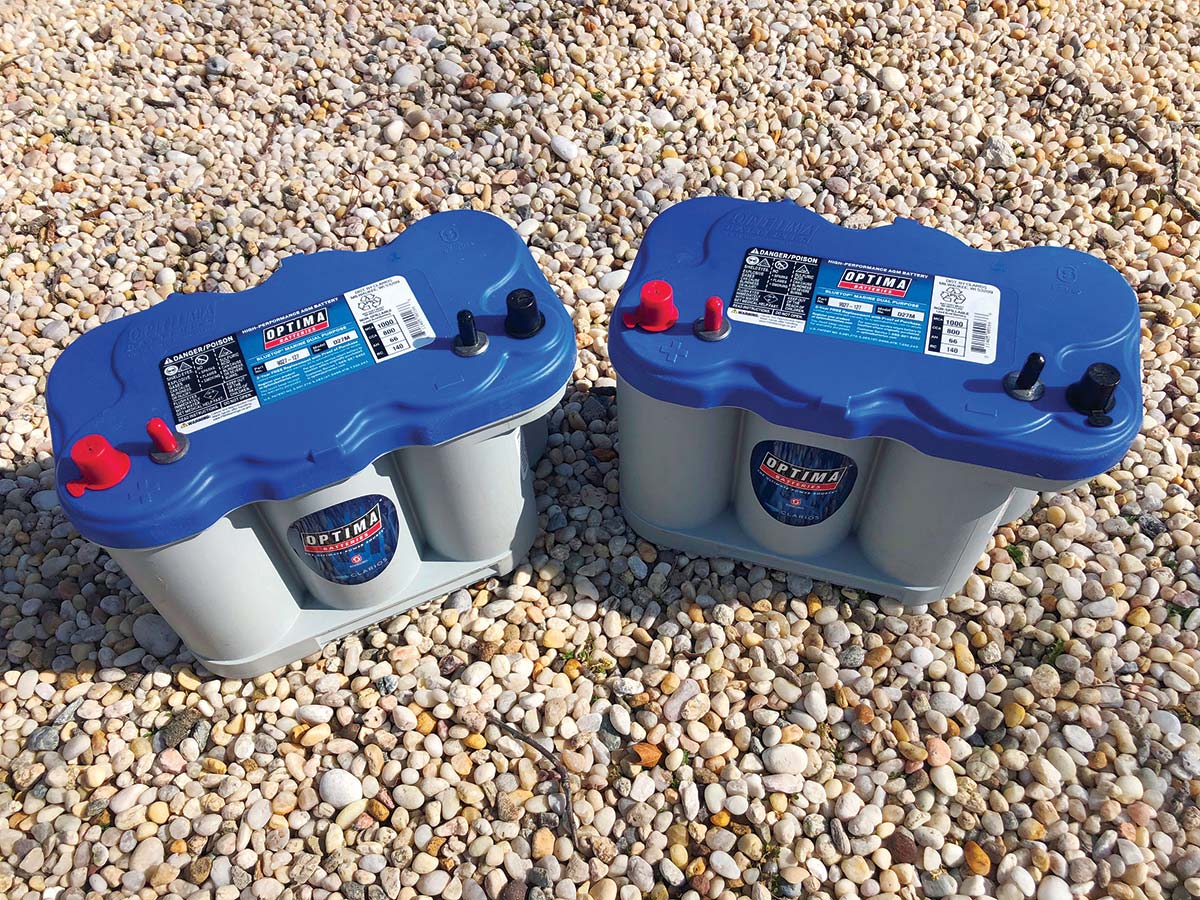
Depending on the level of preventive maintenance you want to apply to your existing boat battery, if it’s a flooded lead acid type, you can check the specific gravity levels to make sure that your cells are all accepting a charge and operating within the approved range. For sealed batteries and/or AGMs, if they don’t take a charge or are acting unreliably, it’s time to get a new one. Historically, I have had excellent luck replacing my boat batteries with Interstate flooded lead/acid versions if that was the plan, or Optima AGMs if I needed a power source that was one level up in power and reliability for the added expense.
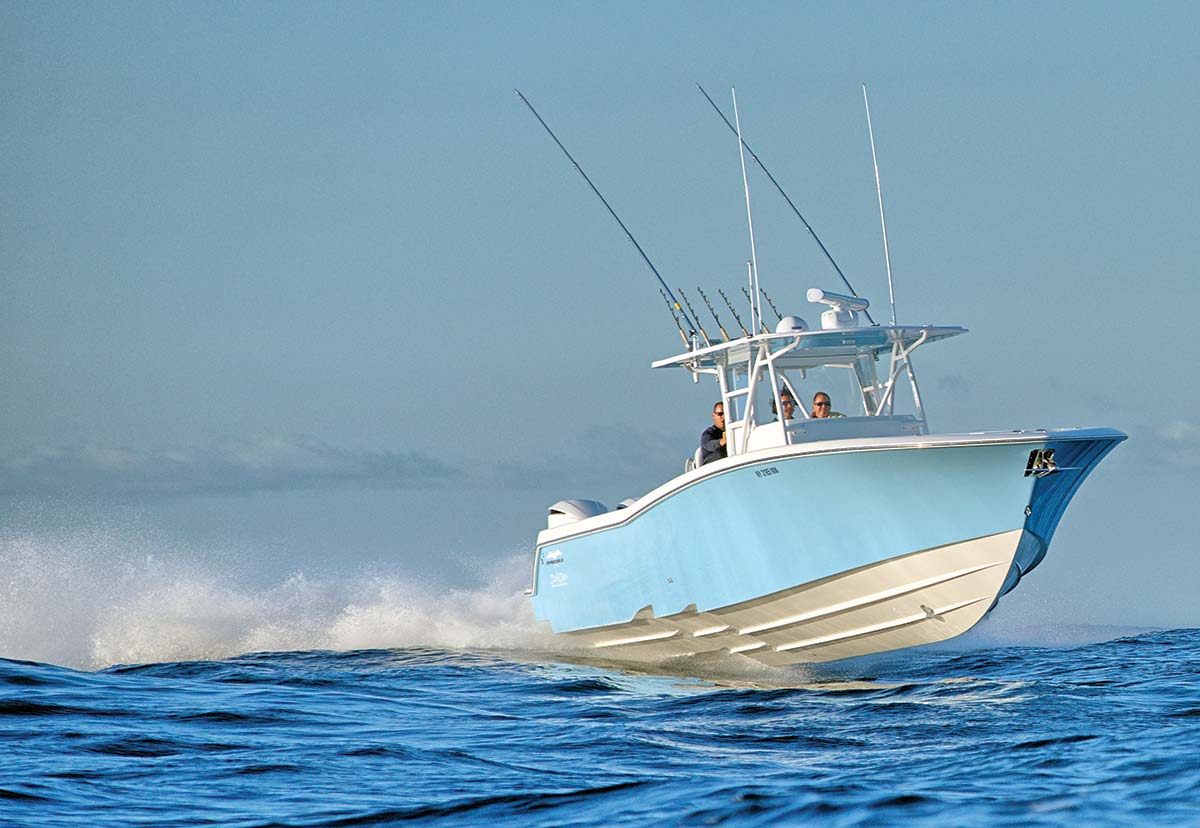
Aluminum T-Tops & Towers
Depending on how handy you are with a welding gun, it’s probably a good idea to refer any major repairs to your boat’s aluminum T-Top or hardtop tower to a certified professional. But there are a few preventive maintenance procedures that you can do yourself. Whatever structure is overhead of your vessel’s helm area is under considerable stress from the weather, salt spray, the sun and getting twisted out of shape under its load-bearing responsibilities with every wave that you hit on your inshore and offshore adventures. For those who keep their boat at a marina with fresh running water or who trailer it to the ramp and back, you have the ability to give it a nice fresh water soap bath after every trip. For those folks limited to a saltwater mooring, you should always make some time at the end of the day to hose off the salt from your aluminum T-Top or tower legs after every use, but we all know that this may not be practical. One of the ways to slow down the inevitable pitting and corrosion process on anodized aluminum is to spray or coat it with a finish that will offer it some extended protection. Numerous names of ad hoc products to keep anodized aluminum in tip-top shape are available, with some of the more notable brands being T-9 Boeshield (developed by Boeing Aerospace); Aurora Alumabrite CBX and Alumetron; Everbrite & Protectaclear; 3M’s Aluminum Restorer & Polish; Aluma Guard; Collonite #850 Metal Wax; and others.
Cracks that develop in aluminum structures will only get worse over time and should be addressed as soon as possible. It’s always a good idea to spend some time when you’re not fishing to check the T-Top and tower legs for any telltale signs of wear and tear. Be sure to look for any cracks or separations in the tower structure, or overhead rodholders, which all take a beating when heading to and from the bluewater fishing grounds. I have seen more than one 50W outfit crack or snap a welded hardtop rodholder and send a $1,000 rod/reel to the bottom. This will really ruin your day, as I have experienced firsthand on at least a couple of occasions, and it’s why safety lines were born. Cracks near or at welded junctions are usually the easiest to fix and after a clean-up and re-weld, are typically as good as new. Cracks that develop in the midsection of a pipe or tube are more challenging, but can still be repaired by a competent marine welder. Best advice, don’t try these major fixes yourself and leave it to the professionals.
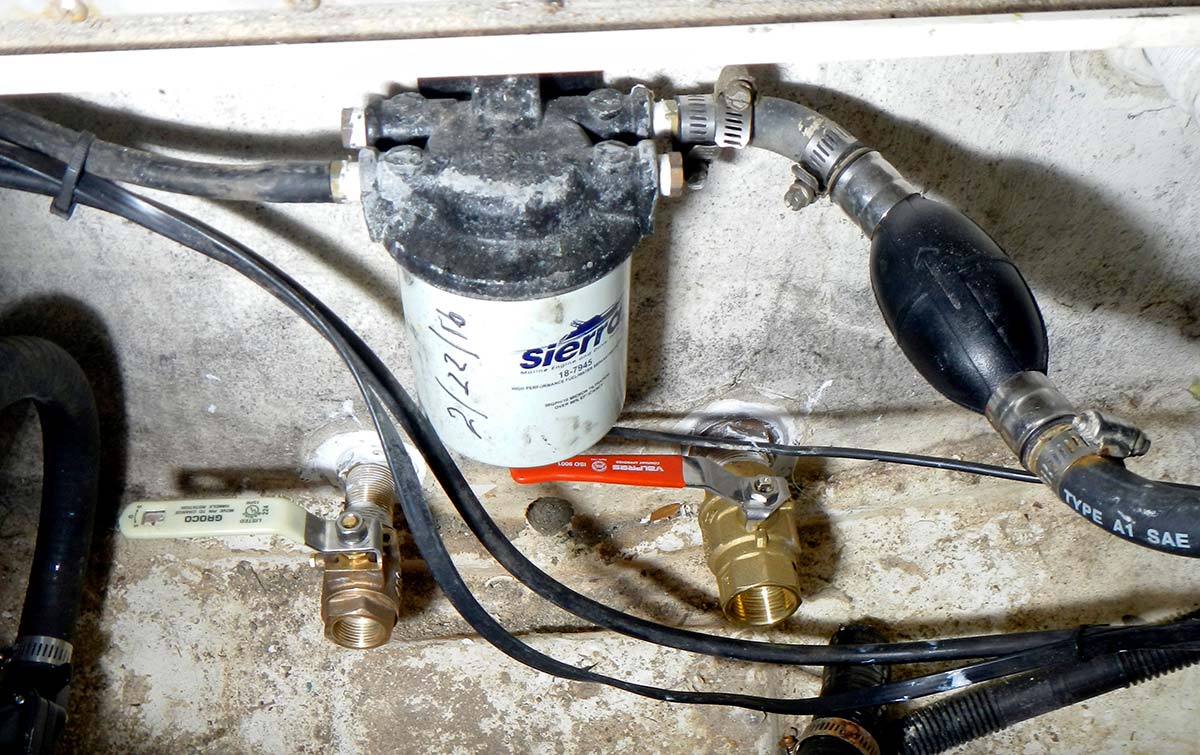
Fuel Filter Mounts
This is arguably one of the easiest of the Five-Fixes that the average Fisherman reader who is handy with common tools like a drill and screwdriver can make to their boat before the season starts. If you search out the whereabouts of your onboard primary fuel filter(s), there’s a good chance that it’s either buried in the bilge or set out on the open transom. Both of these spots are hazardous to the long-term health of the aluminum mount that keeps the filter in place, along with the inflow and outflow fuel hoses. This set-up typically has a mix of aluminum (the mount), combined with a painted metal fuel filter, stainless steel screws and brass fuel hose fittings. This unholy mix of metallurgy usually translates to a short service life for the aluminum mount, since it is one of the less noble of the aforementioned metals and most susceptible to corrosion, even with its powder coated finish. I have replaced these on all of my boats going back two decades with the proven stainless steel mount made by Sierra, who also private labels this item for Mercury and other outboard manufacturers. The process is as simple as removing the old spin-off fuel filter (dispose of the old fuel properly), then disconnecting the in and out fuel hoses (be sure to plug them so that they don’t leak into your bilge). Remove the two screws or thru-bolts that keep the filter mount into place and then remove the brass fuel hose bars and plugs. Reinstall the existing fuel hose hardware on the new S/S mount and install it back into the boat using the reverse steps of how you removed it. Reattach the fuel hoses in the correct In/Out locations and install the new fuel filter (it’s a good idea to date it with a Sharpie marker), but be sure to fill it up with fresh fuel to prevent a vapor lock on startup.