The third in a three-part fall series looks at technique when fishing bunker schools.
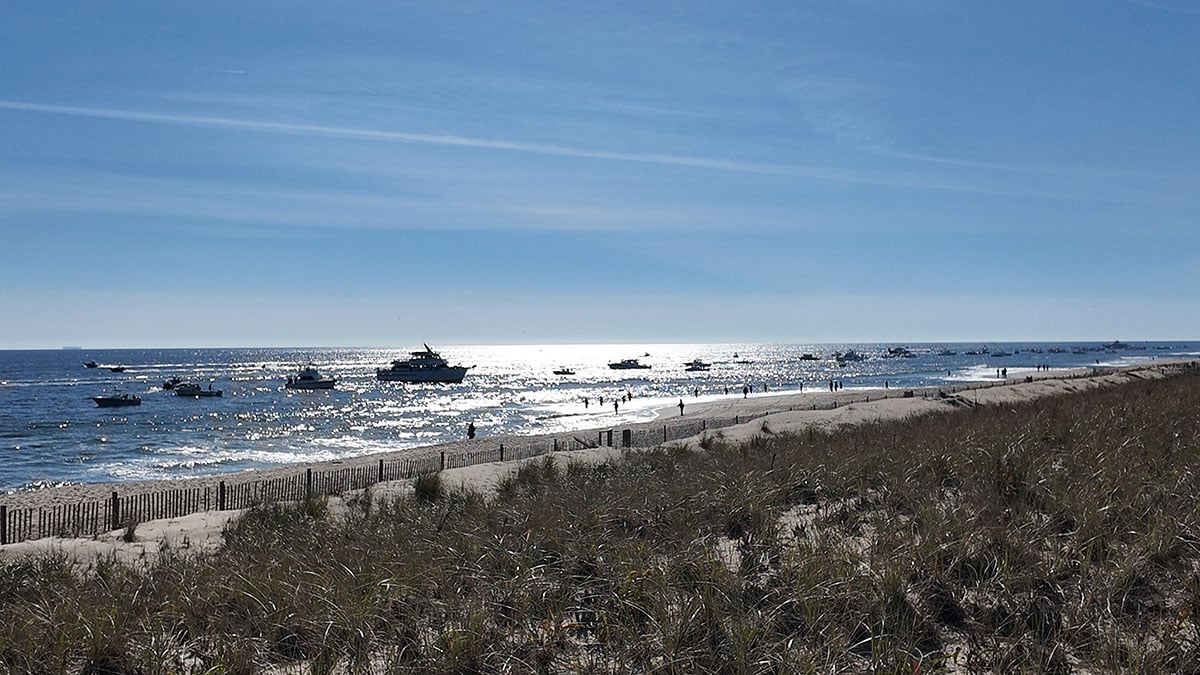
Shore-based bunker pod fishing occurs at three distinct locational types, categorized mainly by structural differences: piers, jetties, and sandy beaches. Each offers unique advantages and disadvantages relative to the others. Sandy beaches allow for increased mobility, providing the opportunity to cover vast ground in search of bunker.
Unless you have a beach buggy permit for one of the sandy locations between Brick Beach down to Cape May, finding action requires pulling up to the end of a side street to peer out for bait; by repeating this process every five blocks or so, a broader assessment of the front beach can be made. If bait is detected, it does not necessarily mean it is reachable; any specific point on a sandy beach will typically have fewer bunker pods within range compared to other structures.
True jetties offer less mobility and ground-coverage, but their extended reach provides a higher frequency of bunker pod encounters. Jetty lengths vary, with the areas from Long Branch to Spring Lake serving as prime examples. Traditionally, the Deal-to-Asbury Park beachfront has been reliable every season, featuring some of the longest non-inlet jetties. Some of these are still in play even after the problematic practices of beach replenishment. Note, however, that limited parking is enforced on many side streets, further impairing mobility.
Piers restrict mobility the most. The distance over the water and the cost of admission or parking make changing locations problematic. This disadvantage is offset by the fact that longer piers provide the highest frequency of bunker pod interactions. Unfortunately, few long piers remain along the Jersey Shore, though recent efforts in many seashore municipalities may be leading to the construction of newer beachfront piers.
Reaching The Pod
Regardless of location, casting distance is paramount when fishing bunker pods. Many times, the bait will be just out of reach, where a mere 5 to 10 feet makes all the difference. Often, in pods with few bass, the only anglers to find success are those who reach the pod first. Most adjustments for optimal distance can be made within the setup. Beginners should ditch monofilament line and fill the spool with 20 to 30-pound braid to reduce air resistance. An 11- to 12-foot, fast-action, high-end rod rated for snagging and heavy plugs is essential; the CTS S8 and Jigging World Nexus are highly successful choices for these situations.
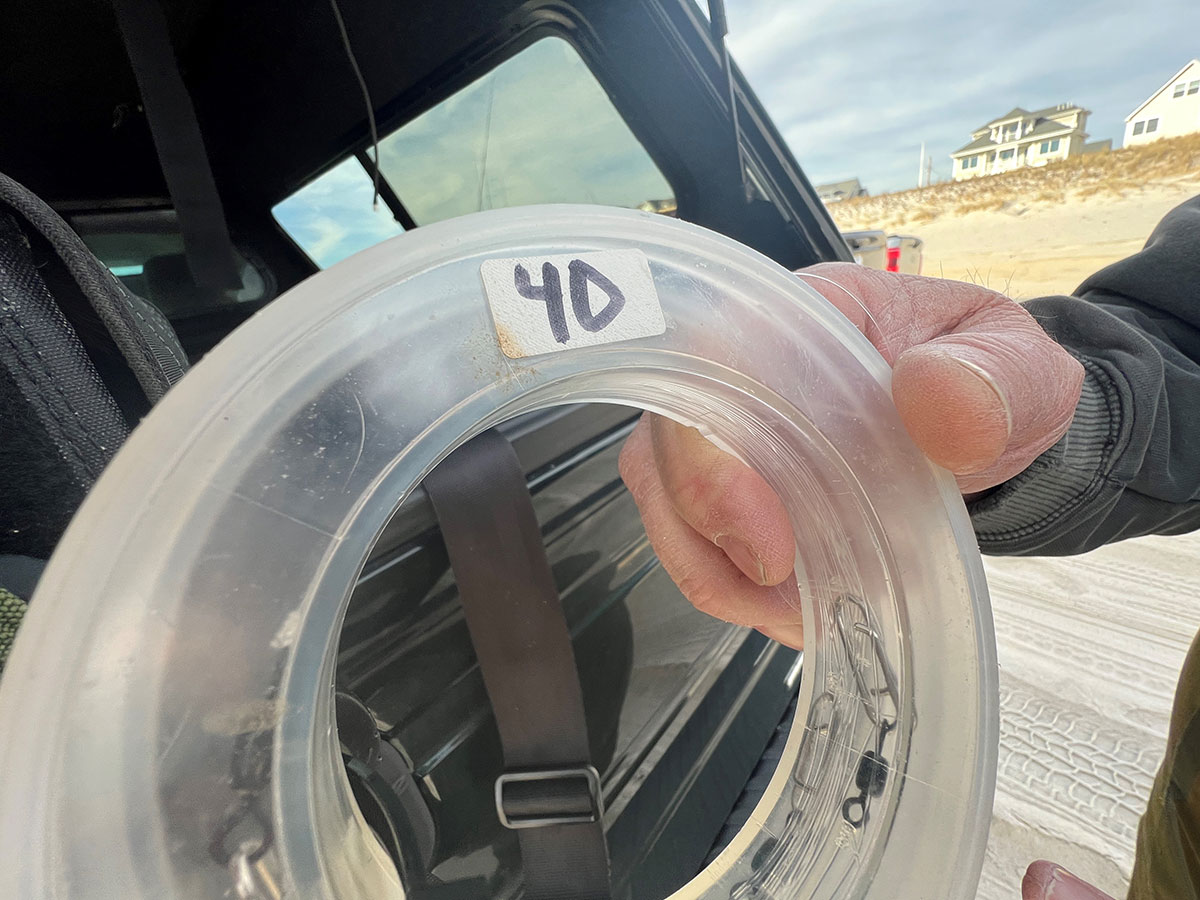
I recommend avoiding the use of swivels, which create drag. Instead, tie the braid directly to a 40- to 50-pound leader using a uni-to-uni or FG knot to minimize friction. If structure-induced abrasions are likely, increase the leader to 80-pound test. Medium-sized, premium reels, such as a Zeebaas or Van Staal, are great for maximizing distance with waterproofing for pesky waves. To further decrease friction against the guides during a cast, some anglers even apply a lubricant spray to their line and/or guides.
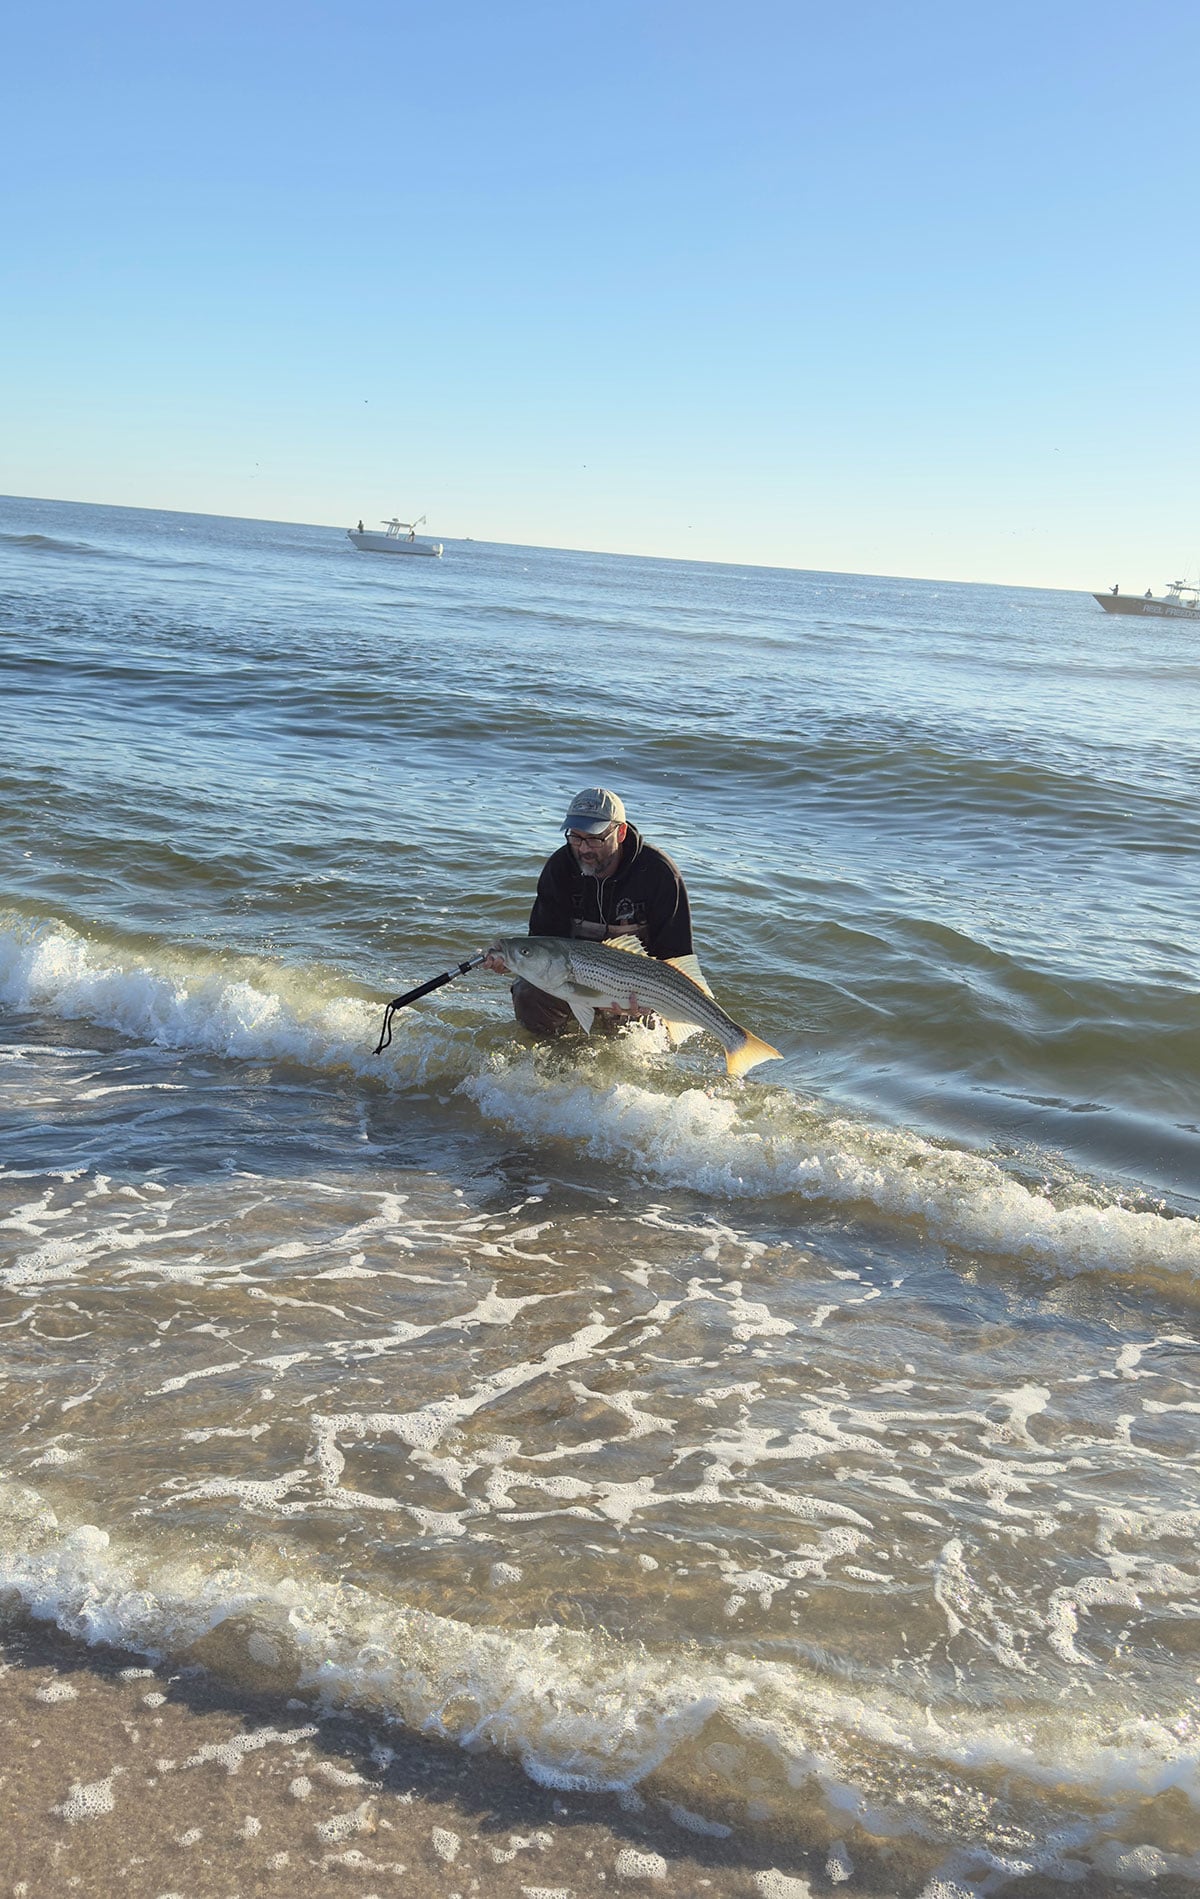
One way to overcome the range limitations of a sandy beach is to swim out to a distant pod. This puts an angler directly in the strike zone while less-determined surfcasters stand on the sand fishless. As in other aspects of life, courage here often overlaps with carelessness. Attempt this only with full awareness and acceptance of the inherent risks, including lost gear, heavy boat traffic, shark encounters, and drowning. Failing to take proper precautions to diminish those dangers is simply reckless—and I admittedly speak from experience.
Accessory flotation devices and flippers used to be outlawed in many bass tournaments—and rightfully so because they mimic the mobility advantages of a vessel. Outside of competition, however, those tools immensely improve safety and comfort. Additional gear provides critical protection in different ways. A wetsuit, for example, offers negligible buoyancy compared to a boat, yet it allows for extended periods in extreme water temperatures. Wetsuit thickness should be chosen based on specific temperature ranges, but keep in mind that a thicker, warmer suit inherently reduces dexterity.
Obviously, as ocean water temps decrease this time of year, swim fishing isn’t exactly advisable. But should you decide to try in less hostile conditions, it is crucial to carry minimal equipment and ensure everything is harnessed to the body. A small plug bag containing a large swimmer, a pencil popper, a few circle hook snags, clips, and leader should be anchored to a surf belt. Ideally, the rod and waterproof reel combo should be tethered to the belt; a stretchable lanyard with attachment clips at each end works best. With enough length for slack, casting motions remain unrestricted, and the gear is easily retrievable if dropped.
Ultimately, the utility of these tools shifts with the conditions. Out there, a fine line separates courage from recklessness and wisdom from foolishness.
4 Ways To Hook Up
Anglers generally rely on four primary presentation styles when targeting bass in and around bunker pods: chunking, plugging with large-profile lures, livelining, and snag-and-drop. Each method carries distinct advantages and drawbacks dependent on the conditions, and each style should be rigged and utilized in a specific way to maximize its effectiveness.
Chunking bunker near pods is ideal when the bait is sparse and inactive. The setup used here varies slightly from the traditional chunking rig to improve mobility and response time. The same rod and line type used for the other bunker pod tactics can be exploited here (instead of a big beef stick). However, a modified chunking rig simply attaches to the terminal clip where the plug would normally sit. While I strictly avoid swivels when casting plugs to maximize distance, they are essential here to manage the sinker. This rig consists of two basic parts: 4 to 6 inches of 80-pound leader with a small sliding egg sinker connecting two swivels, and another 4 to 6 inches of 80-pound leader connecting the second swivel to an 8/0 to 10/0 Gamakatsu inline circle hook.
Inevitably, the lack of a shock leader and the use of a lighter-rated rod (compared to a standard chunking setup) restrict heavy loading and maximum casting distance. However, this lighter setup is essential for mobility and rapid transitions. Should the pods move closer or the bass turn on, the chunk rig can be quickly swapped for a pencil popper, swimmer, or snag hook. Ultimately, any deficit in casting distance can be regained by leveraging jetties, piers, or wetsuiting.
Livelining is most effective in uncrowded scenarios when bunker pods are sparse and range from inactive to moderately active. This setup features an 8/0 to 10/0 Gamakatsu inline circle hook tied to roughly two feet of 50- to 80-pound leader. Notably, land-based livelining differs significantly from that on boats. While hooking a bunker through the upper jaw is ideal for head-first strikes, it requires more line control than a land-based angler is typically afforded given the wave breaks and sandbars.
Unless feeding fish are within ‘lobbing’ distance, the hook should be placed through the bunker’s mid-to-lower back. This grants the angler control while allowing the baitfish the freedom to swim out. This placement also allows the hook to pull free from the softer meat more easily to penetrate the bass’s jaw. Because you are using a large bait, always give the fish a bit more time during a runoff to ensure the hook is fully inside its mouth.
Fishing around sparse but hyperactive pods requires a different approach; pencil poppers, swimmers, and gliders are the most enticing offerings and allow for greater angler mobility. They can be rigged with a 2- to 3-foot stretch of 50- to 80-pound leader, using a 175-pound-test Tactical Anglers clip. To maximize distance and protect guide integrity, omit the barrel swivel; instead, splice the braided line directly to the leader with a uni-to-uni or FG knot.
Size and shape are the primary considerations for any plug; around pods, the profile should closely mimic an adult menhaden. The next most important property is movement, especially for swimmers and gliders. A well-made, large pencil popper should pivot side-to-side, throwing sprays of water when continuously twitched across the surface. Conversely, a high-quality, large swimmer should gracefully oscillate, creating miniature trailing wakes during a slow retrieve. After plug profile and movement comes color. White is usually best for mimicking this baitfish’s underside.
Many talented plug builders populate the current market, with their products widely available at New Jersey tackle shops. I find that Big Bass King Plugs (crafted by Dominic Talerico) and C80 Custom Plugs (by Cesar Carranza) are among the best in the industry, renowned for their unique swimmer designs and effectiveness. Stridebait jointed gliders and Outcast pencil poppers are also personal favorites. To beef up your plugs when targeting trophy-sized bass, replace the stock hooks with something stronger. Swapping to 1/0 to 3/0, 2x- or 4x-strong Owner treble hooks—or the BKK equivalents—paired with 185-pound Spro split rings will prevent unnecessary losses.
Snag & Drop?
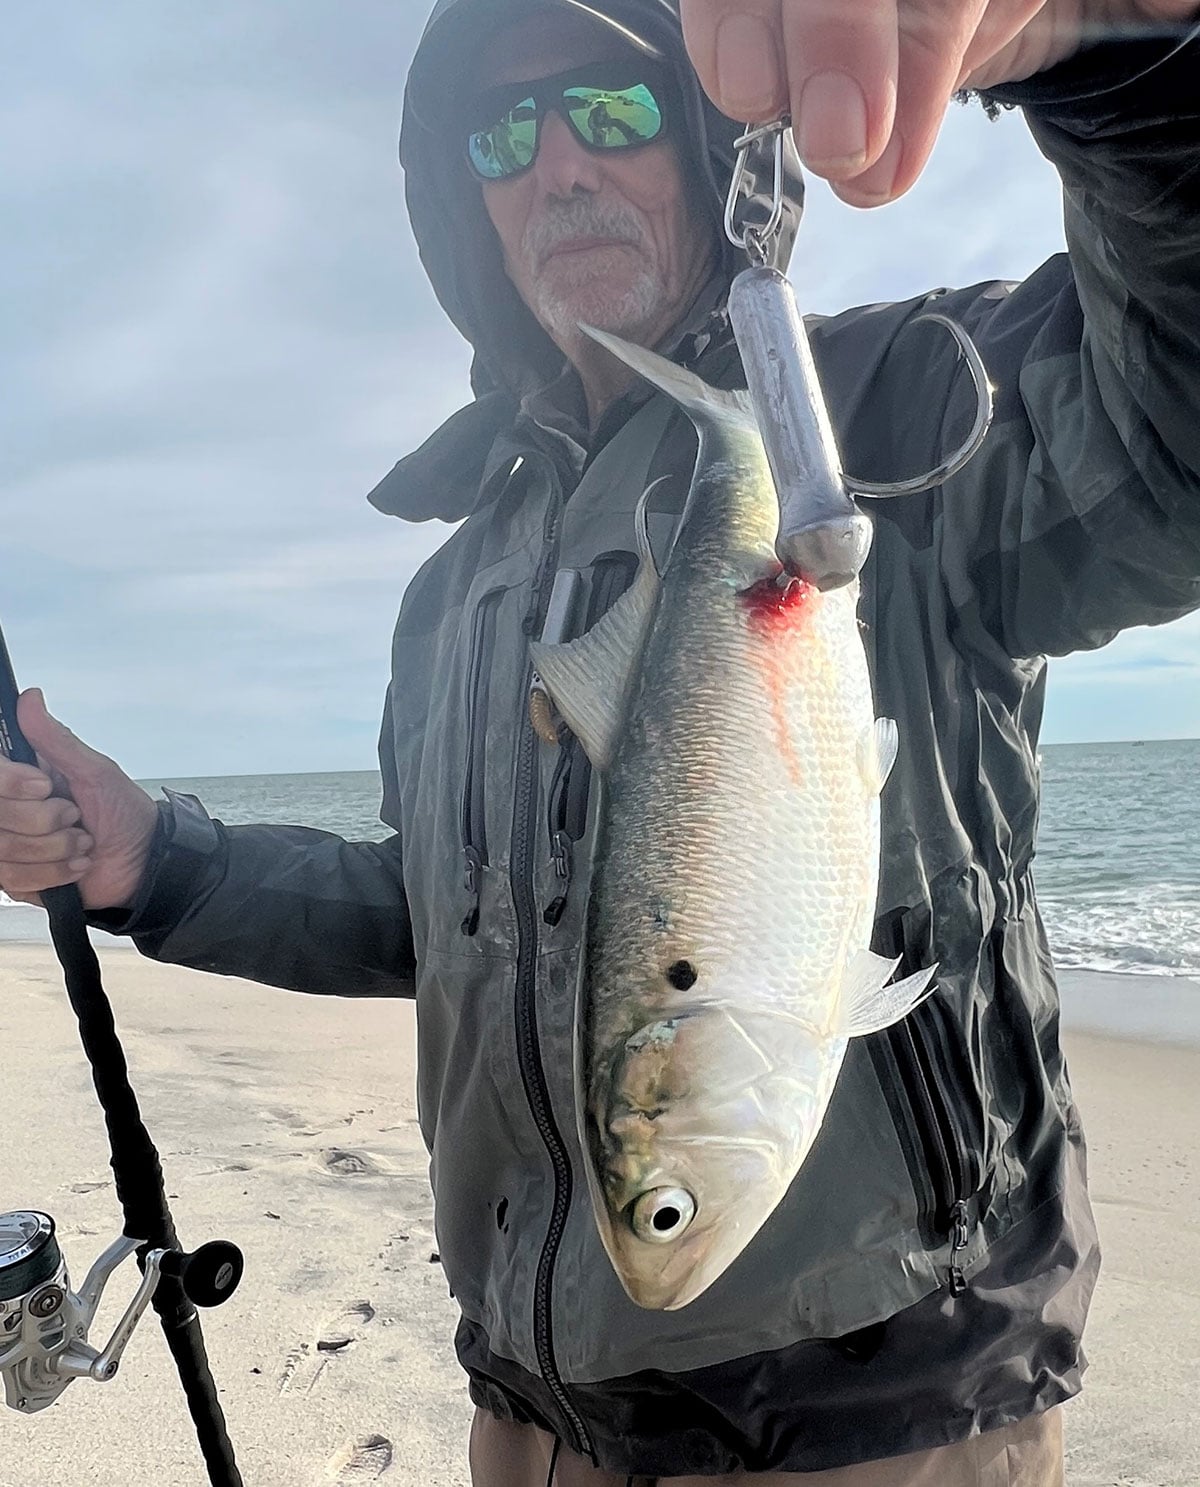
The circle-hook snag-and-drop method should only be used when inactive to moderately active bunker pods are within casting range. It demands an uncrowded setting where neighboring anglers are respectful, communicative, and using the same technique. Even an experienced group of ten can effectively manage this method together; however, introducing a single plug into the mix will inevitably cause tangles due to its constant casting and retrieving.
Inline circle-hook rigs come in various forms, but most can be snapped directly onto a leader’s terminal clip. Personally, I get mine pre-made at Gabriel Tackle in Brick or from angler and former student Joseph Mitchell. Joe’s rig actually entails two inline circle hooks bound together for a greater chance of a hookset. They require a 2- to 3-foot stretch of 50- to 80-pound leader to withstand the cumulative chafing from the line being violently whipped against gill plates and scales.
When snagging, cast beyond the pod and reel into it before whipping the snag through the school. Once a bunker is hooked, you will immediately feel slight pressure and vibrations. In hyperactive pods where bass are marauding the bait, leave the snagged bunker in place to draw a quick strike. If no bass connects and the bunker ceases its distressed twitching, it is best to reel in and snag a fresh one.
In less active pods, do not leave the bunker in the center; instead, pull it to the trailing edge of the school. Predatory fish often corral bait by circling the perimeter or pushing from behind. In this scenario, an exhausted, half-dead bunker sinking deep into the water column is a more tantalizing—and easily caught—prey for less energetic bass.
Regardless of where the bass strikes, steer the fish away from the pod once hooked. Otherwise, the braid—now under high tension—will suffer immediate abrasions from rubbing against the tightly packed scales of the school. Finally, if bunker are deep and hard to locate, cast the snag out and let it sink on a taut line. If the bunker nudge the line, you have found the school; whip the rod immediately to stick your bait. Remembering these tips will help you discern the nuances of bunker pod scenarios and choose the best tactic for each.