You’re not fishing with full confidence until you’re 100% confident in your connections.
I’m going to throw two words at you and they’re going to be mentioned a lot in this article: confidence and consistency. These two words should mean the world to you if you’re a serious angler and they come into play every day that you fish, whether it’s for bluegills in your neighborhood pond or for golden taiman in the mountains of India.
A major part of being confident rides on your knot tying abilities. And that confidence will only increase with practice that will lead to consistency in your knot tying. You want to get to the point where you can be anywhere under any conditions, upside down with your eyes closed, and still be able to nail that knot. This will give you a mental edge on the fish and one less thing to worry about when you hook up to a giant.
Knot Rocket Science
Fishing knots have multiple purposes, they may be used to attach hooks, terminal tackle, lures, or finesse presentations, as well as creating loops in a leader or to connect two sections of line, usually braid to mono (or fluoro). Choosing the right knot will depend on the line (or lines) you’re using and there are many types made by hundreds of brands—and not all are created equal, so choose wisely!
I prefer to use braided line for my running line, nearly all the time. I like it because it’s strong, sensitive, easy to control, and casts really well. But braid has its own set of shortcomings, for instance, many traditional knots slip when tied with braid; most anglers know that a clinch knot simply is not an option when using braid, because it will slip and pull out under strain. This issue is easily fixed with the use of the right knot, and for my money, if I’m tying direct to the lure or snap with braid, it’s a Palomar Knot, every time.
Another shortcoming of braid is that, while incredibly strong, it doesn’t handle abrasion very well, hit a rock while you’re battling a big striper and that braid will cut like a hot knife through butter. To combat this, we add a leader, sometimes the connection is a swivel, other times the leader and line are joined with a knot and your success or failure rides on choosing the right knot and tying it correctly and consistently.

Bread & Butter
There are two knots every angler needs to know, the bread and butter, if you will. These will cover the vast majority of line to lure, hook or swivel connections. The first one is the Improved Clinch Knot, most of us learned this knot when we were between the ages of 5 and 12.
Improved Clinch Knot
Line Type: Monofilament and fluorocarbon (do not use with braid)
Best for: Hooks, swivels, lures
Why it works: The Improved Clinch Knot is simple, reliable, and ideal for light tackle… although you can absolutely use this knot for inshore fishing as well, but I wouldn’t trust this knot offshore. It provides a clean presentation and maintains strong line integrity when tied correctly. I still use this knot for many freshwater and inshore applications. It’s the basic, through the lure eye, five times around the leader, through the loop created above the eye and then back through the big loop, lubricate with saliva and cinch it tight.
Palomar Knot
Line type: Braid, mono and fluoro, best for braid
Best for: Attaching braided line directly to lures, hooks or swivels. Can also be used for mono and fluorocarbon, but can be hard to tie with heavier leaders.
Why it works: Known for retaining almost a perfect 100% of line strength, the Palomar is an extremely strong knot when tying direct with braided line. It’s easy to tie, even in low light and it doesn’t slip like many other knots. The Palomar couldn’t be simpler, double your line and thread the looped end through your lure or swivel, tie an over hand knot, pass the lure or leader through the looped tag end, lubricate, and cinch it tight, until the tag-end loop closes against the knot.
Next Level Ties
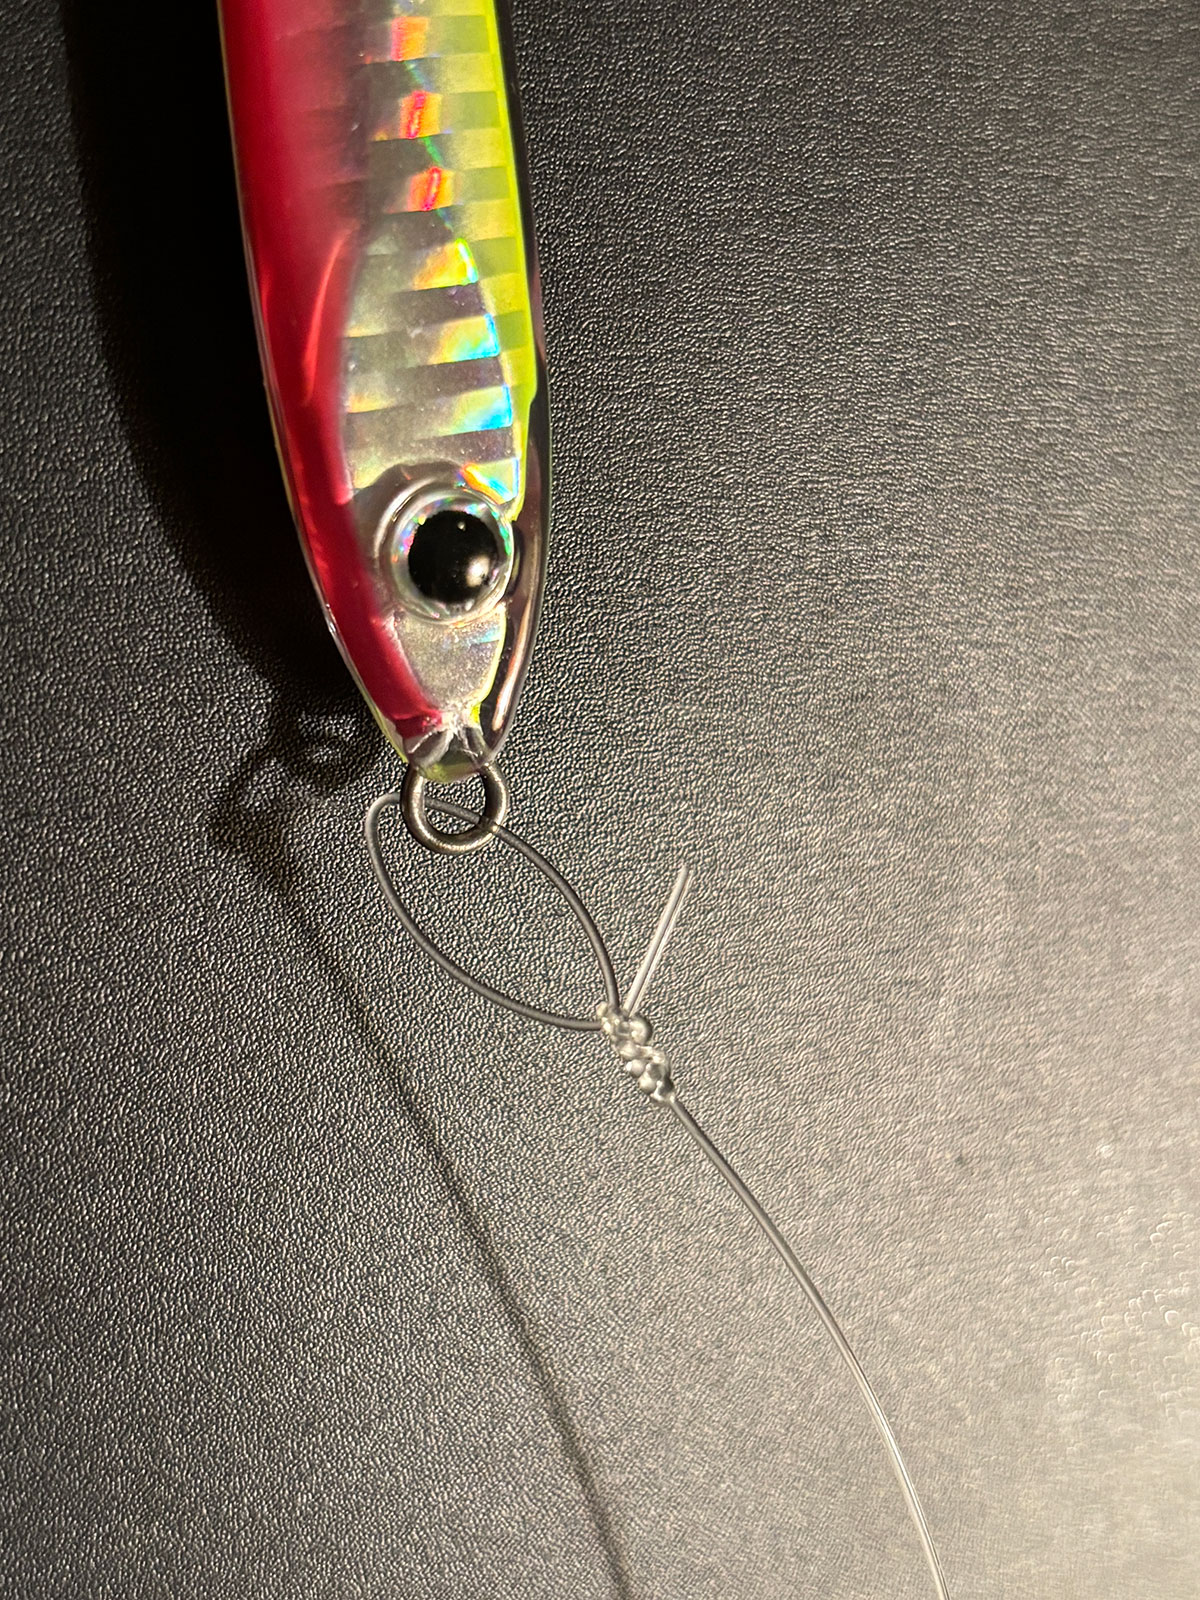
As we progress as anglers we inevitably find reasons to explore new connections. One of the things that made me look into some new knots was the affect the stiffness of my leader was having on certain finesse presentations. That’s how I discovered the Rapala Knot, a reliable loop knot that gives smaller lures the freedom to swim the way they were intended.
The Rapala Knot
Line type: fluoro and mono
Best for: Tying direct to lures, hooks or flies when a natural, finesse presentation is needed.
Why it works: Connecting the lure to your leader with a loop knot doesn’t restrict action. With lighter lures, the stiffness of the leader can dull the intended action of your lure, but the loop gives the lure or bait an added level of freedom of movement. I like to use the Rapala Knot for certain inshore applications like false albacore, bonito and striped bass. Smaller, lighter lures like small spooks or Albie Snax can be bogged down by the weight of your snap, a loop knot offers the same freedom, without the added weight. To tie the Rapala knot, first tie an overhand knot about 6 to 8 inches from the end of your leader, but leave it loose. Thread the lure onto the leader and pinch it about a half-inch from the knot, pass the end of the leader through the overhand knot and then wrap the tag end around the main line three to four times, now pass the tag end back through the overhand knot, creating a new loop, and pass the tag end though that new loop. Moisten and cinch the knot carefully, from all sides. It takes some practice to create a consistent-size loop, but it’s a great knot, that’s worth knowing.
Snell Knot
You snelling what I’m snelling?
Line type: Mono or fluoro
Why it works: A snelled hook gives the angler a straight line connection to the shank of the hook which means reliable hook sets. When tied to the hook eye with another type of knot, the hook is more likely to twist or angle into a less-direct position. If you ask me, there’s no question that a snell is a stronger connection than any other knot when fishing live or dead bait. The snell is my go to knot when tying rigs for tautog, fluke and fishing live eels for stripers. There are a lot of ways to snell a hook, but the easiest way is basically to thread the line through the eye and tie a Uni Knot around the shank.
Uni Knot

Line type: mono, fluorocarbon
Best for: tying direct to hooks, lures and swivels
Why it works: The Uni Knot is a great knot for small game freshwater fishing and light tackle inshore saltwater fishing. It’s unique because it’s almost like a noose, meaning it gets tighter under pressure and is unlikely to slip (when tied properly). It can also be used to join braid and mono, in the form of the Double-Uni Knot. In this version a Uni is tied around each standing line (braid around mono and mono around braid) and the two knots ‘jam’ against each other, creating a reliable connection that’s easy to tie on the fly. It’s a great choice for lighter lines and can even be used to join two segments of braided line. To tie a Uni Knot, pass your line through eye of your hook pull about 4 to 5 inches of tag end and double the tag end back on itself. Pinch the doubled tag against the running line. Now wrap your tag around both legs of the loop AND the running line, after five or six wraps, pass the tag end through the loop at the top, moisten and cinch the knot down, once tight it will slide down and tighten at the eye. If tying a Double-Uni, start with the braid and tie and tighten a Uni around your mono, and then repeat the process with your leader around the braid, pull tight until the two knots oppose each other.
Line To Leader
When tying braid direct to mono, you can use the Double-Uni, but if you want to get serious and have the sleekest, strongest and most reliable knot, the only answer is the FG Knot. It’s battle tested from albies to bluefin, and while it can be time-consuming to tie, with a little practice, it becomes second nature.
FG Knot

Line type: This is a braid to mono connection
Best for: Braid or hollow-core to fluorocarbon or mono leader.
| KNOT YOUR AVERAGE CHEAT SHEET |
| Below, is an overview of what I use, for several applications from offshore to freshwater.
Offshore: FG connected 15-foot leader of Opsin Fluoro (60- to 150-pound) tied direct to the lure using a Palomar Knot. Inshore: FG connected 5-foot leader Opsin Fluoro (15- to 60-pound) tied to a snap using Improved Clinch. Freshwater: Double-Uni connected 2- to 3-foot Opsin Fluoro leader (6- to 20-pound) lures tied direct using the Improved Clinch. Lures tied direct to braid, I use a Palomar. |
Why it works: The way the FG Knot works has been described as a Chinese finger trap around your leader. The braid is looped around your leader in alternating directions, creating a crisscross pattern of tight wraps around the leader. The FG is extremely strong and utilizes friction to grasp your leader and is designed to grip tighter when under strain. When I tie an FG, I wrap the braid around the leader 27 times, that’s the number that has never failed me, “if it ain’t broke, don’t fix it!” Right?
Tying this knot requires some setup, keeping the braid tight while you wrap and it helps to have line pullers or gloves when tightening the knot. When properly tied, your braid wraps will look translucent against the leader. As mentioned the FG only gets stronger the tighter it’s pulled, and trust me, it loves the pressure! And its slim profile zips through the guides like butter which is crucial for long casting and big game setups. I use the FG knot in all my inshore saltwater and offshore fishing set ups from bottom fishing to topwater, in my honest opinion, there’s not better connection knot on earth.
If you want to take your FG to yet another level, look up the Rizzuto finish, which adds a Uni on top of the FG as a protective ‘helmet’. Describing how to tie the FG would be difficult, so I would recommend watching a few videos online to find a method that works best for you.
In Knots We Trust!
There are a few steps we can take to ensure optimal knot performance. I’ve already said it multiple times, but always lubricate! A little water or saliva will reduce friction, keeping things from heating up, which can jeopardize the integrity of your line. When your knot is done, check for damage. Frayed, overstretched or burned line near a knot creates a weak point, when in doubt, cut and retie. If you knowingly ignore a weakness in your rig, I guarantee a big fish will find a way to make you pay.
| A DEEPER DIVE |
| Anglers are always looking for that one thing that will give them any kind of edge in their fishing and, of course, learning these knots will give you that edge. If you would like to see step-by-step breakdowns of most of these knots in explicit detail, you can find them at TheFisherman.com/knots |
Like anything else, practice makes perfect, but in the case of a complicated knot like the FG, it pays to practice over and over until you know it cold. Additionally, knots tied quickly and under pressure tend to fail and practice will go a long way when you have to retie during a hot bite, at midnight on a slippery rock or bobbing in a rough sea. Lastly, always test the strength, put as much pressure on the knot as you can to make sure it doesn’t slip or break, then you’ll know you’re ready for that next big bite.
Lastly, I wanted to make sure I thanked Peter Jenkins of the Saltwater Edge for suggesting this topic. He’s a great guy that does a lot for the local fishing community.