LEFT SHORT! RIGHT FLAT! LEFT LONG!
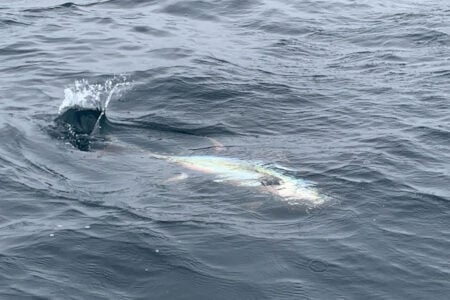
We were covered up with bites as the crew called them out, but as anglers grabbed rods, each bite was the same: nothing. We had passed by a pot and the small grasshopper dolphin attacked the spread. As is so often the case these small fish did not eat the hook, but certainly mangled every single rigged ballyhoo in the spread. That was seven ballyhoo that needed to be re-rigged in order for the crew to be back in the game. This time drain could be the difference between an epic day and a day looking for excuses. But it does not have to be this way.

In offshore fishing time is perhaps the most valuable aspect; our time on the edge has a finite limit and taking time to re-rig without the benefit of a fish in the box is counterproductive and inefficient. While many crews (including mine) prerig dozens of ballys for a day’s fishing, these are mostly if not all for the purposes of naked ballyhoo baits, or with dusters and such. But what about your bullet head lures? Your Shutes, Saucy Bullets, and Illanders that have ballys? Most of us have one or two of our favorite colors that are out fishing, and when they don’t have a perfect ‘hoo on the back, they are useless. So, this rig is meant to get that favorite bullet head back in the hunt as fast as possible.
Here’s what you’ll need to make the rig. Your favorite bullet head, monofilament leader to match the head weight (#80 – #250), the matching aluminum crimps and a crimping tool. A 3-inch piece of single strand #174 wire leader, a matching size, long shank hook that matches the size of the bullet head (7/0-11/0) and some Billfisher bait springs.
Assembling the Rig
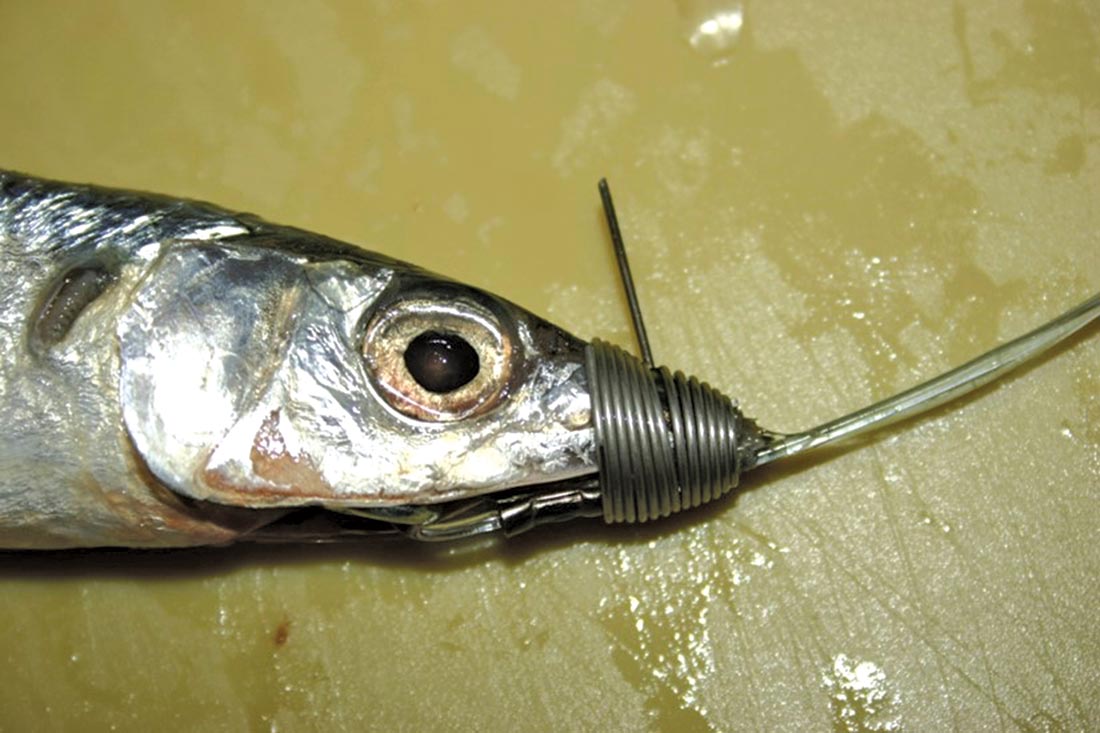
Cut 6 to 12 feet of monofilament leader, length based on your boat’s height to the waterline. Crimp a loop on one end of the leader, where the swivel attaches, and feed the other end of the mono through the forward hole in your lure. To that end, slide on a bait spring (cone end first), and three crimping sleeves. Put the line through the eye of the hook and then back through the first two crimp sleeves. Don’t crimp anything yet, just make the loop at the hook eye as thin as possible my moving the first crimp as close to the eye of the hook as you can, then crimp it. Slide the next crimp onto the tag end and position it 1 inch from the previous crimp, but do not crimp it. Move the bait spring up the leader from the second crimp before the next step. Take the small piece of single strand wire and slide it in the opening of the crimp that is furthest from the hook and crimp it. While holding the crimp with the crimping tool, bend the single strand wire so it is 180 degrees from the point of the hook, and then trim the tag end of the mono. Finally, slide the bullet head down toward the hook until the hook bend is 1 inch from the end of the skirt, and mark the leader at that point. Slide the final crimp to that mark and crimp it on a single line. This acts only as a stop; if your head is concave and can fit the spring, then negate that step.
Putting on the Bally
Here is where the prep work pays off. Squeeze the innards out of the bally carefully, and then loosen the muscle and limber it up. Lay the bally next to the rig so that the pin (single strand wire) is at the jaw of the bally (right where the top jaw has its hinge) then with your pinky, mark where the bend in the hook will exit the belly of the ‘hoo. Keep that mark, and slide the hook point under the gill plate and into the body cavity. Continue threading the bally onto the hook until the hook point is at your pinky mark. Allow the hook to exit the belly at the mark, and then tuck the crimps under the throat and push the pin up through the jaws. Finally, slide the bait spring to the pin and twist it onto the pin until the spring is tight to the ballyhoo’s head. Then break the bill at the spring, make sure the ‘hoo is straight and limber. It is now ready to be back in the water. While it sounds like a lot of steps, I assure that with very little practice you can get your bullet head lures re-rigged and back in the water in less than 1 minute!