Build this classic swimmer that looks like nothing else in surfcasting history.
My fascination with this plug goes back a long way. When we look at plug history as a mosaic of images, there are themes of shape and style that cross over to nearly 100% of the builders from 1930 to today. There are some outliers, yes, but none stand out like the lures made by Floyd Roman and, in my eyes, none of them is more intriguing than the Nike.
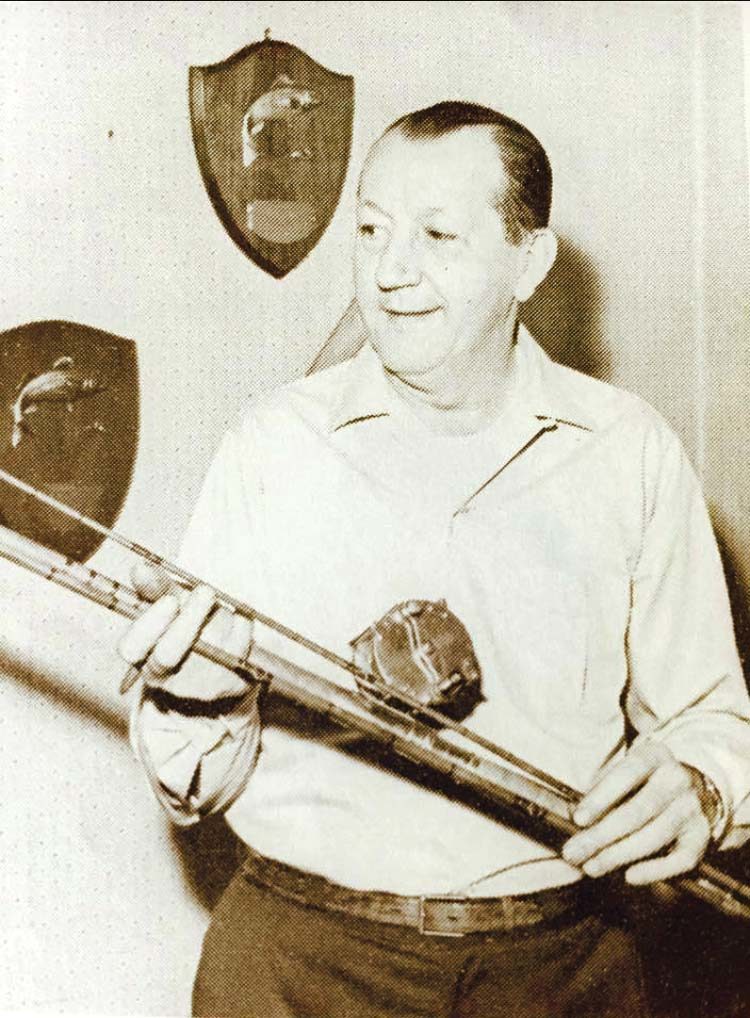
Very little is known about Floyd, I know he grew up in Three Rivers, Massachusetts and he stayed there. I know he was an avid fisherman, I know that he began selling lures in the late 1930’s and that he made at least 13 styles, 12 of which were based off the same principle ‘angled face’ design of the Nike. As a guy who obsesses over plug designs and lure action, I truly wish I could speak to Floyd Roman, because I think his level of ingenuity and innovation might put him only a step or two below legends like Stan Gibbs and, Creek Chub mastermind, Henry Dills.
What little I’ve been able to unearth about the man himself, tells me that we would have gotten along well; he was known to sleep in his car at the Canal and usually fished alone, keeping to himself and selling lures out of the trunk of his Oldsmobile.

The accepted speculation is that the Nike got its name from the Nike family of missiles that the United States built between 1945 and the late 1970s. The original boxes are emblazoned with the words, “The MISSILE that guides you to good striper and other big game fish,” it’s probably a safe bet that the Nike Missile inspired the name.
The Nike
As a plug builder, I marvel at Floyd’s inspired design. Being that he was a Canal angler, it’s no surprise that he wanted to come up with a swimming lure that could be cast a long way. Casting distance has long been an X-factor for anyone that fishes the Big Ditch and there really aren’t any metal lips that impress in that category.
The journey that lead him to the Nike design must have been an interesting one, especially because he really didn’t have anything to base his work off of—it would seem that the Nike was either born out of a true eureka moment or hard won after many, many attempts to get what he wanted. But those moments of illuminated imagination have been lost in the 90 or so years since; leaving us to imagine how it might have happened.
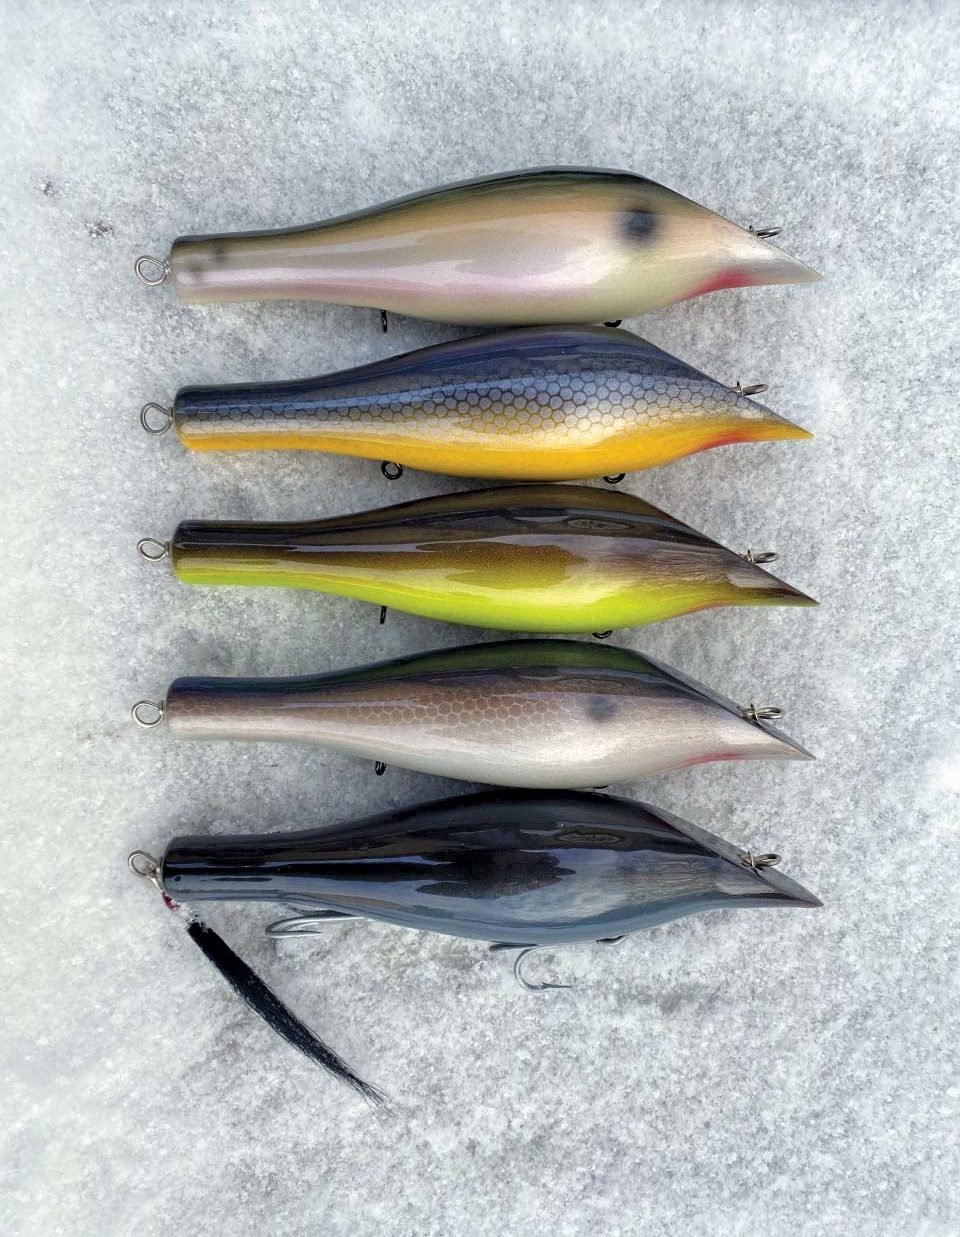
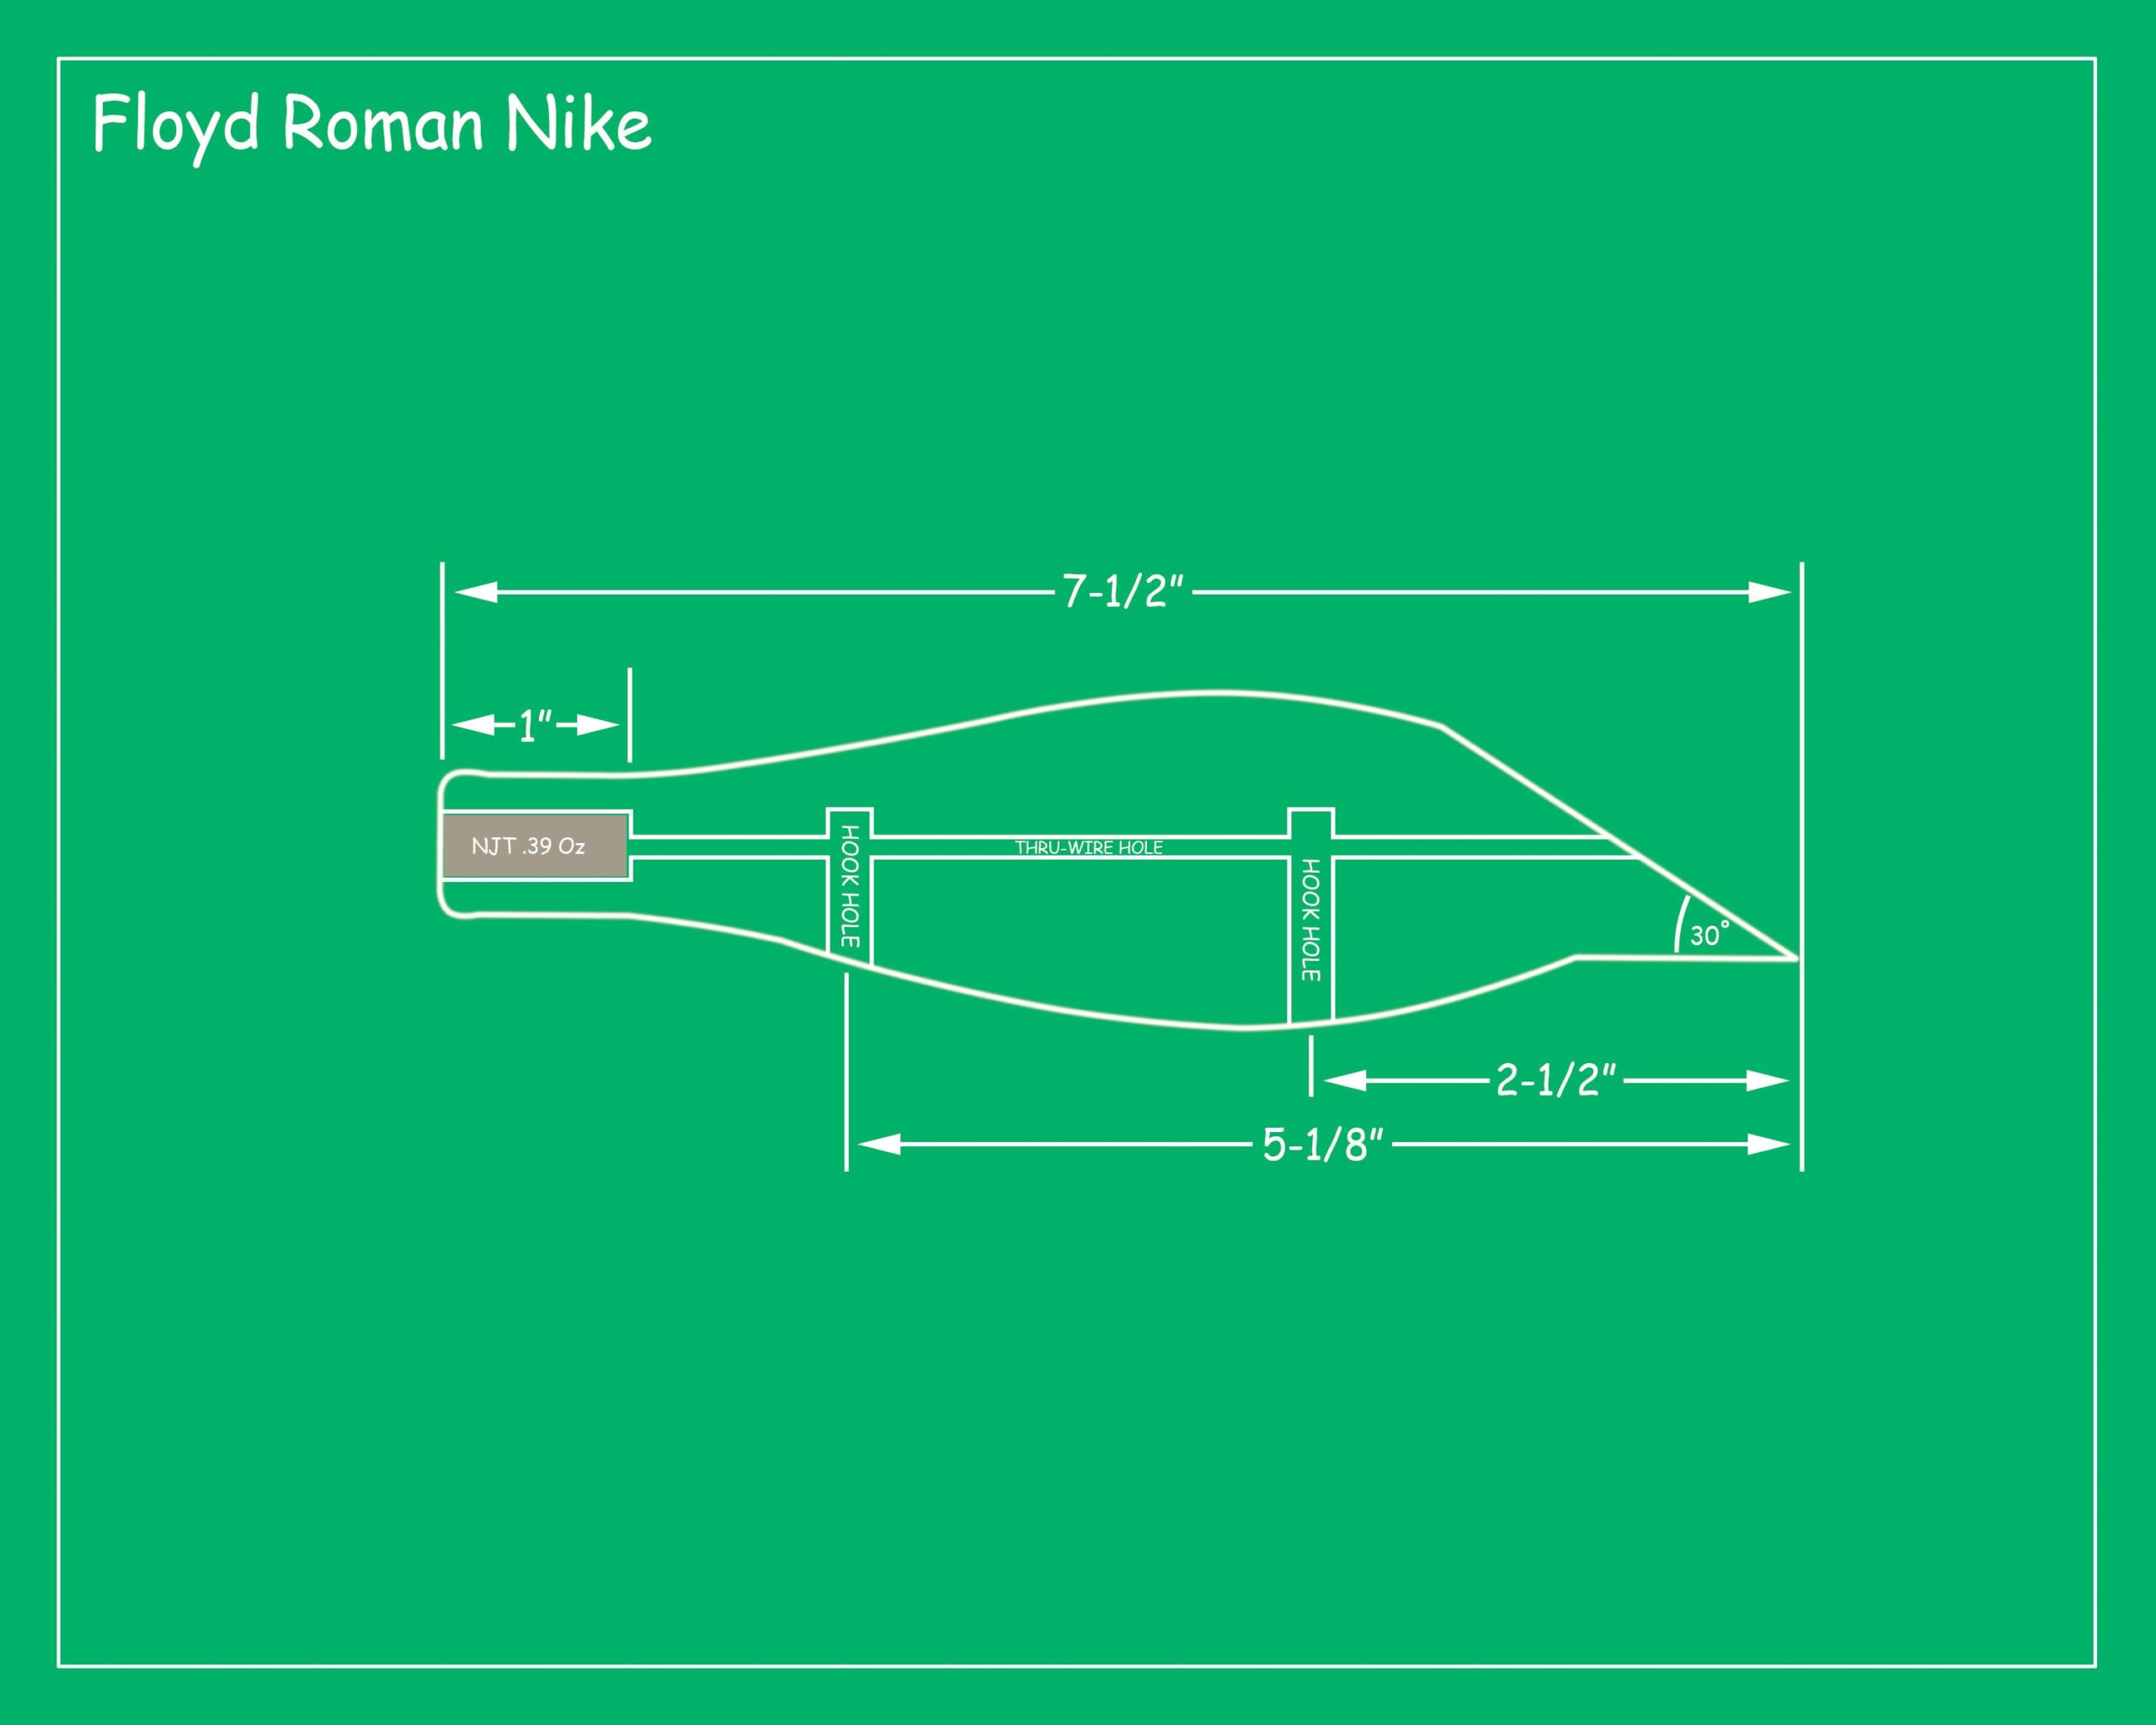
There were six versions of the Nike ranging from the 7-1/2-inch, 3-1/2-ounce original version down to the 3-inch, 1/4-ounce Spin Nike. This is not one of the designs that can be easily scaled to make different sizes; if you look at the Nike lineup you’ll see that each one has a different lip style. I like big plugs so, let’s make the big one.
Wasn’t Built in a Day
For a plug with an overall length of 7-1/2 inches, the Nike has an impressive waistline, at 1-3/4 inches. I’m treating this build like any subsurface swimmer and trying to use fairly dense wood, I think the best choice would be Alaskan yellow cedar, but I’m making mine out of some heavy basswood I had in the rafters.
I cut my blanks to 1-7/8-inch squares at a length of 8-3/4 inches. From there, find the center at both ends and chuck the block in your lathe. Using a gouge, take the corners off (leaving about a half-inch of each end square), when you have a pretty uniform cylinder, shut off the lathe and lay out your marks. Start by making two marks 7-1/2 inches apart for your nose and tail; next make a mark at 1-1/4 inches back from the nose, this will mark the end of the ‘neck’ of the plug. Make another mark at 3-1/4 inches back, this is the widest point. Your next mark should be at 6 inches which is where the tail taper really starts to flatten out.
And for easier shaping, I’d recommend making marks at 2-1/2 and 5 inches as well. Turn the lathe back on and touch each mark with your pencil to make them easier to see, use the target diameters below:
Nose Mark: 1 inch
1-1/4 Inch Mark: 1 inch
2-1/2 Inch Mark: 1-11/16 inches
3-1/4 Inch Mark: 1-3/4 inches
5-inch Mark: 1-5/16 inches
6-inch Mark: 7/8 inch
Tail Mark: 3/4 inch
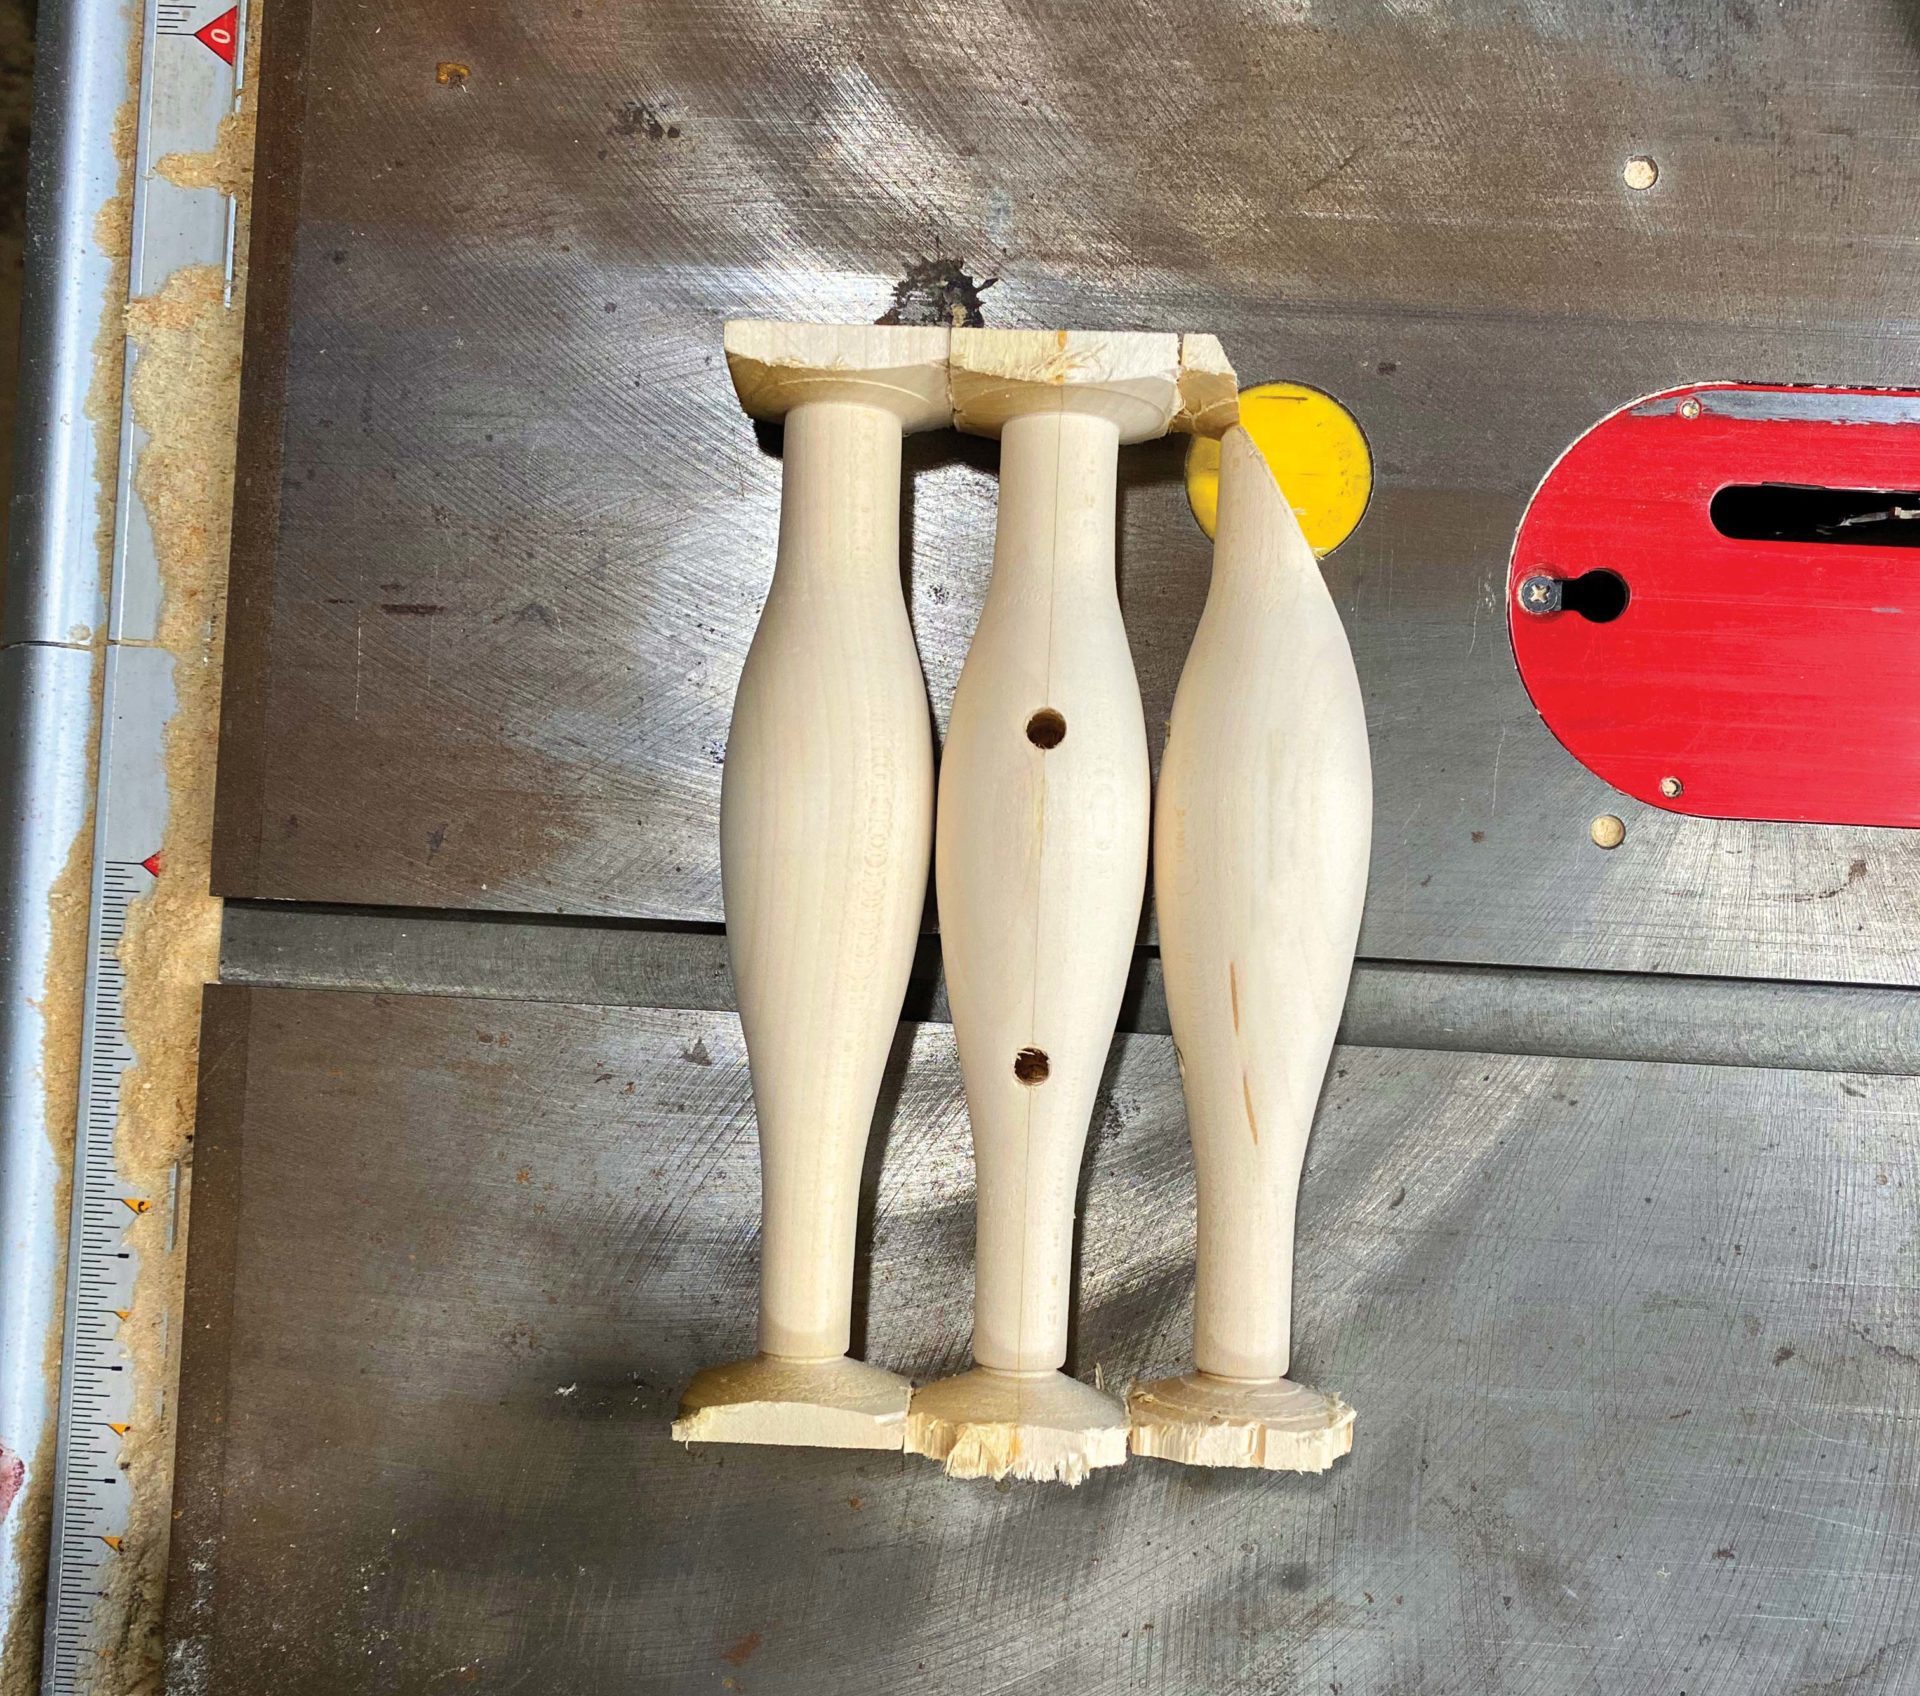
You should be able to do most of the shaping using a small skew chisel but those ‘reverse curves’ will be much easier with a rounded chisel—keep them sharp and they’ll treat you right. You can see in the pictures, but the overall shape is very birdlike, kind of like a bird sitting on a telephone wire, or maybe an elongated pear. The curves are flowing and seamless, and when done properly, it really is a beautiful plug.
Once you have the shape looking good, sand it while it spins with 100 grit and then 180 grit and head on over to the drill press. Using a 5/16 drill bit, drill holes at 2-1/2 and 5-1/8 inches back from the nose, drill them both a touch deeper than halfway and then thru-drill the plug with a long 3/16 diameter bit.
Workshop Acrobatics
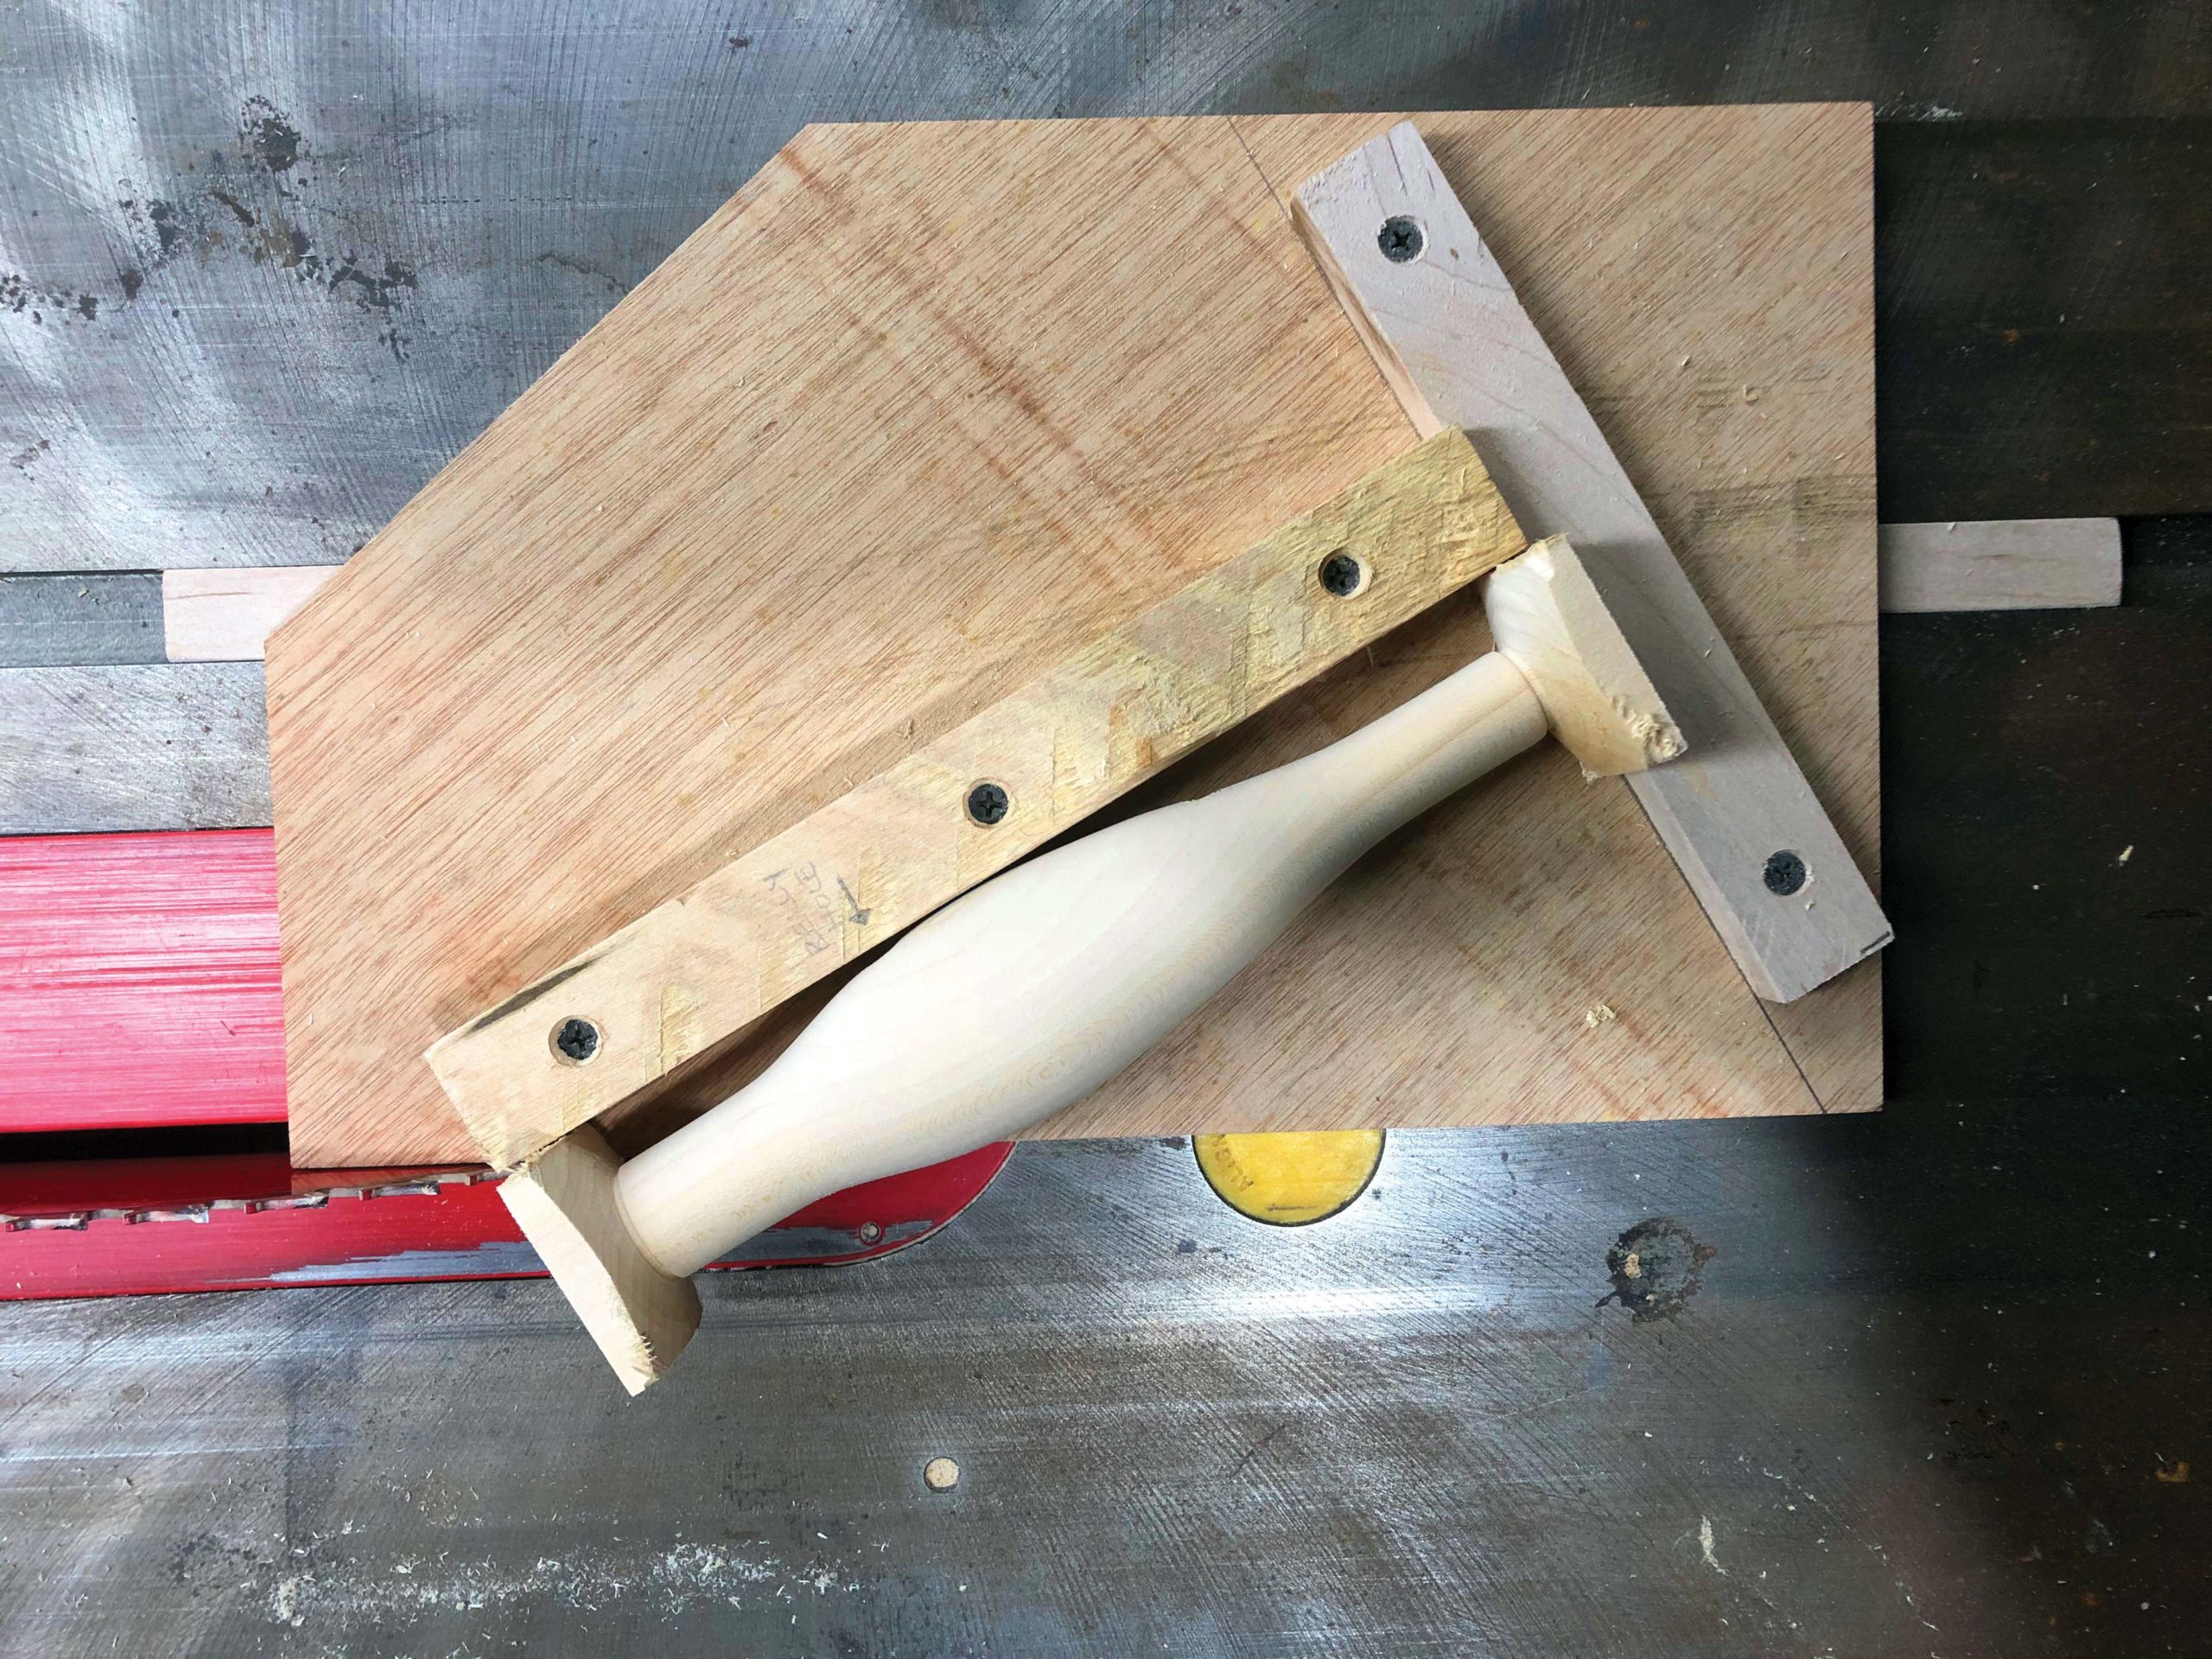
Now things get a little more challenging. The work that needs to be done forces you to perform the tasks in reverse order. This plug features a tail weight, and we would usually cut the square off the tail and drill the weight hole first, using the support of the remaining square to keep everything straight. But we need both ends intact so that we can keep the swim plane square to the rest of the plug. So we have to start there. The swim plane should be cut at a 30-degree angle, I made a table saw sled jig for this task, but you can do it with a band saw or a pull saw, basically, the swim plane should start at the bottom of the lip and terminate at 2-1/2 inches back from the nose; I urge you to cut the face a little long and sand it into position using a belt sander—it’s safer, easier and makes for a cleaner finished product. Once you have that done, cut the square off the tail and it’s time to drill the tail weight hole.
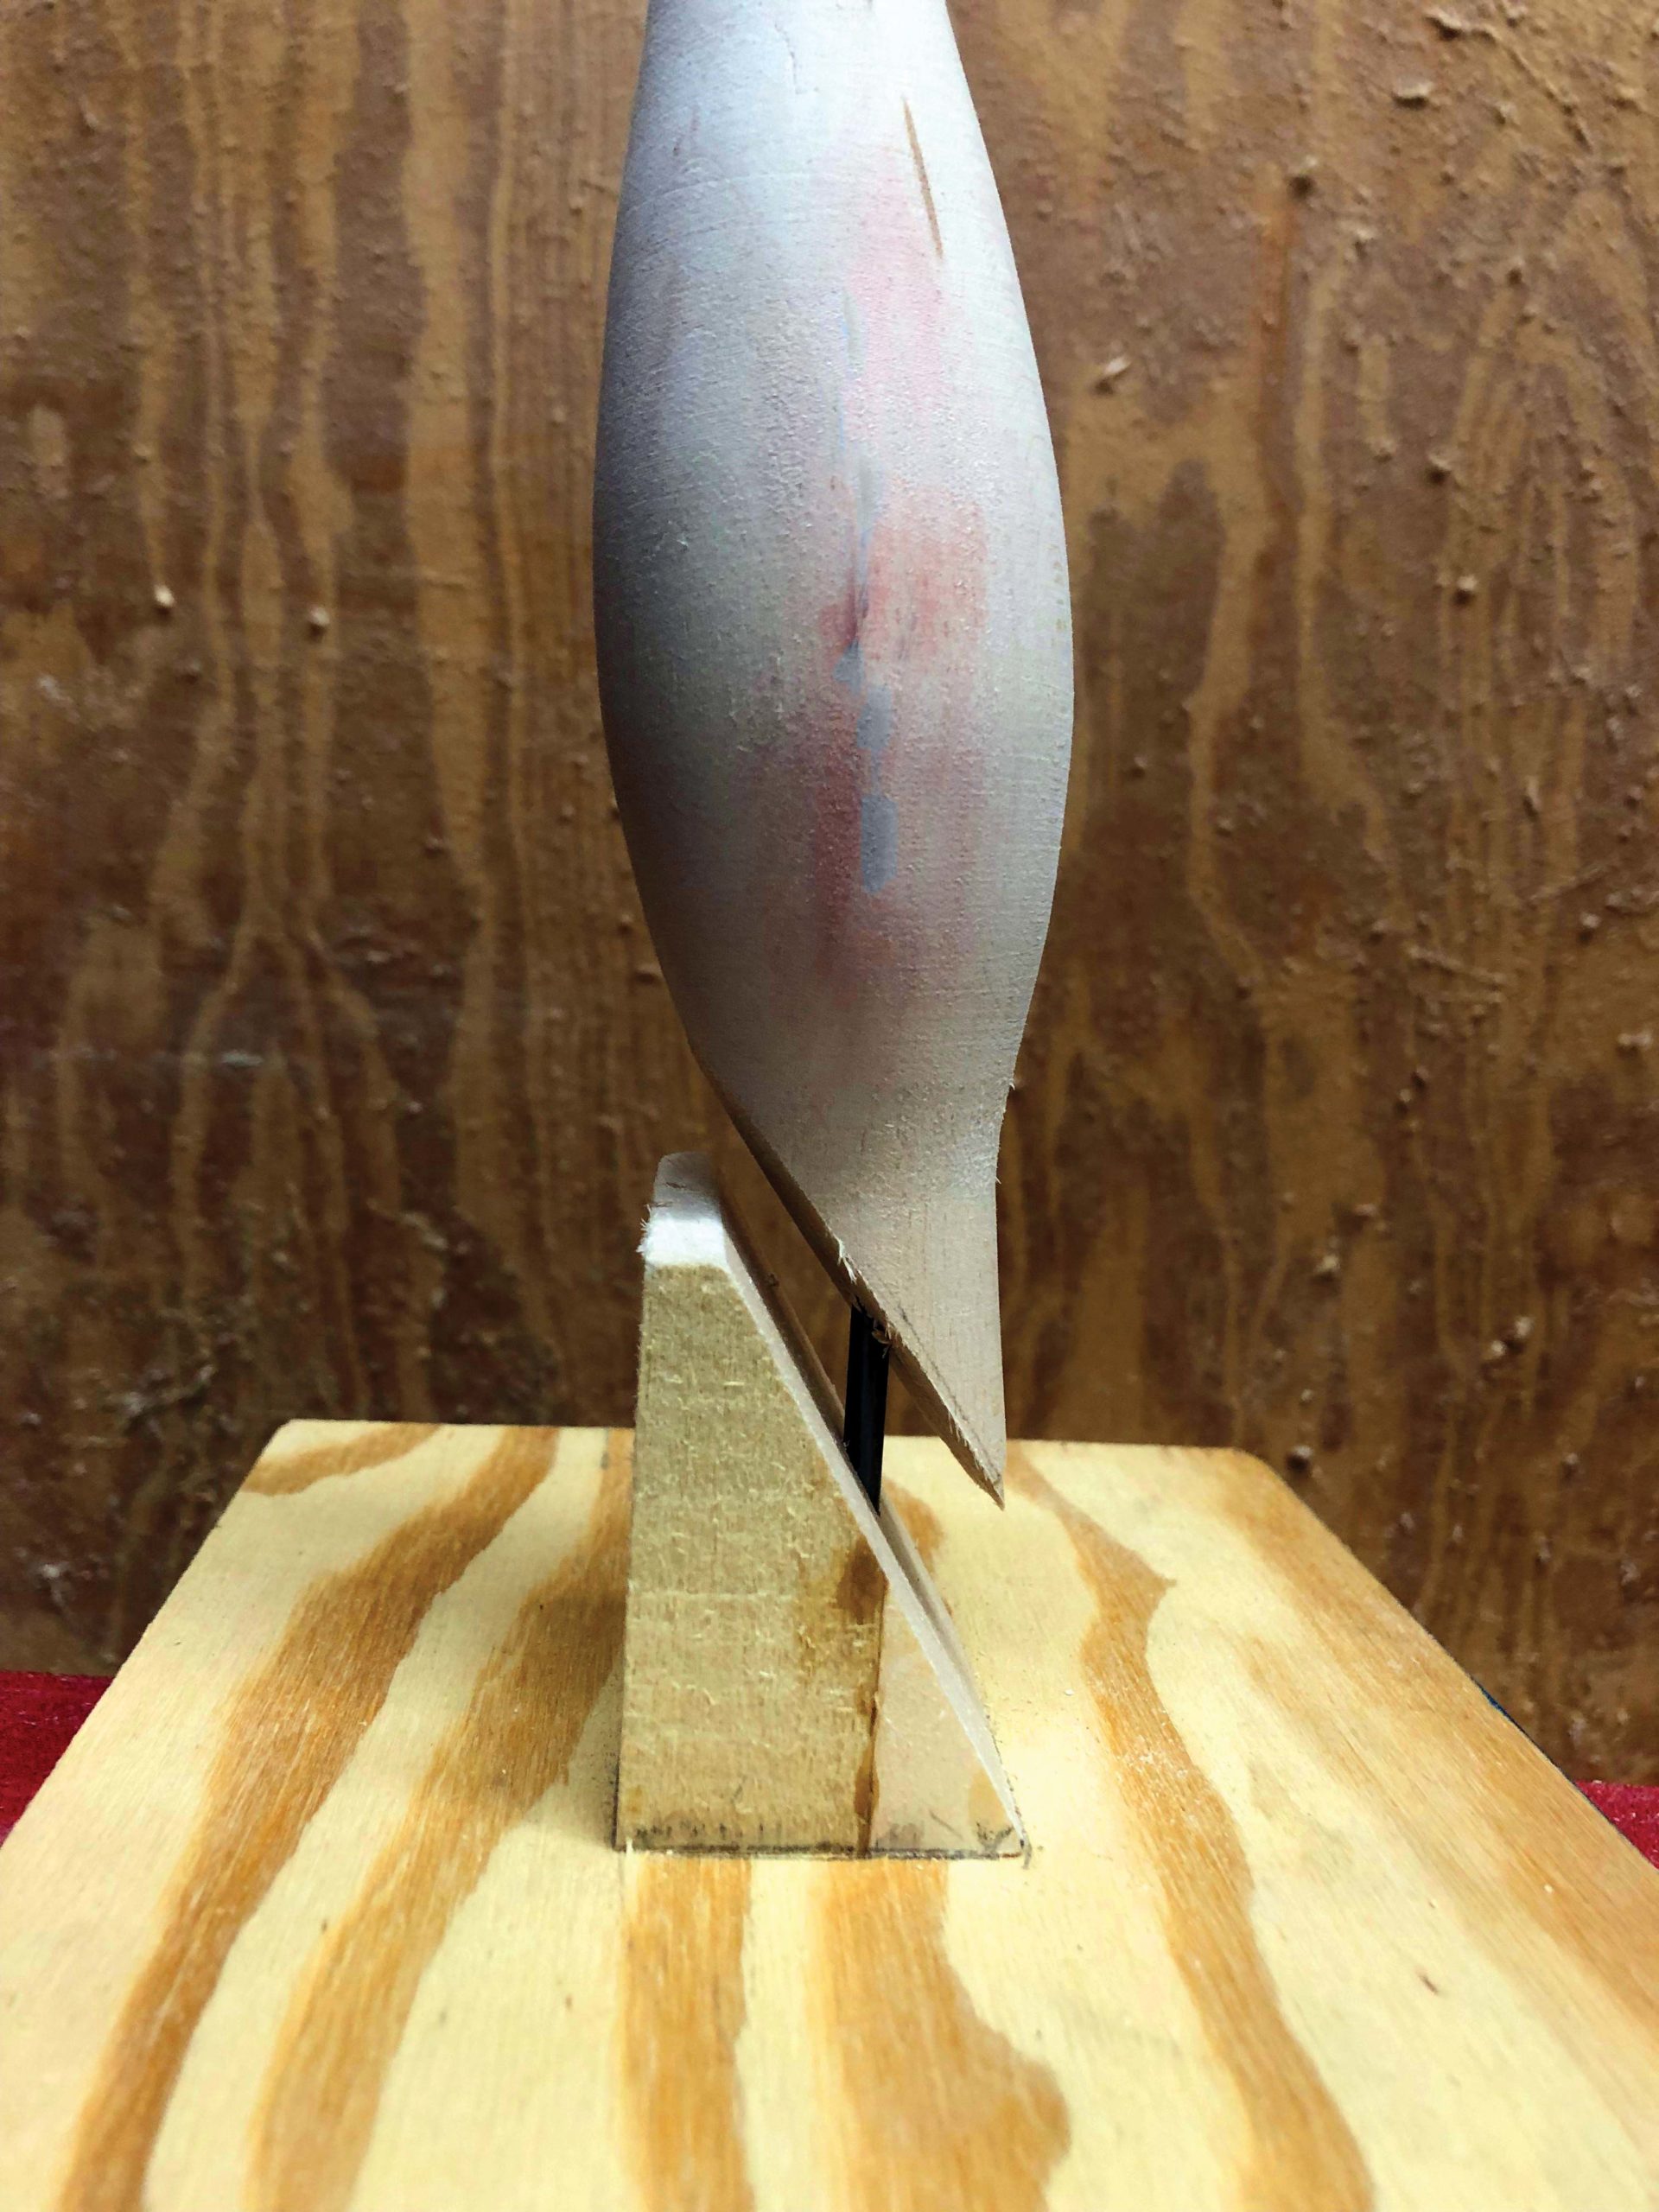
So how the heck are we going to anchor this thing to drill this hole safely and accurately? Well, we have to make a purpose-built tool. If you had any scrap left over from the turning squares, take a piece, thru-drill it, and cut it at the same 40-degree angle. If you didn’t have any scrap, you can drill and cut a piece of scrap 2×4 and get the same result. Now screw that down to a small piece of plywood (maybe 6×6). In the hole where your thru-drilled it, tap in an old 5/32-inch drill bit or piece of 5/32 round stock so that it protrudes about an inch. Take your Nike body and slide the thru-wire hole over the ‘pin’ and meet the angles flush—if you’ve done it right, you’re plug should be standing up straight and tall.
Clamp the jig to your drill press table and, using a 11/32 -inch drill bit, drill a centered hole, along the thru-wire hole, a hair over 1 inch deep. At this point you should have something that looks like the diagram in your hands. Give the whole thing a once-over with some fine sandpaper, taking down all the rough edges and then give it a bath in your sealer, let it dry and spray it down with a coat of primer.
When in Rome…
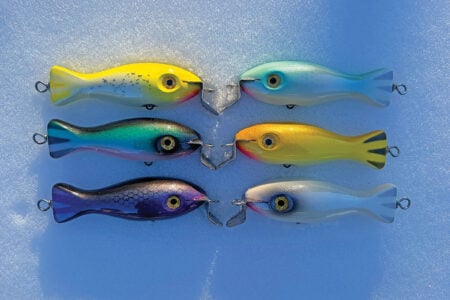
“Do as the Romans do,” as the saying goes. Floyd’s colors were simple and fishy; I’ve never seen one with eyes or scales. He painted them in colors like blue/silver, brown/gold, squid, white, green/white and, my personal favorite, ‘grey night’ which is basically deep gray with a black back. He also made them in a color he called ‘flame red’ that appears to be a metallic gold or bronze painted over a bright red. You’ll see that I did my version of the ‘grey night’ with a few other fishy selections as well. You can get as crazy as you want to. When your paint has thoroughly dried, give your Nike a coat or two of your preferred clear finish and assemble.
For assembly you’ll need 12-inch thru-wires, Krok swivels in sizes 1 and 3, nose grommets, large tail grommets, .39-ounce tailweights from NJTackle, 4/0 treble hooks, Owner split rings and a flag. You may find that the size 1 swivel is too short for the forward belly hook, in this case add a #5 Owner Ultra Wire split ring and thread your thru-wire through that. Add a nose grommet to the wire before sending it through, thread the loops of your #1 and #3 swivels on the way by, thread that tailweight over the wire, slide a tail grommet over the weight and wrap a nice tight loop. Add the flag on the tail and attach your hooks, I like the look of cut hooks on this plug, but you can use split rings if you’d like.
This is how the master made his, I plan to tinker around with some different weight configurations, because I’m a glutton for punishment, but you’ll see that this plug casts very well and comes in with a pretty unique sashay and shimmy. I would liken it to a slightly more fluid darter that can get deep in current.
When I look at this plug, I see the fruits of wild inspiration, from a mind that saw a very unique way to achieve his desired result. I’ve marveled at this plug for years, and I’m happy that I finally found time to tackle it. I hope you will enjoy this year’s final build. See you next winter!