The author provides a thorough and detailed guide covering all you need to know before moving ahead with a repowering project.
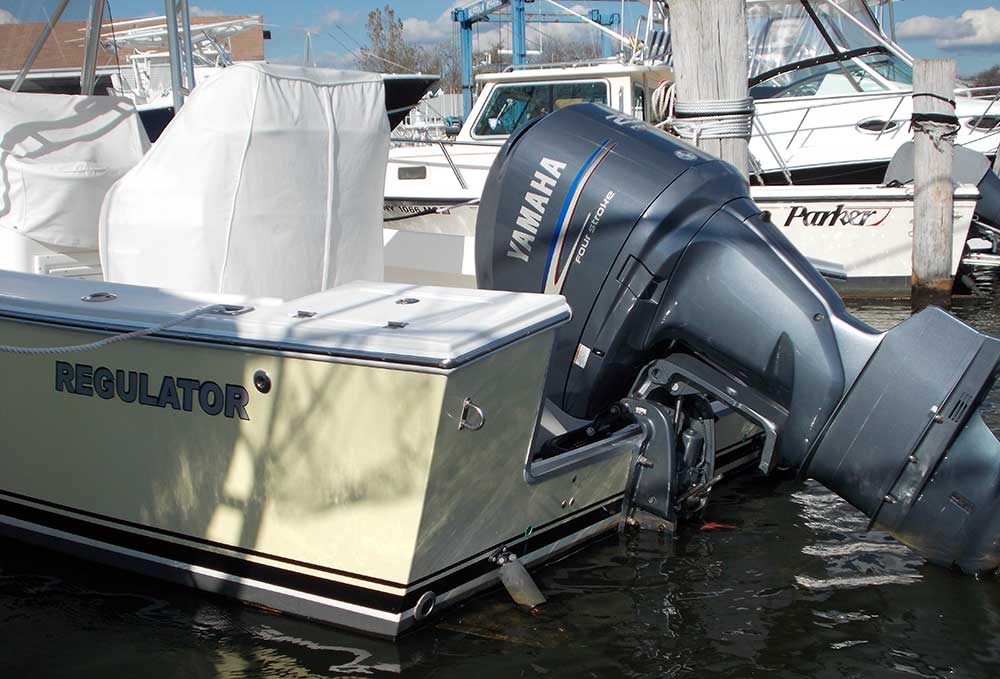
As many of you might have gleaned from reading my boat and motor review articles for the past four decades, if you don’t have the budget to purchase a new boat, the best alternative is to look for a quality boat brand that’s four to seven years old. If you can find one with potentially tired outboards that are coming off or just past their warranty period, you can likely negotiate a good deal on the boat’s final asking price and then consider purchasing fresh power to replicate the “almost new” boating experience, but at a fraction of the cost. Plus you can get a fresh five- to seven-year warranty on the new engines, protecting your investment and limiting any future unplanned “surprise” out-of-pocket costs.
Personally, I have been involved with a total of 17 outboard repowering projects since the late 1980s, and I am currently managing number 18 as you read this. Having experienced both a number of smooth sailing and unplanned disastrous moments during the course of these repowering projects, I should have enough real world guidelines to create this repowering guideline from memory. When Fisherman readers reach out to me about the art and science of repowering, I usually suggest that they sit down and ask themselves some tough and thought-provoking questions, many of which are detailed in the following paragraphs.
However, to make this outboard repowering guide as informative as possible, I took the added step of reaching out to three of my local Long Island dealers who collectively manage over 100 repowering projects each season, just to get some truly professional advice. Special thanks to the good folks at Albertson Marine in Southold, Spellman’s Marine in Hampton Bays and Suffolk Marine in Babylon for sharing their expertise. They had plenty of great advice, so let’s get right into it.
Is Your Boat a Candidate for Repowering?
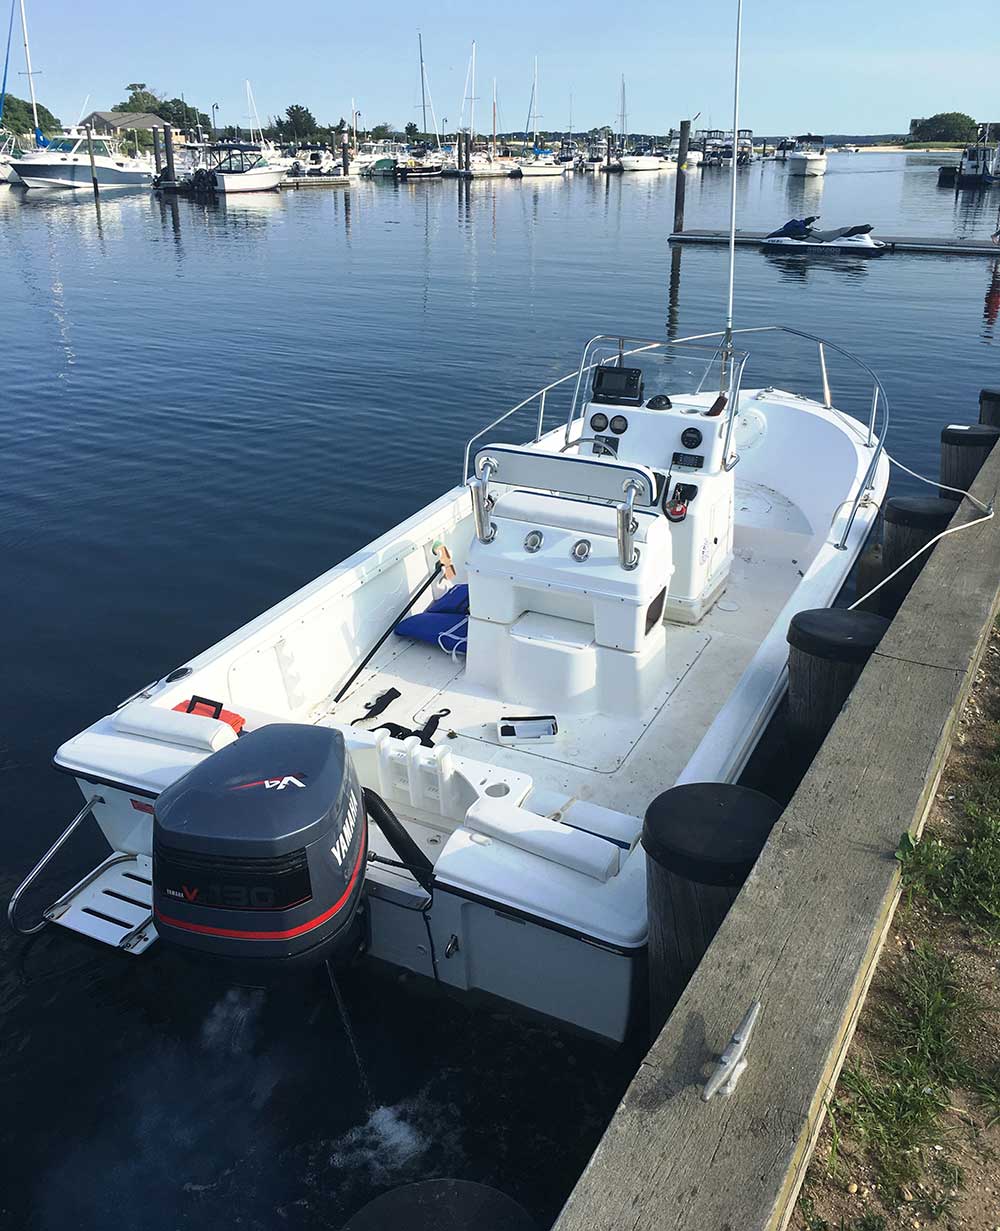
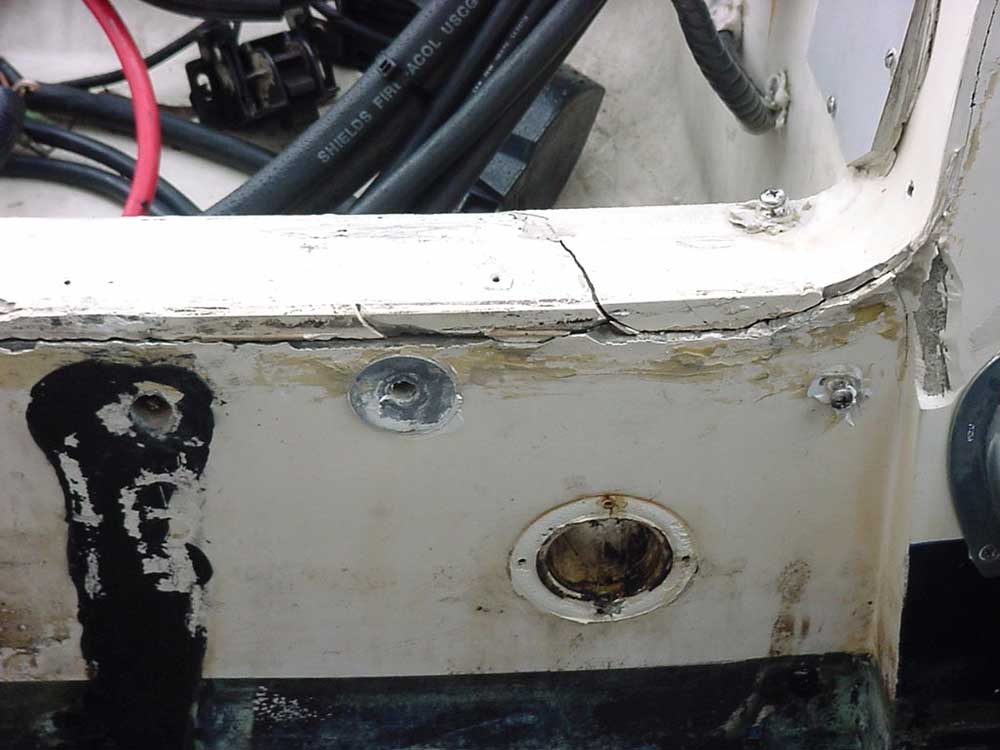
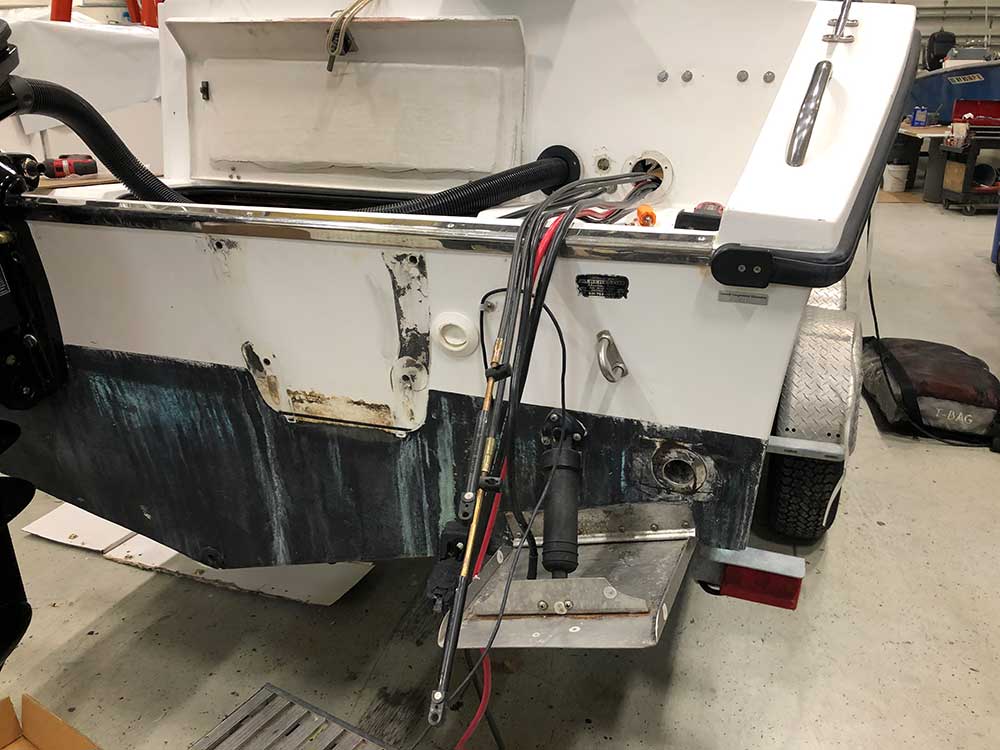
This is the big question that will determine the success or failure of your potential repowering project. As you ponder the final answer, be advised that this generic question can be broken down into a number of smaller queries. Many older boats are eliminated by a number of different factors when considering repowering, specifically: How old is the boat? What is the current physical state of the transom? (Are there any soft spots, water intrusion issues or rot?) What is the physical state of the rest of the hull and deck? What is the transom weight limitation of the powerplant? Where are the boat’s scupper locations when wet with the current engine and where might they be with the new powerplant? What is the horsepower limitation of the transom, as detailed on the boat’s safety/capacity label? Once you generate some real world answers to these questions and analyze the data, you will be in a much better position to determine if your planned repowering project is a go or no-go.
Basic Boating Equipment Compatibility Checklist
Once you have determined that it’s time to take the next step in the repowering process, be advised that the rest of the boat’s mechanical systems need to be in good working order before you continue. If not, you might have to replace certain systems like the mechanical throttle and shift cables; the control box; the steering system, which includes items like the helm, mechanical steering cable, hydraulic cylinder, hydraulic hoses and fittings, plus the steering helm itself and/or the steering wheel. Putting a new engine on the transom and using 15-year-old cables and an archaic steering system to control it is akin to putting old tires on a new car – it just doesn’t make any sense.
If you have an old single or dual cable steering system, you might want to upgrade to a hydraulic, tilting-helm unit. If you have an existing hydraulic helm unit, is your current cylinder compatible with the new engine? If not, that’s an added expense for the parts and labor that will increase your overall project cost. What about power steering, to assist your hydraulic steering unit? You’ll need to find a place to put this, plus that’s yet another added cost item. You get the picture, it’s wise to plan ahead to keep project surprises and cost over-runs to a minimum.
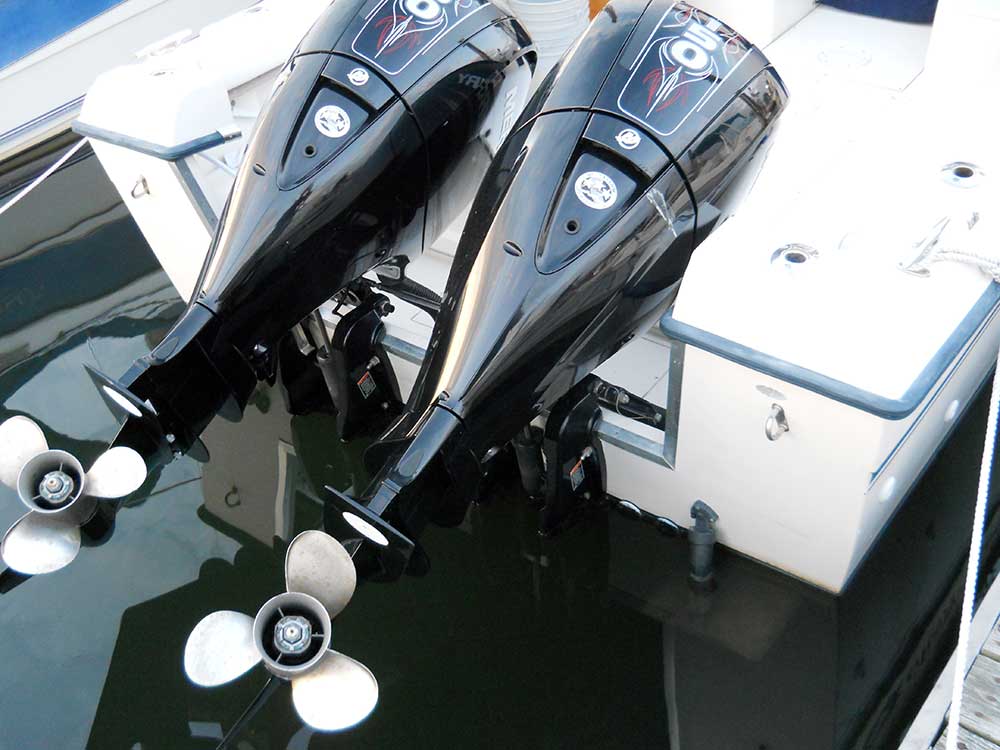
Yet another area of concern is your boat props. Depending on brand, gear ratios, material (S/S or aluminum), number of blades and the condition of what you currently have, you may or may not be able to use your existing propeller(s) on the new outboard. New stainless steel props are not cheap and will cost you anywhere in the $550-$750 range per unit, depending on the manufacturer. One of the things I like about Merc props is that you can run them on every brand of outboard with the right hub kit. They also feature a removable polymer FloTorque II hub design that ruptures on impact with anything solid (saving your prop blades) and can be easily changed in the field with a few basic tools in five minutes or less. I have a half dozen different Merc props that I use for my boat performance tests and they are all ready and anxiously waiting in the wings to spin their magic on my new 250 V8 to help me max out its performance.
Do Your Batteries Have Enough Juice?
While it’s always a good idea to refresh your batteries when repowering your outboard(s) – remember that “old tires on a new car” analogy – your new engine might actually require something with added 12-volt capacity. This is especially true if you are going from a mechanical engine to a digital version, like I am doing with my current project of upgrading my 2006 EdgeWater 228cc to a Mercury 250 DTS (digital throttle & shift) V8 four-stroke. It’s important that you read the operations and installation manuals PRIOR to making any final decisions on battery replacement, to ensure that whatever it is you are getting, it meets and exceeds the standards that the new engine requires. Current engines require more juice for running their onboard computers and sensors, digital fuel injection and digital network systems, among other requirements, so be advised.
As a case in point, my EdgeWater 228cc’s current source of 12-volt power is delivered by a pair of Interstate “wet” Series-27 dual purpose cranking/deep cycle marine batteries, with 750 marine cranking amps and a minimum reserve capacity of 160 minutes at 25 amps. In contrast, according to my owner’s manual, my new 2020 Mercury 250 V8 FourStroke requires an AGM (absorbed glass mat) “dry” battery that is rated for 800 marine cranking amps and a minimum reserve capacity of 135 minutes at 25 amps. Bottom line, I am probably going to have to upgrade my batteries to the dry AGM type and might have to go with a slightly larger 31-series battery to get this done. It’s always better to have a little more juice than a little less. This is especially true when you are starting up your big outboard 30 to 40 miles offshore, after a day of wreck hunting or shark fishing and working your big screen electronics for most of the day. There is no sound quite like the outboard engine coughing to life when it’s time to head for home.
Is Your Fuel System Up to the Task?
It’s always a good idea to check all of the components in your fuel system when entertaining a repower project. These include the fuel lines from the tank to the fuel filter, the lines from the fuel filter to the engine, the vent lines, the fuel fill lines going to the tank from the deck fuel fill hardware, the seal on the fuel fill cap and most importantly, the fuel tank itself. It’s a general rule that an aluminum fuel tank will last approximately 20 years in the harsh marine environment. Nowadays, the next gen fuel tanks are either coal tar coated, painted with an epoxy primer, or manufactured from gasoline-resistant polymer, extending their useful lives out on the briny. But if your boat is more than five years old, there’s a good chance that it was made from anodized aluminum. My 1999 EdgeWater 185cc’s tank was fine, with no leaks. But if I had to change it tomorrow, the boat features a recessed gas tank hatch that can be removed to access the tank. That modular concept is still practiced by some top tier boat builders, but that number is dwindling with every passing model year. Why? It’s more work to build, fit, assemble and seal different fiberglass components compared to just making one part. But the problem is, once the tank goes bad, and it’s tucked below a one-piece fiberglass sole, you’ll have to take an electric saw to your cockpit and cut it out to pull the tank, creating a big mess and necessitating some expensive fiberglass repairs afterwards. I upgraded all of my critical fuel lines and installed a stainless steel framed fuel filter when I purchased my EdgeWater 228cc five years ago, so that should be one less thing to worry about when my dealer installs the new Merc 250 in the coming weeks.
How’s Your Boat Wiring?
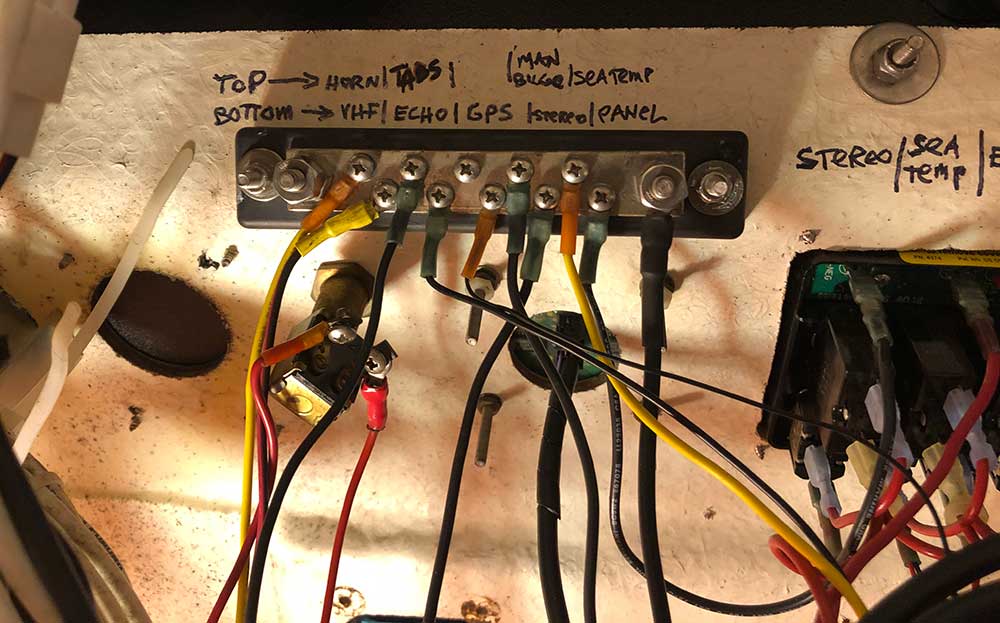
Both of my current EdgeWaters were a tale of two disparate worlds. The original factory wiring was harnessed, loomed and color-coded, with a detailed explanation of each wire’s function and destination point in the boat operator’s manual. This was not the case for all of the accessories that both of the original owners had added on after the fact. I wound up ripping out all of the aftermarket wiring, keeping the original EdgeWater wiring runs intact, but also added new Blue Sea 12-volt circuit breaker accessary panels that drive all of my critical electronics. I wasn’t thrilled with the original panels, which are now 21 and 14 years old respectively and at some point in the next year, will probably replace the existing accessory panels and breakers with completely new equipment. There are a number of vendors that will replicate your original panels, complete with function descriptions and boat brand logos, but more on that in a later article.
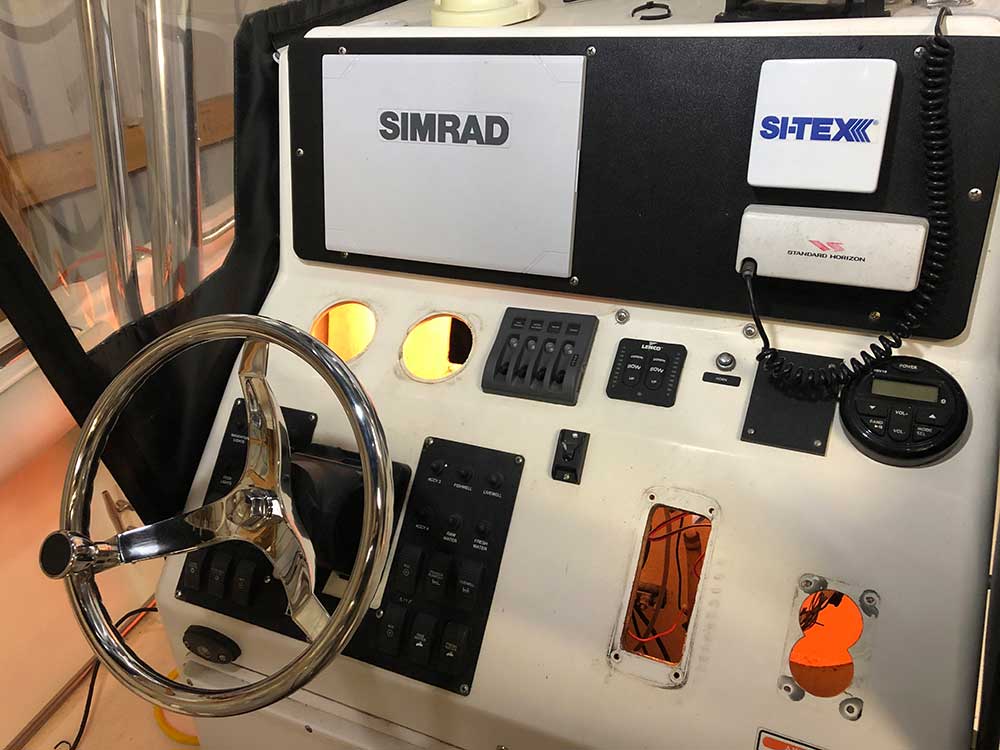
I am installing a new 6-gang Blue Sea Weatherdeck accessory panel on my EdgeWater 228cc to replace the 4-gang panel I installed on the boat when I bought her back in 2015. This panel will control my Simrad GO12 MFD, a Si-Tex Sea Temp Gauge, a Standard Horizon VHF, a ProSpec sound system, my new Mercury VesselView engine info gauge, plus a Furuno RD-33 GPS navigator. All of my super-critical info is on a new, high-quality circuit breaker panel that I will wire and route myself. The benefit of this is that if something goes wrong with my electronics offshore, I’m the one who installed it, rigged it and knows where each wire goes and what it does. Many of the professionals that I interviewed for this article recommended to leave the engine wiring sacrosanct and not tap anything electrically off of the gauges or the key switch. If you need additional wiring hookups for accessories or networks, install a dedicated power bus or attach it to a clean breaker position on an existing accessory panel.
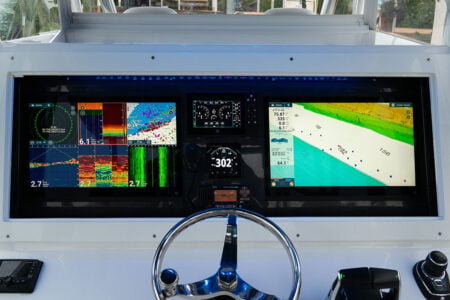
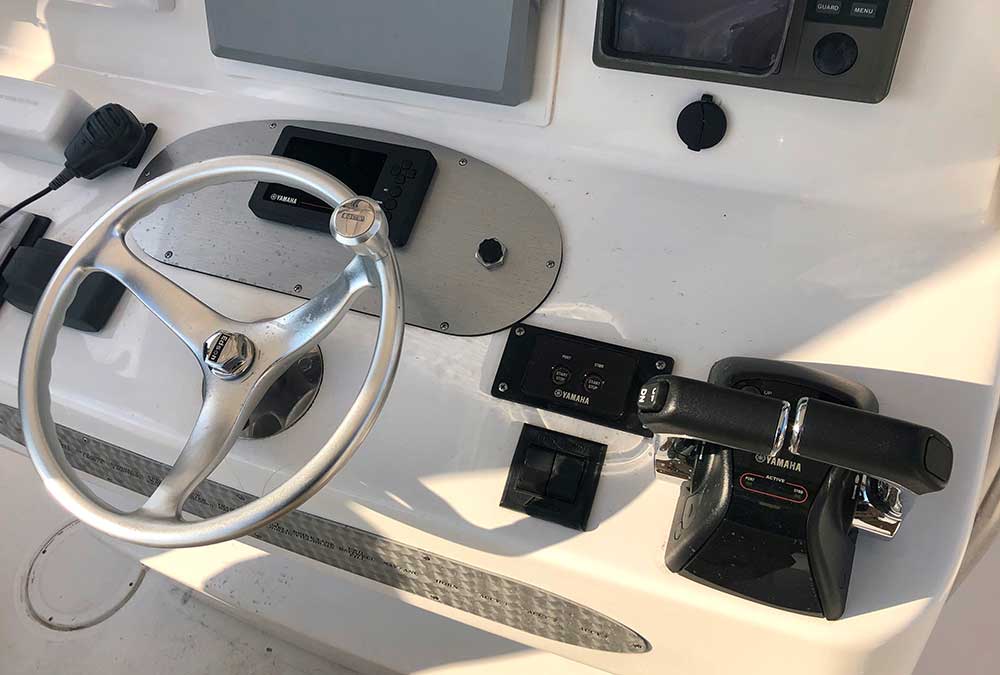
Analog Engine Information in a Digital World
One of the upgrades you will need to consider when repowering is what to do with your existing engine support gauges? Twin, triple and quad engine setups used to require at least a pair of instruments for each engine, but no longer. Yamaha introduced their series of keypad 6-inch and touchscreen 7-inch multi-function displays that totally solved this problem, concentrating all of this electronic info into one or two gauges and freeing up a significant amount of dash space. Their Command Link Plus series now takes networked NEMA2000 info and shares it with every MFD that is connected to the electronic trunk. I am losing two 3-3/8-inch gauges from my 228 EdgeWater’s old Yamaha F225’s instrument array (tach and speedo) and replacing them with a single 5-inch VesselView gauge (They also currently offer 7-inch, 9-inch and 12-inch displays.) from Mercury for the new 250 DTS (digital throttle & shift) V8 outboard that is in the process of getting rigged as you read this. This allowed me to install a larger accessory panel and consolidate a bunch of the vessel wiring into the new network. It also enables me to display some of that engine data on my GO12’s screen via the network if I so desire. The bottom line is this. If you are going from a mechanical/analog engine to a more current mechanical engine, you might be able to use some of the old gauges and you might not. If you need digital info, the gauges will need to be changed. If you are evolving from a mechanical engine to an electric/digital platform, the gauges will probably need to be replaced by a multi-function display. You will also need to install a new throttle control box (with additional wiring harnesses required) and a key switch, add a NEMA2000 network, along with a few other system links that will allow seamless communications between all of these different parts. Translated – be sure to add the cost of these extra items to your repowering budget, plus the labor to install them.
How Long Does It Take?
This is one of the “magic” questions of the repowering process, since ultimately, the amount of time that the dealer/installer spends on your engine replacement will be multiplied by an hourly rate that will be in the $125-$150/hour range, depending on where you call home. When trying to prognosticate the amount of time it takes to derig and install a new outboard engine, one of the dealers that I spoke with had a simple rule. One eight-hour day to take the old engine and wiring off, one day to install the new engine and one day out on the water to break it in and test it out with a variety of props. That’s 24 hours of time. Another dealer mentioned that if a boat owner was going from a mechanical engine from brand A to a newer mechanical model from the same manufacturer, this process could probably be done in half that time, typically 10 to 12 hours. If the boat owner were to go from a mechanical engine to a digital engine from the same manufacturer, the timeframe increases to the 15-
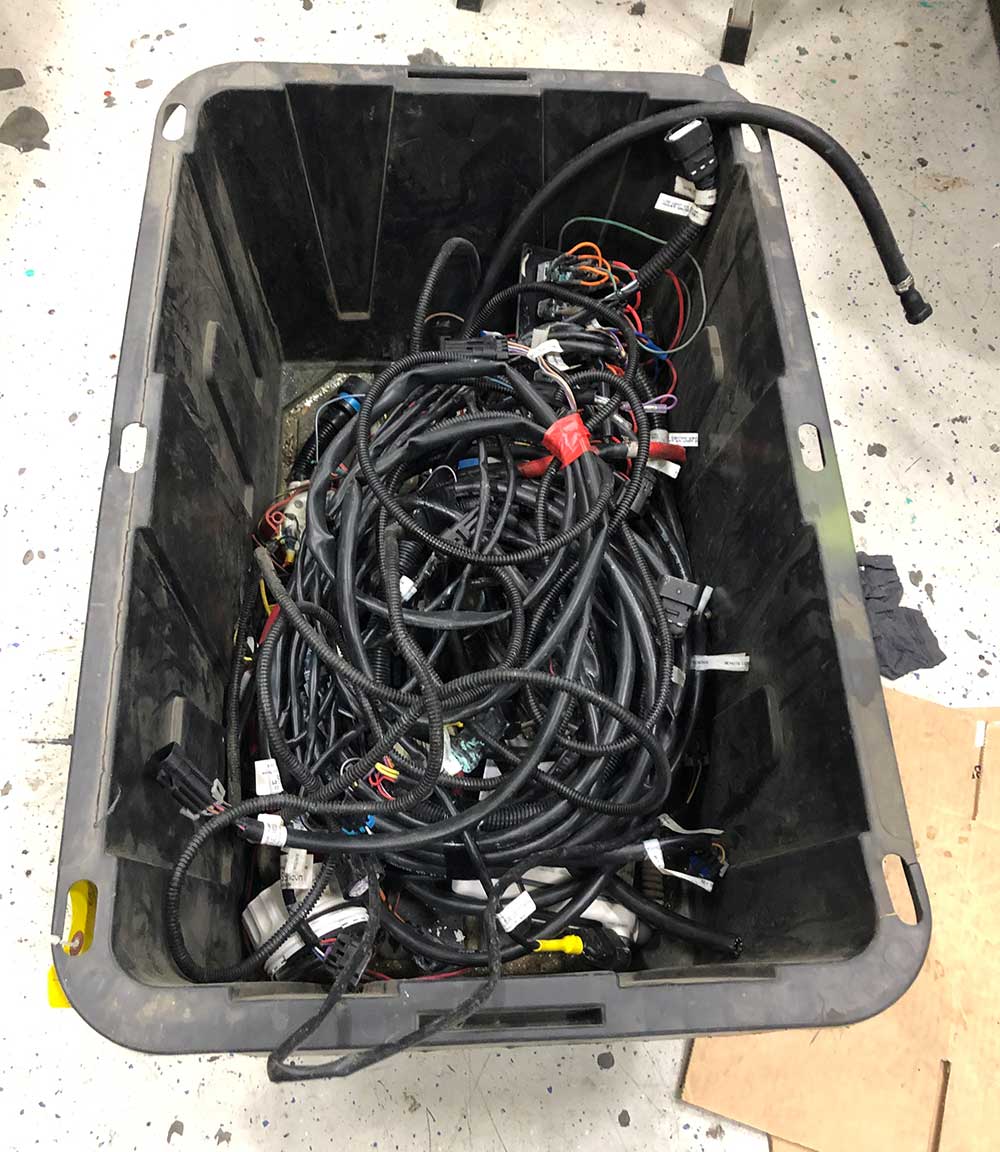
to 20-hour benchmark, due to the deletion and addition of a greater amount of accessory gear (electric control box and key switch, networks, new gauges, etc.). If you’re going from brand X to brand Y in your engine swap-out, you’ll probably have to add four to five hours of extra time to every one of these scenarios. Predictably, twin, triple and quad engine installations add more time to the process. You really need to get a good handle on the labor/installation end of the project to be able to predict the true bottom line cost.
There’s a good chance that your engines are worth something on the used market, especially if they are in good running condition. I was able to sell my used Yamaha F225 outboard that was original equipment on my EW 228cc in only a few days. Same was true for repurposing the Yamaha S130 two-stroke that was on the EW 185cc. When it comes to derigging your boat prior to installing a new outboard, anything that you can do yourself will save dealer rigging time and money. Be advised that some of the new gear might not fit in the old holes, which will require field modifications by either yourself or your installer/dealer, once again adding to the bottom line project cost.
Some Final Thoughts
If there’s anything that I’ve learned with the events that my family has endured over the past few years, it’s that life is short and things can change in the blink of an eye. One of my wife’s favorite expressions is, “eat the cake, buy the shoes, and go on that vacation.” It is precisely this logic that compelled me to get that new Merc digital 250 V8 for my 14-year-old EdgeWater 228cc. I’ll let you know how it all works out, but I am ready to get her wet and catch some fish this season! If you have any engine repowering questions, reach out to me at capt.john@att.net.