Winter in New England for most of us is a time meant for labor. Those needing to further their education delve into literature in their prospective fields, building knowledge and monetary earning potential. Others who have already put their time in and are retired, or working towards it, may use winter as a time to prepare for the next fishing season. One simple project of which I have used multiple times, often coinciding with my moves from one home to another throughout my life, is a fishing rod rack. My design has evolved over the years, and what follows is the most current incarnation for mounting on a ceiling or wall.
Ceiling-Mounted Rack
STEP 1: Determine location of the rod rack and measure the width of space to be filled. Cut two pieces of wood to this length. If possible, make sure that the ends line up with a ceiling joist or other mounting area of which to secure the anchors.
STEP 2: Cut vacuum/PVC pipe to desired length; 4-5 inches works well, but judge for yourself and your specific needs.
STEP 3: Drill a 3/8-inch hole in the center of each piece of pipe on one side.
STEP 4: On one of your lengths of wood mark were you would like to mount the tubes, leaving space on each end of the wood for the mounting screw that will secure the rack to your ceiling. If the tubes are spaced tightly together, it might be difficult to store rods with the reel attached. If storing rods without the reels, then the tubes can be set closer together. (Photo 1)
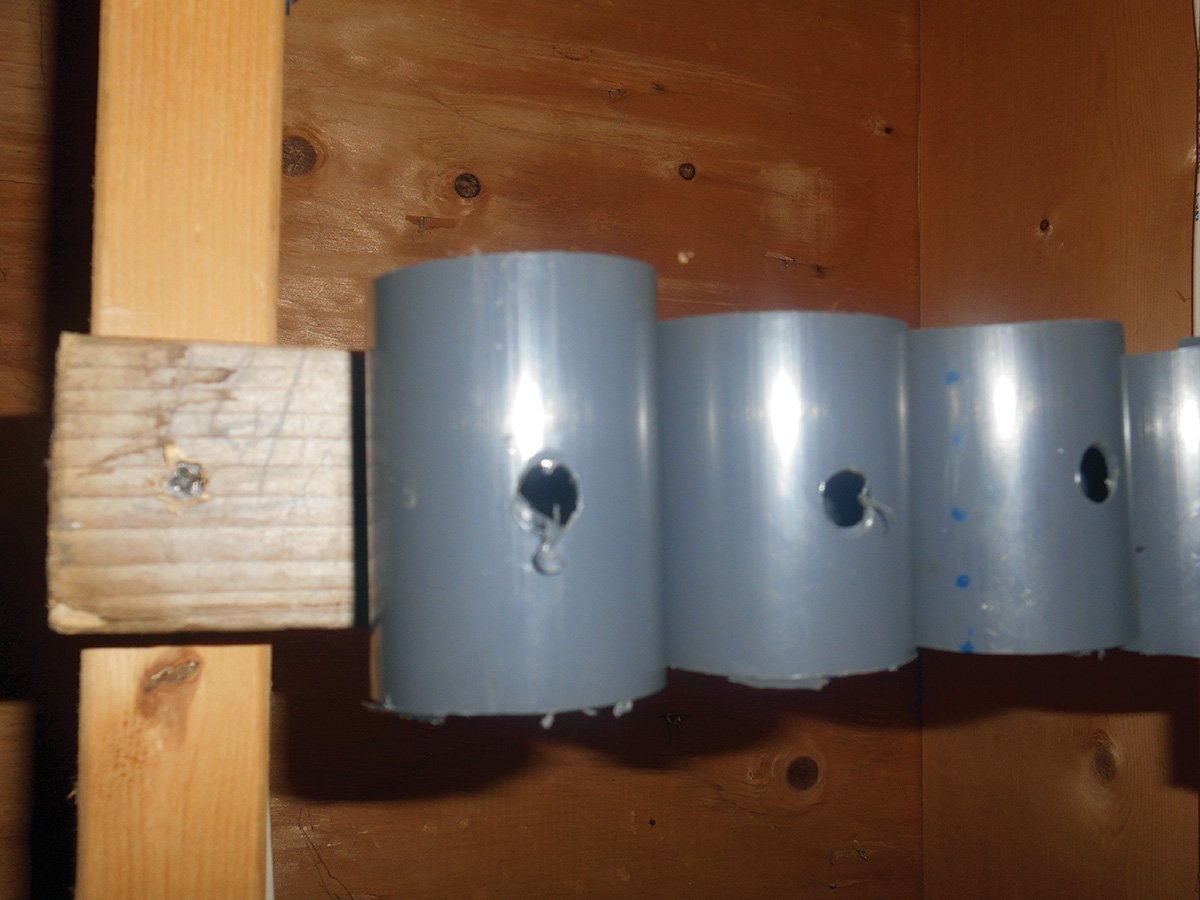
STEP 5: Using a magnetic Philips head on a drill gun, place the bit and screw through the pre-drilled hole and drill screws through the other end of the tube and into the wood. Repeat for all the tubes.
STEP 6: Secure the rack to your ceiling with 3- to 4-inch screws. Mounting holes should be pre-drilled with a slightly smaller bit to avoid splitting wood.
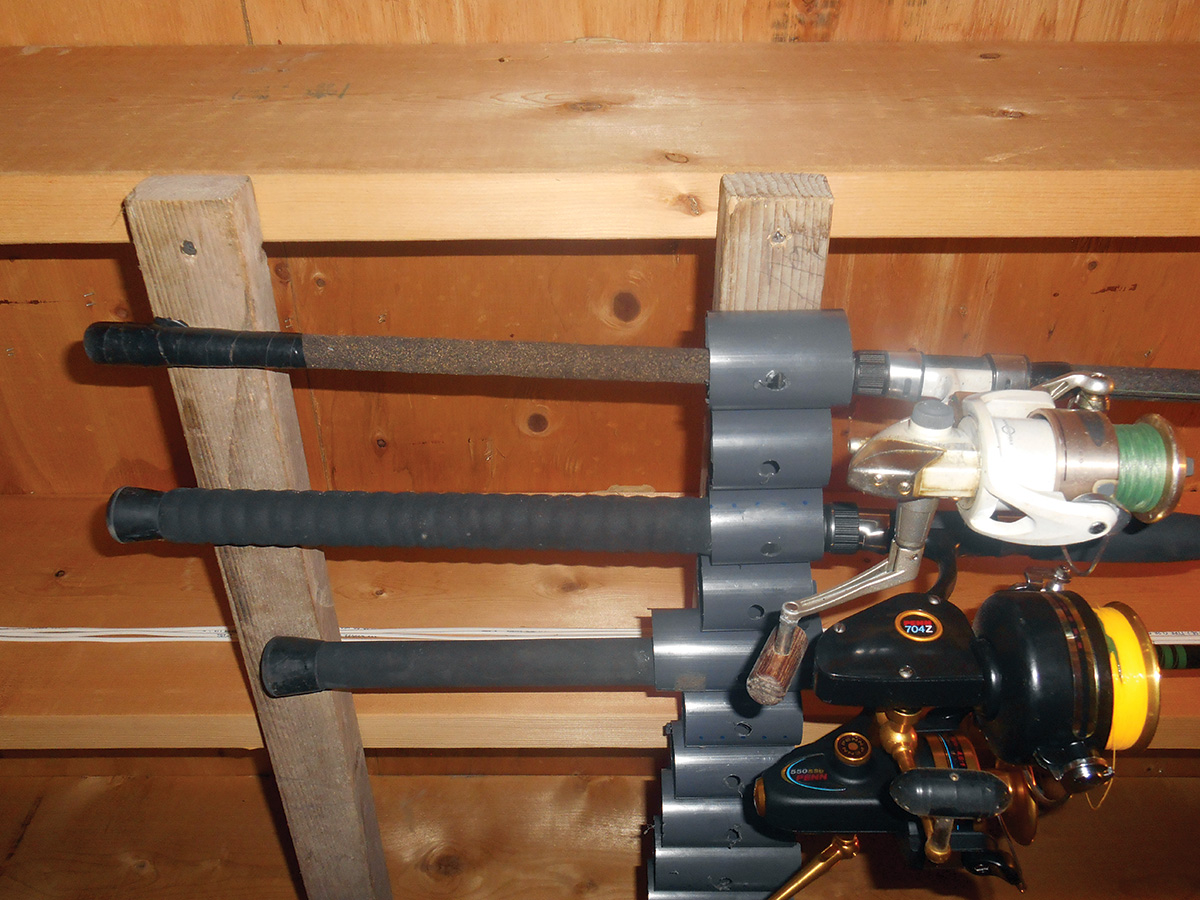
STEP 7: Place a rod in the rack and determine where to mount the second piece of wood, which will act as a rod butt support. Be mindful that all rods do not have similar length butts so find a spot that will accommodate all your rods. The further away you put the butt support and the higher it sits, the greater the impact it will have on raising your rod tips. (Photo 2)
Wall-Mounted Rack
STEP 1: Determine location of the rod rack and measure the space to be filled. Cut two pieces of wood to this length.
STEP 2: Place the two pieces of wood side-by-side and make a mark 6 inches from each end. These will be the location of the top and bottom rods. In-between the two marks, determine how far apart you would like each rod and reel combo to be and measure and mark equally on both pieces of wood.
STEP 3: Drill 1/2- to 1-inch deep holes in both pieces of wood at your marks, making sure they are straight, and the holes are slightly smaller than the nail diameter you are planning to use.
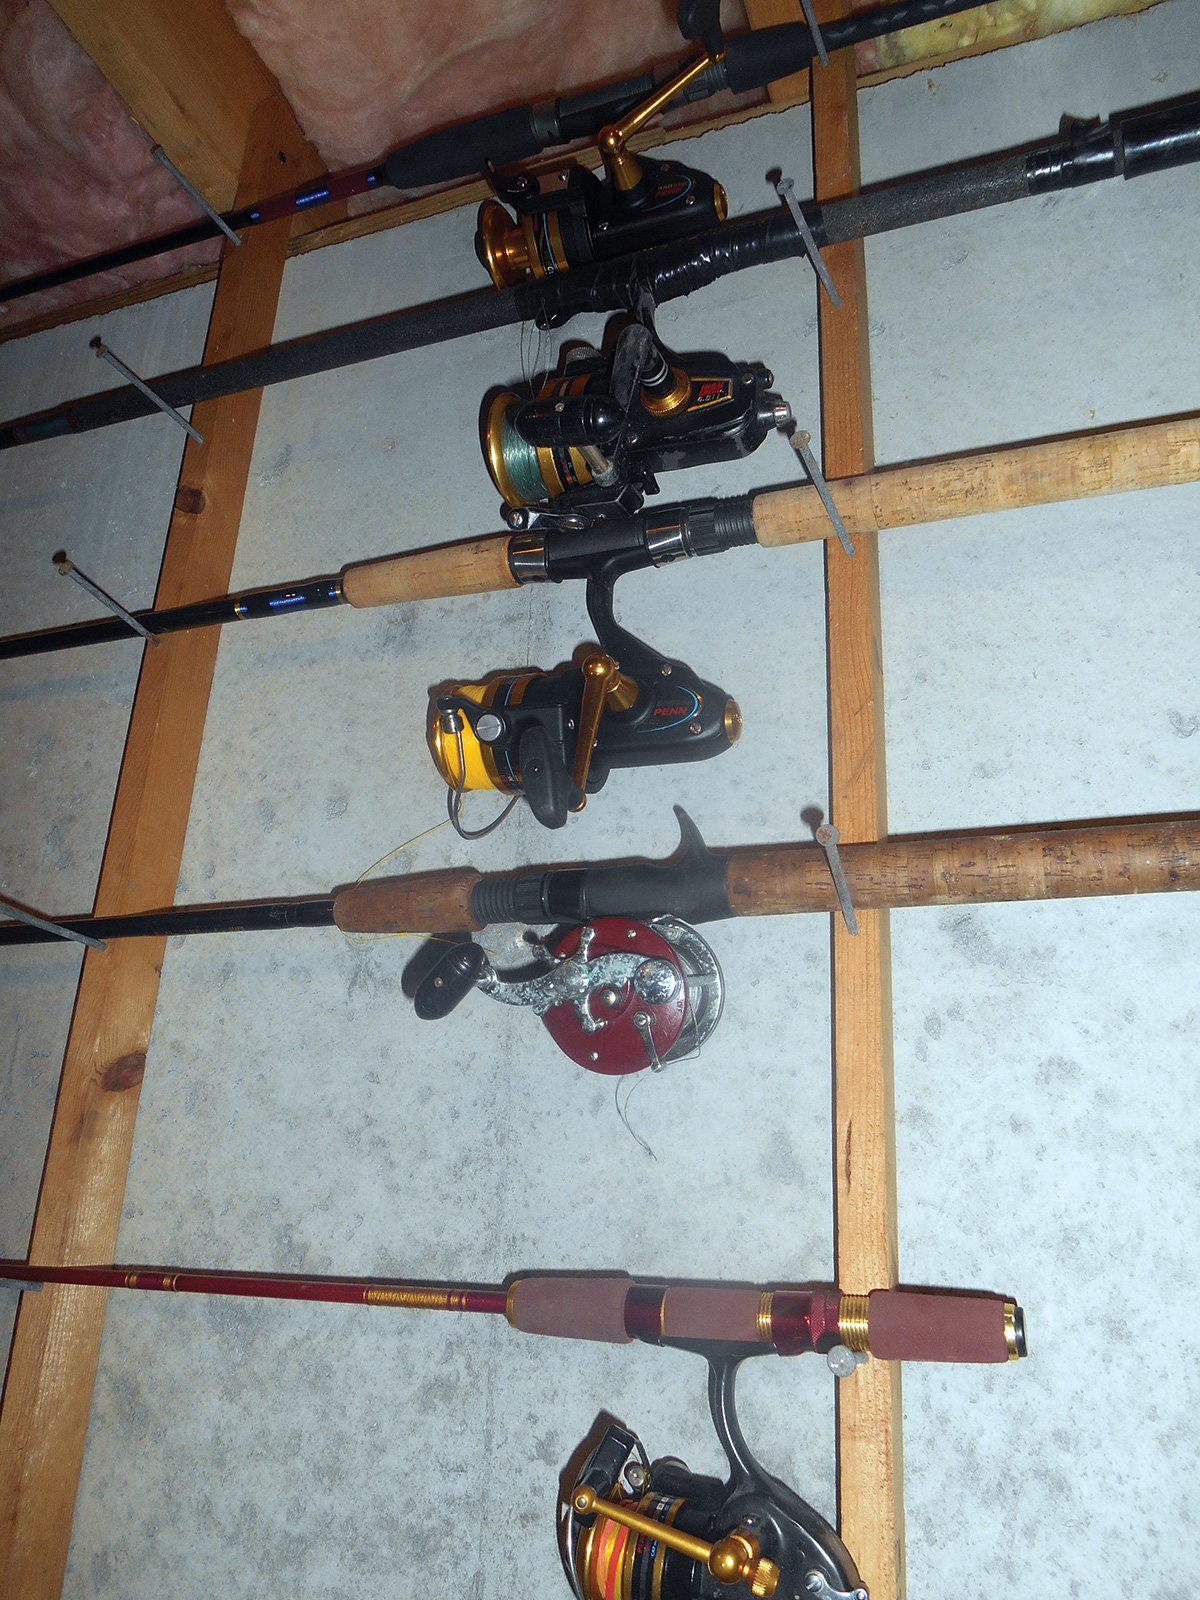
STEP 4: Drive nails into the pre-drilled holes with a hammer so they are level, tight, and firm, but not driven in so that they split the wood. The nails will be your rod holders; you can use screws but I like nails because I prefer a smooth surface for the rods to rest on.
STEP 5: Secure the rack to your wall with 3- to 4-inch screws. Mounting holes should be pre-drilled with a slightly smaller bit to avoid splitting wood.
Take my advice and get rid of the tangled mess that happens when you toss your rods in the corner of your garage or basement. Doing this will certainly reduce the potential of broken rods. Further you will definitively end some frustration and make the most of your fishing time by eliminating your efforts in finding the right rod for the job. Be productive this winter, and build a rod rack.
| SUPPLY LIST |
|---|
|