Helpful hack for adding a little extra handle to that special rod.
Do you have a rod in the arsenal with just the right amount of backbone and the ideal tip for targeting your favorite inshore species, yet the butt is just a little short? Maybe you broke off the cork handle of that favorite stick a couple of years ago and just haven’t gotten around to bringing it in for professional repair?
There are ample reasons why an angler might want to modify the butt end of a rod already in their arsenal, providing a little extra under-arm leverage for jigging monster tautog from the wreck, or maybe it’s modifying a few sticks in the quiver to incorporate EVA-style grips with an existing cork handle.
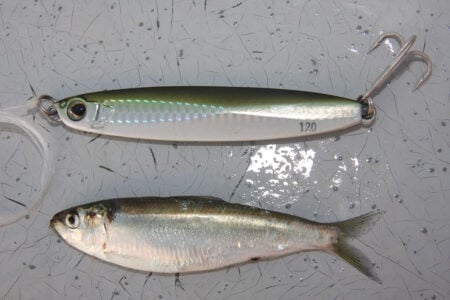
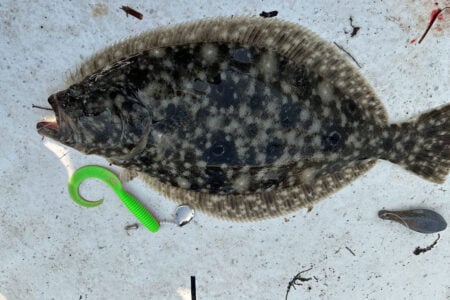
In two years of use with these butt extensions, I have caught bluefish, striped bass, doormat fluke, false albacore, and cow nosed rays, and have experienced zero failures in the extensions. The longer butt sections facilitate casting and provide greater leverage when pinned under my arm or against my forearm when battling a fish.
Materials
- One (1) 20-inch length of SharkBite 1/2-inch PEX (Poly plastic) pipe
- One (1) 20-inch length of SharkBite 3/4-inch PEX (Poly plastic) pipe
- Saw to cut pipes (Any saw will cut through these plastic pipes.)
- Two-part epoxy
- Utility knife razor blade
- 25mm shrink tubing
- Heat source (heat gun or hair dryer)
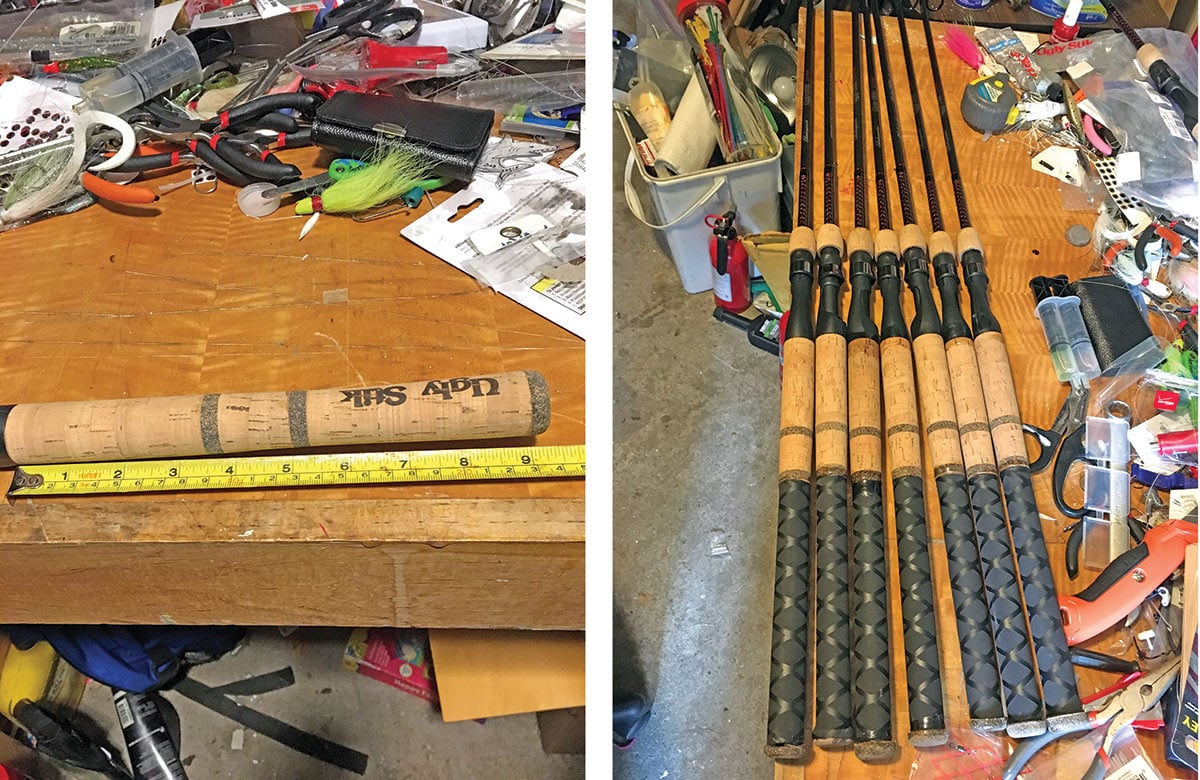
Step 1
Using the utility knife, cut vertical slices in the pre-existing cork grip (I never tried this with foam grips but I imagine the process would be the same.). Shave off at least the bottom 3 inches of cork and then shave off the residual epoxy glue from the blank until you are left with a clean blank. I shave off 3 inches and add a 7-inch section of pipe, essentially adding 4 inches to the butt section of my rods.

Step 2
Cut both pipes to the desired length of the extension plus the overlapped portion. For example, 7-inch pipe minus 3 inches of overlap of blank gives a 4-inch butt extension.
Step 3
Mix equal parts of the two part epoxy into a froth, then apply liberally to the exposed rod blank. Then, slip the 1/2-inch pipe section over the epoxy covered blank section. Next, apply a second coat of epoxy to the top of the 1/2-inch pipe and slip the 3/4-inch pipe section over it. Let this dry overnight.
Step 4
Cut the desired length of 25mm shrink tubing and slide it over the butt extension.
Step 5
Heat the shrink tubing with a heat gun or hair dryer, making sure to keep the heat moving in strokes across the tubing. Keeping the heat in one place for too long runs the risk of melting the plastic pipes and/or epoxy, underneath.
Step 6
Epoxy the butt cap, if there was one, back onto the bottom of the rod. Congratulations, you’re done!