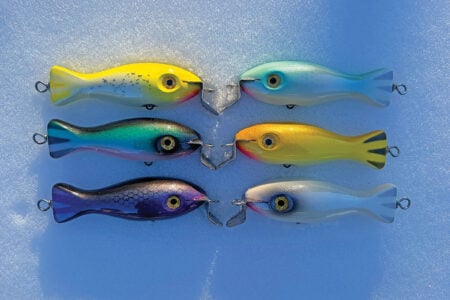
A concept lure made for musky that snuck into the striper world
Back in 2005 or 2006 I ordered an Ama Bama glidebait from a musky fishing website. I still have it somewhere, the big, almost banana-shaped plug arrived a few days later, sporting big bronzed hooks. I have to admit that I didn’t love this bait, it felt clunky in the water, and while it did glide under calm conditions, when current, or especially waves, were added to the equation, the big glide began to show a growing list of limitations. Ultimately, I deemed it not worth my time and it was never fed to a fish.
Looking back, that may have been a mistake given their popularity today, but, truth is truth. A few years later, I revisited the glidebait concept because of the success I was having with my Flat-Glide needlefish. I wanted to make a ‘fish-shaped’ version of that plug, my thought process being that I wanted to present a beefier, fishier profile with the same gliding action. Boy did I learn a lot in the process of perfecting that design.
Balance On Three Planes
There are a lot of forces at play when you throw a flat, fishy shape into the water and pull it by the nose. The first thing that happens is it wants to take the path of least resistance and roll over onto its side. To combat this, we need to add weight to the belly to force it to stand up straight in the water. But when are things ever that simple? Because the shape has a fat middle and narrow ends, the buoyancy of the shape starts to come into play, adding weight in the wrong places might stand the plug upright, but also pitch it forward or backwards which will dramatically alter the action.
My research has revealed that many freshwater gliders were designed to work in places where big surf and heavy current aren’t usually part of the equation. As a result, many freshwater gliders fall short in sloppy seas. I tend to make gliders that concentrate the wood mass and the weights up closer to the head, these have excellent traction in rough water and produce the type of action I like. A ‘head heavy’ shape moves the plug’s natural center of gravity (COG) forward of its measured center, this too helps with its tracking ability in unsettled water. From here I usually add a weight in the chin, hang the hooks off the plug and balance it on the edge of a ruler to find its new COG. Then I add identical weights in pairs, each the same distance – one forward and one behind – the marked COG. This is in an effort to maintain a level balance when adding weights. Sink-testing is the only way you’ll know for sure if you’ve got it right, and it is an important aspect of engineering a glide for a specific spot or situation—you can tailor the sink rate by adjusting the sizes of your weights.
The Effects Of Shape
One of the weapons plug builders have when engineering a glidebait is that they can tailor the shape to help it work under the conditions they desire. A more ‘cigar-shaped’ glide, for example, is likely to handle waves and current better—unless it’s made to sink at a painfully slow rate. Taller more ‘bunker-shaped’ glides are more likely to feature wider and sometimes wilder gliding action, it’s simply because of the amount of surface area that the water is glancing off of when the bait is retrieved or jerked.
But just like a metal lip swimmer, the COG plays a big part in the intensity of the action we get as a finished result. You might think that you could just move weights to change the COG, but you can’t because a forward or backward ‘lean’ can dramatically hamper the gliding action. Many of the spots I fish feature strong currents so elongated shapes with more mass up close to the head and a longer, tapered tail allow me to concentrate the weights forward of the measured center helping to maintain stability and balance. The shorter flanks deflect less water which helps subdue the action. Hopefully, it’s becoming clear that building glidebaits is a more delicate process than cranking out metal lips or needlefish and if you want to make them to exacting standards, you will have to sink test every one you make.
A Simple Glide
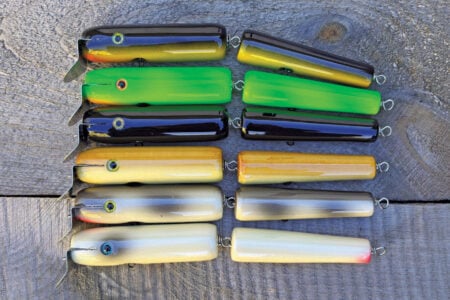
You can make a glidebait out of any kind of wood that you want, but I would strongly recommend that you use something on the heavier side, maple, birch, mahogany or some of the heaviest pieces of Alaskan yellow cedar (AYC) are all good choices. For simplicity’s sake, let’s use some AYC. Use the heaviest pieces you can find and rip yourself an even number of slabs that are 7 x 1-3/4 x 3/8. Now arrange your slabs in pairs and glue them together using Titebond III wood glue, creating blocks that are 7 x 1-3/4 x 3/4—we do this so we have a static center line to work off of.
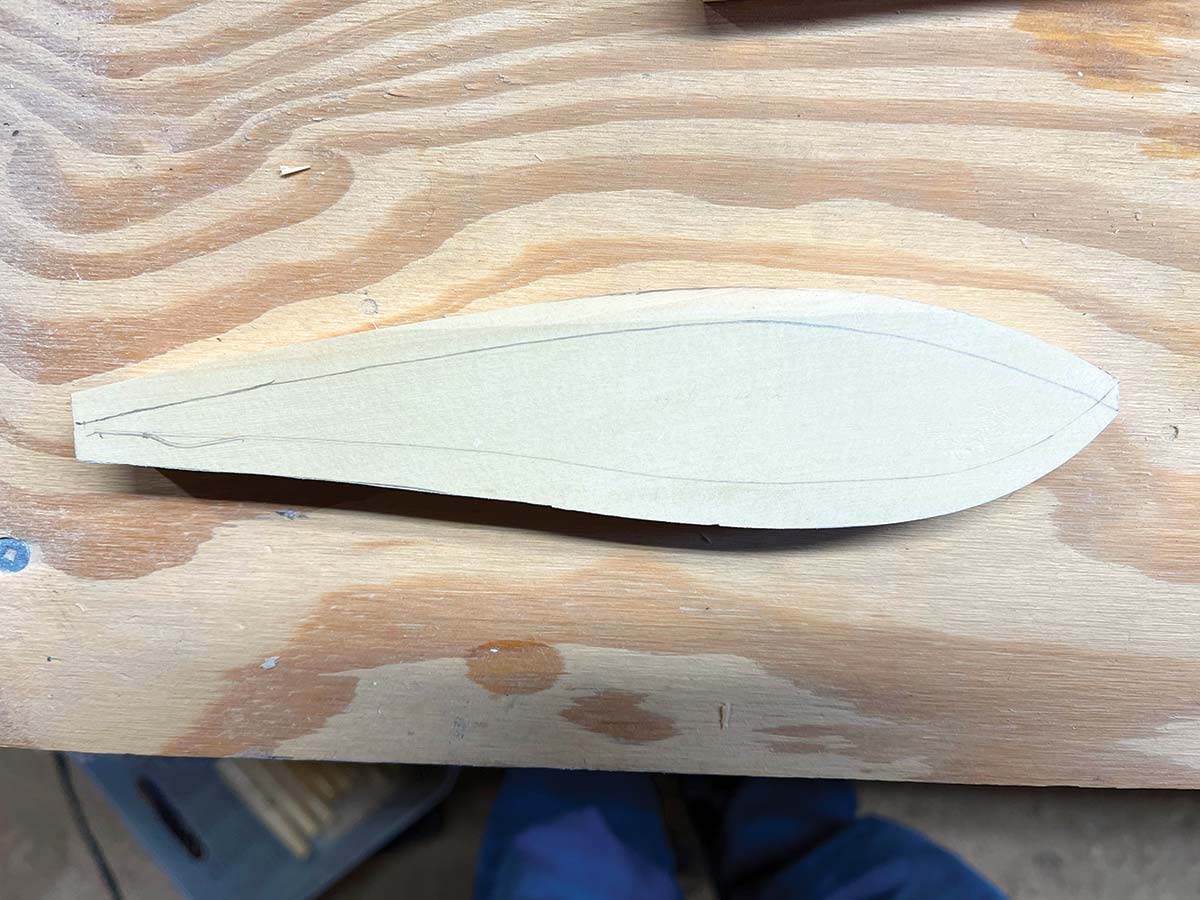
Using the pattern provided, printed at 7 inches in length, trace the shape onto your wood and cut it out using a band saw or scroll saw. After cutting out your shape, use a belt sander to get those cut lines smooth and uniform. Now you’ll want to chamfer or ‘round over’ the edges, you can chamfer it as much as you like, but for our purposes, drawing an indented line, a half-inch in from all sides will be a good guide. You can do this with a belt sander, chisel, draw knife or even a sharp utility knife. Take great care to make your glider as symmetrical as you can and when you have your shape roughed out, sand it smooth with 100 and then 180 grit sand paper.
Weights & Measures
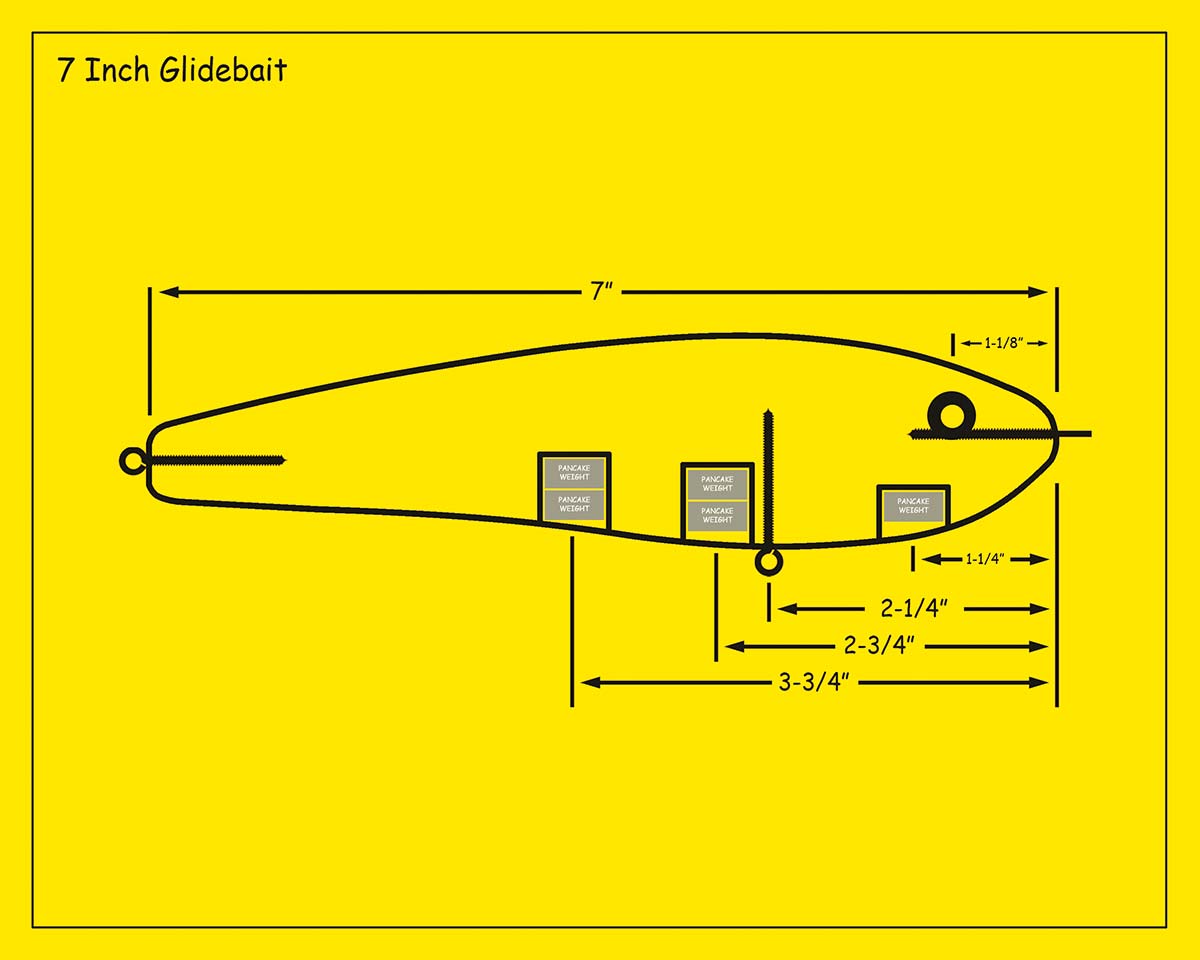
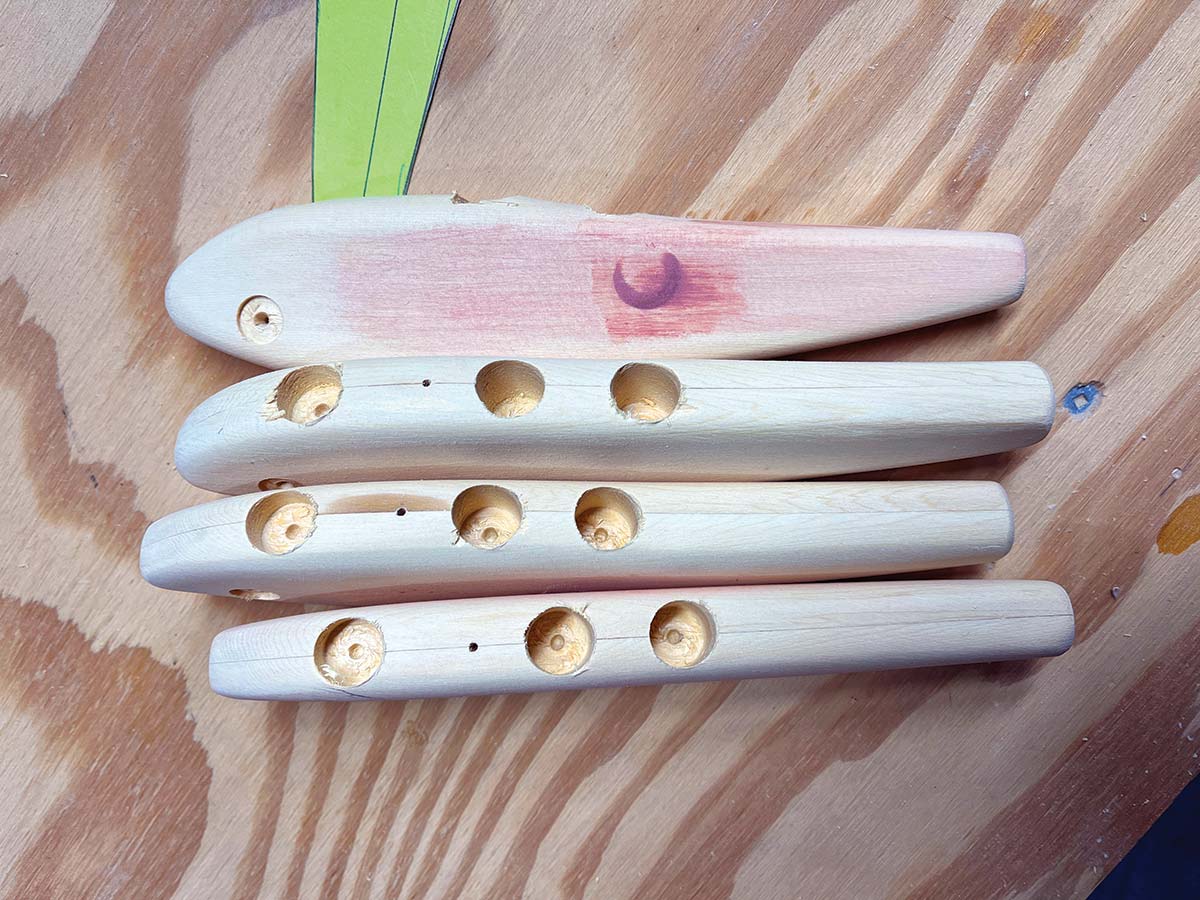
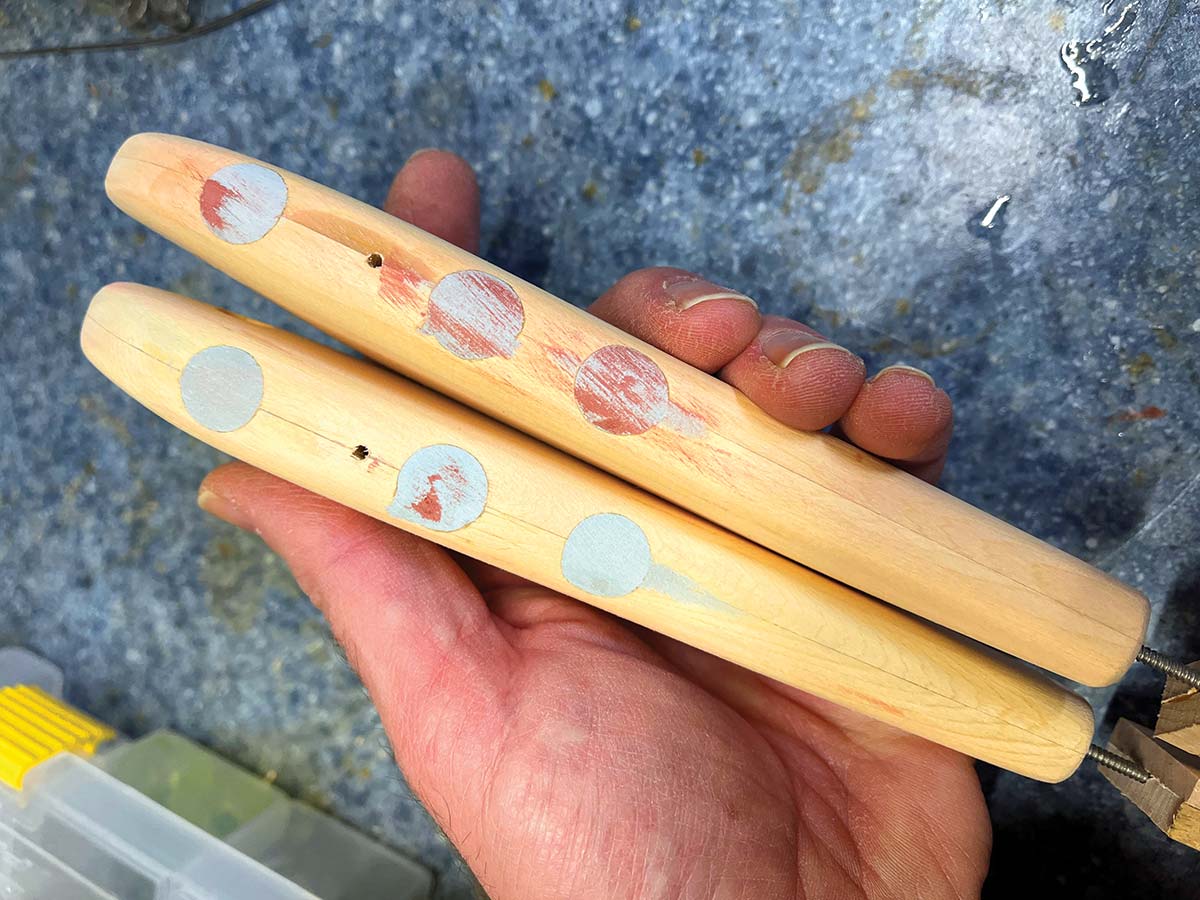
From here, you would typically, drill a few strategic holes, seal the wood, add the hooks and begin sink testing the body, adding and subtracting weights until you had the sink rate and resting angle that you wanted. But, I’m going to make this a lot easier for you, if you’ve followed my directions, adding weights at my prescribed locations should produce a medium sink glider with lots of action. For this experiment we will be using screw eyes, you can thru-wire yours if you like, but some adjustments may be required to get the same sink rate. Now we have to drill some holes, use the glued joint line to place all of the following holes. Begin by drilling 1/16-inch holes in the nose and tail and one in the belly at 2-1/4 inches back from the nose. Now use a 1/2-inch forstner bit to drill a hole deep enough for one pancake weight at 1-1/4 inches and then two more that will fit two pancake weights each at 2-3/4 and 3-3/4 inches measuring back from the nose. Epoxy the weights into place, then cover them with a good filler like Bondo and sand to match the contours of the plug. Drill your eye sockets at 1-1/8 inches back and 1/8 inch above center, just deep enough to accept your eye of choice. Now, seal the whole plug, allow it to dry and then give it a light sand.
Finish & Assembly
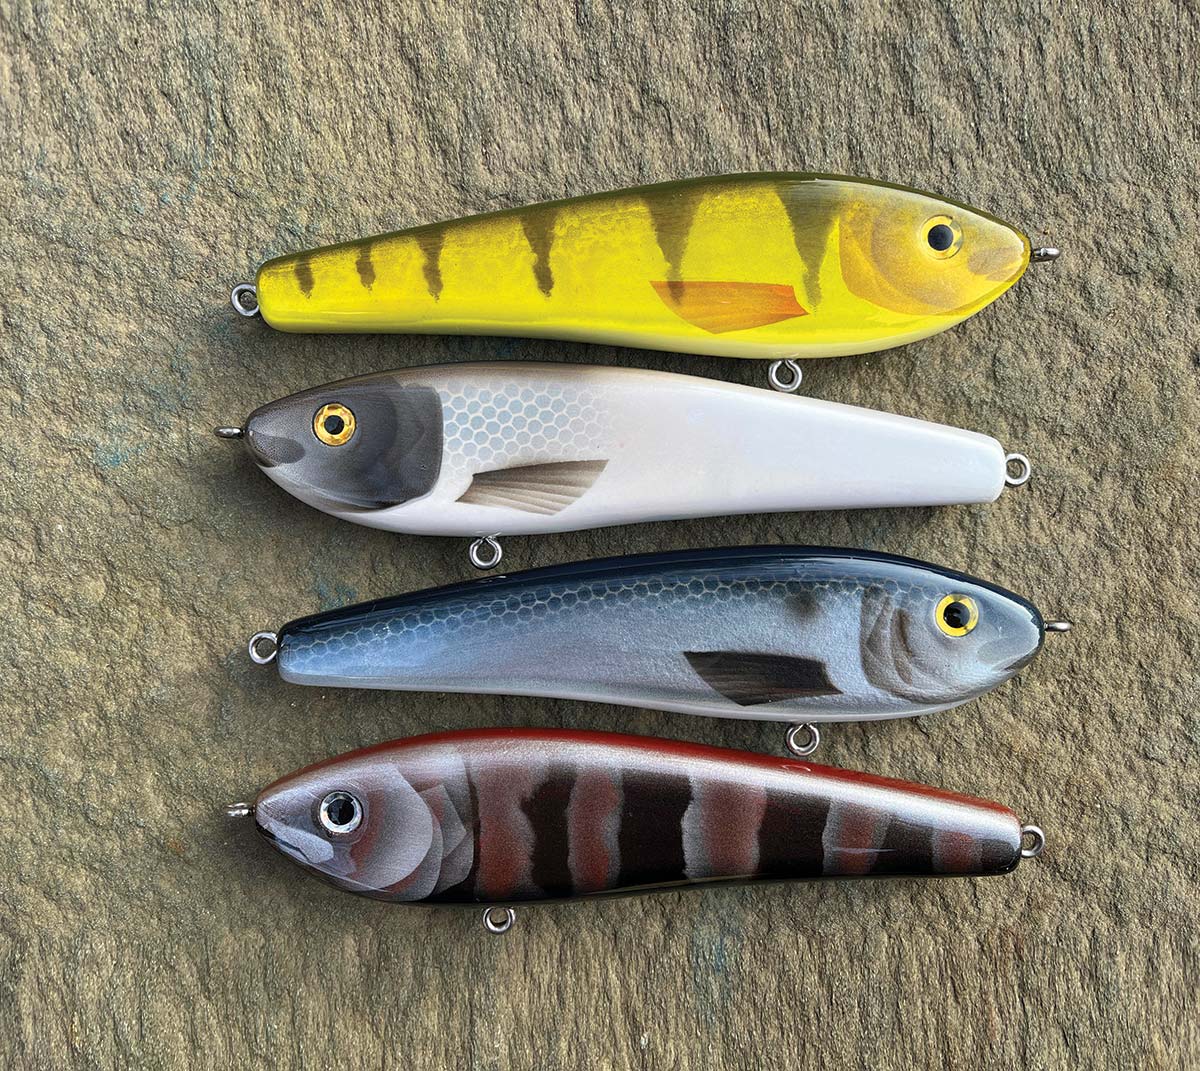
These baits, just like all others, can be painted in any color scheme your brain can dream up. I have to say, these baits are particularly satisfying to paint to look like live baitfish, so channel your inner Sherman Foote Denton and have fun painting realistic bunker, herring and even baby blackfish on your glides. But take my advice and make yourself a couple in solid white and solid black, simple colors catch a lot of stripers. When the paint has dried, epoxy in three 1-1/8-inch magnum screw eyes, super glue in your eyes and give the whole thing a coat or two of the clear finish of your choosing. A pair of 4/0 VMC or 3/0 Salt-X trebles will complete the project.
| Item | Where to buy |
| Alaskan Yellow Cedar 5/4 decking | Local lumber yard |
| Pancake Weights | www.njtackle.com |
| 1-1/8” Magnum Screw Eyes | www.lurepartsonline.com |
| 3D Lure Eyes | www.njtackle.com |
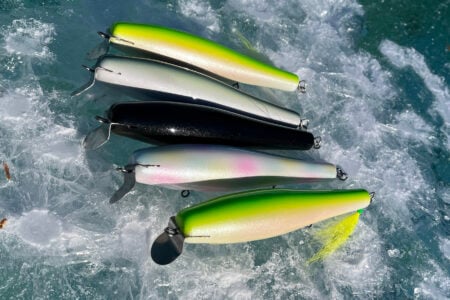
In this issue we also have an article about fishing glidebaits and the different types of glides written by Jerry Audet. This glider will fall somewhere in between the ‘swimming gliders’ and ‘jerkbaits’ he references in his comprehensive rundown of these popular baits. There are many ways to fish them from jerky to very subdued. I mostly fish them at night and I lean on two modes, either I reel them fairly quickly while working my rod tip like a pencil popper, which produces a frantic, almost darter-like searching swim. Or I reel them so slowly (think needlefish) that they swim in a lazy and elongated S-pattern, on some nights a few random, hard jerks has triggered vicious strikes from following fish.
This should set you off and running, you can downsize or upsize this design, you can experiment with lighter or heavier weights or you can strike out on your own and try new shapes using my rough guidelines. One tip I can offer is if you wish your glider would sink faster or slower, try changing the hook sizes before going back to the drawing board, that simple change will often solve the riddle. Glidebaits are red hot right now and a lot of garage guys are making them, for some reason they are mostly all about the same shape! Put in a little time and you’ll start to build some intuition about what shapes and weight configurations are going work for the situations you have in mind. In any case, you’ll be saving yourself some serious money by making your own, because glidebaits aren’t cheap!