You don’t have to be an airbrush master to paint a realistic-looking plug.
Plug color, as we all know, is an emotional topic, especially among surfcasters. A study of plug colors throughout the history of striped bass plugs shows that there were some clear preferences in different eras of striped bass fishing. I could definitely write an entire article on the evolution of plug color, and maybe I should do that someday, but the one thing that I think is really interesting about the progression of surfcaster preference is that history has done what history says history always does, it has repeated itself.
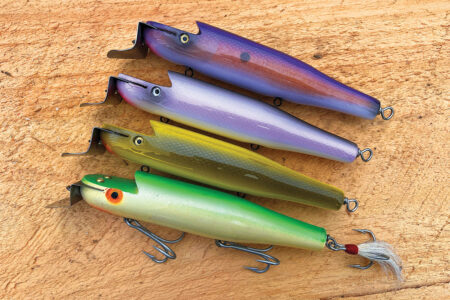
If you look back to the 1940s and early 1950’s, you’ll see that a lot of emphasis was put on painting plugs that resembled live baitfish. So much of what was being made at that time featured scale patterns, intricate color schemes, larger more lifelike glass eyes and, in some cases, carefully painted gills and fins. Then, as the 50s gave way to the 60s and then the 70s we saw the popular colors becoming far simpler. Yellow became a staple, same with solid white, and even the baitfish schemes were being simplified; herring was dumbed down to a sky blue back, a pink stripe and a white belly; mullet became dark blue over silver over white.
By the 1970s and 1980s I think surfcasters were more pragmatic, seeing color as a variations of hue, recognizing that striped bass probably weren’t able to scrutinize their prey on a level that would require these flourishes of realism. This is also when the use of solid black and fluorescent colors became popular – it was almost as if the surfcasters of that time saw color changes as different ways to be seen by the bass.
Fast-forward to today, with the plug building boom well established and high-dollar, collectible, ‘boutique’ plugs being collected, fished, bought and flipped at higher and higher prices. The demand for special colors, realistic interpretations of common baitfish and artistic interpretations of nearly anything you can think of, such as bananas and watermelons, (I will never understand why) has skyrocketed. A plug market that felt like the Wild West a decade ago has now gone in an indescribable direction.
In Living Color
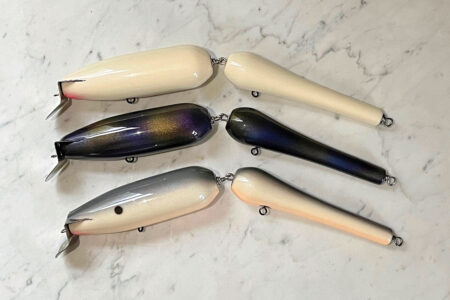
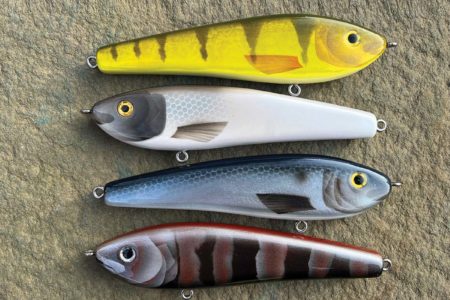
My surf bag is filled with simple colors, white, bone, black, parrot and yellow, but I am not impervious to beautifully painted plugs or color schemes made to mimic staple baitfish in a specific place. For instance, even though I prefer solid white plugs in the Cape Cod Canal, I will not fish there without a few mackerel-colored plugs in the bag. The same could be said for the rocks of the Elizabeth Islands and Rhody, I will usually stick with white, dark and bright, but my belief that juvenile blackfish are a diet staple of trophy striped bass, means that I almost always have a few plugs painted to replicate these ‘reliable’ baitfish when fishing the rocks, particularly if I’m fishing deep.
When my head is sober from the deep thought and numbing obsession of the fishing season, do I really believe that a striped bass thinks my wooden swimmer is a baby tog because it’s painted like one? No, I really do not. But when I’m out there fishing and my white and then black swimmers are pulling zeros, changing over to a natural color scheme gives me a reason to restart the confidence meter, and makes me fish harder and more methodically again. So for me, changing over to natural color is usually my second or third swap and I do it almost as a psychological illusion to keep myself in the head game long enough to draw a strike on a slow night.
Confidence can be hard to keep, so having that magic bullet in the bag can go a long way.
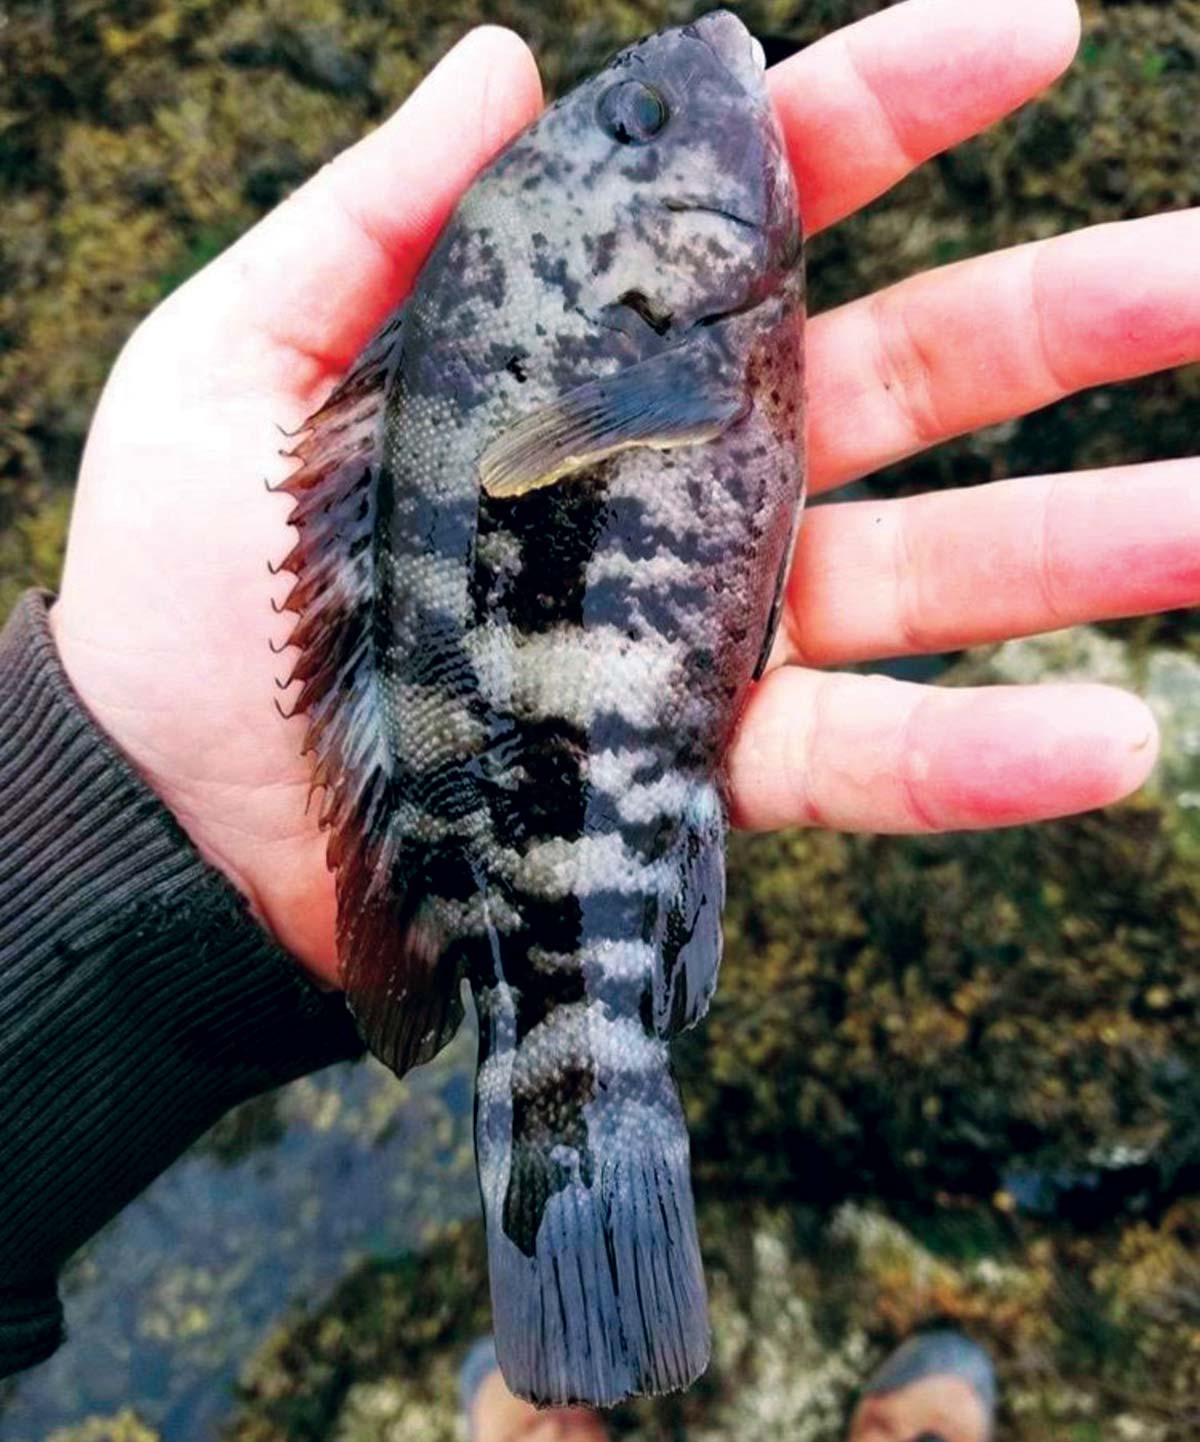
The Blackfish Keys
In a break from the style of my usual plug building series, I thought it would be fun to write about painting and how my mind breaks down and interprets the look of a natural baitfish. I am big on saving time when it comes to painting, unless I’m really in the mood to create, I will look at the main distinguishing characteristics and try to figure out ways to easily mimic them, without going too crazy. When I look at a juvenile blackfish, I see irregular blotches of darker color, laid over a lighter grey, cream or tan. Then there is the overall ‘dirty’ look, dots and tiny smudges of darker color, along with what I can best describe as a ‘sprinkling of pepper’. You may also see hints of dull yellow, gold and even muted purplish-browns.
When choosing paints, the first thing to consider when painting a bottom fish species like a tog is that they don’t shimmer and shine like bunker, herring and silversides; because of this fact, the need for specialty metallic and pearlescent paints in minimal. Because there are so many hues, splotches and spots on these fish it would be easy to get carried away and overdo it, but in my experimentations with trying to nail the look of a tiny tog, I have found that less is more. And believe it or not, we’re going to do this whole thing with just four main colors and then some optional accents.
Tog color schemes consist of a light base color, a dark color for the splotches, a darker version of the base color for darkening the back and then use of application techniques to change the opacity of different layers. (As a side note, all paints mentioned here are Createx Wicked Colors).
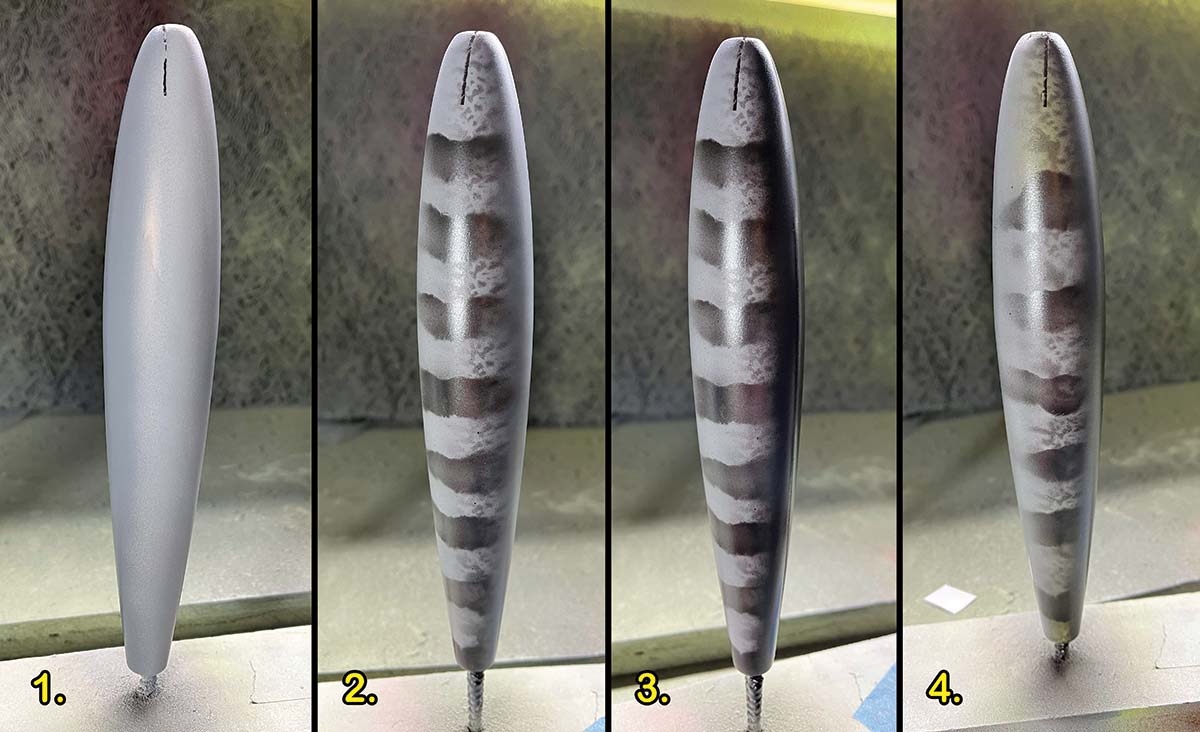
After priming and basecoating with opaque white, mix up a second basecoat of about a tablespoon of opaque white with six to eight drops of opaque black mixed in – this will give your plug a silvery-grey undertone – coat the entire plug and then mix up the same color but double the amount of black, use this to darken the back of the plug. Now the base colors have to dry completely before moving on to the next step.

Recyclables
While your basecoats are drying, go dig through your recycling bin for some thin cardboard, I’m partial to cereal boxes. Cut the faces off the box and then tear them into strips that are 2 to 3 inches wide. These strips will be used to mask off parts of the plug while you freehand the dark splotches, the irregularities of the torn edges will result in a surprisingly natural look. I like to use pearl black for this because of its softer appearance. I reduce the paint down so it’s really flowing easy at low pressure. My goal is not to perfectly mimic the photo, it’s to interpret at natural rendition of what I see.
Now hold one of your torn cardboard masks against the body and spray your paint directly onto the torn edge of the cardboard, allowing just the overspray to contact the plug. This will translate to a shadowy, jagged line, keep the airbrush moving as you paint, you can make it darker by making additional passes over the edge. I tear both sides of these masks for a reason; I use both edges to create each splotch, the bottom side is used to paint the top of the splotch and the upper edge will be used to paint the lower limit of the splotch. This allows me to work quickly, leap-frogging down the body as I paint and never having to flip the mask. Once you have your first blotch done, you may want to fill it in or you may like it to be more subtle – that’s the artistic part. Repeat this process as many times you like until you think your plug looks enough like a baby tog.
A little secret of the trade is to buy some ‘grunge stencils’ online, these are just random patterns found in rust or other naturally-occurring deteriorations that have been converted digitally into stencils. These create amazing details in the form of tiny random dots and splotches that you could never replicate any other way, if you don’t want to buy them you can achieve a similar effect by adding scales. Holding the stencil in one hand and spraying in short bursts from six inches away, darken the top half of each flank using the stencil of your choosing – you may have to do it in a few steps for each side if your stencil is small. Now paint the back solid with the pearl black and assess the belly.
Once you have your flanks looking like you want them to, you’re probably going to notice that there are weird overlaps on the belly. You can easily fix this by mixing up that base color gray again, reducing it down and repainting the belly in one pass. The last step is to give the belly of your plug a mist-coat of pearl white, it just makes everything look more natural. If you wish to embellish your baby tog further, some highlights of dull yellow around the head and tail can sometimes up the realism, and if you’re a traditionalist, like I am, adding a red splotch under the chin will make the plug look complete.
From here it’s epoxy, assemble and fish. I usually paint deep swimmers in this color, but I have done it on darters, glidebaits and surface metal lips as well. It’s a fun color to paint with some easy techniques that can be applied to many other color schemes. And maybe one night, when the bite is slow, switching to that natural color will give you the confidence boost you’ll need to get the big bite you were hoping for.
Hopefully this journey through a simple, yet fairly realistic, color scheme will open your eyes to interpreting other baitfish colors on your own. Painting plugs is a lot of fun and it can be very satisfying to master simple techniques like these and to watch as they bring your creations to life.