After 15 years of these articles, we finally tackle the Bottle Plug!
For years, New England editor Toby Lapinski has passively suggested that I write one of these stories about making a Bottle Plug. But I have always shied away from it because I assumed the tools needed to make them were out of most hobbyist’s league. But making a small one requires tools that most guys already have in the shop, and even if they don’t, they can be acquired at a nominal cost.
The Bottle Plug, as far as my historical research has been able to reveal, was invented by Stan Gibbs—perhaps the most innovative plug builder our sport has ever seen. My assumption is that it began as a mistake—I would guess it was a Polaris Popper that was accidentally made upside-down. The eye of the curious innovator saw the possibility for that angled and cupped face to act as a swimming lip and so the testing process began. What I wouldn’t give to be a fly on the wall as this design evolved in the Gibbs workshop, but sadly, those moments have been lost to time. Somehow, this project bore what would become the quintessential plug for storm surf. A bait that could dig into big waves and hard sweeping currents, keep the line straight in the wind and drum hard in the suds, drawing strikes from some very large fish over its long lifetime.
A Scrapwood Swimmer
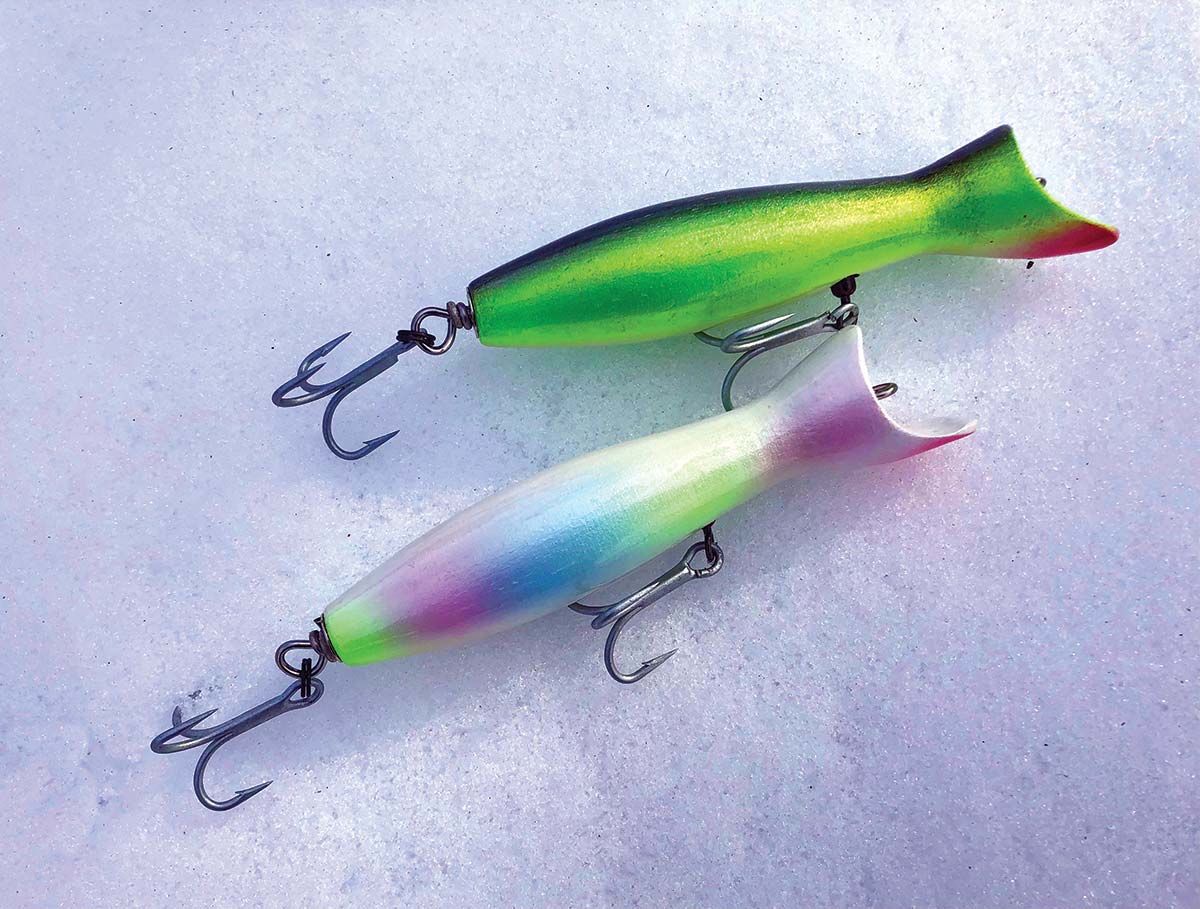
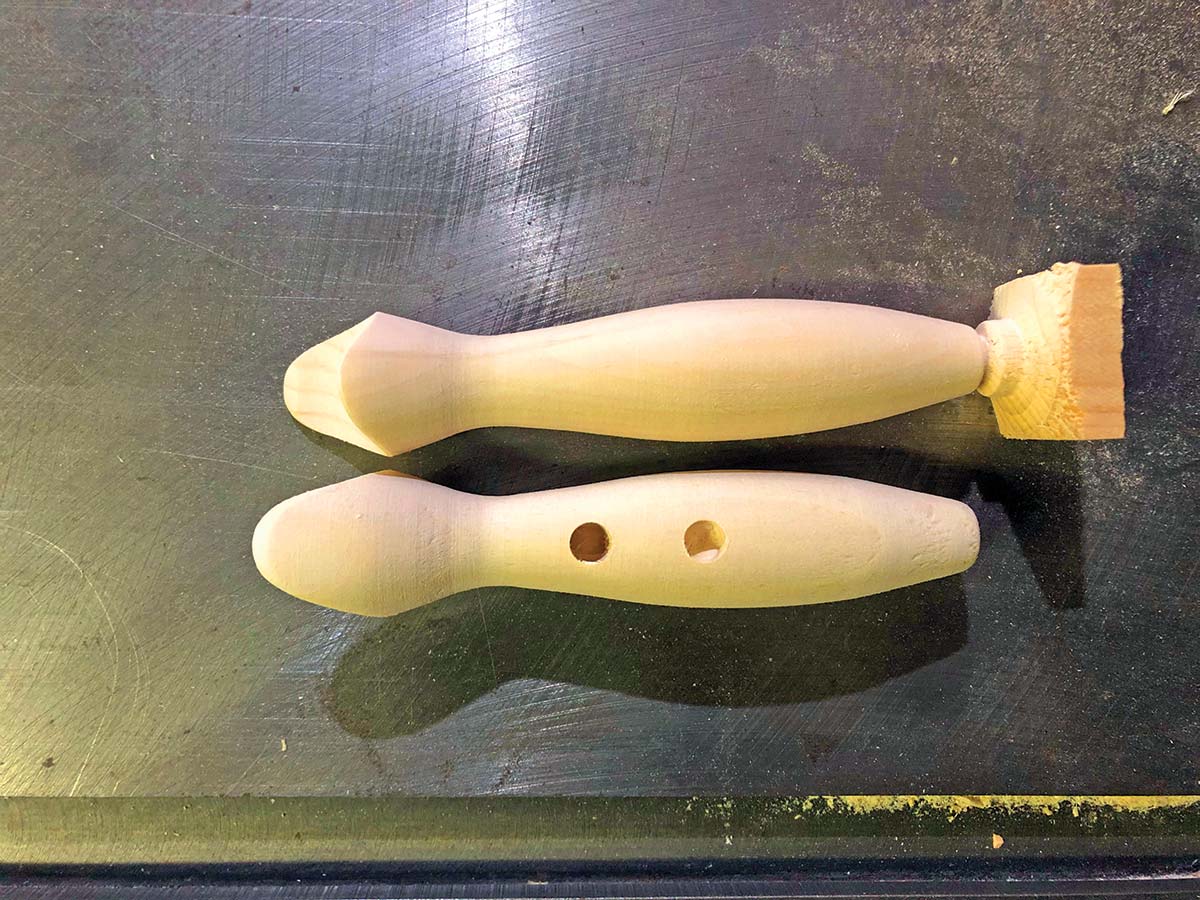
I was digging through some old plugs the other day and I turned up two small bottles; they appear to be made by Donny Musso, they are a hair over 4-1/2 inches long and probably weigh about an ounce. This seemed like the perfect way for all of you to dip your toes in on making a bottle plug, and you can probably come up with enough wood to make a half dozen by rummaging around in your scrap bin. These swimmers are made from pine and they are 1-1/8 inch in diameter at their widest point. I found some cutoffs of 5/4 pine that I used to trim out my back door over the summer and they were perfect for this project.
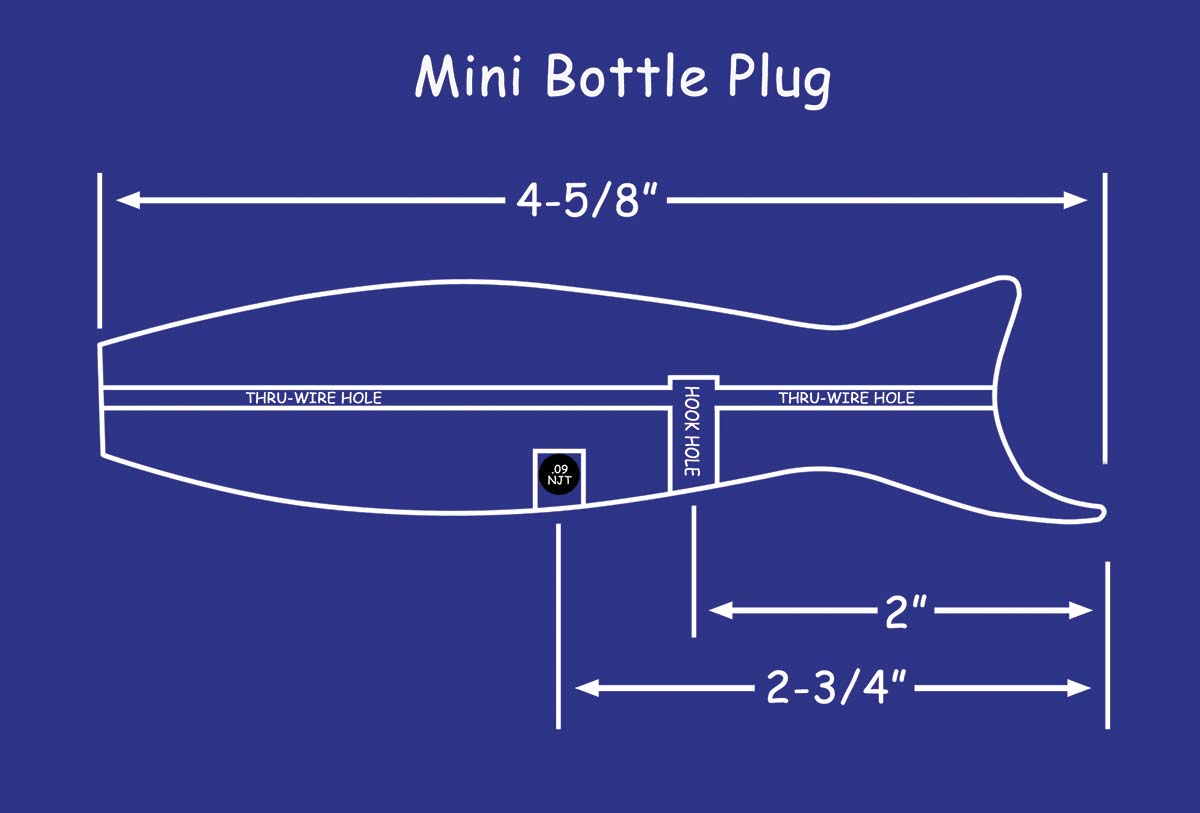
If you’re ripping fresh stock, cut your squares to 1-1/4 x 1-1/4 and cut them to approximately 6-inch lengths. Find the center at both ends by connecting opposing corners with a ruler and a pencil and set the block spinning in the lathe. Use a gouge to round the corners off, remember to leave about a half inch of each end square. Then switch to a small skew chisel and try to work it all down to a 1-1/8-inch diameter cylinder. Now power down the lathe and grab a ruler and a pencil. Start by making two marks about 4-5/8 inches apart, these will represent the nose and tail. Next make a mark 1-1/4 inches back from the head (this represents the narrowest portion of the neck), now measure back 3 inches from the head and make another mark, this represents the widest diameter of the rear portion of the plug. From there it may also be wise to add two more marks at 2 and 4 inches back from the nose (these are just reference marks to help you keep the shape in check). Now turn your lathe back on and touch each mark with your pencil to make them easier to see. You target diameters are as follows:

 Head Mark 1-1/8 inch
Neck Mark 5/8 inch
2-inch Reference Mark 7/8 inch
3-inch Mark 1 inch
4-inch Reference Mark 3/4 inch
Tail Mark 7/16 inch
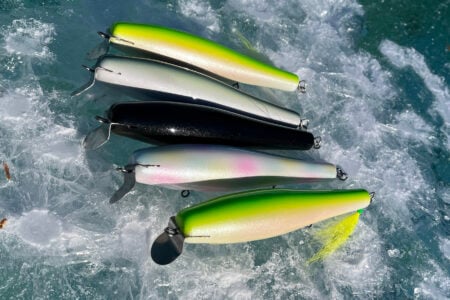
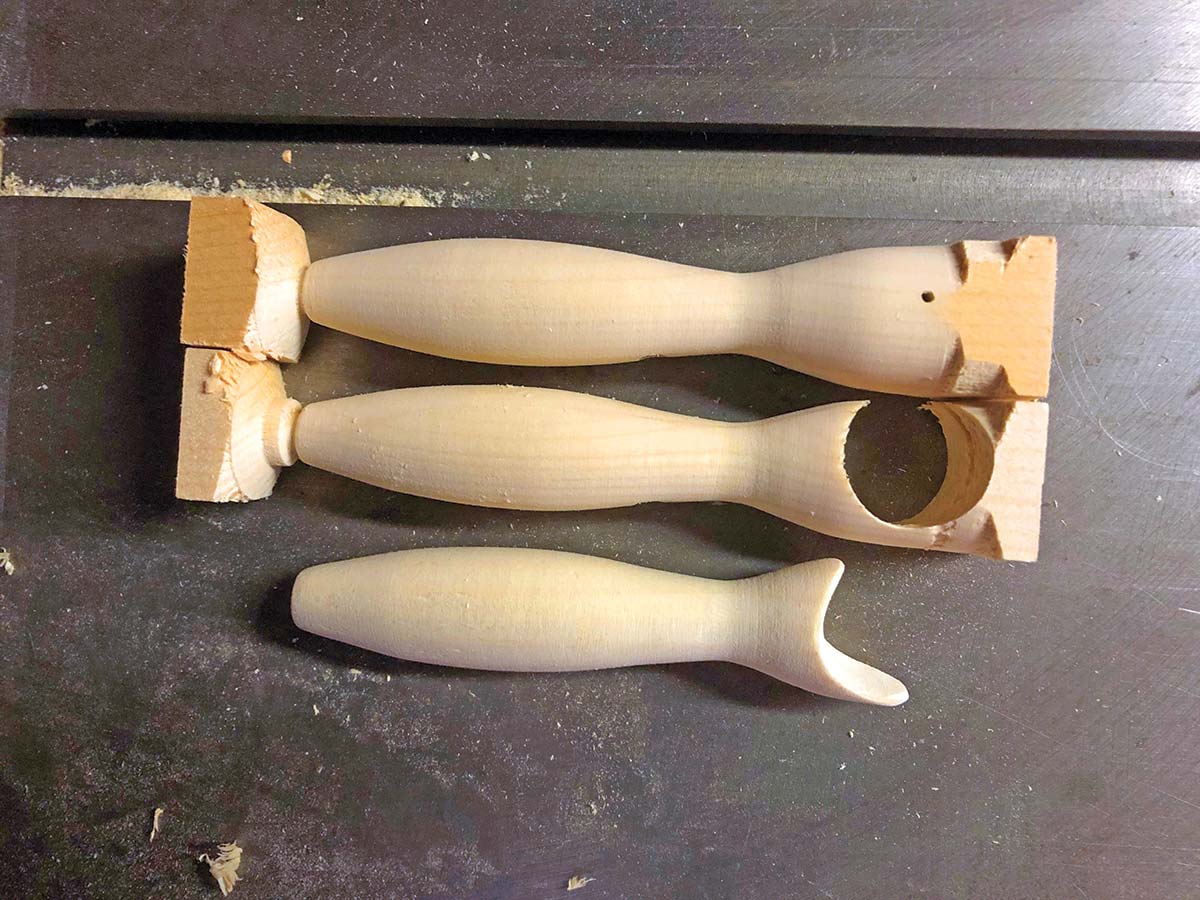
You can use a 1-ounce Super Strike Popper as a reference for size and shape—although the head will be a little beefier. Achieving the shape will require the use of a small skew chisel and a small round chisel. Use the skew for all of the outside radiuses and the rounded chisel to achieve the reverse curves at the neck. Refresh your reference points often—remember that setting multiple pairs of calipers to your target diameters can really help when trying to be precise while turning.
Mouthing Off
When you’re happy with your result, sand the body on the lathe using strips of 150 grit sandpaper and pull it off the machine. Head over to the drill press and drill two centered holes using a 5/16-inch diameter bit. Drill your first hole at 2-inches back from the head and drill it about 5/8-inch deep, drill the second hole 2-3/4 inches back from the nose and drill it about 3/8-inch deep. The forward hole is for your hook hanger and the other is for a weight. Thru-drill the plug now, if you don’t know how look up my thru-drilling video on TheFisherman.com. I use a 3-inch long 5/32-inch diameter bit for this plug.
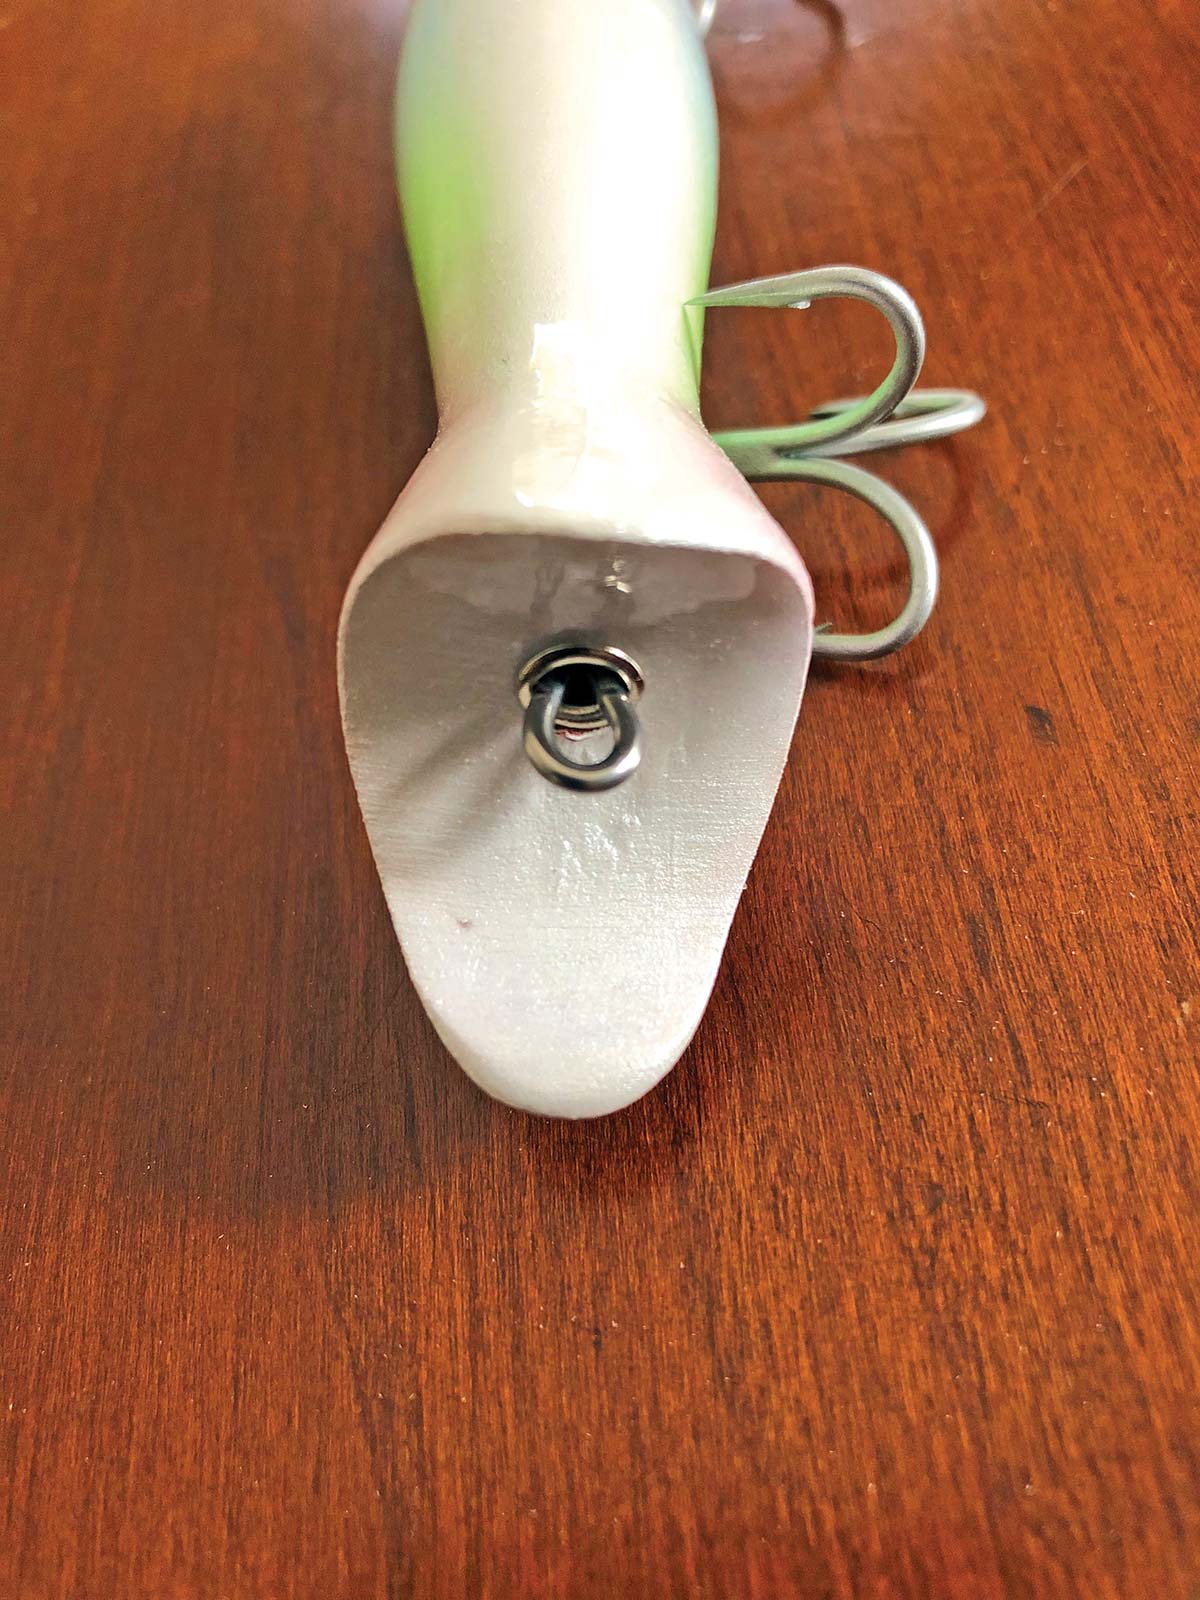
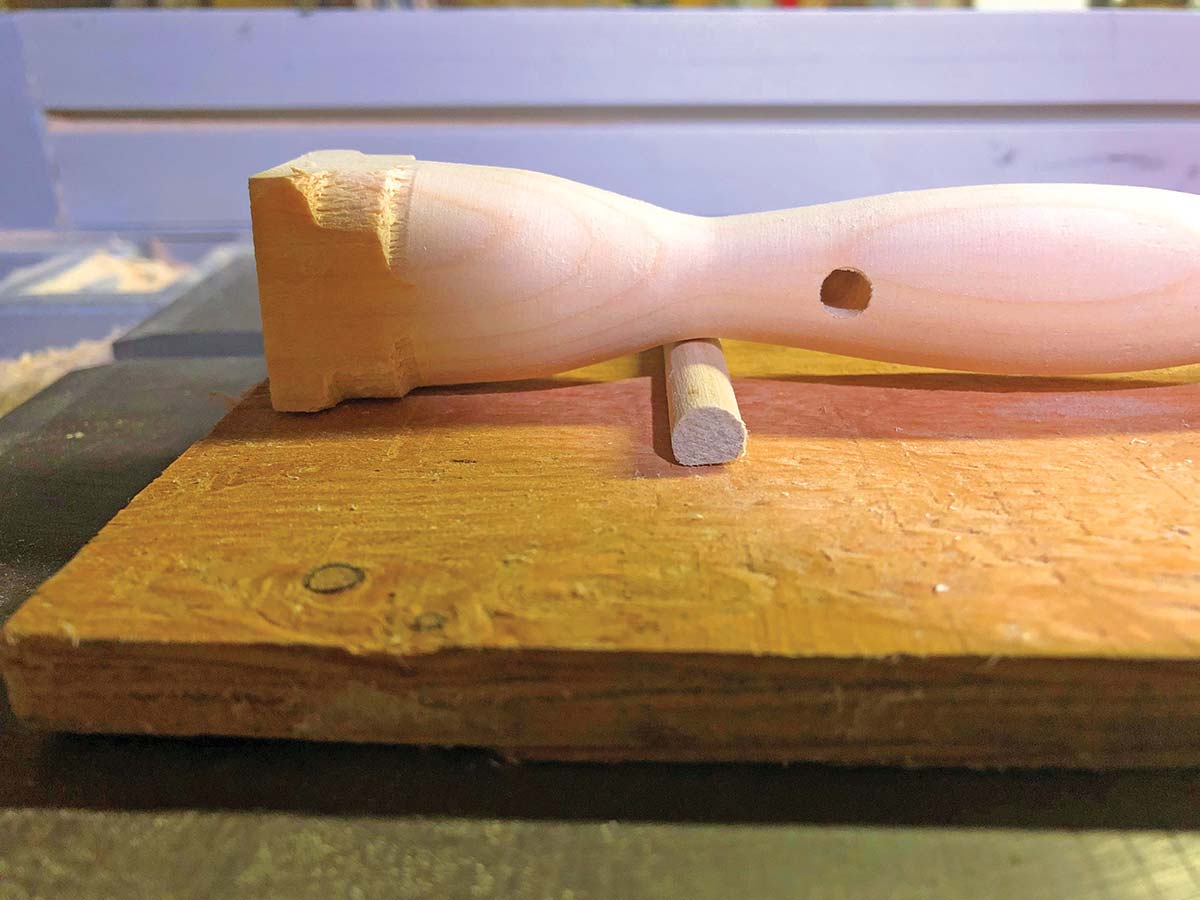
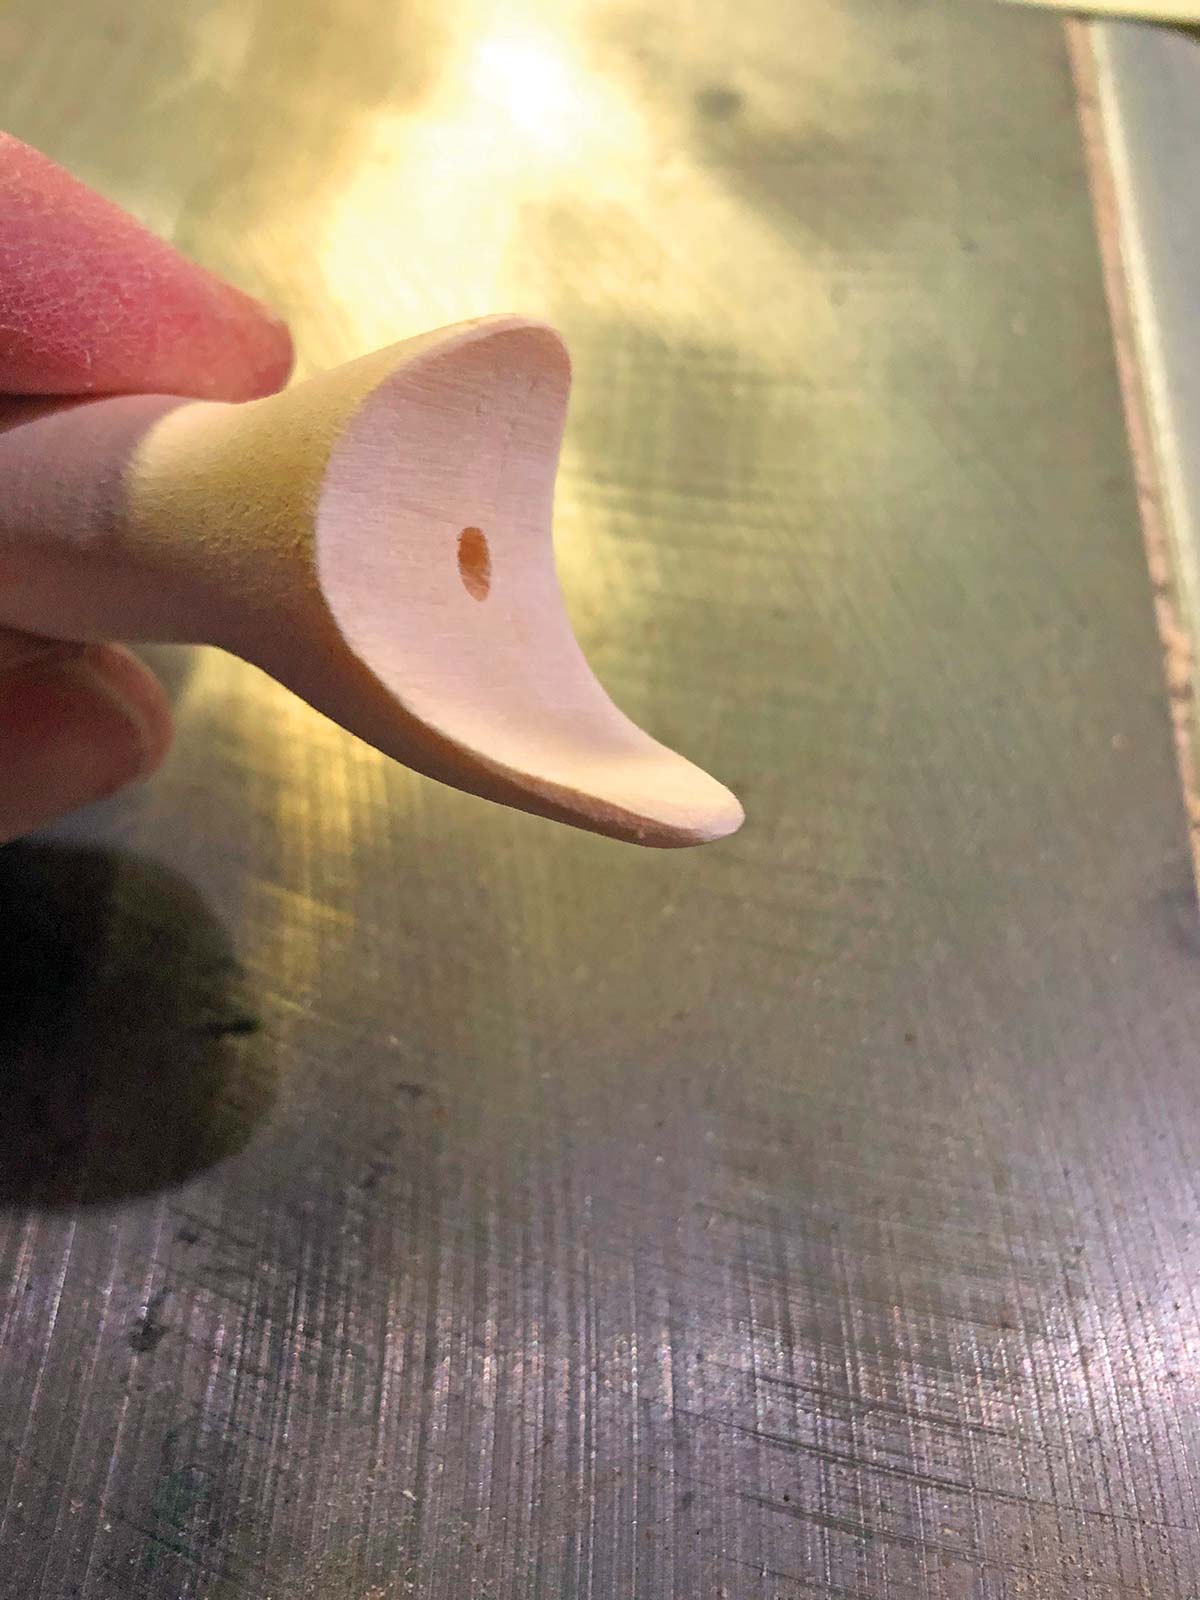
Now you’re going to have to make a little tool to aid in the cutting of the lip. It’s very simple, just lay your plug body on the table and look at the space under the neck, then cut a piece of wood that can support that neck, a small piece of dowel would work, maybe stack a couple popsicle sticks… then glue the support down to a piece of scrap plywood and this will be your jig. The next step is to drill a 3/32-inch pilot hole at 1/8-inch in from the head and 1/8-inch above center—drill all the way through. Now swap out the little bit for a 1-inch diameter forstner bit and you’re going to want to follow that pilot hole about halfway through, then flip the plug over and follow the pilot again until you’ve completed the hole. Go slowly and use that support jig or else it will splinter and ruin your work. The result should be a rough depiction of the scooped face we’re trying to achieve.
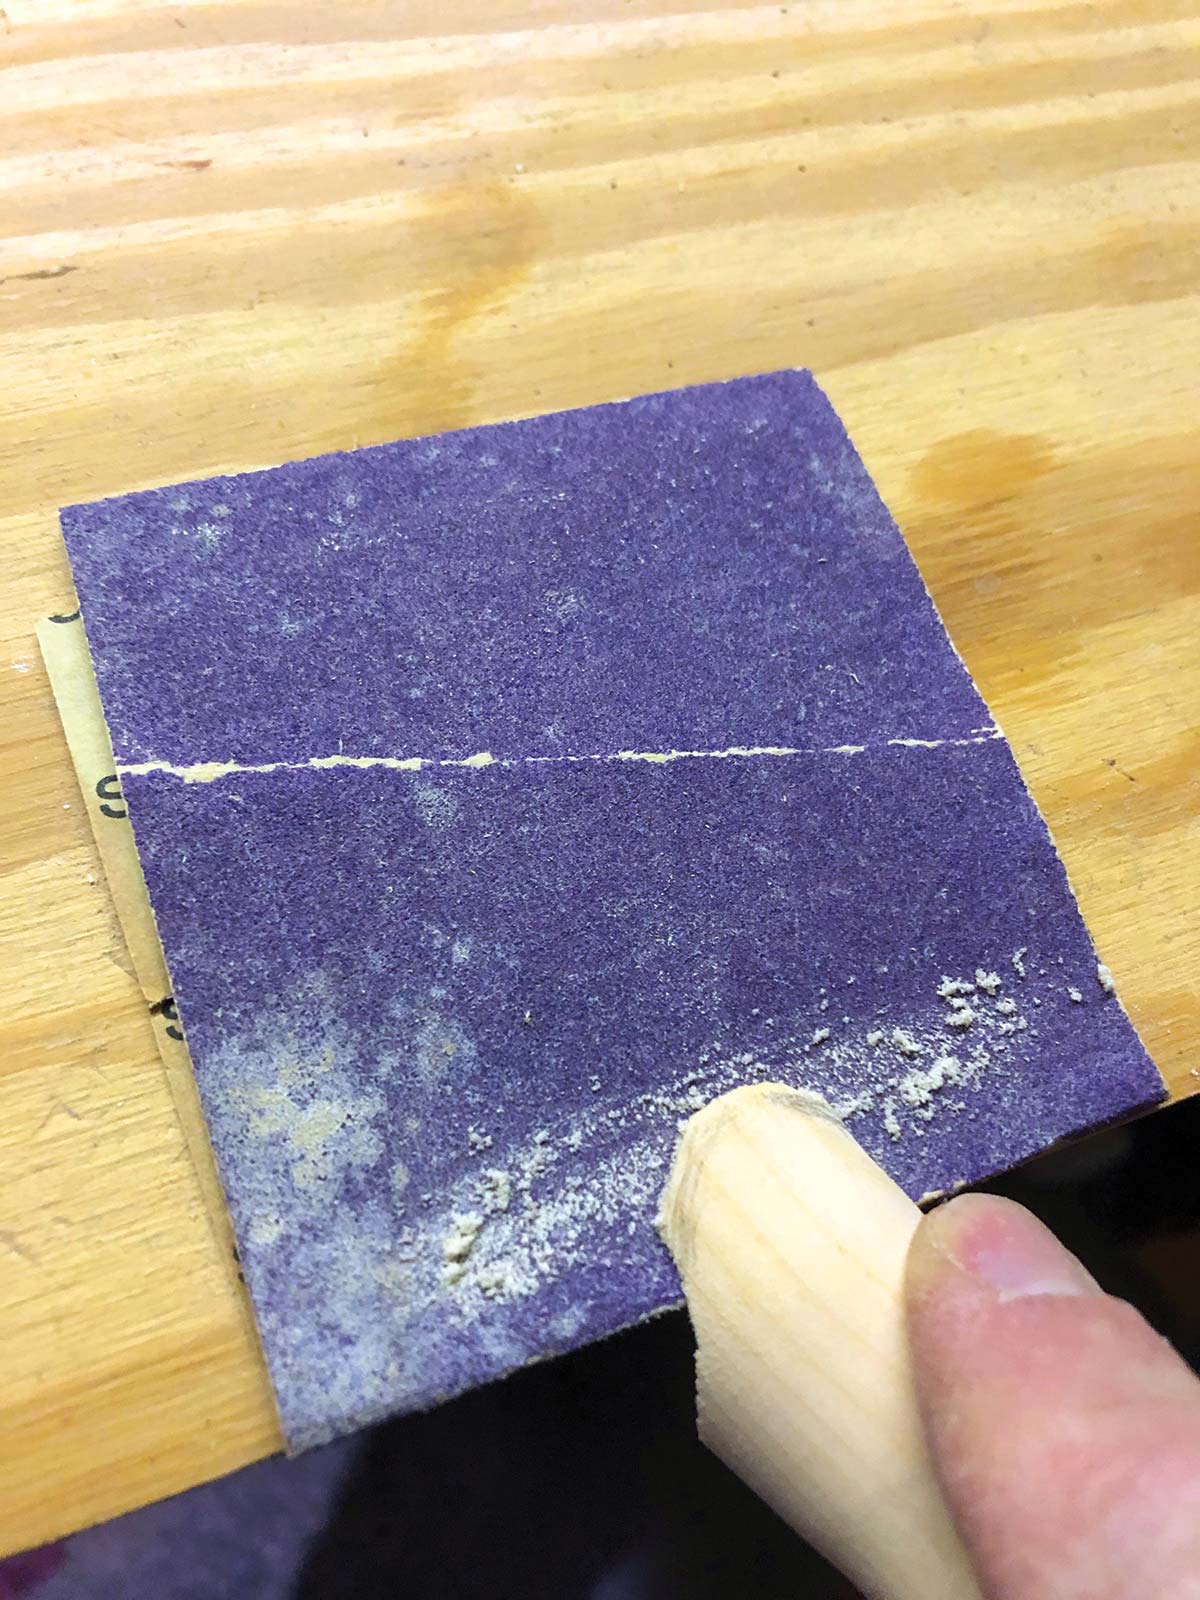
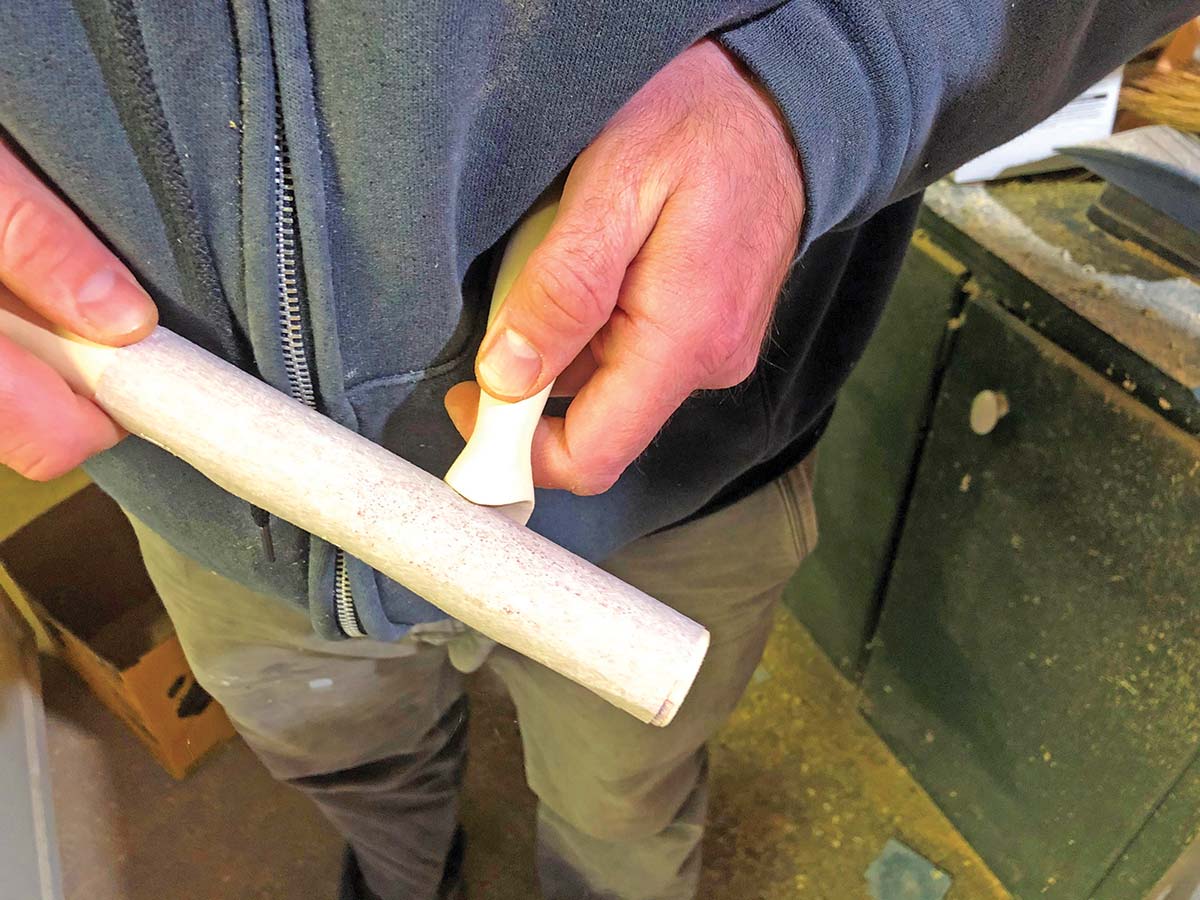
Once you have drilled the face, you’re going to want to cut the square ends off, then cut the bottom of the lip right at the nose mark. Lay a piece of 150 grit sandpaper on your bench and sand the lower surface of the lip so that it follows the outside contour of the plug. Now we’re going to make another tool. You’re going to need a 1-inch diameter dowel cut to about 12 inches long and a staple gun. Take a piece of 150-grit sand paper, and measure out one wrap around the dowel with a quarter-inch overlap. Cut the paper, wrap it around the dowel and staple it into place. Now use your dowel sanding tool to blend out the rough cut of the forstner bit and to give the face a slightly convex shape. You’re only looking to take it down about 1/16 of an inch on both sides. Then take a piece of the same sandpaper and hand-shape the upper and lower lips of the plug (see photos for shape). Now you’re going to want to add the weight by dropping a .09-ounce round belly weight from NJTackle in there and epoxy it into place, cover the hole with spackle and wait for it to dry. When it’s ready, sand the spackle smooth and then give the whole plug a once-over with 220-grit paper.
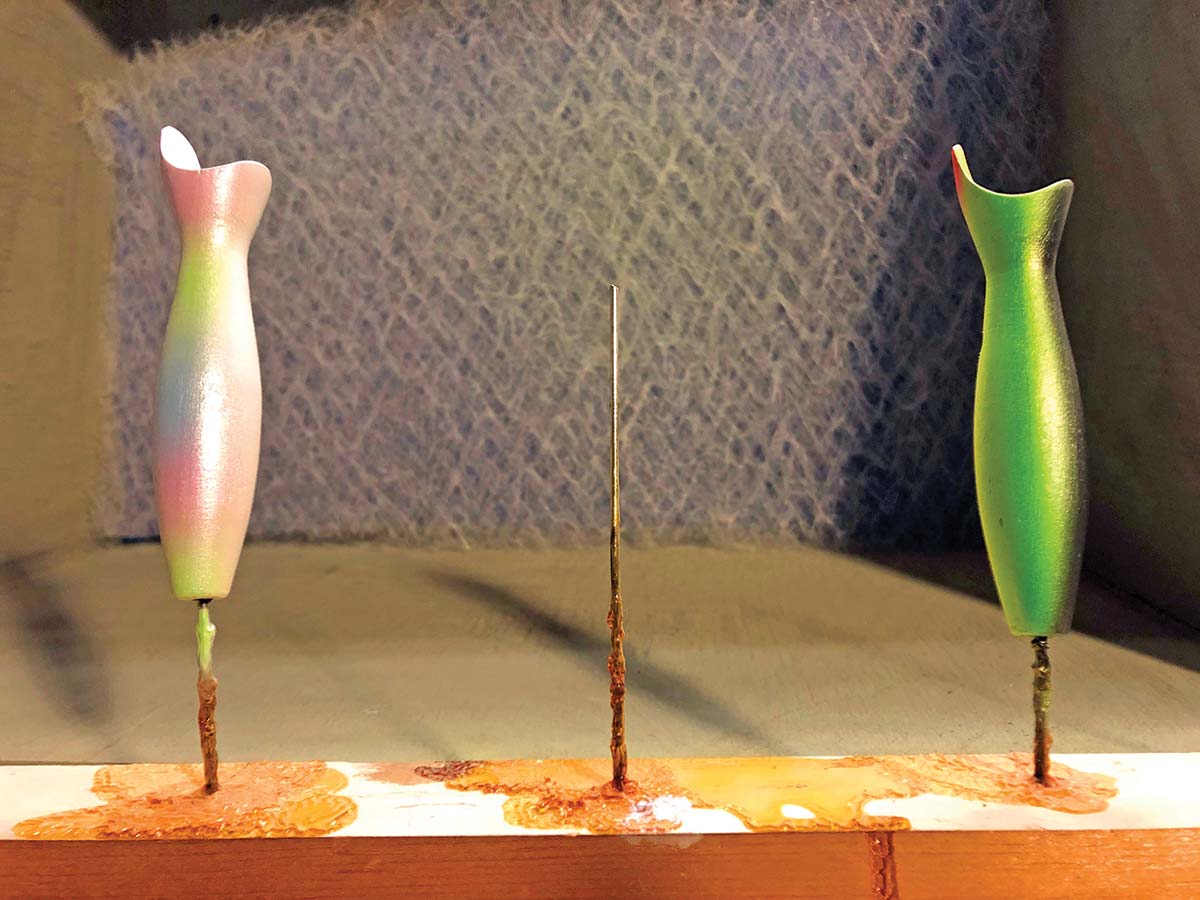
Coatings
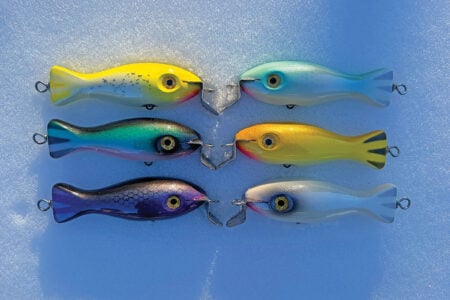
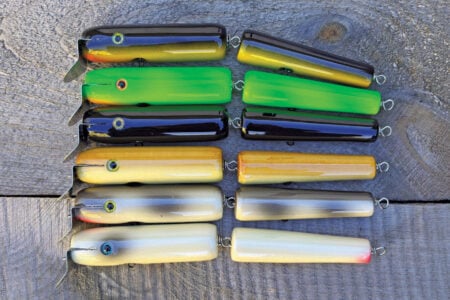
At this point you should have a wee-naked bottle in your hands and you’re going to have to give it a bath. Soak the little cutie in a 60/40 mix of interior high gloss polyurethane and mineral spirits—then hang it up until it’s completely dry. Sand the whole plug lightly with 220 grit paper, blow all the dust off and it’s time for primer and paint. Prime the plug with a rattle can primer and then paint it with the paint of your choice. These bottles are small so I tend to keep it very simple, solid white, yellow or black or maybe a two tone like parrot or black over silver. Once the paint has dried, it’s a coat or two of your favorite clear finish and we move on to assembly.
I assemble these with a #3 Krok Swivel, a nose grommet, a .375 inch tail grommet and a 12-inch thru-wire. Start by threading the nose grommet over the wire and snugging it up to the loop, then fish the wire through the plug, threading through the swivel along the way. Before you seat the wire, slather some 5 minute epoxy onto the doubled ends of the wire loop and pull it tight to the face. Make sure to orient the loop horizontally. Allow the epoxy to cure completely before adding the tail grommet and wrapping the loop. To finish, add a pair of 1/0 VMC trebles, I cut the belly treble and connect the tail hook with a size 4 Spro split ring. If you find that your bottles are a little sluggish, try swapping the tail hook out for a sparse flag; if that doesn’t work try using lighter wire on your next batch.
The bottle plug is a true classic surfcasting plug and one that every surfman has in his bag of tricks. These mini bottles are definitely a niche plug, but they just might save your trip some windy night this spring or fall. In addition to that, you can use these techniques to scale the plug up to any size you want, just know that you’re going to go through some pain dialing in the weights because the buoyancy of the wood will increase at a higher rate than the scaling of the lead weights and you’ll need to add a lot more weight than you might think. Good luck with this build, the next one is one of the most challenging I have ever taken on—stay tuned!
Editor’s Note: Do you learn better by being shown how to do something as opposed to simply reading about it? Do you want more of a visual demonstration of how to build the mini bottle darter and next month’s plug, the Pt Jude Cutlass? If so then swing on over to Dave Anderson’s Instagram page (striperbrain) for details on an upcoming plug building seminar he will be hosting which covers these topics and more!