Build this small, yet effective, wooden popper for red hot surf fishing.
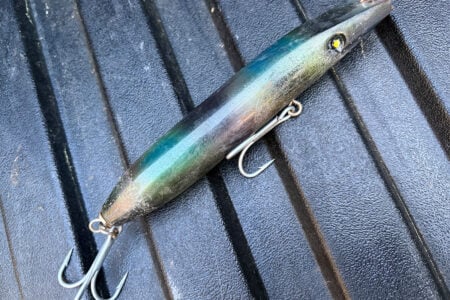
The Polaris-style wooden popper is one of my favorite surface lures. I like the shape and castability, it throws a lot of water, it’s easy to work, and most importantly, it catches a lot of fish! This popper, which is a variation of the famous Stan Gibbs polaris, weighs 3/4-ounce. It is fairly simple to make, here are the materials needed…
1 inch diameter poplar or pine dowel (local hardware store)
1/16 inch diameter, pre- bent stainless steel wire (NJTackle.com)
#2 VMC trebles (for belly hook)
5/0 Mustad 9175 (for rear hook)
.120 ounce belly weight (NJTackle.com)
#7 swivel
Nose Grommets (NJTackle.com)
Tail grommets (NJTackle.com)
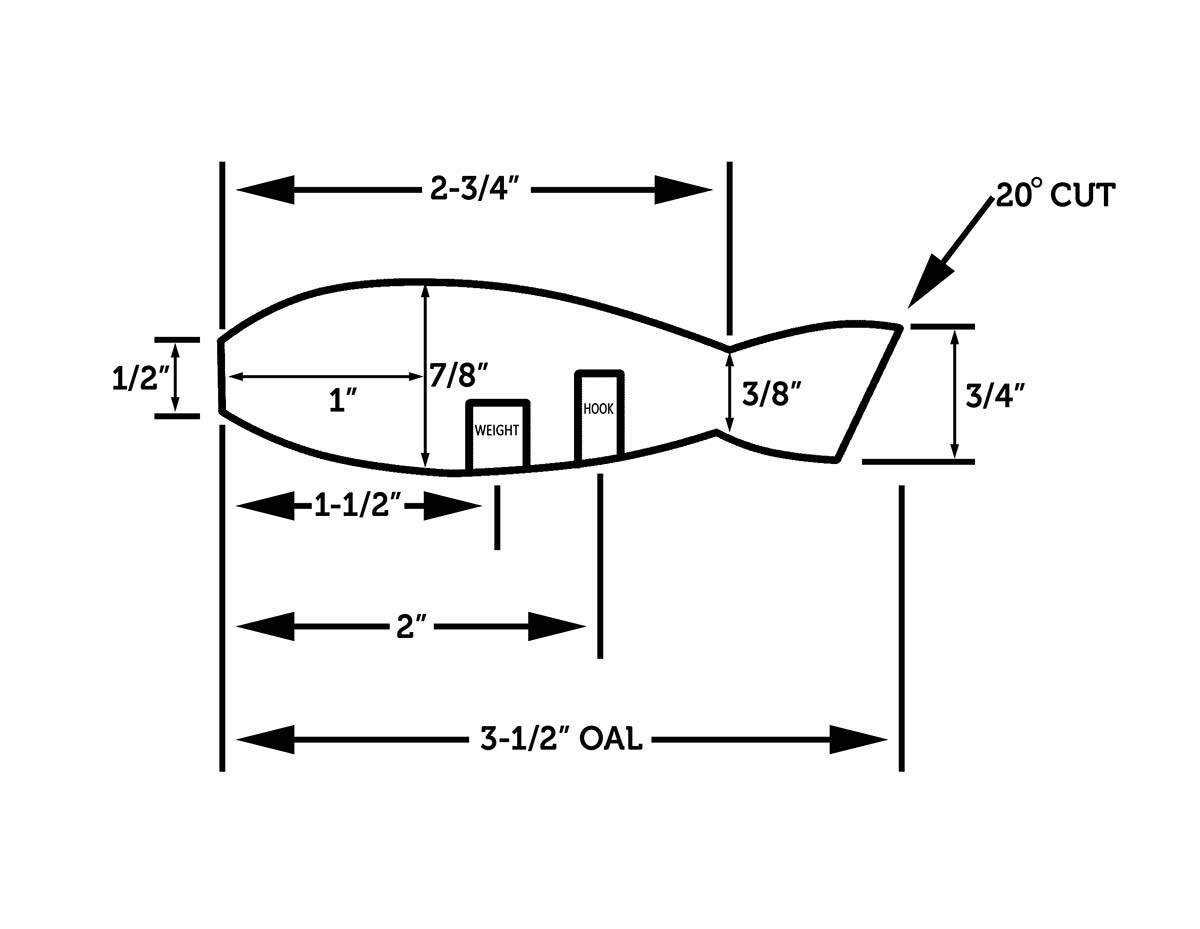
Cut a 4.25-inch length of dowel and mark approximate centers. Now chuck the dowel in your lathe to start forming the shape. Follow the dimensions in the diagram. Now that you have the desired profile done, give it a quick sanding and drill the thru hole with a 5/32 drill bit. This can be done on the lathe or using a drill press. Using a band saw or hack saw, cut the tail section at the diameter shown, and then cut the 20-degree face angle to bring the overall length to 3.5 inches. Now put a ball rasp in your lathe chuck and carefully cup out the face of the plug. You want a shallow concave face when done. Use both hands to hold plug while rotating it around rasp.
The next step is to drill the belly weight hole and the hole for bottom swivel. Use a 3/16 diameter drill for swivel and a 5/16 diameter for belly weight. Lay out the dimensions with a pencil measuring from the tail. Line them up with the center line and the bottom of the face angle. You can eyeball this, or make a fixture to hold it. It’s not that critical, so if you are off a little it won’t matter much with this plug. Make sure you drill the hook hole deep enough so the thru wire can pass through the swivel. Now seal the plug by dipping in the sealer of your choice and let dry for a couple of days. The final steps are to glue in the belly weight, then fill in with some wood filler. This plug does not require a tail weight. When the filler is dry, lightly sand smooth and prime with a light coat of white spray primer.
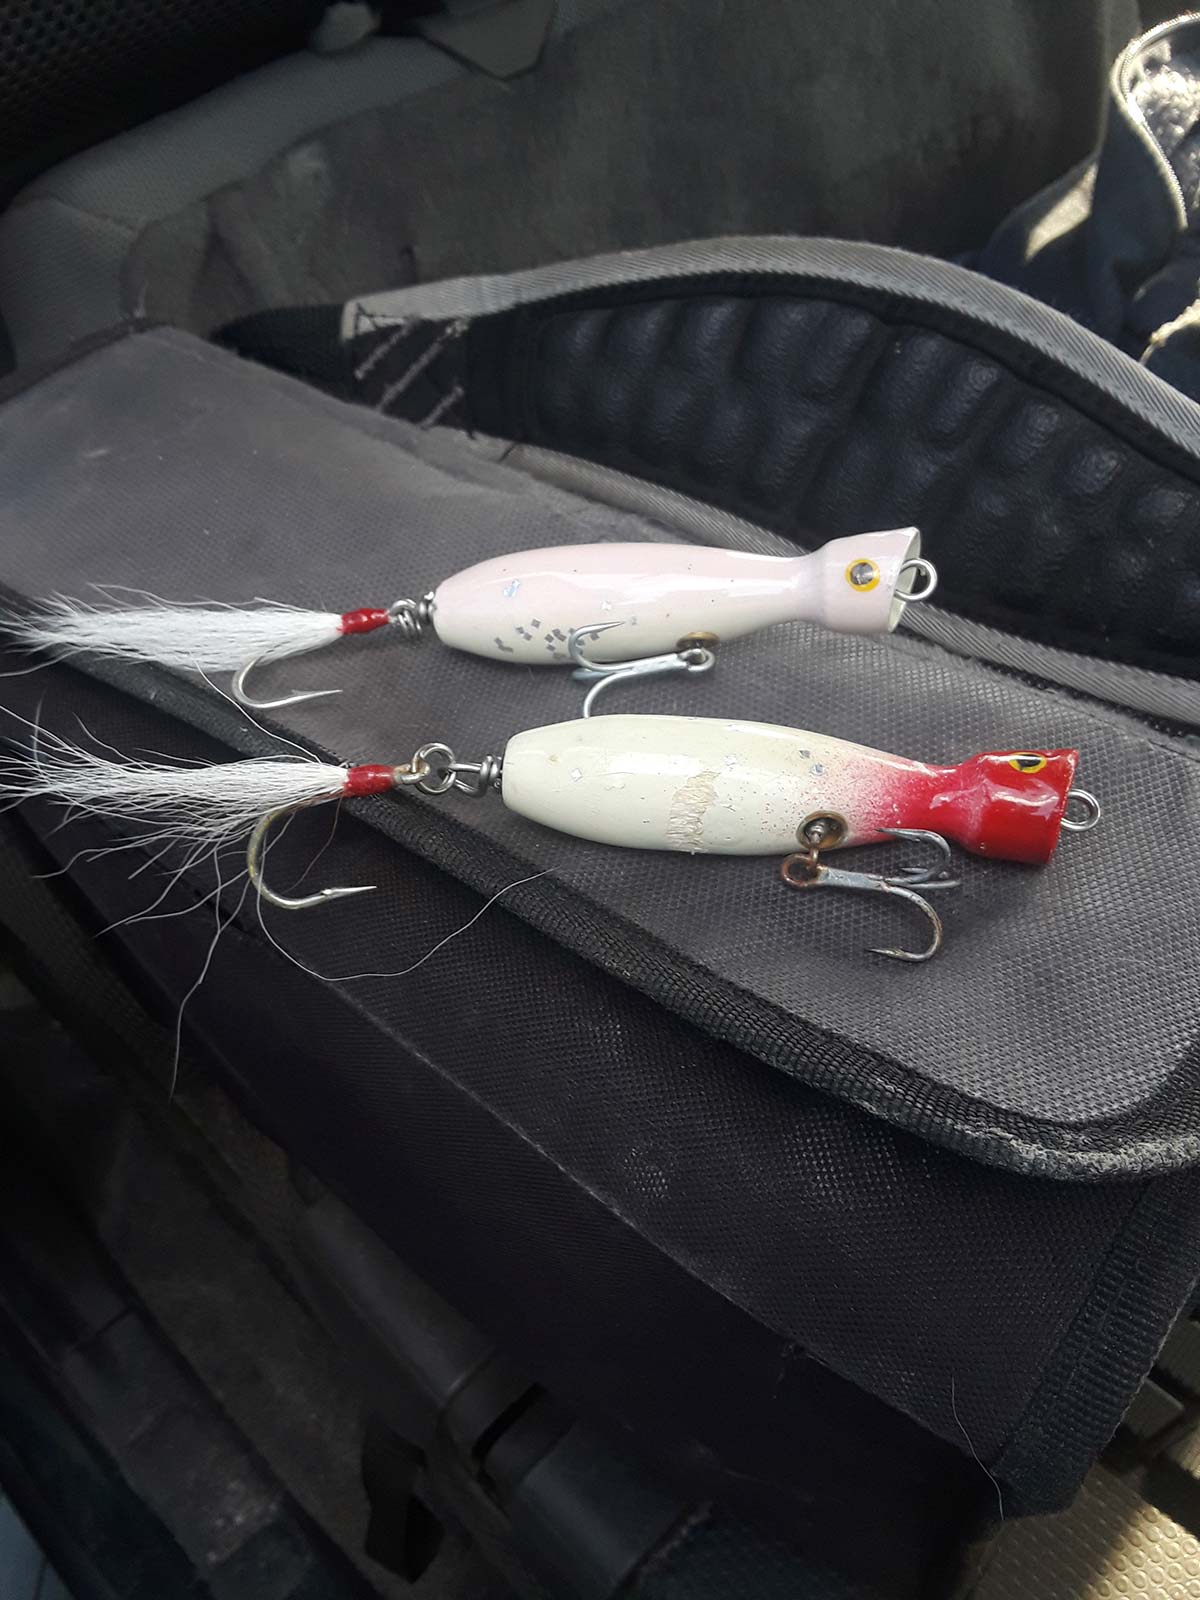
We are now ready for paint. My favorite colors are very simple. All white, and red head and white. Rattle cans work great for this, no need for an airbrush. To paint eyes on, use a Q-tip and dip in yellow. Then make a black pupil. When the paint is fully cured, I dip the entire plug in Minwax Polycrylic urethane . This is a coating that allows me to assemble the lure without disturbing the paint job, while also adding another layer of protection.
To assemble, add a nose grommet to your wire and send the wire through the plug, threading the swivel on the way, then add your tail grommet and finish with a tight loop in the wire. Then brush on a coat of the clear coating of your choosing. Now add hooks. For the tail hook I add white bucktail, and attach with a split ring. For the belly treble, I cut the eye and attach to swivel. This arrangement keeps hooks from catching each other.
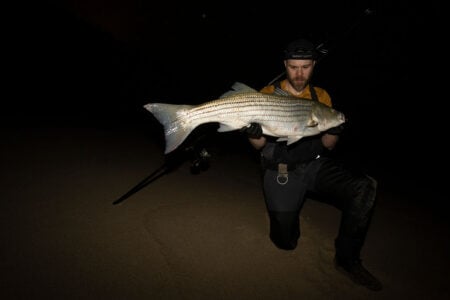
In part two of this article I will detail how I work this deadly plug, and make it come to life, bringing bass to the surface when other topwater lures won’t get a look.