Know how to approach both shores of the island for tog fishing.
For years, tog fishing has typically been regarded as a boat fishing activity where you have to search for that perfect piece of structure, anchor up (and then maybe have to re-anchor again if the first go isn’t perfect), deploy baits and wait for that familiar nibble.
Over the last several years, I have become fascinated with persuing tog (more recently large tog) from all island shores. I find that fishing for these fish off the beach, as opposed to a boat, opens up a whole other set of challenges that I usually wouldn’t come across on a boat. Sometimes that challenge is the location itself. Both island shores (north and south) have ample togging opportunities from the land, but they can be approached differently.
North Shore
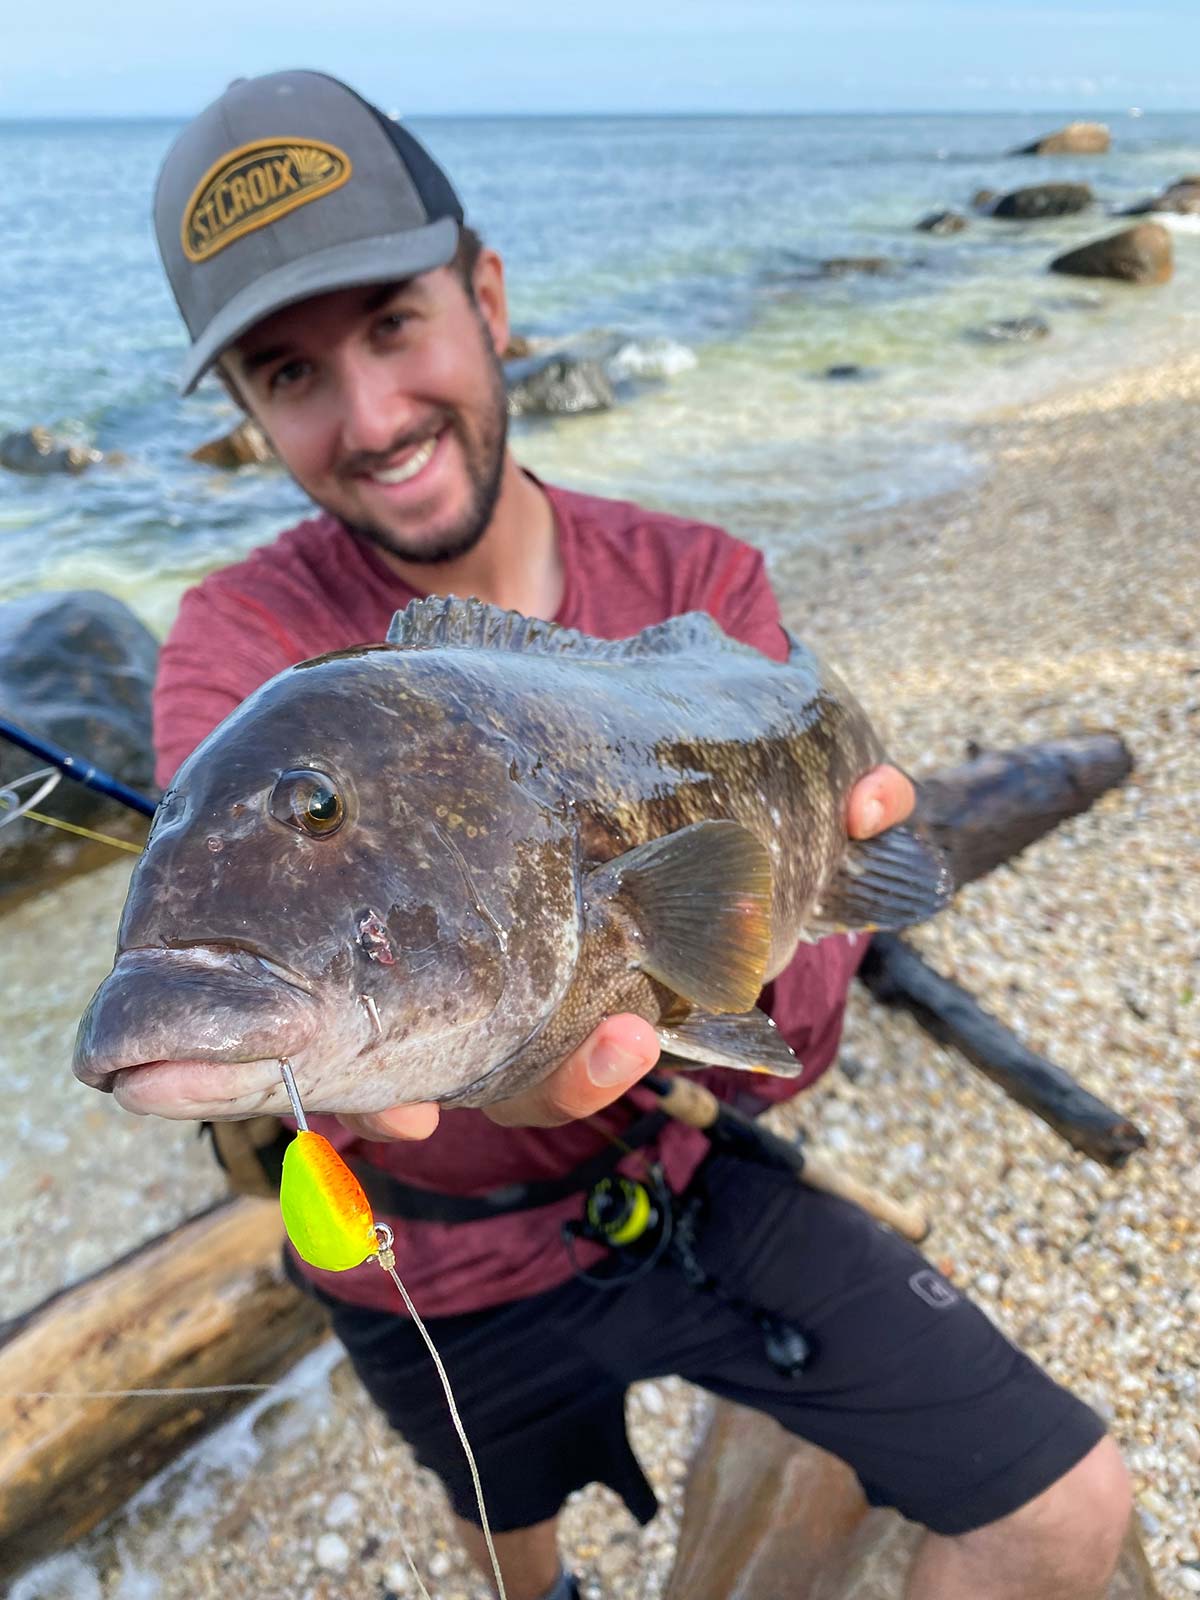
This is where I initially started togging from the shore. The visible rocks within casting distance fascinated me, and I pictured tog laying next to them, waiting for that unfortunate crab to come tumbling off to its demise. It wasn’t until a short while after I had this idea that I tried fishing these visible rocks along the central North Shore of Long Island. I started with a hi-lo rig and cut green crabs.
My first few sessions were a little slower as I moved from rock to rock, casting my bait and waiting for a hit. This was my first mistake, which I learned by spending more time at a single rock instead of going from rock to rock looking for the fish. I realized that if I stayed at the same rock the whole time and kept rebaiting every time the guts on the green grab were washed out, it created a mini chum slick – just big enough to gain the attention of tog in the area. At first, it was a couple of tiny nibbles, then some harder hits and of course, those who have togged before know the familiar take where it’s time to set the hook. I landed my first fish. Those that came after the first came much easier as the fish were put into a feeding mood after all the “chum” was released in the water.
Venturing out a little more, some of my next trips came from areas with a bit more current, making it tricky to hold a bait at times. Thinking back to my striper fishing, I noticed the slack water on the downcurrent side of a rock. I imagined the blackfish demonstrating the same behavior as stripers and sitting in that minimally moving water to reserve energy when the current was ripping. It took a properly placed cast, but once I let my bait sink to the bottom behind that rock, it wasn’t long after that I got my first strike. And like my experience before, a little patience in letting my natural chum deploy resulted in another solid bite with action on almost every cast.
The other key thing I noticed when fishing the North Shore for blackfish was fishing certain tides. For those unaware, the North Shore has some extreme tidal changes that can be as much as 8 feet. So for example, you could be casting into 12 feet at a high tide, and that spot at low tide will only have 4 feet, which most likely will not hold the same amount of fish that it did at the highest part of the tide.
The unique and lovely thing about the North Shore when it comes to tog fishing is that essentially the entire shoreline of this side of the island can hold tog. Of course, some spots are much better than others, and fine-tuning spots can be done through trial and error.
South Shore
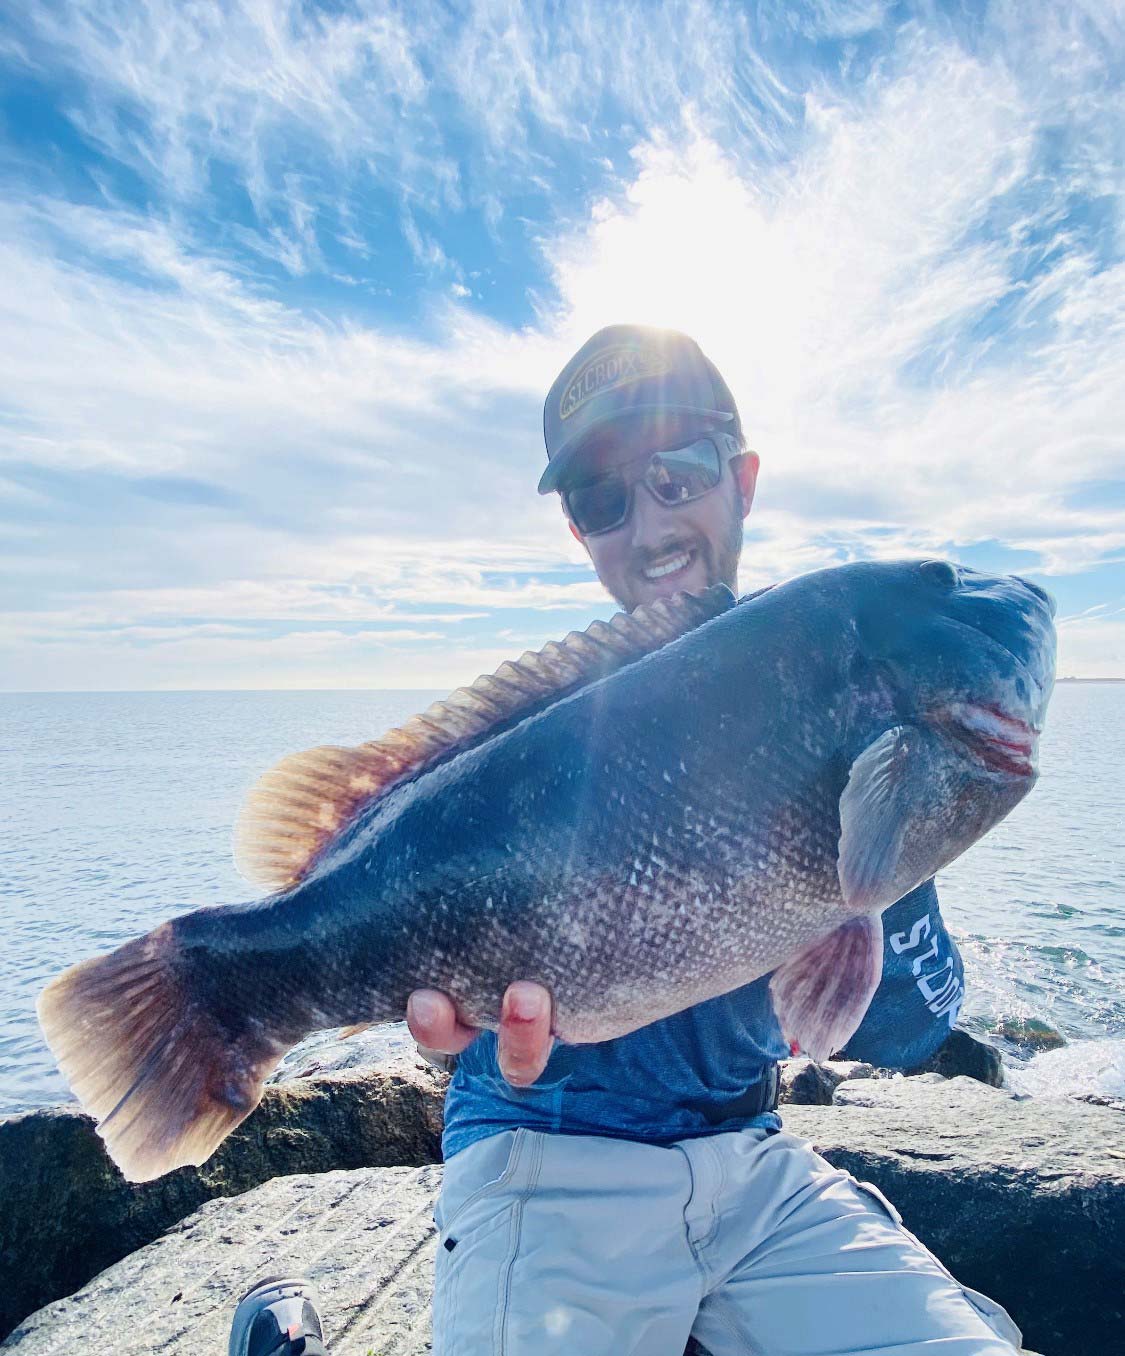
On this side of the island, the fishing can be a bit more focused, but I have found some pretty sweet spots in places I’ve never thought to look. My hit list for this side consists of all the major jetties, bridges, docks, and even sod banks with deeper water next to them.
The main point of attack for my South Shore togging is obviously the jetty rocks. They are one of the ideal places for blackfish on the South Shore and can even be better than ocean wrecks at times early in the season. Crabs, barnacles, and small fish provide forage for hungry tog, and they will stick close to the rocks where all this forage also congregates. Some of my friends who are divers describe the scene from under the water to me also, and it’s just fascinating to imagine. They explained how the jetty rocks extend out under the surface and provide “housing” for the tog. They live deep in these rocks sometimes and are barely visible. This structure also makes targeting these fish in this setting quite challenging. Just imagine a curious tog seeing half of a grab come down in front of its hole. Countless times I’ve experienced fish grab that crab and run right back into its hiding spot, chaffing my leader on the sharpest of rocks, resulting in a quick break-off. Being quick on the reel is sometimes the difference between losing a fish like this and landing one.
Bridges and docks also provide an ample amount of ideal blackfish structure on the South Shore. Again, think about all the marine life clinging to pilings and bridge abutments. When this occurs, blackfish are not far behind. One of the things I have noticed about fishing this side of the island as opposed to the other is that these spots can be fished out a little quicker than the North Shore, so hitting them as soon as the season opens is typically the best time to go.
Two-Way Attack
Both settings on the North and South Shore are approached with two setups from me. I’ve found that hitting these places with multiple rods and techniques instead of just one is more effective and fun.
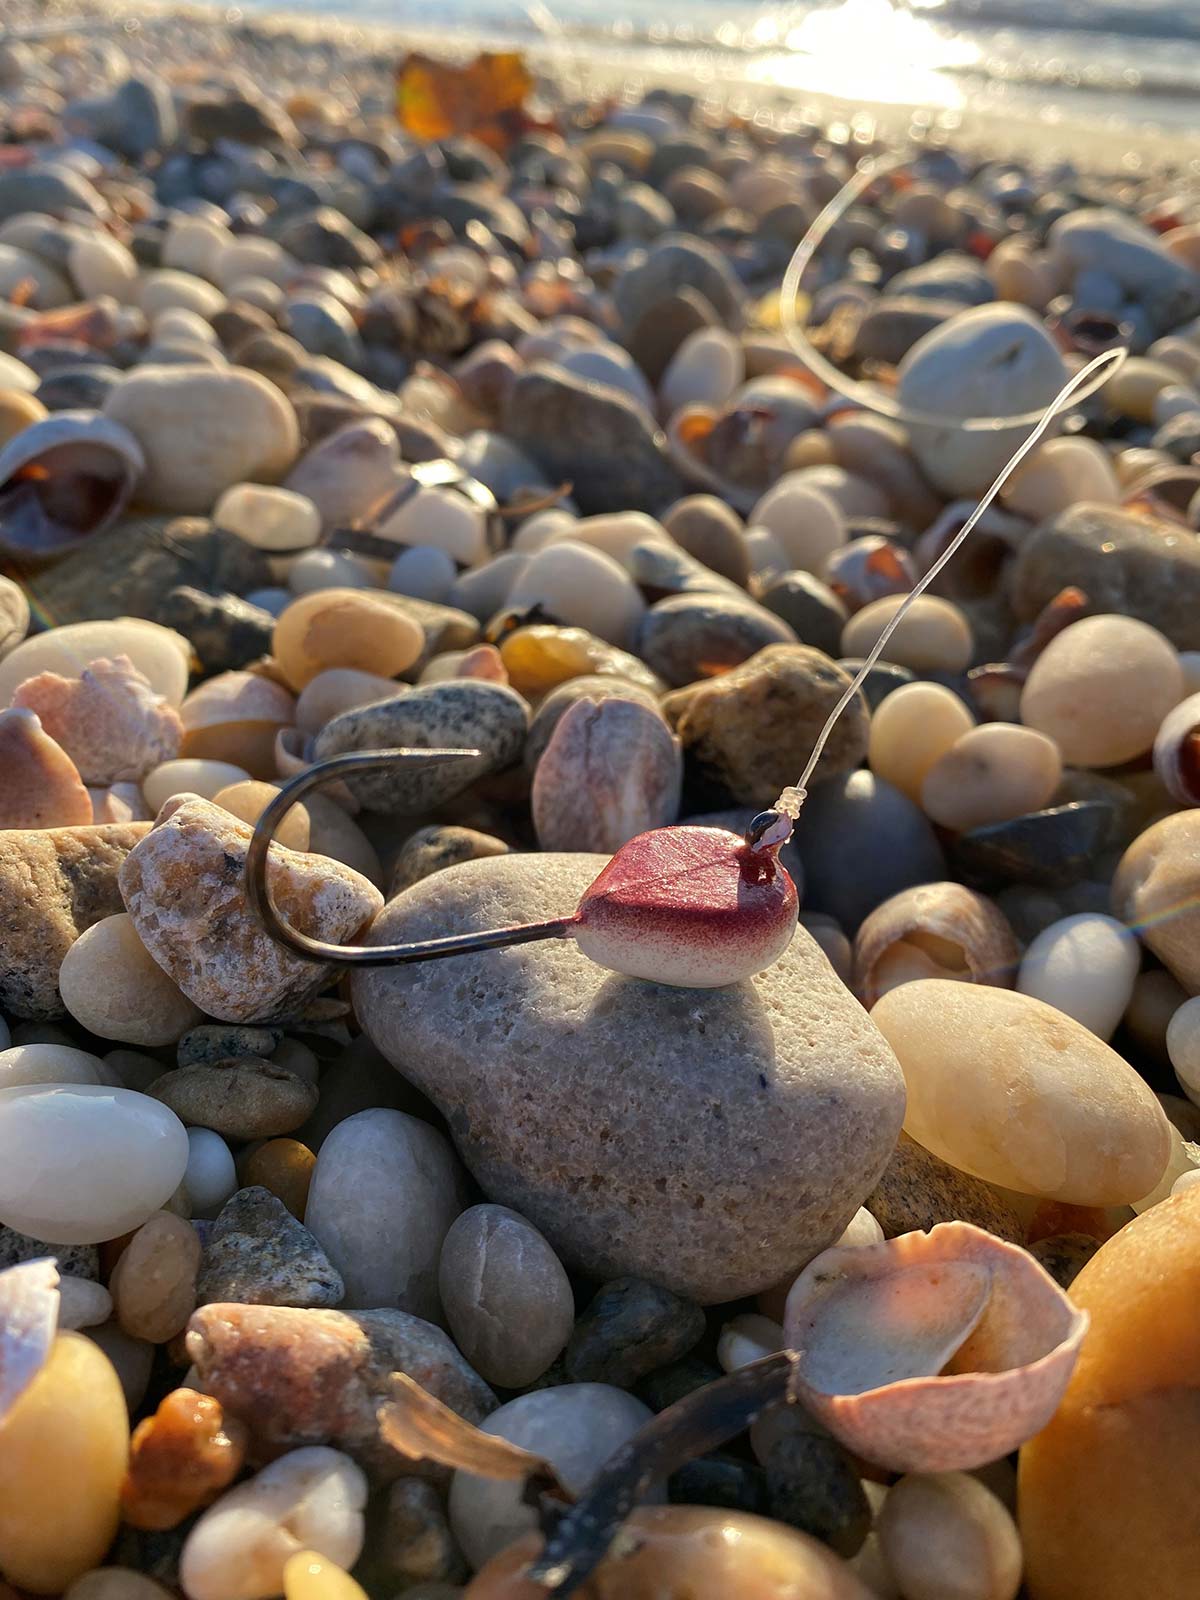
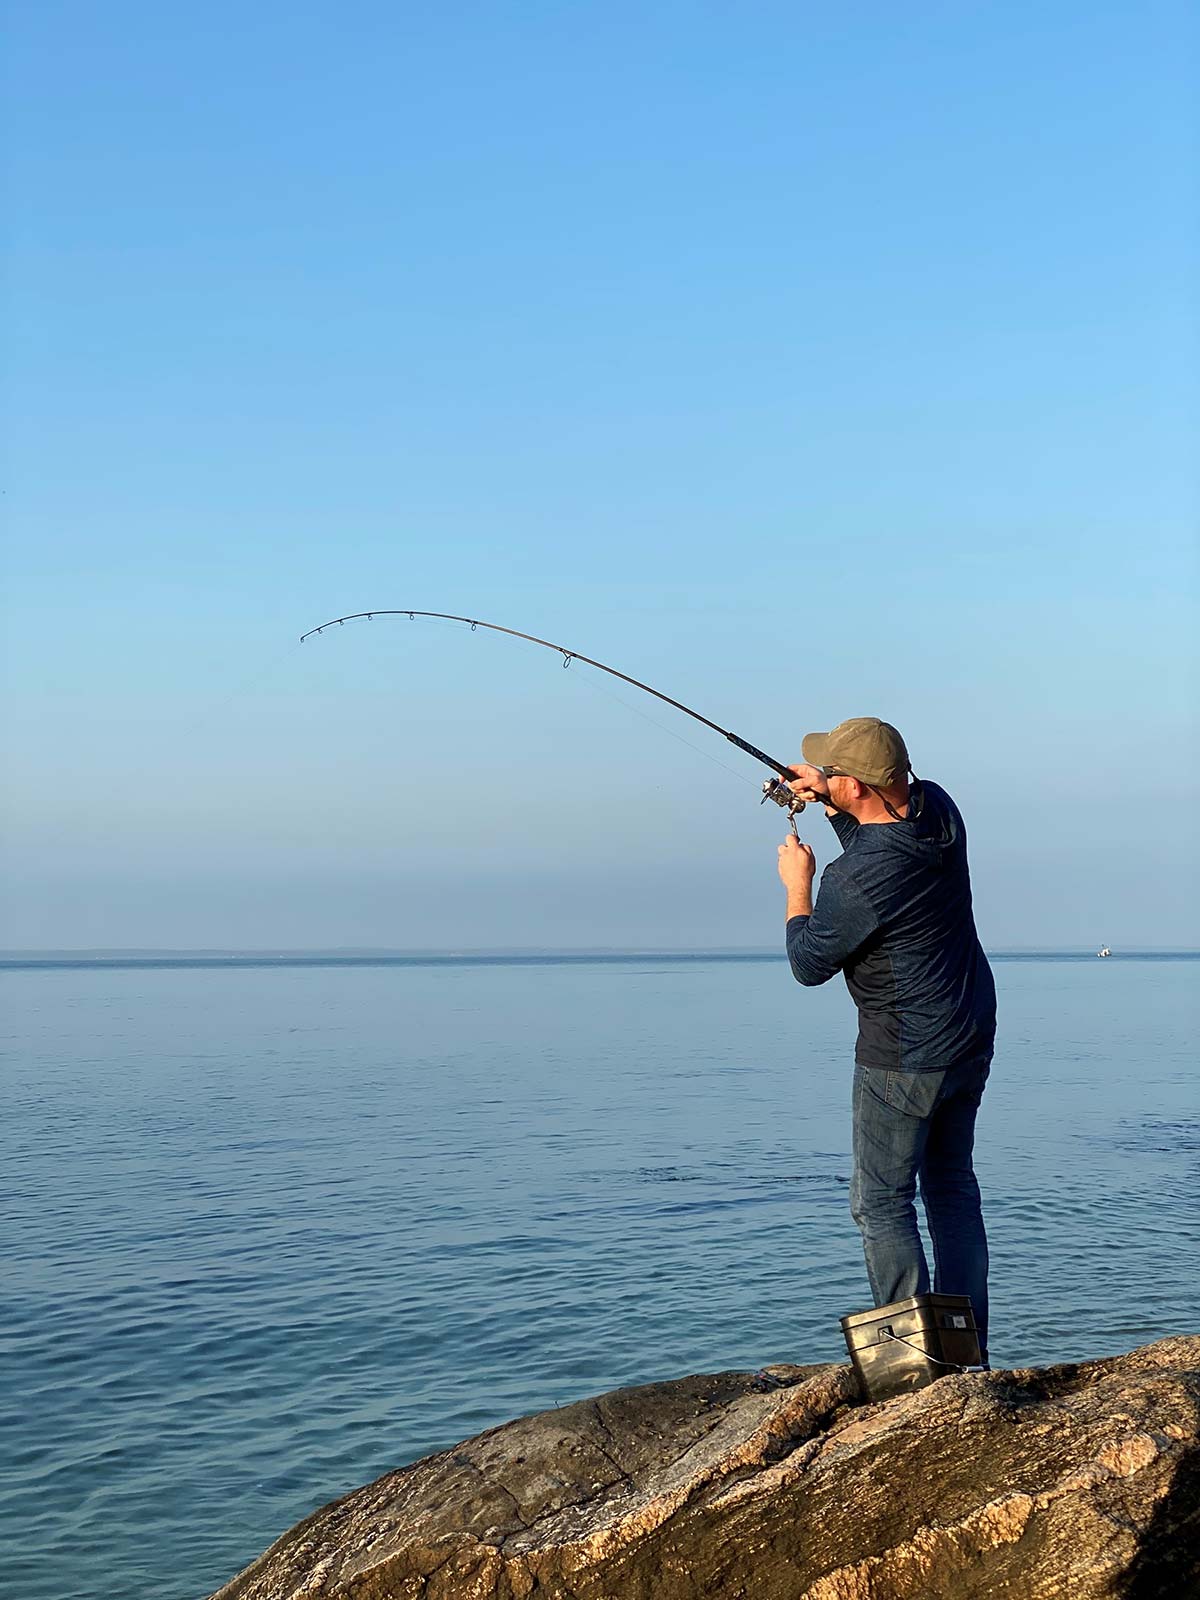
My first setup is what I consider more of a heavy-duty meat stick. It’s an 8-foot surf rod rated up to 3 ounces that can pull a larger tog out of structure. I feel as if the size of the rod gives me enough leverage to set the hook and cast a hi-lo tog rig exactly where I want it. The rating of up to 3 ounces is sufficient to cast a bait and sinker. I also feel that when I’m using more than 3 ounces, the fishing isn’t as productive from the shore, and I do not have that much fun casting a heavier sinker just trying to stay in contact with the bottom. This rod is deemed my rig rod for this type of fishing, meaning I’ll be fishing hook and sinker rigs with it. The standard rig I tie on this rod is a hi-lo rig with a sinker loop at the bottom. The leader used is 50-pound monofilament, and the hooks are 4/0 baitholders. A Uni-to-Uni knot attaches the mono to the 30-pound braid coming off my reel.
My second setup is a lighter 7-foot rod used mainly for fishing jigs. If I’m not dealing with as many rocks or snags and don’t need to put as much pressure on a tog, this is the rod that comes out to have some serious fun. I’ve used jigs as light as a half-ounce with the 7-footer for tog. Of course, I can cast jigs up to 1-1/2 ounces if need be. If I’m looking for a big fish around very rocky structure, I try not to use this setup as much since I only have 15-pound braid on it. Typically, I’m using a 40-pound leader with this setup that’s about 5 feet long and attaches right to my jig of choice.
Being Efficient
When doing this type of fishing, being ready and efficient can sometimes make or break the trip. Usually, when you prepare things in advance, it results in much more fish caught when the window of the bite is hot.
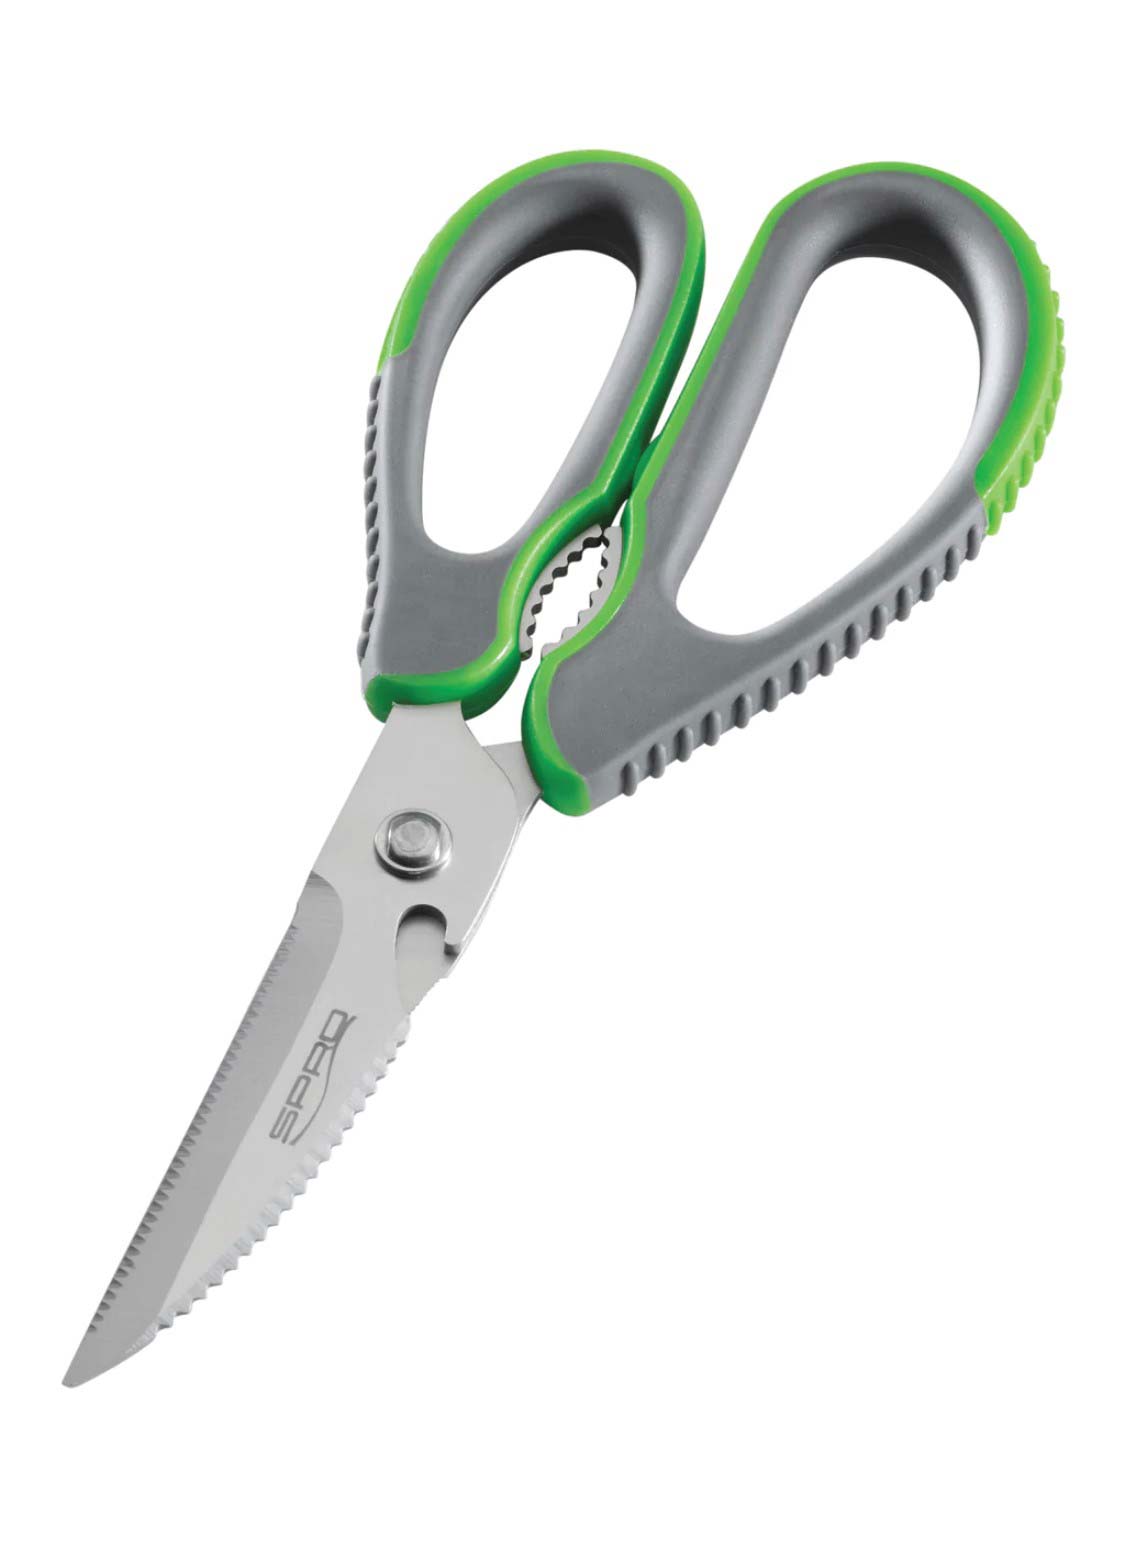
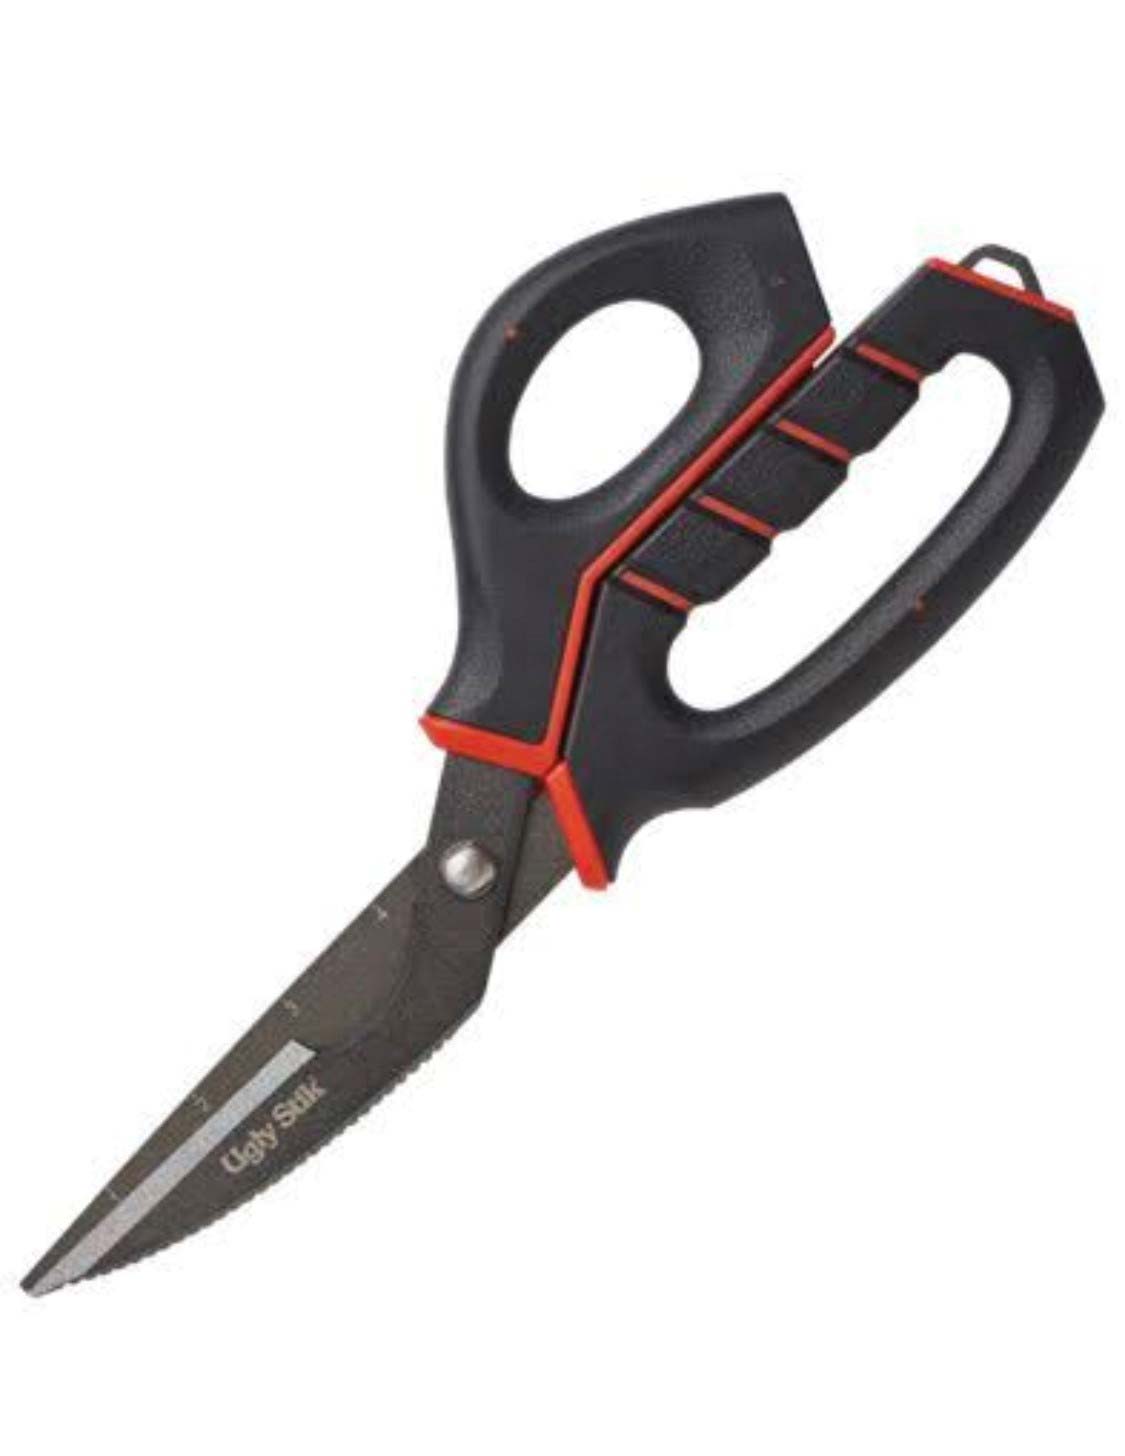
Having a good pair of shears or scissors is the first step. You will want something with no problem halving or quartering green crabs. I got to use the new Spro Sportsman 9-inch scissors and they did a great job just cutting the shell of a crab and have comfortable handles for better leverage. The Ugly Stik Marine Shears are another solid option that my friends use and are happy with for the same task.
When walking the shore to get to my destination, I usually wear a backpack to carry my tackle and gear to free my hands up since I’ll be bringing my crabs in a pail. My other hand will hold the two rods I’ll use for the fishing itself.
Sometimes I found that pre-cutting the crabs up will help once the bite gets going. I’ve had times where the fish were taking my bait as fast as I could cut up crabs and cast them in the water. With pre-cut pieces, you save a lot of time.
Rigs should be pre-tied because break-offs do often happen when togging. I’ll have a half-dozen in a bag tied with plenty of excess for connecting directly to my mainline. The total length of the hi-lo rig, including the excess for tying is around 6 feet.
Whether you head to the North or South Shore, know ample options do exist on both. Keep in mind that you need to approach a little differently, but being prepared and ready will give you the required edge to excel at shorebound tog fishing.
