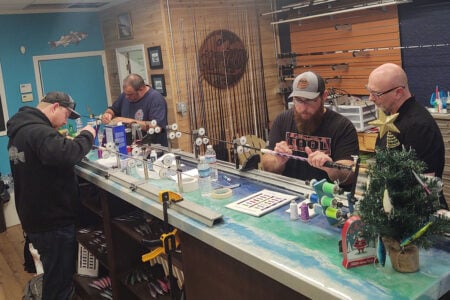
Detailed build instructions on crafting the perfect inshore fluke rod.
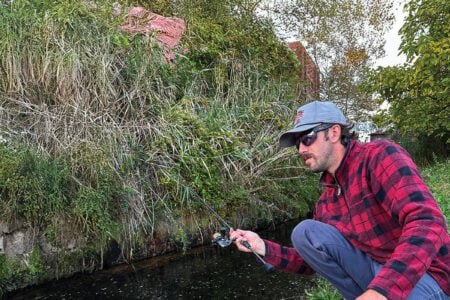
One of the most popular species in the Northeast region is without a doubt, fluke, also known as summer flounder by some folks. Summer fluking can be done on a variety of different tackle, but by far, one of my favorite ways to target these flatfish, along with many others that fish these waters, is with a light inshore setup. Not only is scaling down going to be a more enjoyable experience, but from scaling down, you will learn that your success ratio will go up when fishing the back bay inshore waters due to the added finesse factor — being able to present smaller baits and presentations to fish all while maintaining feel with the bottom and for the slightest swipes from one of them tailing a bait.
In this installment of The Fisherman Magazine’s rod building series, we are going to go into detail about building your own inshore fluke rod for fishing your personal favorite back bay locations.
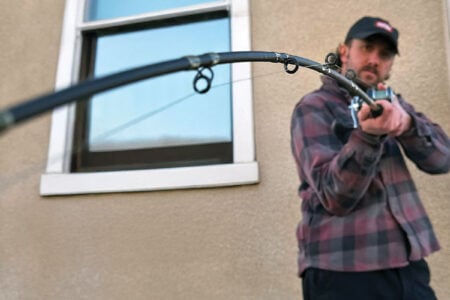
Right away, when I was tasked with building the ultimate back bay fluke fishing rod for my personal favorite inshore spots, I immediately knew what I wanted — a rod of about 6 feet, 6 inches that would be light enough to fish with in one hand, while being able to fish weights from 1/4 ounce up to 1-1/4 ounces. Some years back, a rod was released (discontinued since) that specialized in fishing the backwaters of my area on Long Island with most of the weights I mentioned above. The rod was excellent for bouncing those fluke bucktails tipped with soft baits or natural baits of choice! The rod was near perfect, and rightfully so because it was designed with the exact specs in mind needed to fish the shallow bays anywhere from 2 to 20 feet deep.

Start Chopping
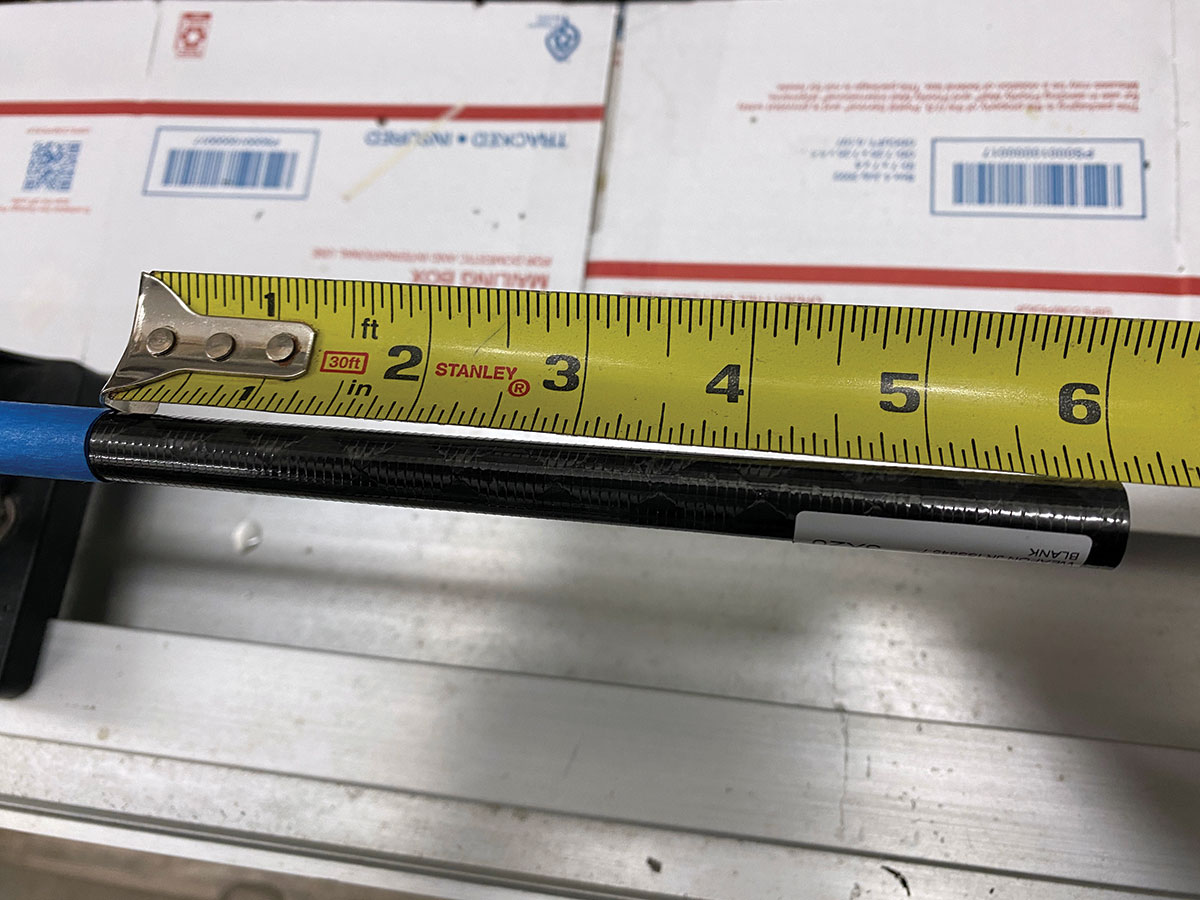
I wanted to improve upon the original rod tasked for this type of fishing, and the custom way was the path to go for me. This is a minimalistic build, meaning the blank, guide, and grip weight will have to be kept to a minimum so that I can work a jig and set the hook all with one hand. One blank that came to mind to fit the bill was the Century ISS945FTB, also known as the Weapon Jr. The original blank length was 7 feet in length, so to keep a compact design, I started the build by cutting 6 inches off the back end of the rod, making the total length 6 feet, 6 inches — the rod length I prefer for inshore fluke fishing. Cutting off the back end of the rod does not change the rating of the rod, so I’m still able to work the lighter jigs with this modification. I mark the spot to cut with painters or masking tape and use a standard hacksaw while turning the blank slowly to guarantee an even cut.
Find That Spine
Once the 6 inches of blank is removed from the backend of the blank, I’ll hit the back edge of the blank with a little sandpaper to take away the rough edge. Probably not necessary, but it’s just one of those attention to detail things I’ve always done. The next step is one of those small things that sets a custom apart from a factory rod — finding the ‘spine’ on your rod. Finding the spine of a fishing rod blank is basically finding the natural bend of the blank. Typically, blanks have two spines, and both work to set your guides along for the most natural bend. I’ll find a spine by first wrapping a piece of masking tape around the blank about halfway up it with a marker handy. Put the butt end of the blank on the floor and begin to roll the blank at a 45-degree angle with the palms of your hand cradling the top of the blank and a couple of feet below it with a little pressure applied. You will feel the blank pop in two different spots on opposite sides of the rod. Those are both of your spines. Mark both or one of them with the marker on the piece of masking tape and build the guide train along that line.
Laying Out Grips & The Seat
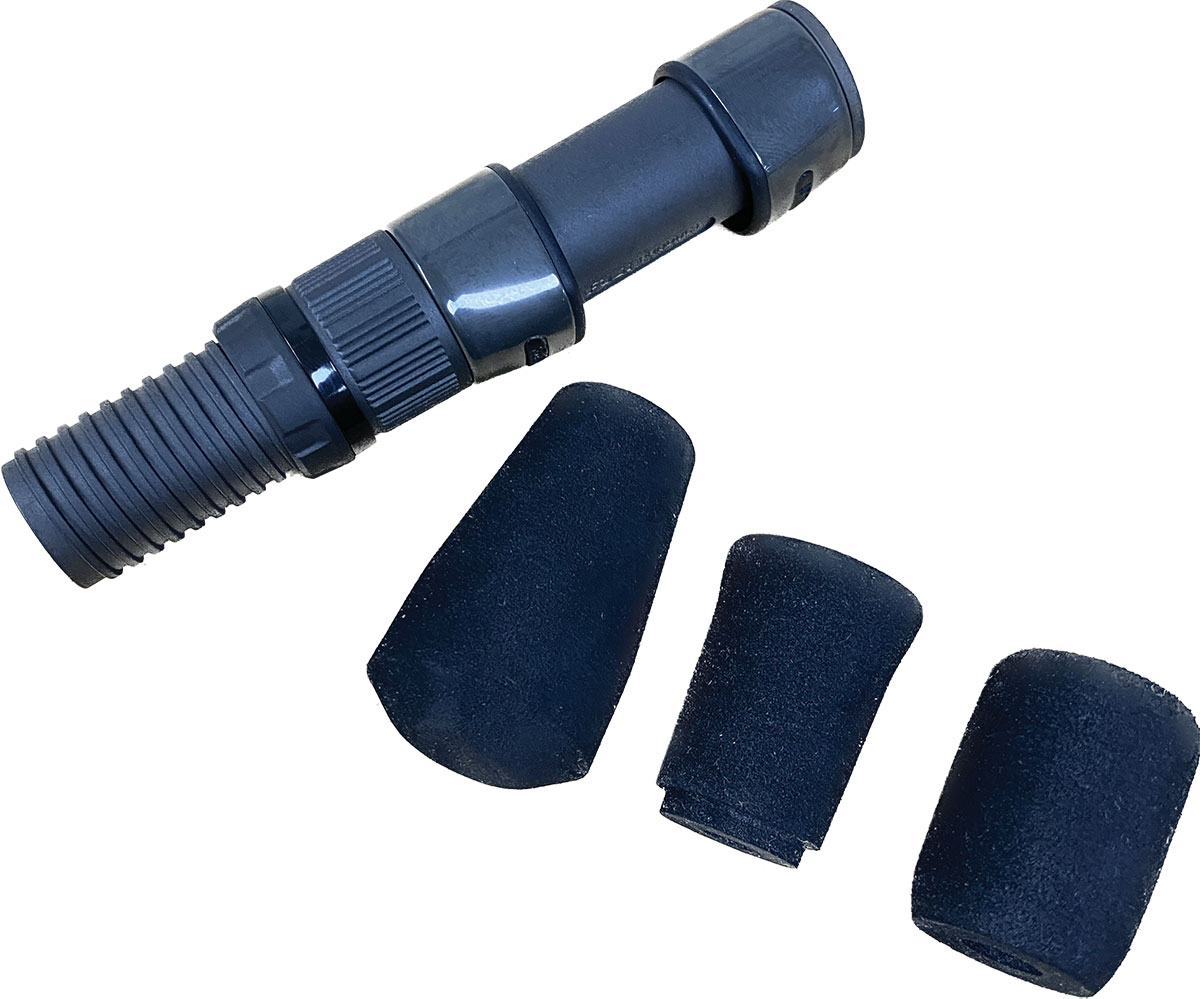
While I don’t mind the feel of a full-length cork grip or piece of EVA, I opted out of the full-length grip option on this build and decided to take advantage of some small grips from Fuji that include the EVA fighting butt, “Nubbin” grip for the rear of the reel seat and a small Fuji EVA piece for the foregrip. The “Nubbin” is considered a foregrip piece but being that this is custom, I enjoyed the feel more with the piece in the rear of the seat. The actual foregrip was another small EVA piece from Fuji that felt comfortable in the front. The butt cap is a Fuji Eva Fighting Butt. Remember, the beauty of this being a custom rod is that you can customize the build exactly the way you want it.
For the reel seat, I chose a Fuji DPSM size 17 standard seat. Fuji has an entire line of seats in different styles, from Ergonomic to Skeleton and a few others, which would all work on this build, but my favorite and standby had been the standard style for years.
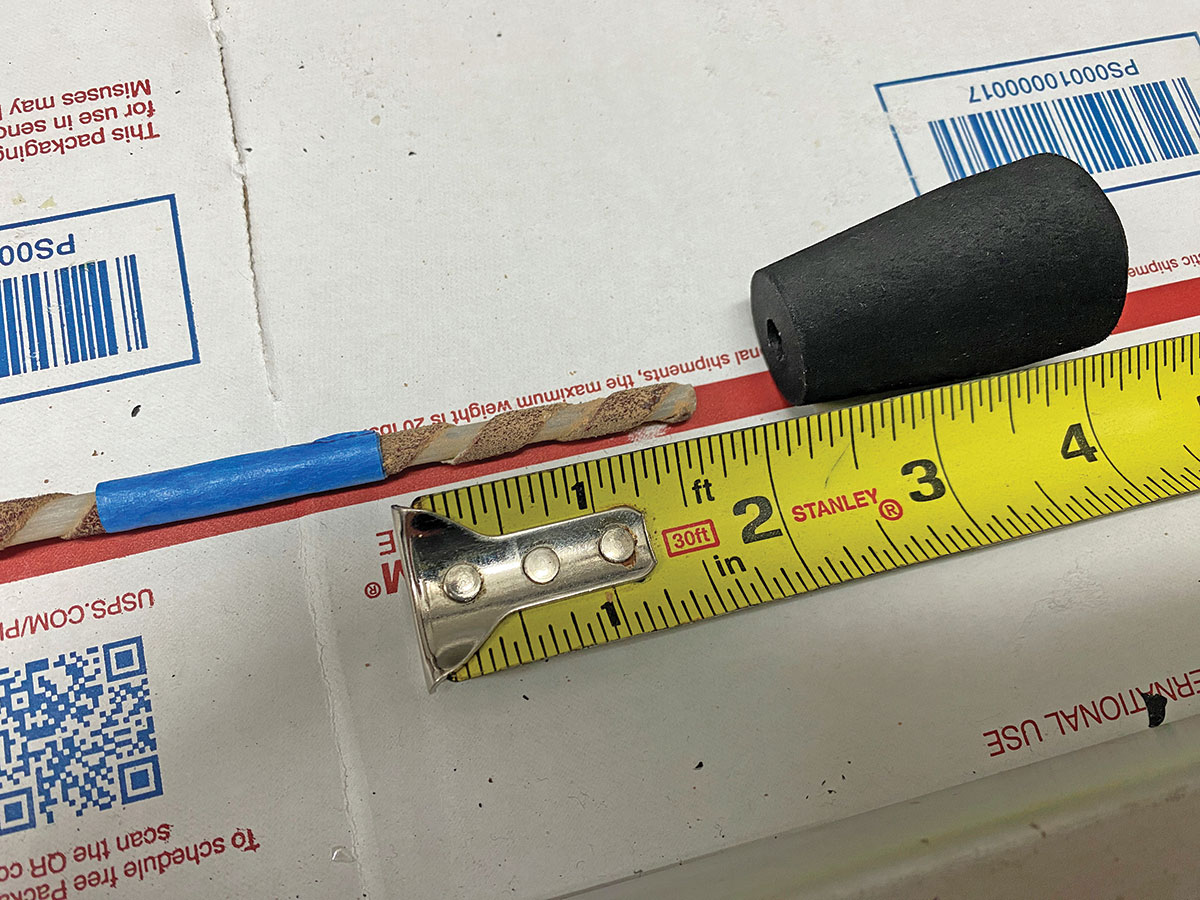
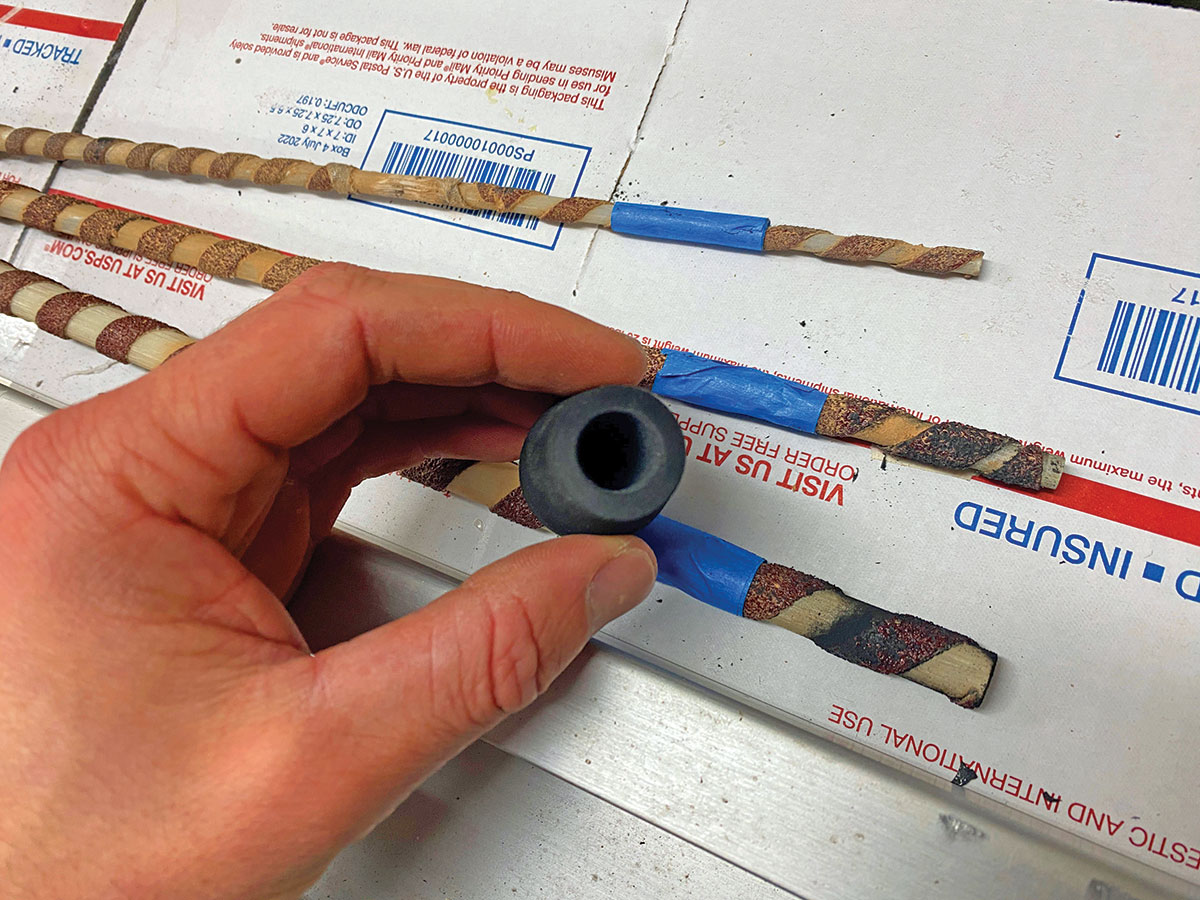
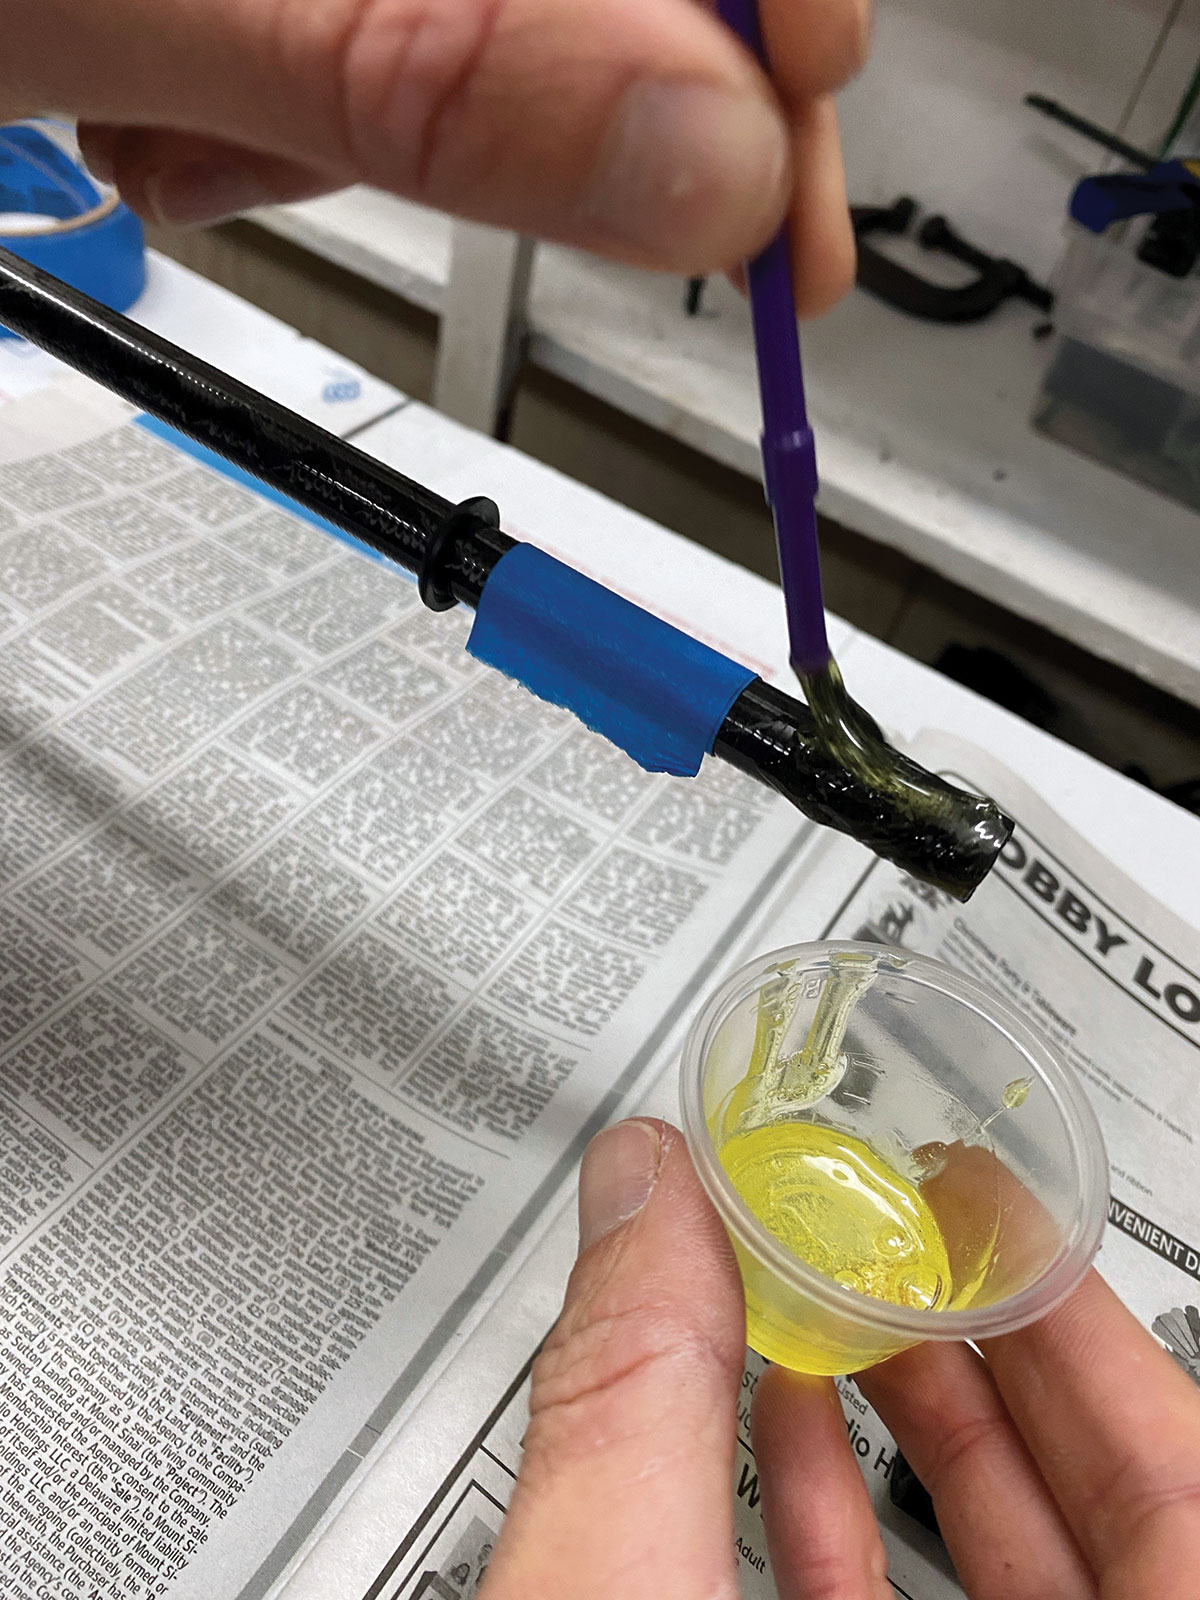
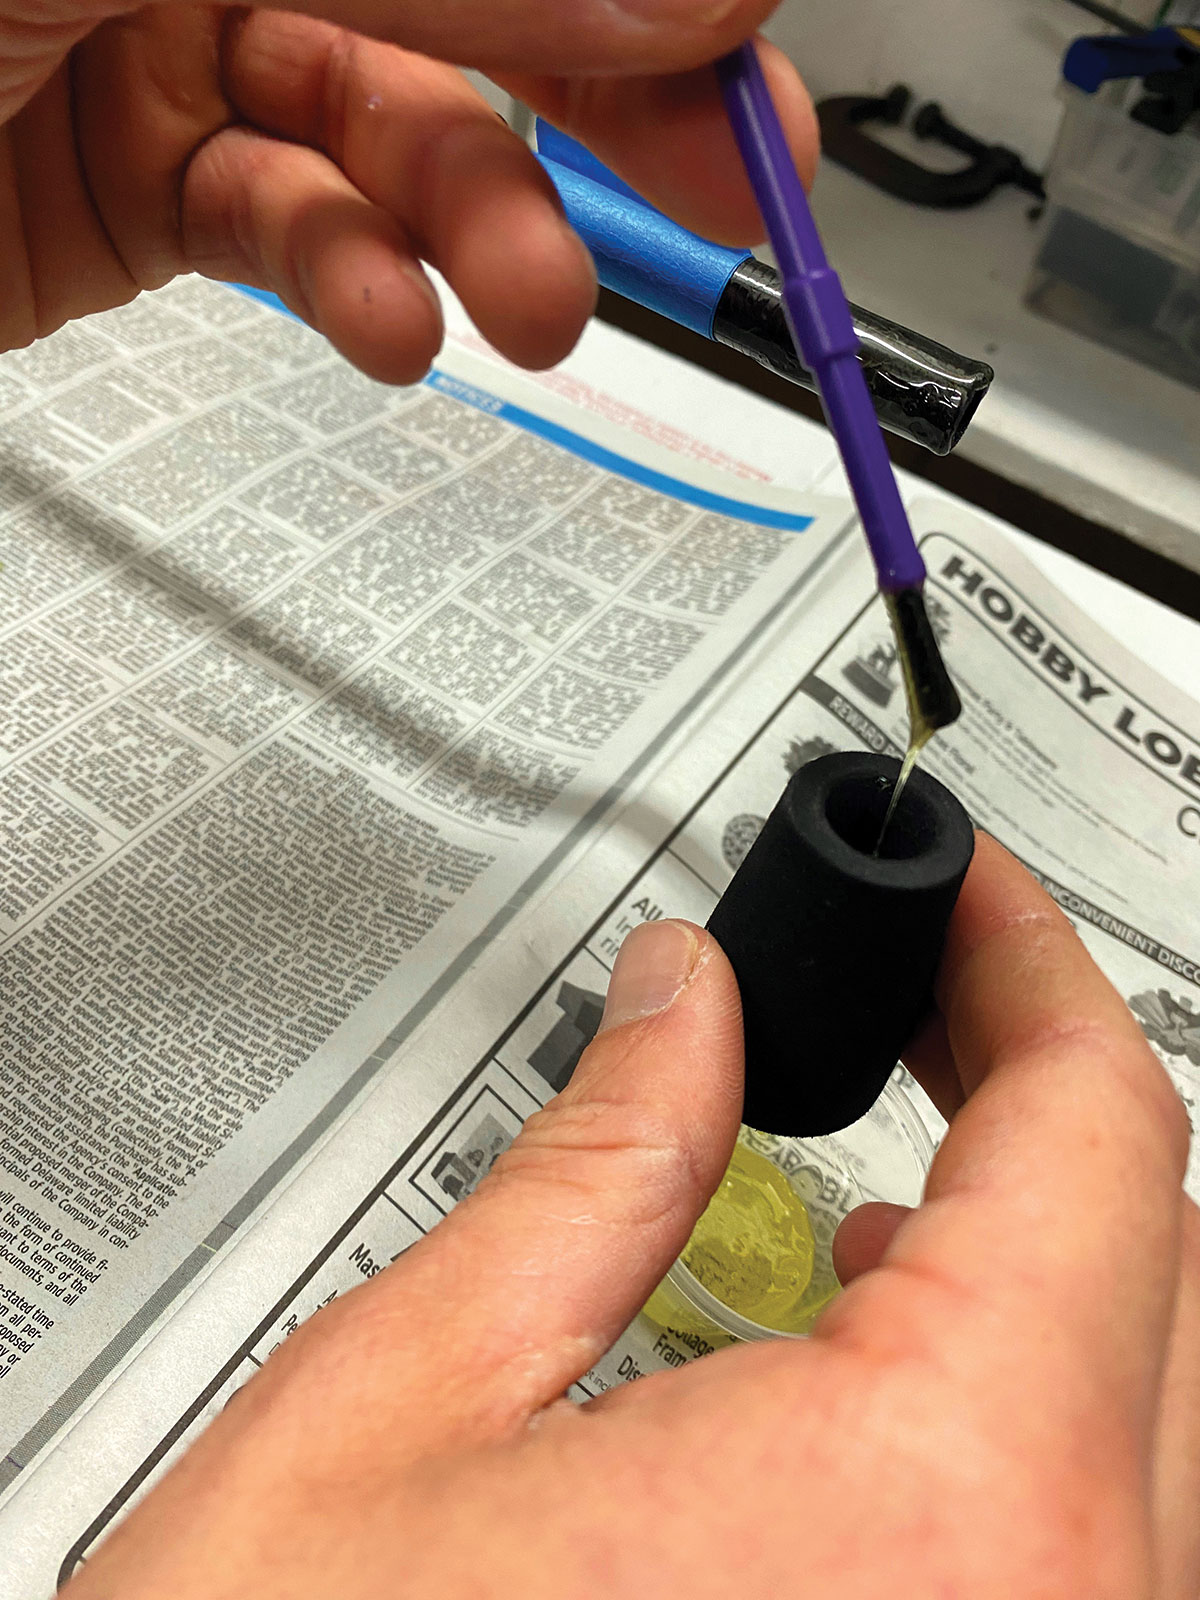
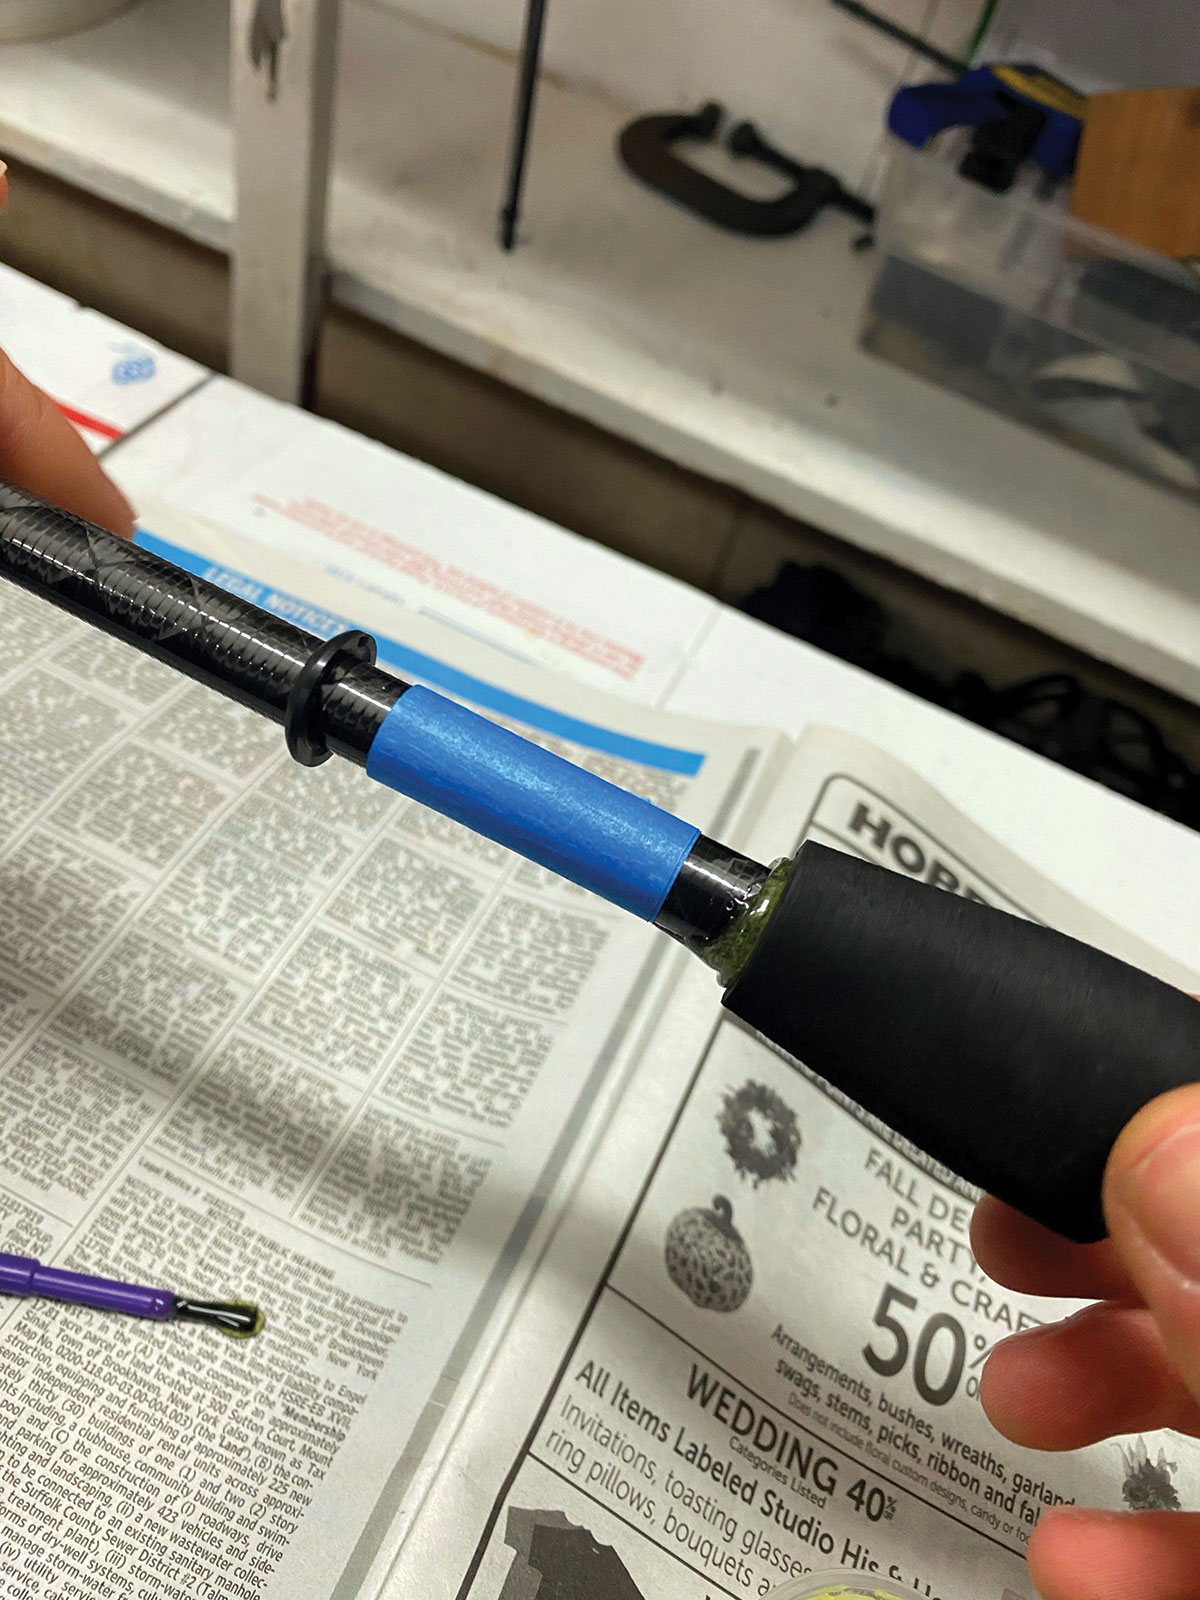
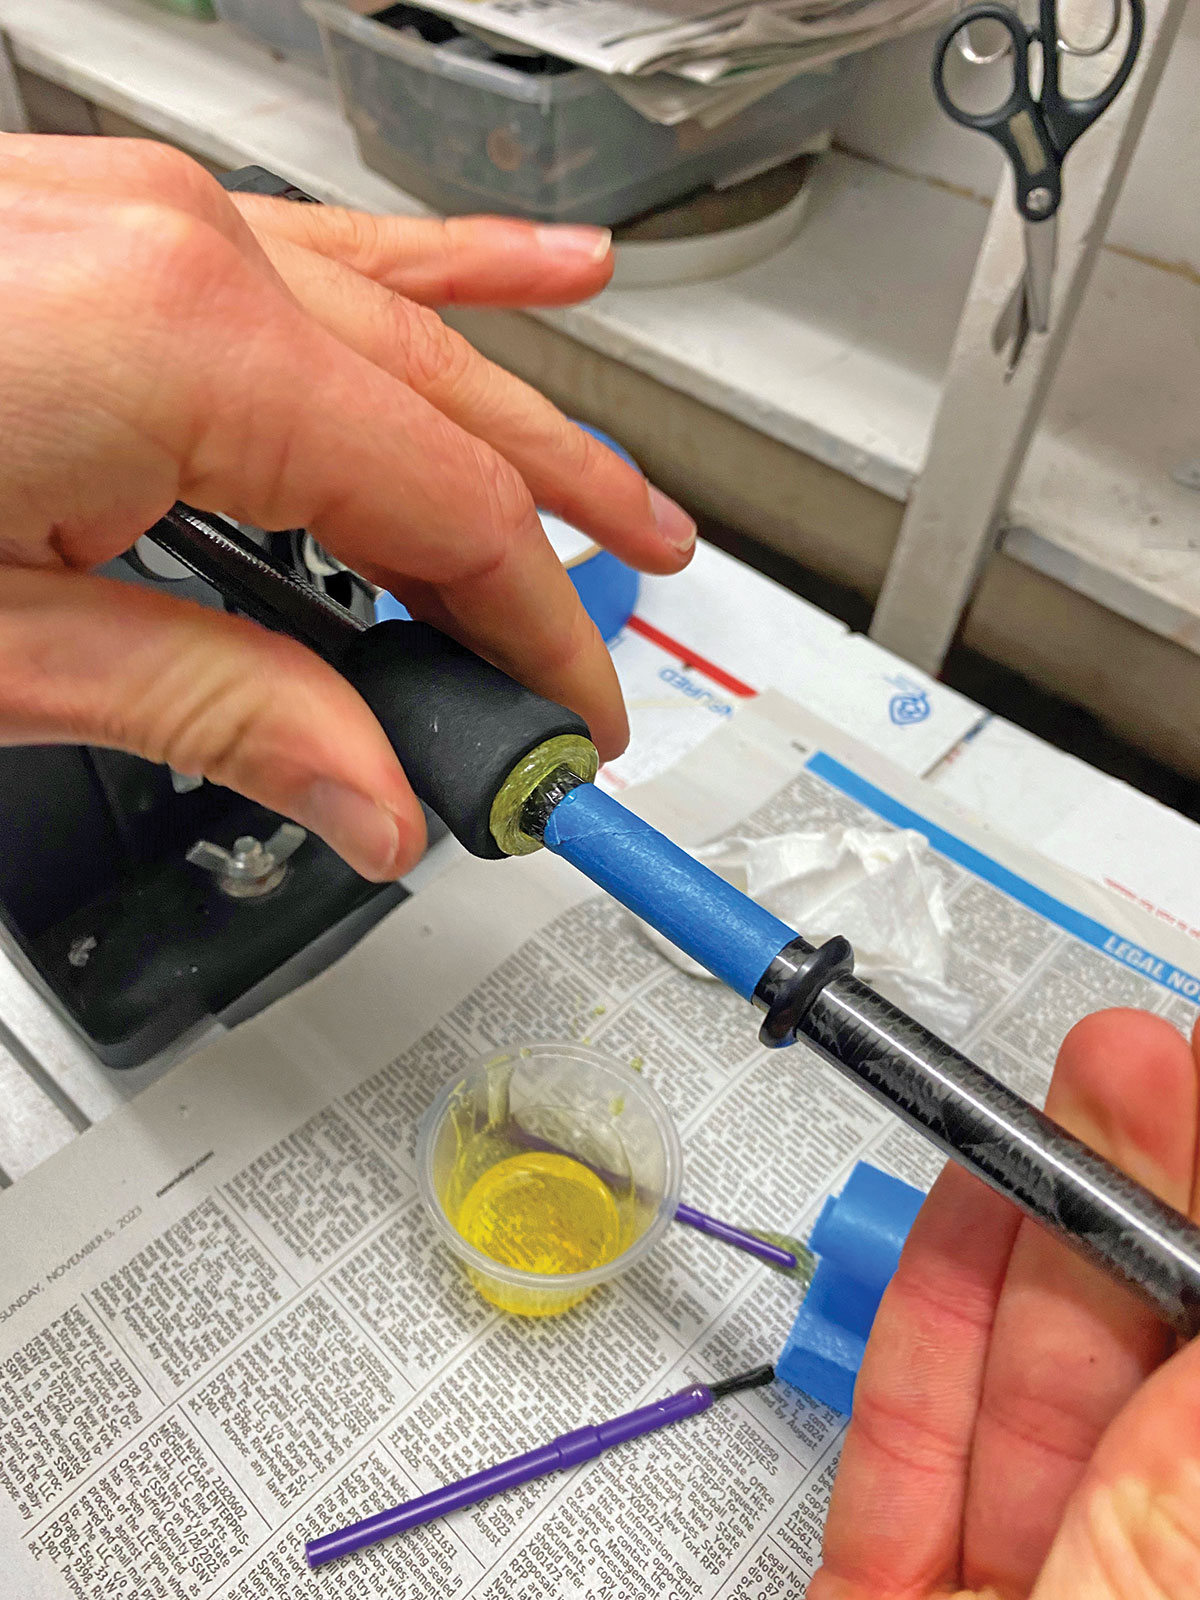
The first thing I did for the grips was ream out the fighting butt cap and glued it into place. You could do this with rod-building reaming tools or even a dowel wrapped in sandpaper. If you have a power drill and a selection of bits, you could go that route for this build as well, but remember you do not want to drill all the way through the butt cap with the bit, so what I would suggest is measuring the depth of the pre-drilled hole on cap and using a piece of masking tape to mark the maximum depth on the drill bit — do not go past the tape mark or you will ruin the cap! You want the cap to fit snugly on the end of the blank but not too tight, where it pushes all of the glue out of it.
Two-part rod building epoxy from Flex Coat is my glue of choice and allows me plenty of time to work with it and clean up messes. Mix a small amount together with equal parts thoroughly and coat the surface area where the cap will be sitting with a thin coat. Also, be sure to pour a little bit of epoxy inside the end of the cap before placing it on the end of the rod. Have some paper towels handy to wipe away excess epoxy that gets pushed out. Using painter’s tape at the edges will also help with the cleanup process. Being that this is a longer working time epoxy, you should have ample time before it’s too tacky to wipe off the blank. If you’ve never built a rod or have limited experience, I will always recommend using the long cure formula as opposed to the 5-minute stuff that sets quickly.
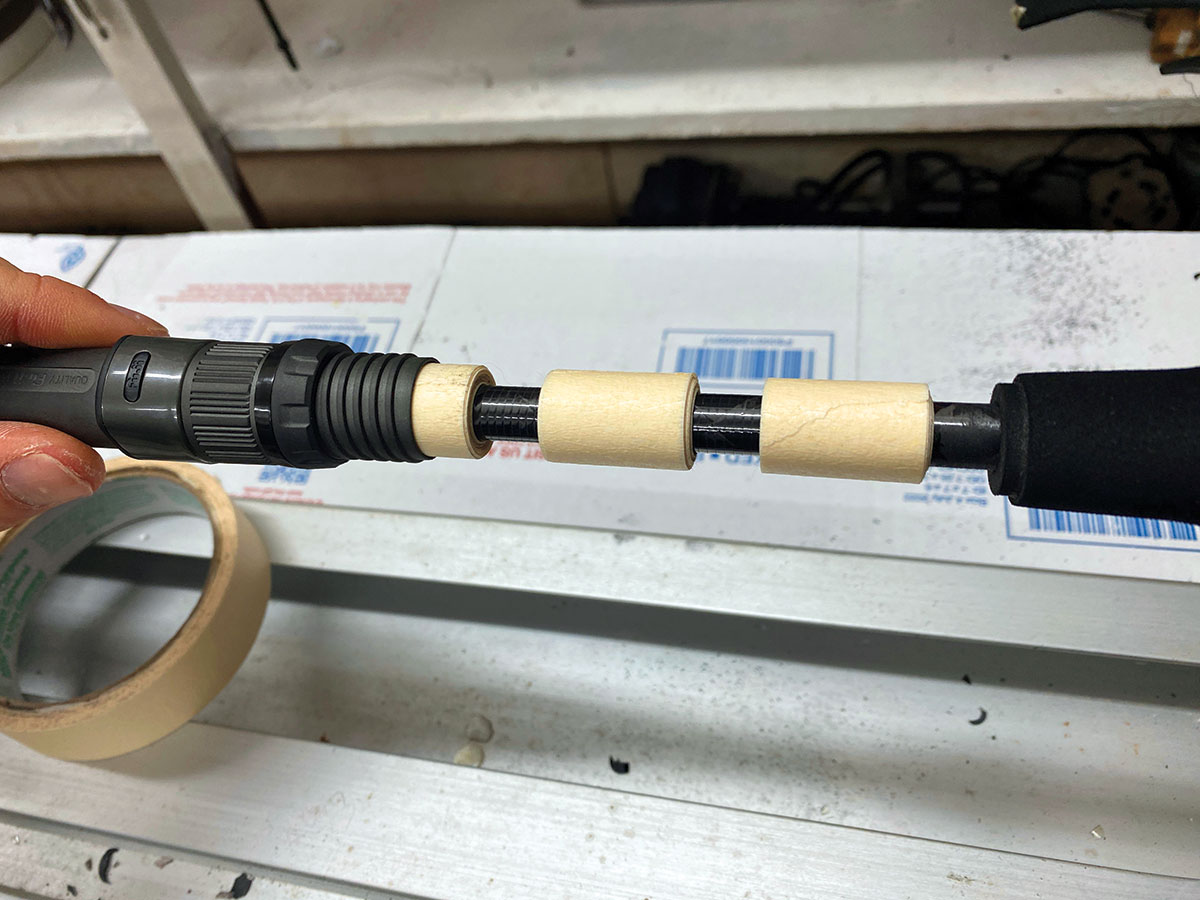
Before doing any more gluing, I determined the spot on the blank where my reel seat would be glued and marked it. The most comfortable position to me was at 13-3/4 inches from the end of the butt cap to the center of the reel seat. For those who don’t know, the exact center is where the center of the foot of a reel would be when installed into the seat. I picked this position because it allowed the butt end of the rod to be tucked under my forearm where the cap would come to about my elbow — the perfect inshore bucktailing position for me comfort-wise. This reel seat positioning would also determine how much I was going to ream out my EVA pieces to get them to fit in front and behind the seat.
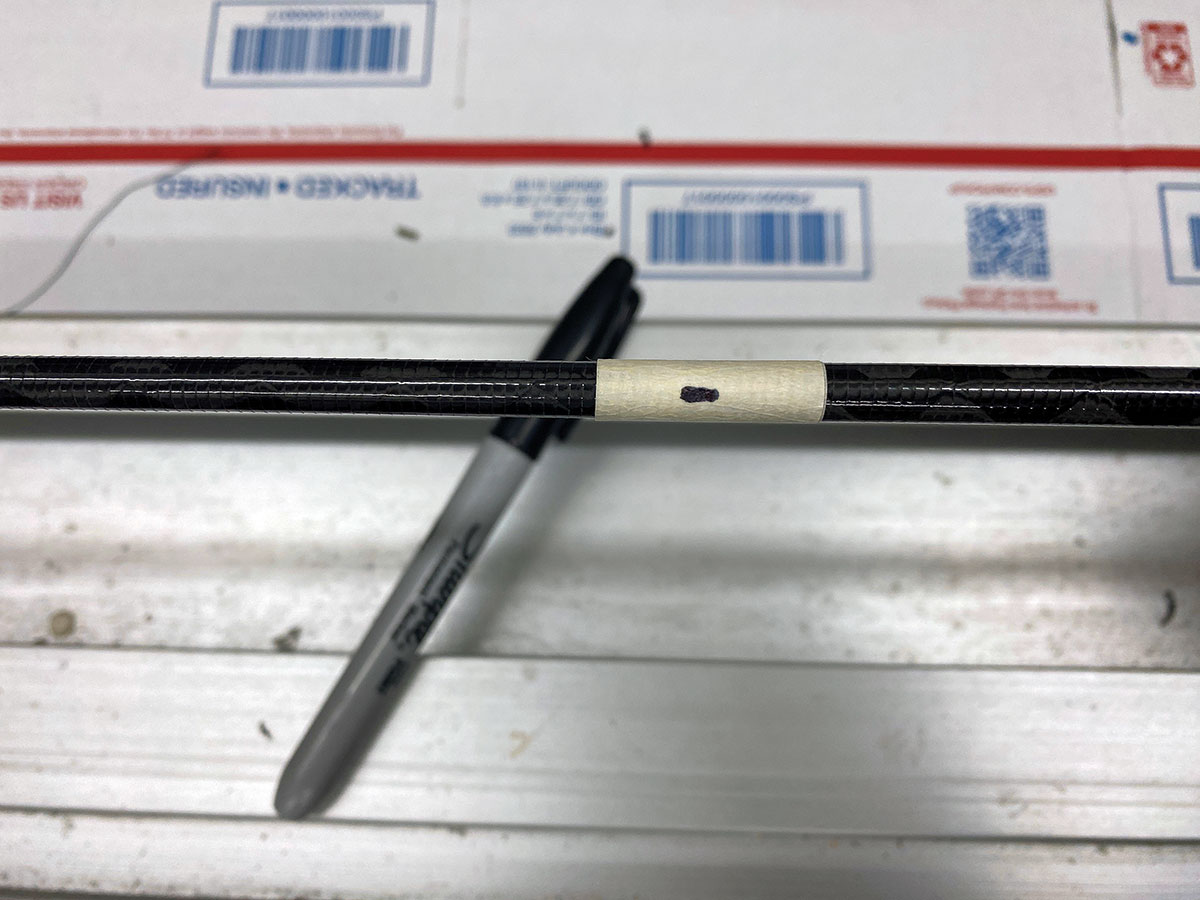
Being that I wanted to work down the taper of the rod, I next reamed out the Nubbin piece, glued it into my marked position behind the reel seat, and let it dry. Don’t over-ream the piece either. You want it to be a little snug but not super tight as to where it pushes out all of the epoxy. I would suggest doing the butt cap and Nubbin piece in the same batch of epoxy to save some time since it takes a bit for the epoxy to firm up (about 2 hours). You might notice that I employed the use of winding check pieces in my build as well. These rubber pieces make for a ‘cleaner’ finish to the build and aren’t necessary for functionality.
Once the pieces are set into place and the glue firms up, you will want to slide the reel seat back into position and mark the front end of it on the blank. This point will determine the furthest tape arbor you create. A tape arbor is like a bushing but for the reel seat to sit on. It centers it and provides a strong base for it to adhere to the blank with added epoxy.
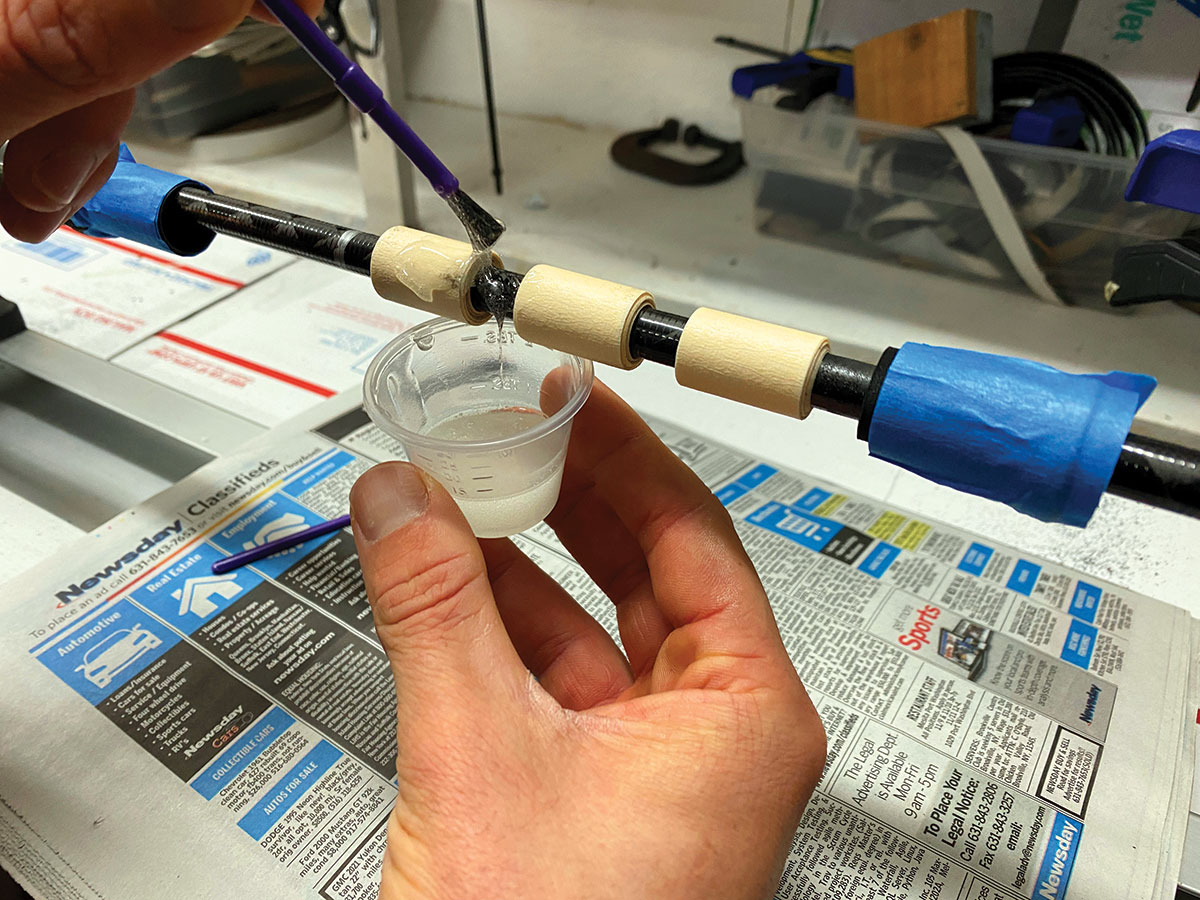
Creating a bushing is as simple as spinning masking tape on the blank until it’s just below the inside diameter of the reel seat. You will want to check every one by sliding the reel seat over it before you proceed to the next one. Just like the EVA pieces, you want the seat to slide over the tape arbor pieces with a slight bit of snugness but not tight at all. Being too tight will push all of that epoxy out. For this seat, I found that three tape bushings with 1-inch masking tape spaced evenly were sufficient. The spacing does not have to be perfect, but I try to eyeball it the best I can. Before mixing up some more epoxy, you’ll want to make sure the foregrip piece is sized up correctly, too. I chose to glue the reel seat and the foregrip piece in one shot, but if you don’t feel comfortable with that, you can always break it up into one piece at a time.
Mix up some more epoxy this time and coat the bushings evenly with a light coat along with the spaces in between. Some of the excess epoxy will fall into the gaps to help fill that in as well. The ends of the reel seat and trim pieces should also be wrapped in painter’s tape for a clean finish. Also, remember to have paper towels handy again. Start by sliding the reel seat over the bushings and spin the rod slowly at the same time. This will ensure an even coat of epoxy on the inside of the seat. Once it meets the rear EVA piece, peel off the tape and clean up any excess with the paper towel. Remember that spine we marked? Remember to line the reel seat up with it now to make sure it dries along it. Follow up by coating the spot where the foregrip will sit and slide that into place next, cleaning up any more excess. The next step is to sit and wait for it all to dry.

Lightweight Guide Layout
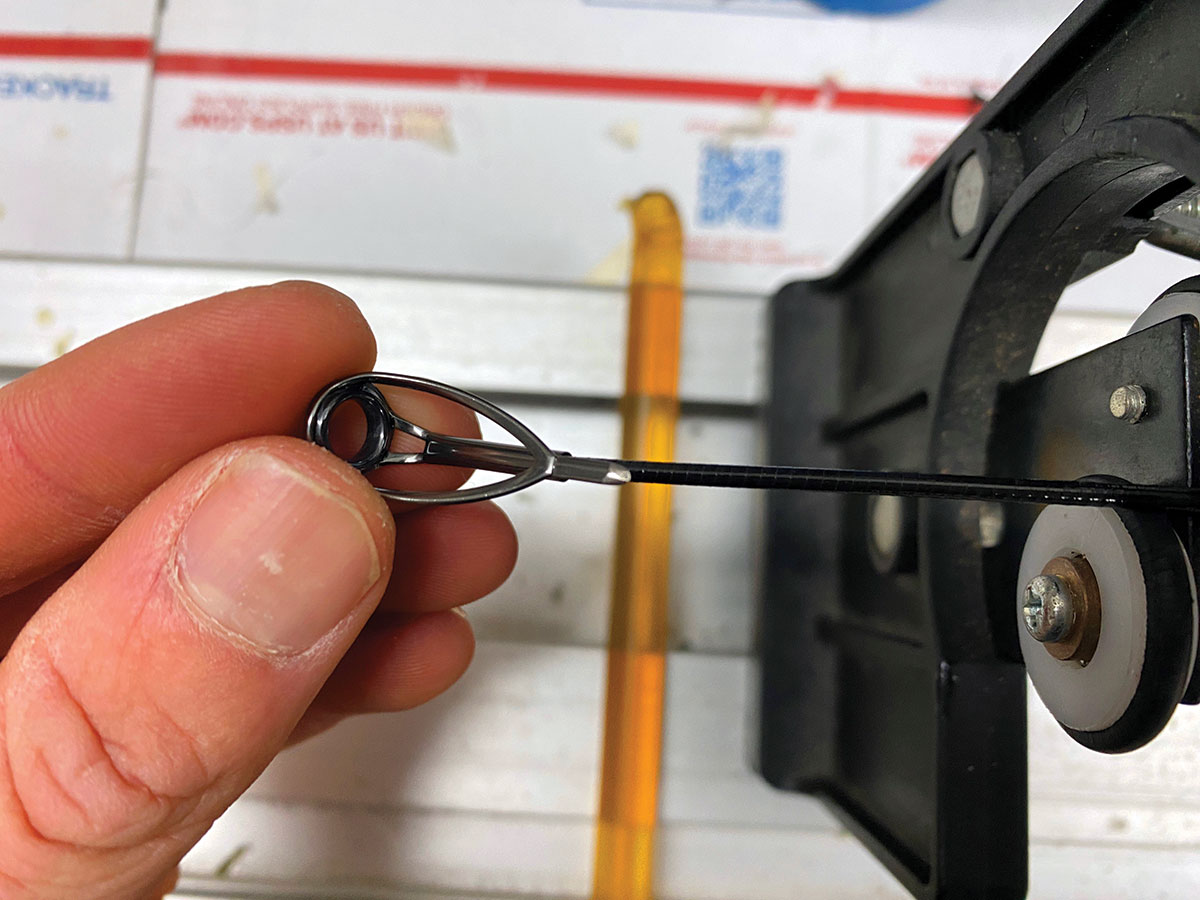
Following along with the light theme of this rod, I went with the single-foot Fuji K-Series in black titanium with a Silicon Carbide (SiC) ring. When it comes to durability and being lightweight, these are top-of-the-line. This build called for seven guides laid out in the following sizes: 25mm, 16mm, 12mm, 10mm, 8mm(3), and an 8-mm tip. The spacing and layout are ones I created to work with reels in the 2000 to 3000 range. For the three largest guides (25mm, 16mm & 12mm), I used Fuji K-Series Single-Foot KT Spinning Reduction Guides followed by Fuji K-Series Single-Foot KT Running Guides (10mm & 8mm). Only one guide is 10mm, and the last three are 8mm. The 8mm tip with a size 6 tube finishes off the layout.
| MORE ON GUIDE SELECTION |
| The K-Series of guides from Fuji is regarded as one their most popular styles for impressive looks, durability and overall fishing performance. They have six different frame materials and four different ring materials available ranging from the high end SiC use on this build to the economic Fazlite. |
Remember to tape the guides along the spine again and in line with the reel seat. I use 1/4 and 1/8-inch masking tape to secure the guides in place before wrapping them on. For the wrapping, I went with the classic black along with silver trim bands. Of course, you can make this part custom to whatever you like the most.
Once all of the guides had been wrapped into place, I made sure they were straight and lined up with the reel seat once again before gluing the tip on. I picked a ‘wrap on’ tip for this build for the extra security layer. Added wraps should be added above and below the reel seat as well as right in from of the fighting butt.


Finishing Touches
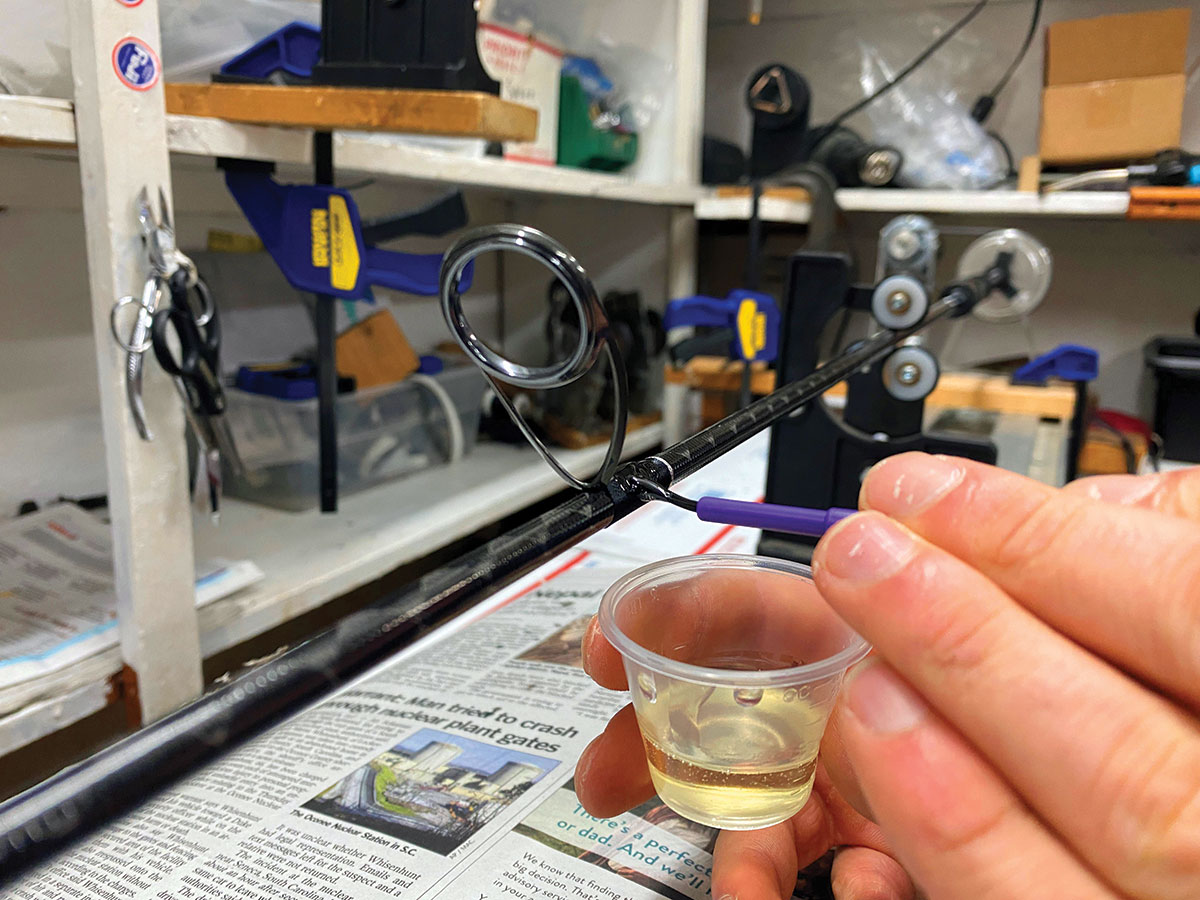
The final part of the build will be the finishing coats of epoxy. Don’t get this epoxy confused with the glue epoxy. This type is an epoxy finish intended for guide wrap use only. My finish epoxy of choice once again is the Flex Coat brand in High Build since I’ve had no trouble with it in the past.
You must mix equal parts to make sure it cures right. I’ll do 5 drams of finish with 5 drams of the hardener for consistent results. I suggest doing this part very carefully and making sure the measurements are accurate. If they’re off, it will result in a tacky finish. Another thing to be aware of is that the room you do your finishing in isn’t too hot or cold. The 65 to 75-degree zone yields good results.
I’ll also let the first coat cure for a whole day and then overnight to make sure it’s fully dry before applying a second one. The single wraps on this build should only call for a couple of coats, and using only two will keep the weight down as well. If you have a rod-building bench with a finishing motor, let it do the work for you, but if you don’t have one, you will have to turn the rod by hand fairly often, especially in the beginning, to make sure the finish dries evenly.
This was actually a very exciting build for me since it revolved around one of my favorite inshore fisheries, and I was looking forward to getting back down to my bench to see the final product after the second coat had cured up. The Fuji SiC single-foot guides paired with the light EVA Fuji grips and reel seat, all built on the Weapon Jr., were insanely lightweight and pretty much a feather in my handle. The final build weight came in at about 4 ounces, and paired with one of my go-to 2500-size spinning reels, the total weight came in right around 12 ounces.
If you’re debating on going custom or not, I highly suggest you give it a try for this type of fishing. Between the personal touches, you can add to make it your own and the rewarding feeling of catching fish on something you handcrafted, it’s well worth it.
As for the rod itself, unfortunately, I won’t be using it this upcoming season for inshore fluking, but the good news is one of The Fisherman Magazine followers will be. Keep an eye on our Instagram @thefishermanmag in the coming months for more information on how you could win this beauty!
Click here for more information from Anglers Resource/Fuji

| GUDE SIZES AND SPACING MEASURMENTS (TIP TO BUTT) | SUPPLIES CHECKLIST |
| 8mm tip (size 6 tube)
3-inch spacing 8mm KT Running Guide 3-1/2-inch spacing 8mm KT Running Guide 4-1/4-inch spacing 8mm KT Running Guide 5-inch spacing 10mm KT Running Guide 6-inch spacing 12mm KT Reduction Guide 7-1/2-inch spacing 16mm KT Reduction Guide 9-3/4-inch spacing 25mm KT Reduction Guide |
Rod building bench Masking tape (1”, 1/4”, 1/8”) Painter’s tape Reaming tools Mixing cups Finish brushes Epoxy glue Epoxy finish Wrapping thread Tape measure Paper towels Rod tip glue |