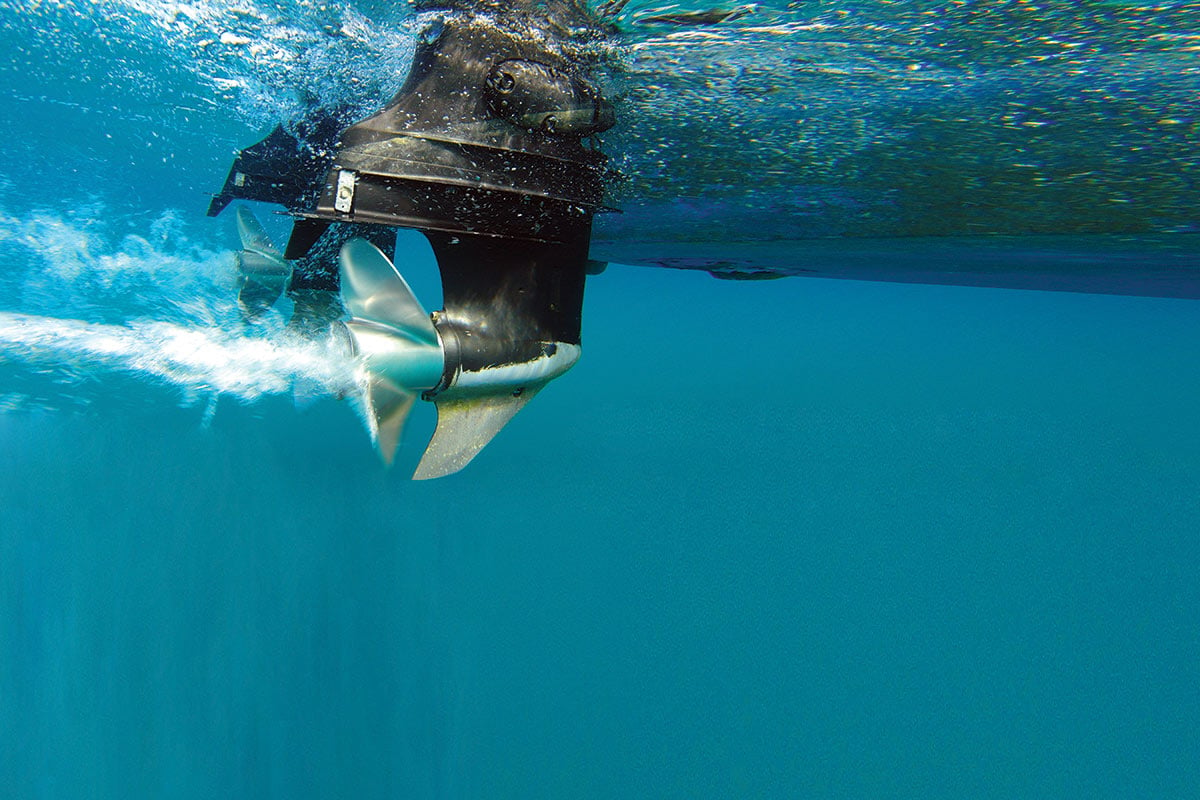
Experience a glitch in your engine’s fuel supply system and you are going to have a very bad day.
Big boat, small boat; old boat or new; single engine or triple outboards; your vessel’s fuel system is the critical link to make your inboard, I/O or outboard propulsion system reliable and functional when you are out on the briny. In this month’s Boat Sense feature, we take a closer look at how to keep your boat’s fuel supply system in tip-top operating condition, with the focus on petrol-fired outboards.
What’s in Your Fuel Line?
The introduction of E-10 gasoline to the northeast back in the 2004-2005 seasons caused many boaters to pay a lot more attention to their ride’s fuel lines, internal tanks and filtration systems. The 10% ethanol component of the E-10 fuel matrix wreaked havoc on hundreds of two-stroke marine outboards when it first hit the pumps as an unintended consequence of creating another marketplace for Midwest corn farmers and to reduce our country’s dependence on foreign oil imports. The alcohol element of E-10 cleaned out the insides of many old fuel tanks, ate away at the internals of aged and tired fuel lines and deteriorated many seals and gaskets that were never designed for this next-gen fuel. All of this internal debris traveled downstream and clogged up the primary, secondary and tertiary fuel filters on a variety of outboards, restricted fuel flow at advanced throttle settings and caused some outboards to experience premature failures from an “unknown source.”
I saw the writing on the wall when E-10 was initially introduced and swapped out all of the fuel lines, tank fill hoses and vent hoses on my 1981 Phoenix 27 Combi during the winter layup before the 2005 season. I also converted my outboard power over to twin 225 four-strokes, which seemed to be having less difficulty than the two-strokes with the E-10 fuel.
The new EPA and USCG standards for fuel lines became effective in January of 2009 and were detailed by the American Boat & Yacht Council(ABYCwww.abycinc.org) in their 2011 publication “Fuel and Emissions, How to Comply with the Law.” This handy compliance guideline is extremely comprehensive and covers everything in your vessel’s fuel system from fittings and connections; fuel lines; the construction, support and positioning of fuel tanks in your boat; hose clamps and much more.
To summarize the new requirements for fuel lines, there are basically four categories. According to the ABYC publication, the USCG safety regulations do not meet the EPA requirements for fuel line permeation, so EPA-compliant fuel hose is labeled A1-15 or B1-15, showing the A or B fire rating and the permeation at 15 grams per square meter per day. The definitions of these hose types are as follows:
A1- fuel feed hose: This type of multi-layered fuel line features a fire resistant cover and is designed to have fuel in the hose at all times. It is safe to use this both above and below decks.
A2- fuel vent hose: This type of hose has a fire resistant cover, but is not designed to have fuel in the hose at all times, just temporarily.
B1-fuel feed hose: This type of fuel line is manufactured without a fire resistant cover and is designed to have fuel in the hose at all times. This product is intended for non-enclosed spaces, like above deck outboard gasoline applications. A good example of how B1 fuel hose is used is for feeding your outboard(s) either from a portable tank or inside of the circular rigging tube that connects to your outboard from the primary fuel filter. This B1 fuel hose is usually included with the portable tank of your small 2-to40-horsepower outboard engines.
B2- fuel vent hose: This type of hose is not equipped with a fire resistant cover and is not designed to have fuel in the hose at all times. It is typically used for diesel vent lines.
When I have upgraded the fuel lines on numerous boats, including my recent acquisitions of a 1999 EdgeWater 185cc and a 2006 EdgeWater 228cc, I used the A1-15 hose for everything, including 3/8” hose for the above and below deck fuel lines and 5/8” hose for the tank vent line. It was easier and more cost-efficient just buying a 25-foot spool of the heavy duty A1-15 grade fuel line hose and using it everywhere.
Fuel Filtration Systems
After you upgrade your fuel lines to the current A1-15 standard, the addition of a primary fuel filtration system is the #1 “mandatory” accessory item that you can add to your boat’s fuel system that is likely to do the most good over the long haul. And dollar-for-dollar, it’s also the most cost-effective preventive maintenance piece that you can add to your vessel. The low-pressure and high pressure fuel filters found on most modern two-stroke and four-stroke outboards should be looked at as a last line of defense. It’s a good idea to replace these at your engine manufacturer’s recommended intervals. The user-accessible in-line filters (typically low pressure) should be easy to spot on your outboard and usually take 15 minutes or less to swap out with a new one. The in-line fuel filter on my EdgeWater 185cc’s new Mercury 115 Pro XS is a breeze to replace and can typically be changed in less than five minutes with Merc’s quick snap-out fuel hose end pieces. In contrast, the three onboard fuel filters on my EdgeWater 228’s Yamaha F225 are a little more challenging to change, with two of them taking about 20 minutes per and the high-pressure vapor separator taking considerably longer. I employed the services of my local dealer to swap out that one at the beginning of last season, along with replacing the two thermostats after 300hours of engine use.
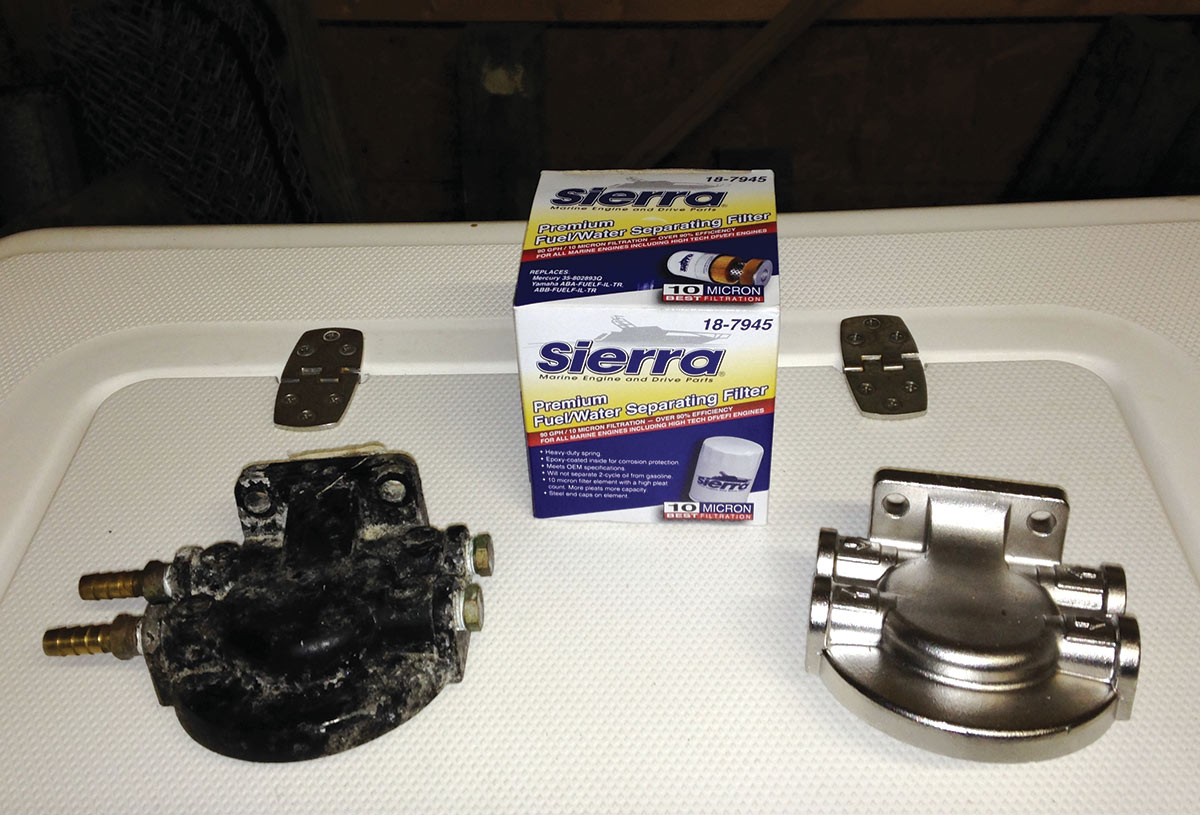
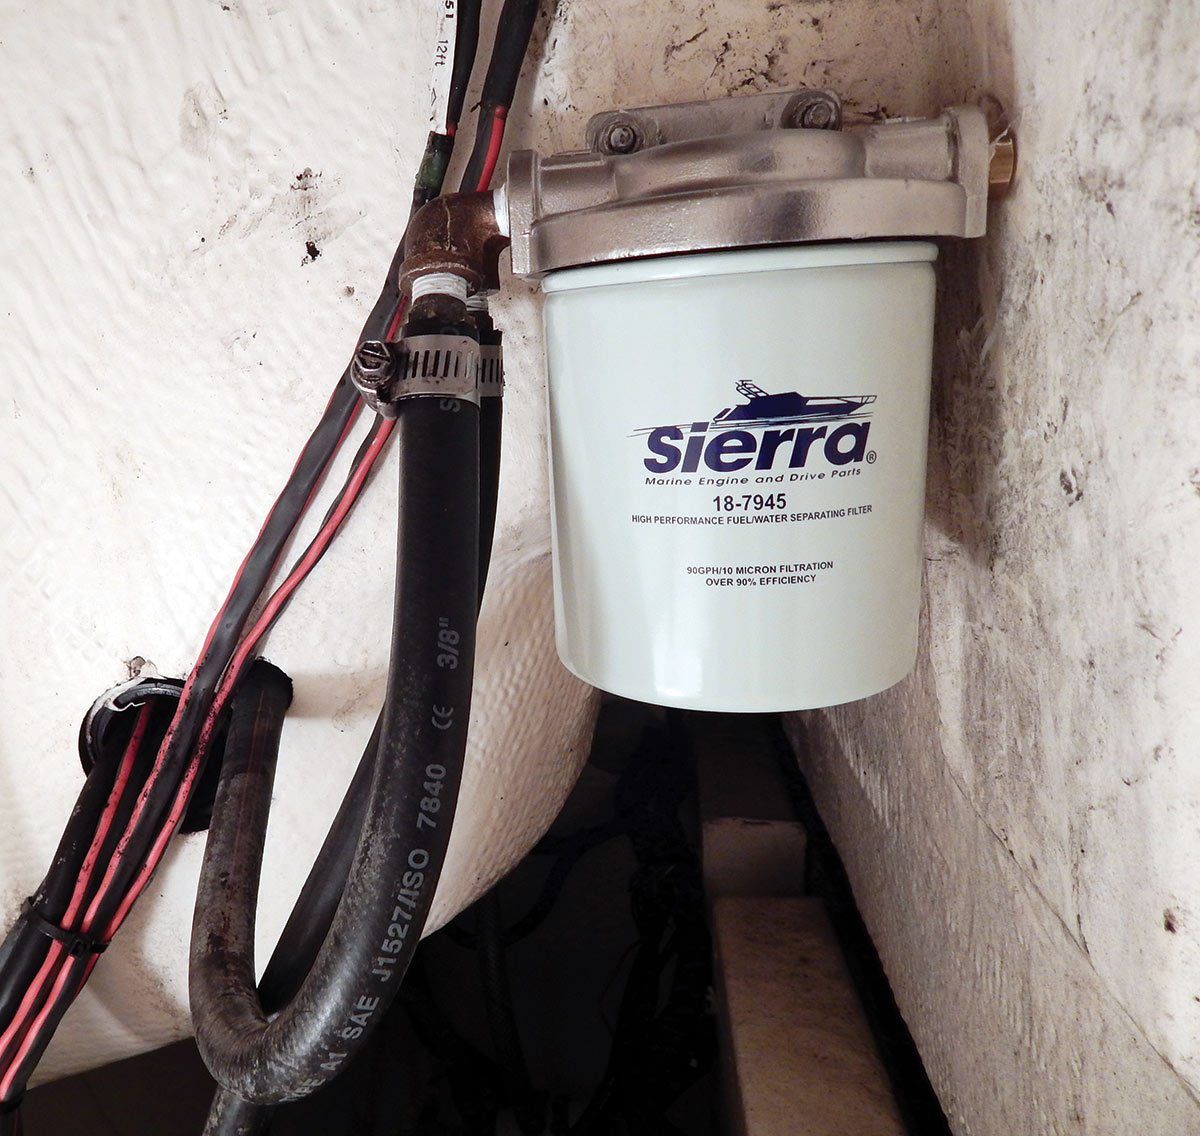
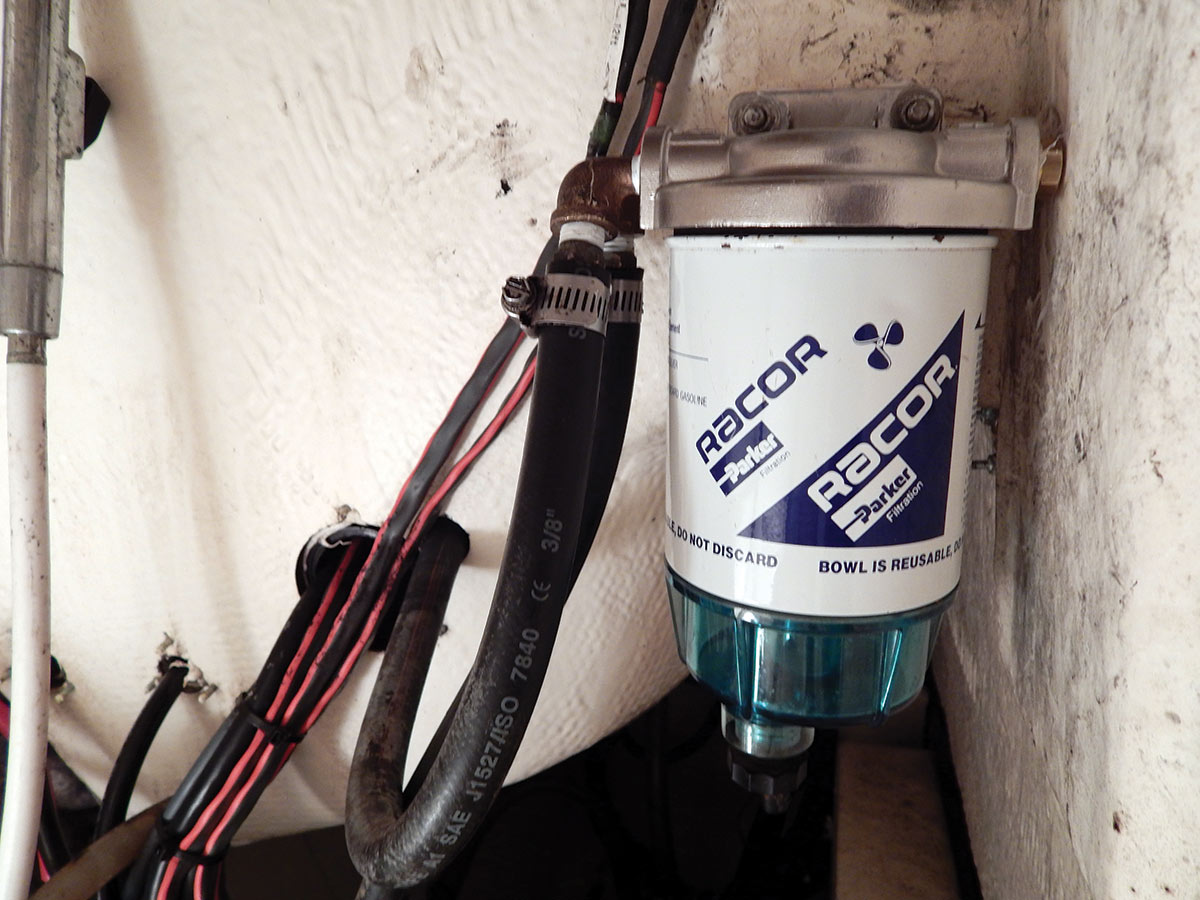
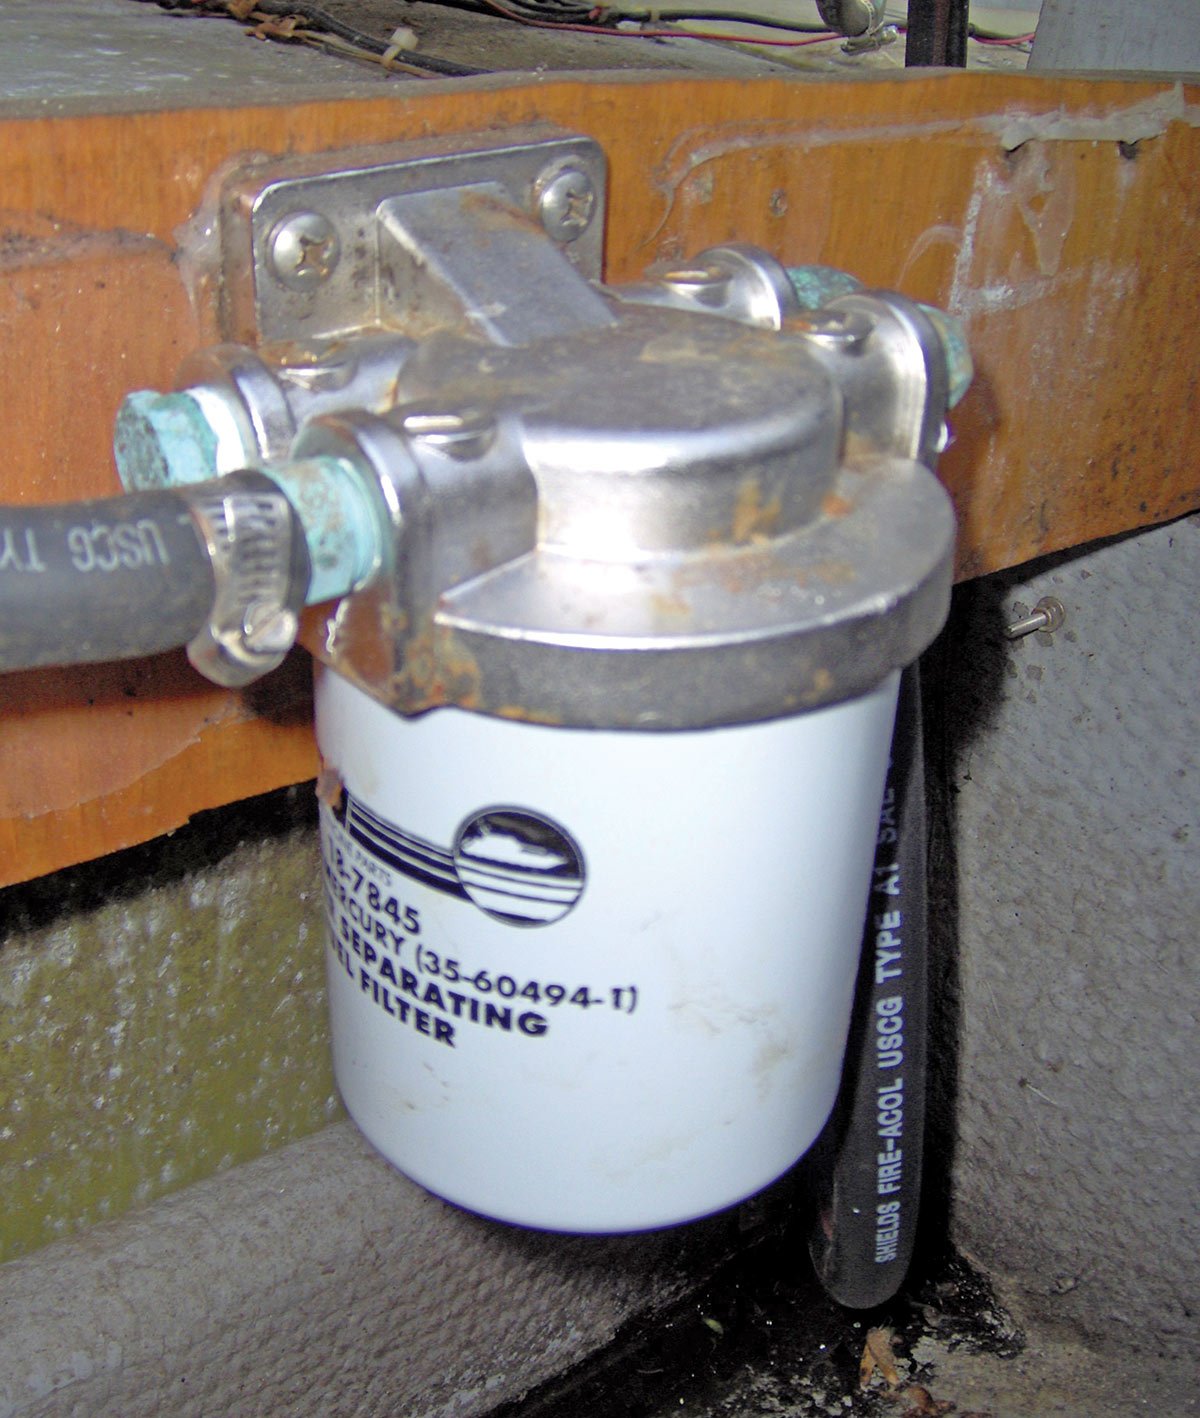
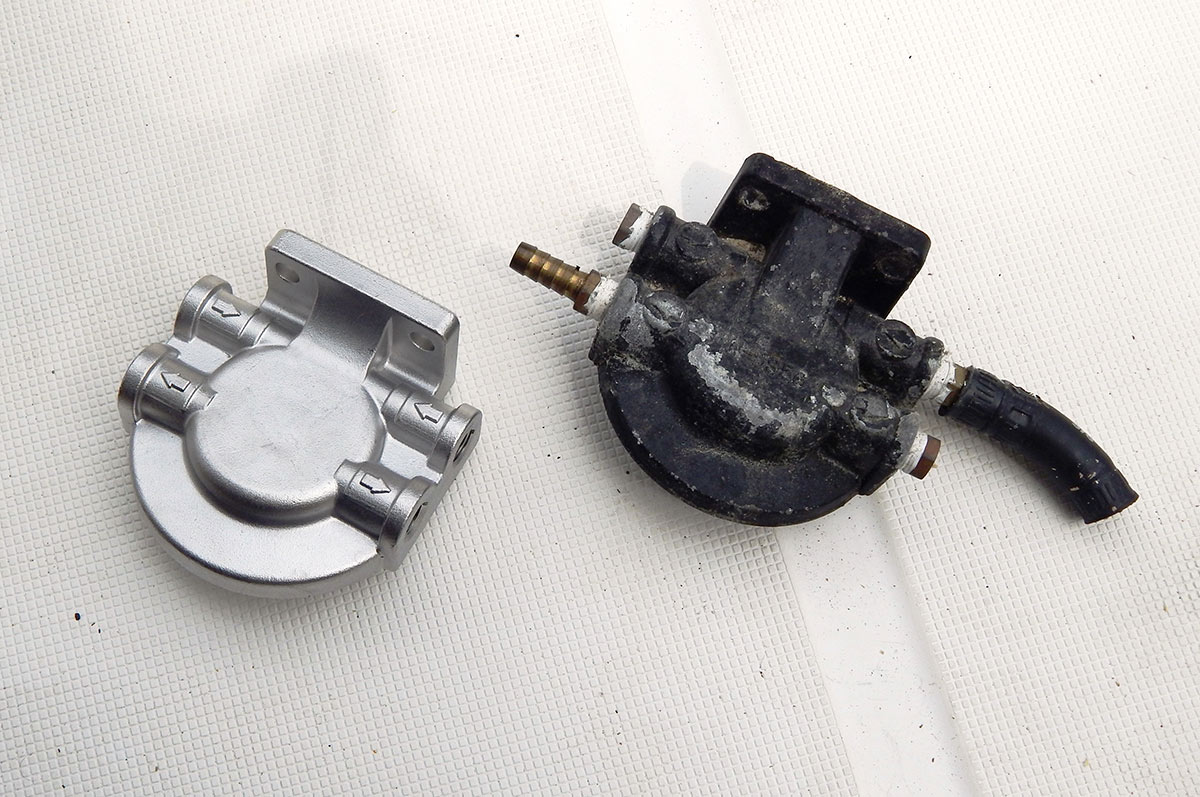
The primary responsibility of filtering your fuel against water and a variety of other contaminants should be should be the job of a dedicated primary fuel filter positioned between your tank and your outboard(s) that features a replaceable 10-micron fuel filter canister element. Most outboard manufacturers offer their version of this primary fuel filter, but some of these are actually made under a private label arrangement with marine industry manufacturing specialists. One of these is Sierra, a division of Seastar Solutions, who distribute many of their own brand, private label and OEM replacement parts to the marketplace, especially the fuel filter frames and canister elements. I have used the Sierra stainless steel fuel filter mount on all of my boats for the past 18 years and have nothing but rave reviews for this sturdy and robust piece of kit that does the job better than anything I have ever used to date. What’s interesting about this stainless steel frame is that at least two other outboard engine manufacturers offer it in their catalogs as an upgrade to the standard powder-coated aluminum version, and the most intriguing part is that they all have the same part number stamped into the backside of the unit. Sierra also manufactures and distributes a cost-efficient 10-micron replacement fuel filter element that spins into either the aluminum or the stainless mounts (I use the #18-4975 fuel filter with the small hole.). I can usually pick this up at my local marine store for under $10, so it’s not a huge hit on the discretionary funds to keep a few spares on the boat in case of an emergency.
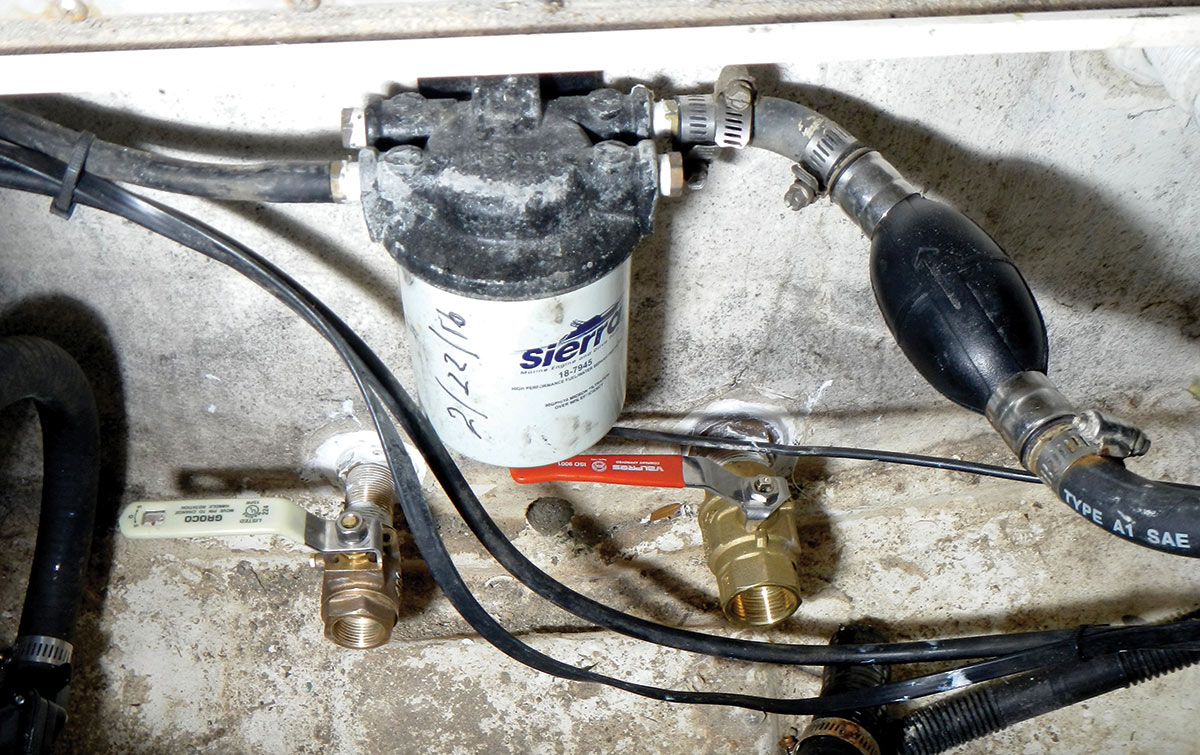
No matter what type of mounting frame you prefer, the stainless or the aluminum, it’s good practice to change out the fuel elements after every 50 to 100 hours of use, or at least once a season. One trick that I have learned is to fill up the new canister with fresh fuel before spinning it onto the mount. This will prevent hard starts or vapor lock, which is critical if you are launching your boat down at the trailer ramp and others are waiting in line for their turn to splash their rigs. It’s also a good idea to put the date you changed it right on the filter using a Sharpie pen or magic marker as a historical reference.
When installing a new fuel filter mount, I try to keep it as high and dry as possible and out of harm’s way. Be sure to leave plenty of room to access the canister when it’s time to replace it, along with ensuring access to the hose clamps if you ever need to replace the fuel lines for whatever reason. If you mount this in the outboard well, keep it away from anything that could possibly snag or bump it and make sure that the engine can tilt up fully and turn in either direction without any interference. If you mount it down below the cockpit sole, ensure that it’s in a spot with easy access and far away from splashing bilge water.
Fuel Additives
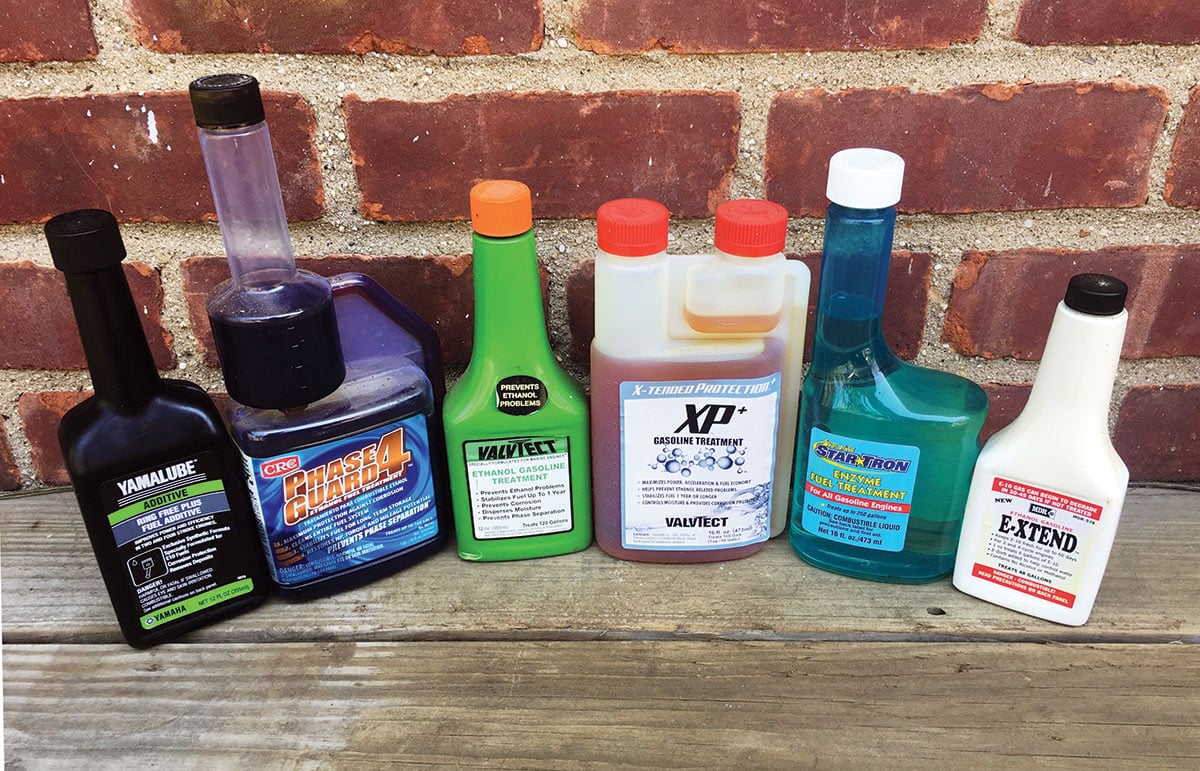
Once your fuel lines and filters are up to speed, yet another way to ensure a properly functioning and healthy fuel system is to add one of the many fuel treatments that are available on the marketplace to keep your fuel in primo condition. These additives can perform myriad functions, from stabilizing your E-10 fuel for up to 12 months, preventing dreaded phase separation (water in the fuel that causes the ethanol to separate from the petroleum base), dispersing water, preventing corrosion and cleaning your fuel system. I am not going to compare the merits of each one here, since there are at least a dozen different brands of E-10 fuel treatment currently on the market. I have had good luck using ValvTect products for my needs along with Yamaha’s Ring Free, but some of my fellow charter boat captains that I have interviewed use StarTron, CRC Phase Guard, MDR E-Xtend and Mercury Quickare/Quickleen with excellent results. Find what works consistently for your rig that’s in your price range and use it often to keep E-10 fuel problems to a minimum.
A functional fuel system is the linchpin of having a safe and reliable boat, good times out on the water and a happy crew. Use some of these tips and tricks to bring your ride up to speed before the 2018 season gets into high gear.
| FEW TIPS |
|---|
|
The engineers at Sierra have some great advice for maintaining your boat’s fuel filters, as follows:
|
