Prepping for another season on the soak, in advance of the fall run.
When it comes to chunking the fall surf, if you want to do it well – and consistently catch more and bigger fish – you need to go beyond the basics. Effective chunking requires careful preparation and attention to detail, from gear selection and bait preparation to presentation and placement.
When obtaining bait for chunking, freshness is essential. To determine freshness, feel the sides for their slime coating. This slime is one of the most important scent attractors for stripers, and much of it dissolves into the meltwater within 24 hours of the bunker being delivered. Using slime-less bunker is like going on a date without deodorant; you’ve already impacted your chances. Other signs of aging bait are softness in the meat (it should be firm to the touch) and bloodshot redness in the eyes.
Maintaining that slime coating during transport is improved if the bunker does not touch the ice directly. Invest in large enough Ziploc bags for storage. I adopted this tactic from one of DJ Muller’s articles 20 years ago. It certainly reduces slime and blood loss by preventing their diffusion into the surrounding water. So keep the bait on ice, but physically separated with watertight plastic.
Rod & Reel
Chunking calls for a stout rod, often on the longer side for fishing the open beach. Rod length can vary of course depending on where you’re fishing. For the casting distance often required from the oceanfront surf, I recommend a 12-foot rod rated for 8 to 12 ounces. The heavier rating is essential for handling the larger sinkers needed to anchor bigger chunks in waves and current. You can get away with a shorter, lighter-rated rod in those inside waters. A great middle-ground option is the Jigging World Nexus Surf series. My buddy Craig Sheridan introduced me to this a few years back and I haven’t been disappointed. If you intend to chunk frequently, whichever brand you choose should be built for durability.
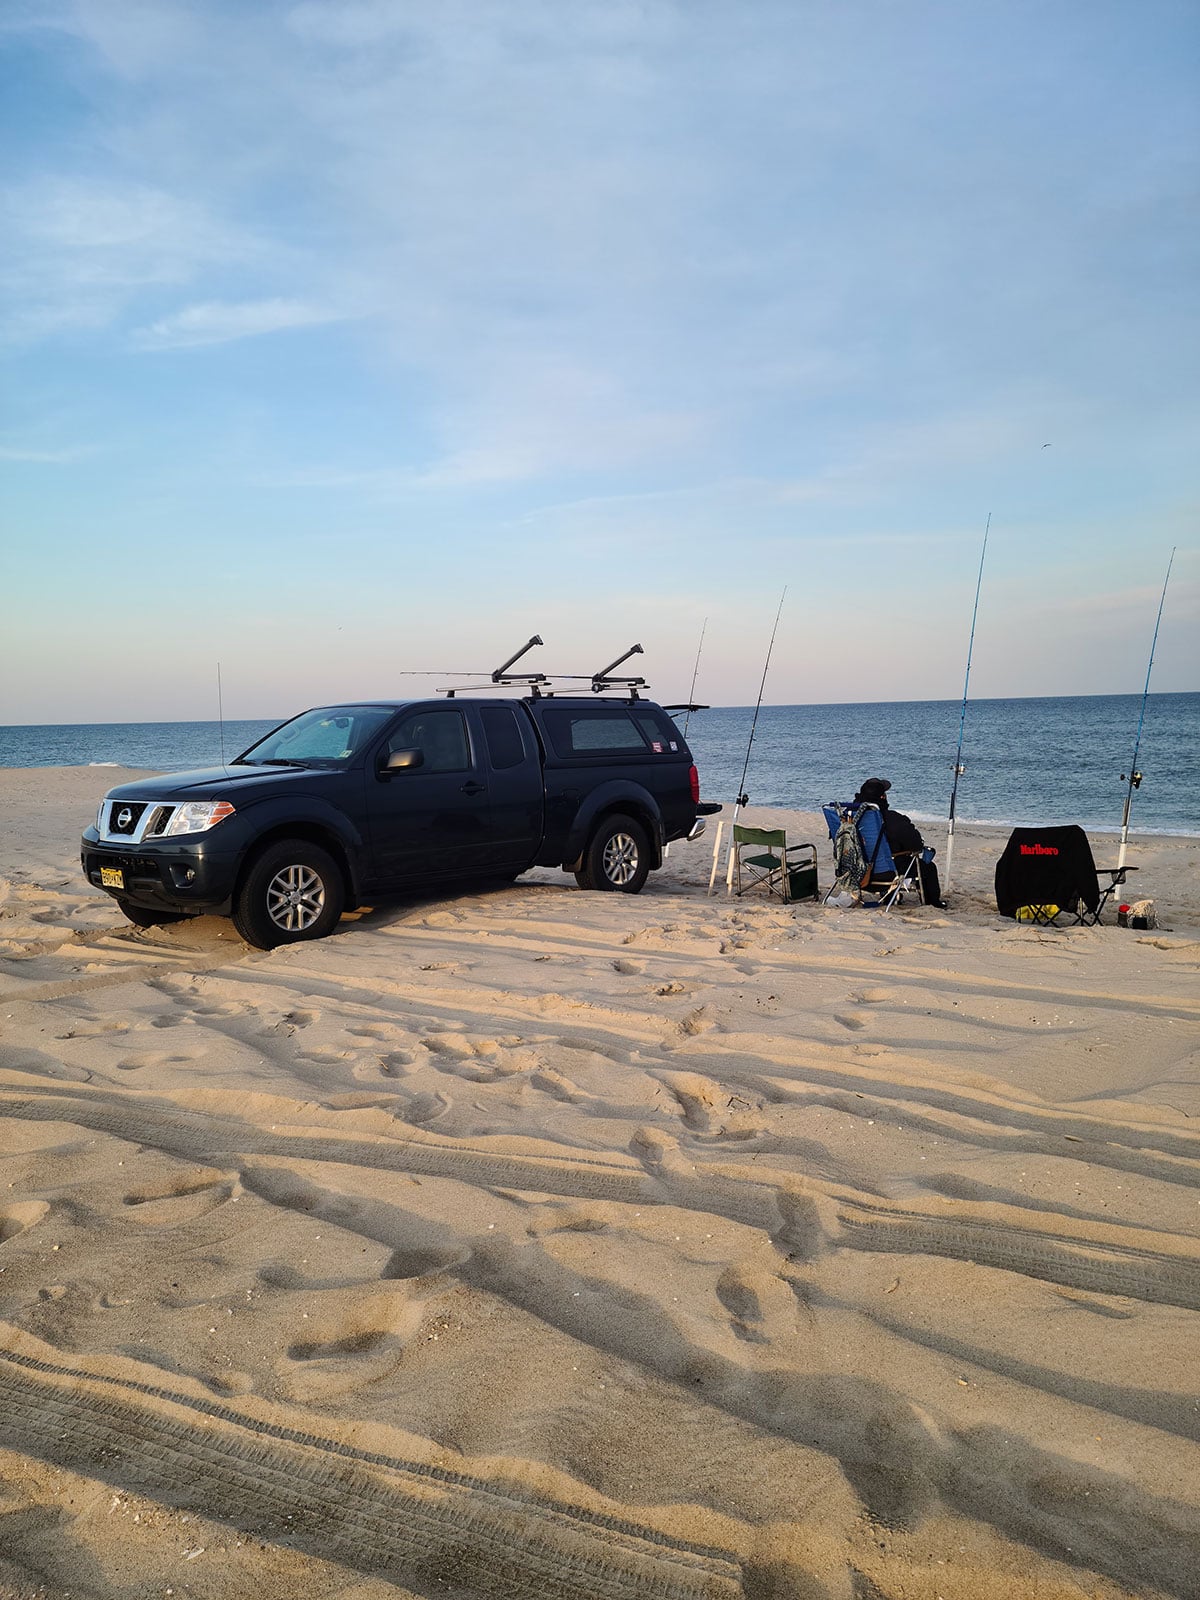
The optimal reel depends on whether the angler is fishing inside waters or the open beach, and whether they are fishing gauntlet-style (using multiple sand-spiked rods) or holding a single rod. I’d argue that conventional reels are best in spots lacking waves and strong current. In many back-bay areas, you’re limited to awkward rod placements – leaning the setup against fences, park benches, trees, bushes, or whatever else is available to help you improvise. Conventional reels for this application are usually less bulky than their spinning-reel equivalents and therefore take up less space in these often-constrained areas.
With lighter currents and less water pull, the clicker and free-spool mechanisms can be fully utilized. They provide an audible alert while allowing the fish time to properly orient the chunk in its mouth for a solid hook-set without first feeling tension on the line. Yes, some bait-runner spinning reels offer similar features, such as the new Quantum Merit Free-Liner coming out this fall, or the Penn Spinfisher 6500 available now which I personally love. Then again, nothing is quite as invigorating as hearing the zzzzzzz of a cow striper screaming line off a resting conventional reel; my old Penn 525 Mags still sing from time to time.
When continuously holding the rod instead of keeping it spiked, or when fishing in high-current conditions that negate the advantages of free spool, I prefer spinning setups. In those situations, my finger directly controls the line on the spool and whether the bail is open or closed, allowing for immediate response with no delay. After all, it’s the unattended sand-spiked rod – not the angler actively tending it – that fuels the unfortunate laziness stereotype often associated with surfcasters.
Rigs & Accessories
Whatever reel you choose should be capable of holding a couple hundred yards of 30- to 50-pound braid. If you intend to distance-cast very heavy offerings, go with the lighter braid; it may require a shock leader – best attached via an FG knot – but its thinner diameter reduces wind resistance and can add valuable feet to your cast. This can help you reach beyond a cut-less sandbar on the open beach, where hard structure is generally not a concern. Use the stronger, thicker 50-pound braid when fishing around obstructions so it can better withstand the pressure when you put the brakes on a big fish.
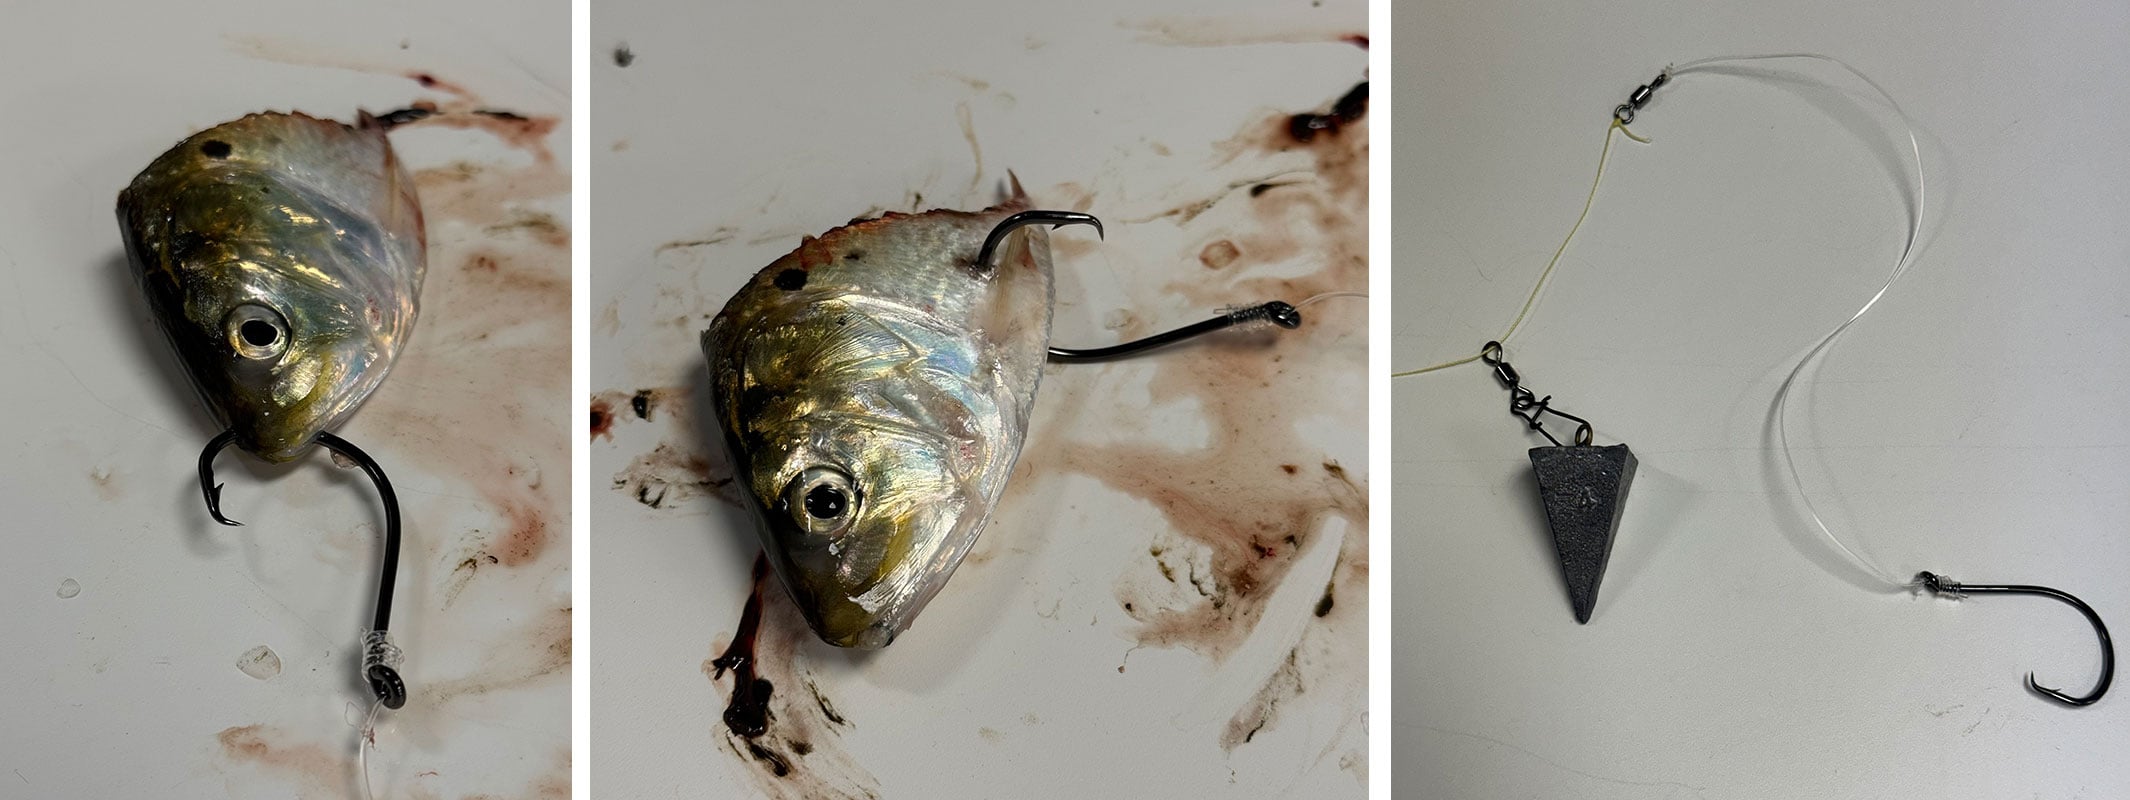
Unless that 12- to 15-foot shock leader is also needed for extra-heavy distance casting, the terminal rig is relatively simple. It is a fish-finder rig, where the braid runs through a barrel swivel and is tied to another barrel swivel. On the top swivel, there will be a two-way clip where the sinker attaches. Tied to the other swivel is a short stretch of 50- to 80-pound mono or fluoro leader. No, it should not be long; that is a giant misconception. The added protection from a longer leader is unnecessary in most of these scenarios, and the extra length actually hurts your chances. It drastically decreases casting distance, can cause that propeller action during the cast, and allows for frequent tangles through the oscillation of the waves.
A short 6- to 8-inch leader keeps the chunk compact near the sinker, avoiding all the aforementioned disadvantages for farther, less-tangled bait placement. At the end of that short leader should be an 8/0 to 10/0 inline circle hook. The hook’s gap, and therefore its size, should be tailored to the size of the fish you’re targeting and the size of the bait being used. When fishing bunker heads or larger chunks, scale up toward the higher end.
If doing gauntlet-style with multiple spiked rods, it helps to have additional alert systems. At night, glow sticks clipped to your rod tips are a must for recognizing bites. Some chunkers also use bells that chime during a fish strike. Please, please, though, do not mount these on the rod tip as they interfere with casting and can tangle your line. Worse, they will drive anyone in the vicinity absolutely mad by continuously rattling in the wind or during a bait retrieve. Instead, clip the bells to the reel handle or the sand spike, where they will only chime when there is an adequate hit.
How & When
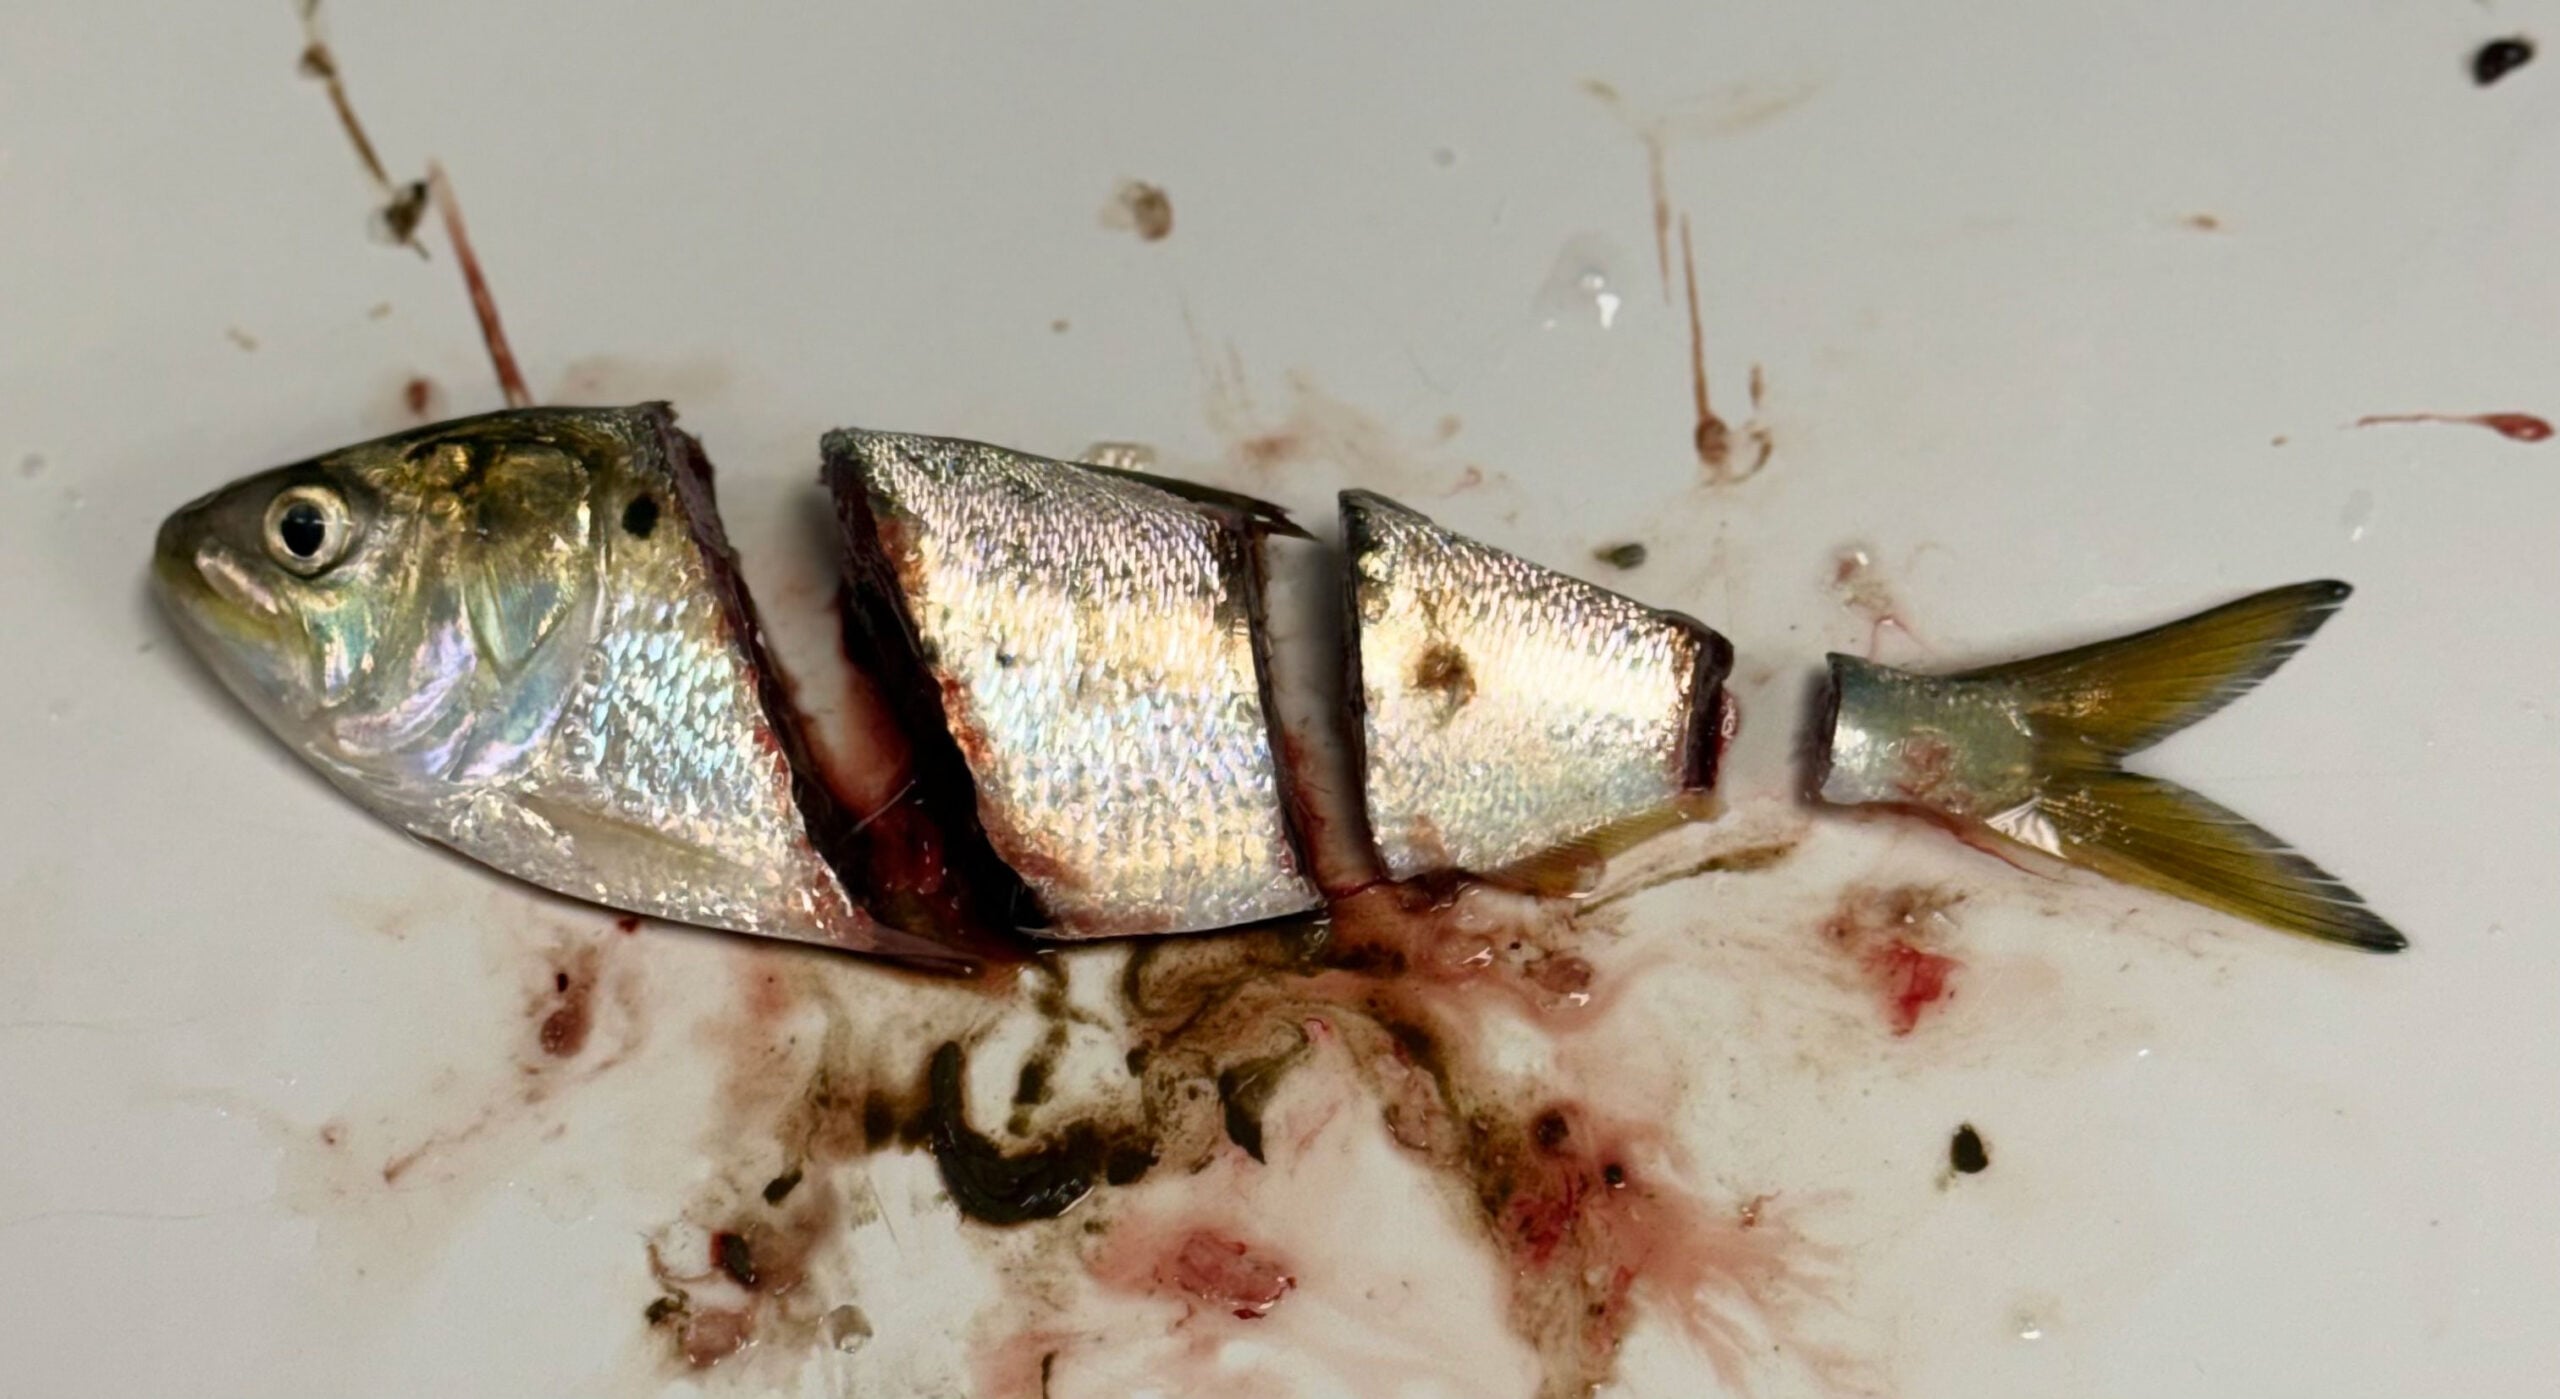
A bunker can be divided into three main sections, two of which can themselves be subdivided into smaller pieces. Each of the main sections (the head, middle, and tail portions) comes with its own pros and cons, along with particular ways to use them most effectively. The tail pieces are the smallest but the most aerodynamic for casting because they have the least surface area for wind resistance. Put the hook not through the spinal cord, but through the meat just above it. Make sure the barb goes all the way through and that no bunker scales are on the hook point. Give the chunk a light pull to test its stability, while still leaving ample room in the hook’s gap to properly catch the bass’s lip.
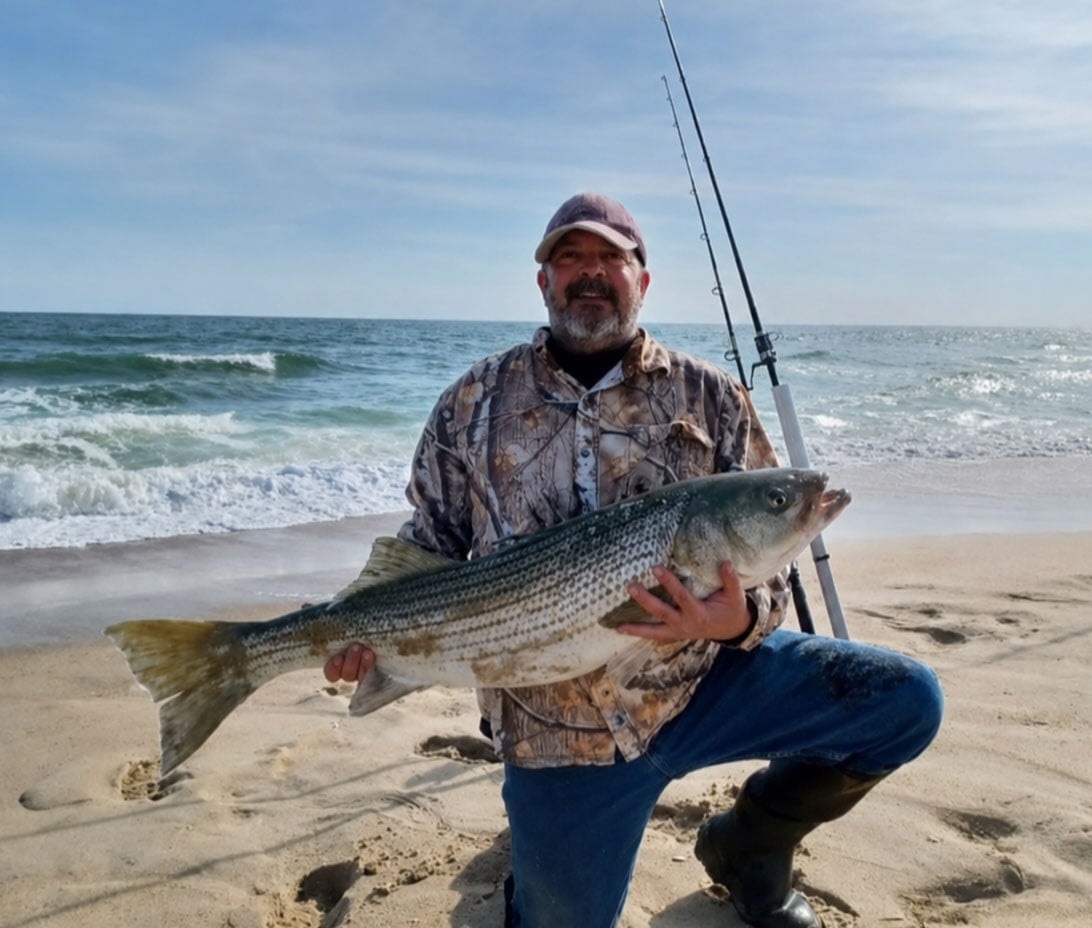
For best chance of overshooting that far-out sandbar, use the tail cut. Remove the caudal fins, of course, or their fan-like shape will negate the casting advantage. Ironically, my biggest chunked spring bass (a 45-pounder in 2010 from the Bay Head surf) came on the whole tail piece. That backup rod was only lobbed 15 feet out into the trough as I was resigning my last pieces of bait to the dogfish frustratingly harassing me all night. The story emphasizes just how close giant stripers come snooping in and how valuable even the least feasible bait part can actually be.
You can get three to five mid-body chunks, depending on how thin you slice them. A sturdy bait knife will help cleave the backbone. The hook placement on these middle chunks is the same as with the tail chunks. Do not go through the ventral side with the hook, as it is softer and has less tissue integrity. The hook will pull out on the cast unless it is firmly placed through the back area of the chunk, just above the backbone.
The middle sections are larger and, therefore, tougher to cast than the tail chunks. However, they carry much more blood, slime, and odor. The internal organs can even remain intact during the cast if the bunker is fresh enough, certainly creating a tantalizing micro-chum slick for the stripers. The larger size of these chunks will also make them easier for predators to visually detect.
My favorite part of the bunker to throw is the head. Even though they are the largest pieces and the hardest to cast, heads have massive advantages. The middle and tail sections should be checked and changed every 15 to 20 minutes because they fall victim to crabs and garbage fish. The bunker head, however, is too big for pesky skates and sea robins. However, you’ll still have to contend with dogfish, but if you exploit the hook’s placement through the head’s bony areas, the hard plating will at least keep it from being blatantly stolen. Crabs have to work hard to free the meat particles, which creates a slowly diffusing micro-chum slick. The heightened durability of the head allows it longer soak time (up to 30 minutes) between bait checks.
Cut diagonally behind the gill plate at an angle that leaves part of the stomach cavity attached to the head. This borrows some gory bunker essence from the midsection, which provides even more scent than the pools of bloody slime stored up between the gill rakers. The most stable hook placement is under the bottom jaw and up through the top of the nose on the anterior part of the head. The upper and lower jaws act as an anchor for the hook. This orientation is the most aerodynamic for casting a head. However, a bass that grabs it needs additional time to rotate it in its mouth before ingestion. Remember, striped bass usually ingest baitfish headfirst to prevent choking on the bait’s one-way, retractable fins.
I use the jaw-hook placement for distance-casting heads, but if distance isn’t an issue, I would much rather use the gill plate puncture. Pierce the hard gill plates with the hook, ensuring enough of the hook’s gap is exposed. This setup is nearly, if not just, as stable as the jaw placement, but it requires no additional time for bait reorientation within the bass’s mouth. It works amazingly well in calmer, slower waters where bass are not far out.
Hook stability through your bait and dealing with garbage fish are not as much of an issue if fishing from a boat or a high pier, not if you’re simply dropping down. In such settings, put the hook through the belly meat or whatever soft back tissue is left attached on top. This will allow immediate alignment of the bait during ingestion, but it will also pull right out of that soft meat and into the bass’s lip when you start reeling. The instability of this hook placement, however, may not work for any sort of casting situation.