Maintaining a healthy supply of live baits can be a game changer when targeting some of our most prized inshore and offshore species.
There is no denying that some of our most valued targets on the inshore and offshore grounds are pushovers for live baits. Not only will they produce fish when other tactics fall short, but they will often draw strikes from bigger fish that shy away from artificial lures or more traditional baits.
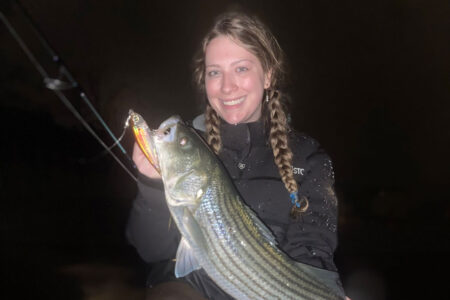
On the inshore grounds, many striped bass sharpies rely heavily on live baits like bunker, spot, herring, mackerel and legal size scup to score stripers in the 30- to 50-pound class on a regular basis. Savvy fluke fishermen looking to weed out short fish have long known that live baits like snappers, peanut and mid-size bunker, small mackerel and spot are like candy to doormat fluke.
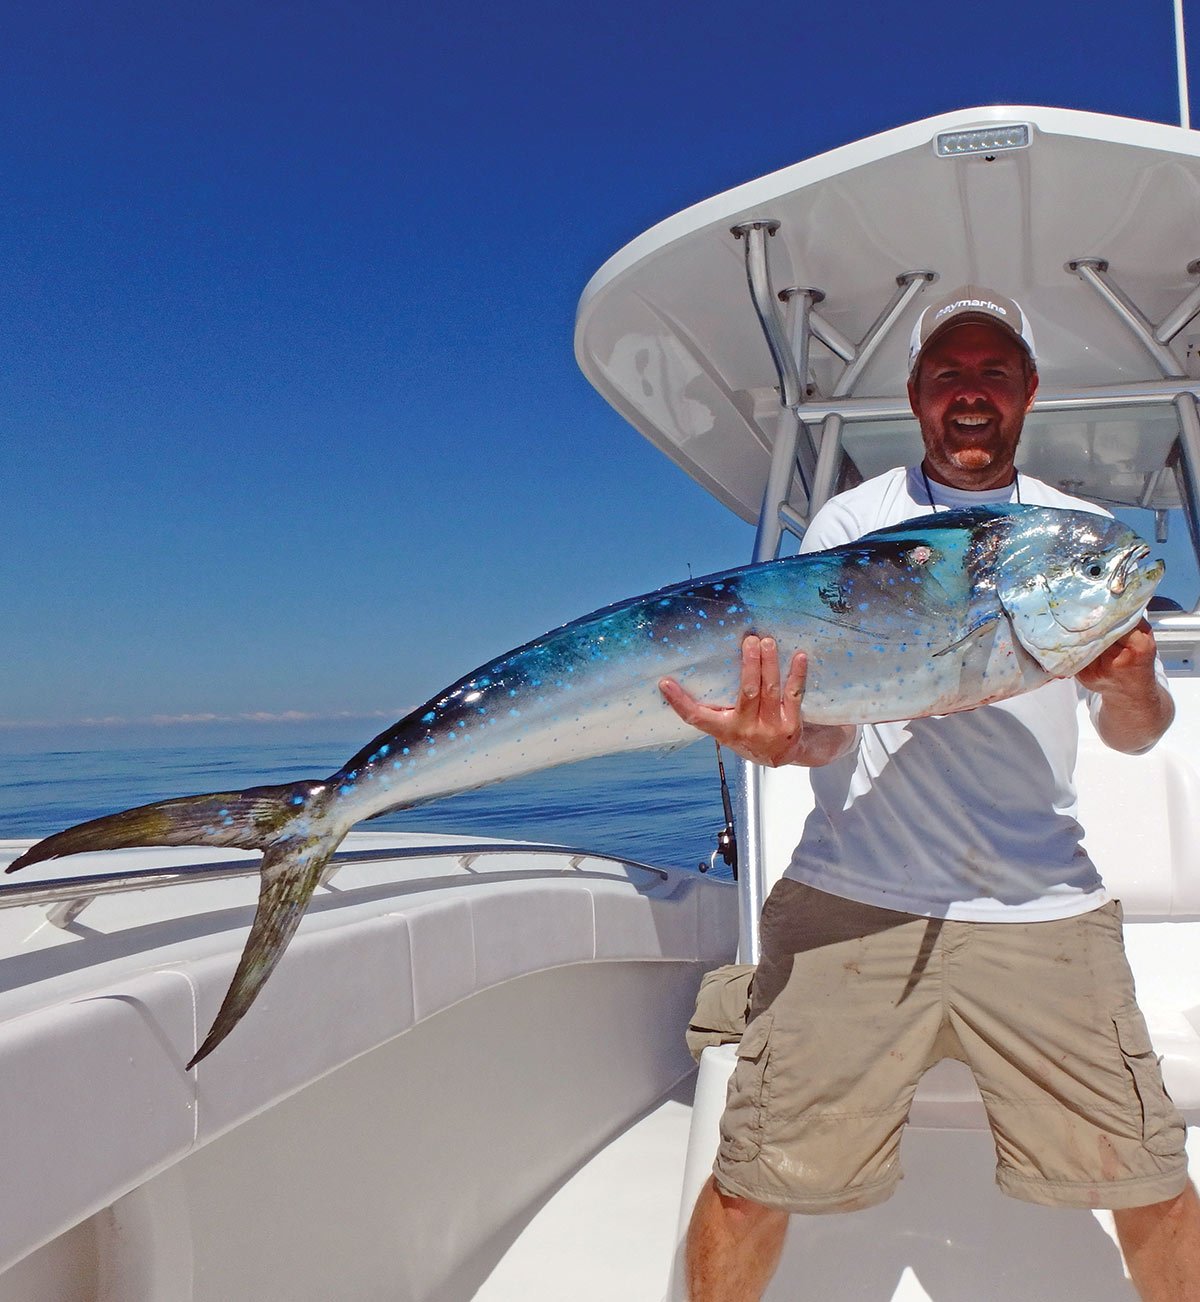
On the offshore scene the past few seasons, live baits, especially peanut bunker, but also mullet, small mackerel, spot and snappers have produced some outstanding action with mahi. Even billfish display a penchant for live bait. Years ago, a popular tactic of some Montauk and New England boats was to cast live scup to white marlin cruising on the surface. Having a supply of live baits in the baitwell on any offshore trip could turn out to be the difference between a long, boring run and a day that you will remember for a long time. Virtually all of the pelagics that roam Northeast waters are susceptible to some form of live bait under the right conditions.
When it comes to acquiring live bait, learning to throw a cast net is paramount to maintaining a steady supply. Yes, you can buy spot, and in some cases live bunker, but it can get expensive very quickly if you rely on buying baits on a regular basis. There are some very good cast netting videos out there that can help get you up to speed quickly with a little practice.

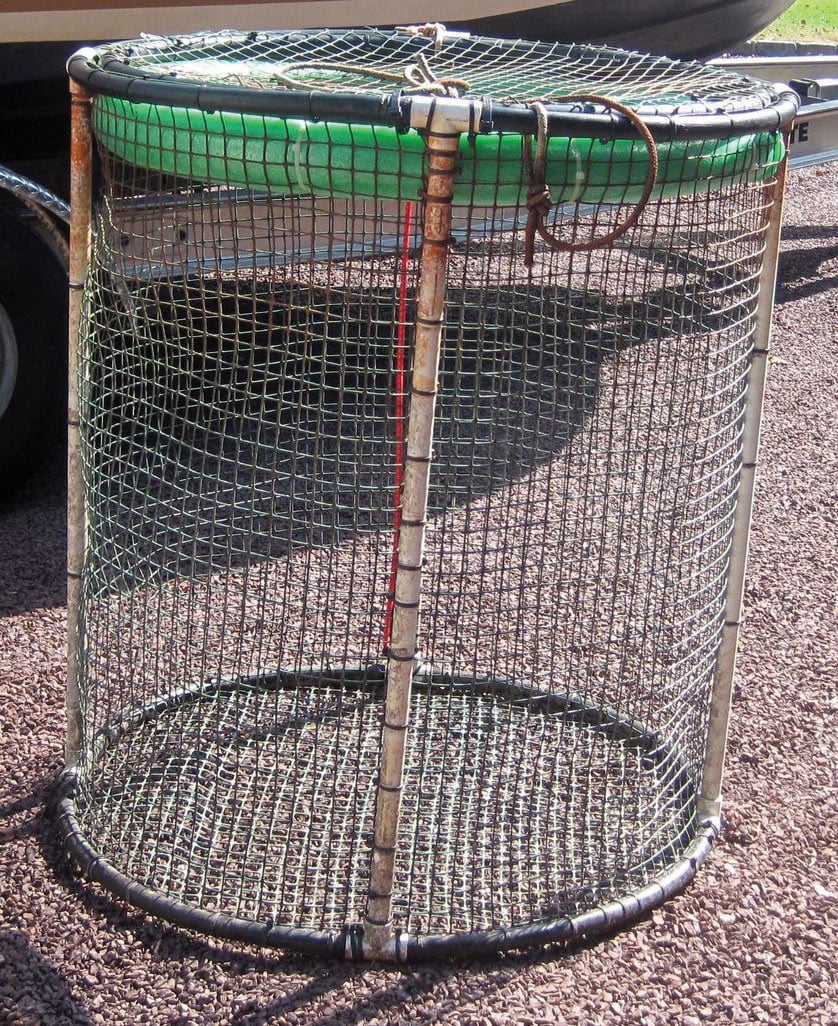
Keeping that supply of live baits frisky and available is probably the biggest reason some anglers shy away from fishing live baits. The solution is to keep a bait pen in the water alongside your boat, or if you live on the water, or have a friend that lives on the water, keep it there. You can purchase a ready-made bait pen but you also make your own very easily. Simply follow the directions below. All of the supplies necessary to build this pen are available at any Loews or Home Depot.
| SHOPPING LIST |
|---|
|
Build Your Own
Measure and cut white PVC side supports. Keep in mind the depth of the water where the pen will be deployed. Three to four feet would make for a good size pen that will hold plenty of bait. Don’t cut them longer than the mesh roll you purchased. Be careful to cut these straight and clean of plastic burs. If you use a Sawzall, cut slowly and utilize a bench vise to support the pipe being cut. Set the four pieces aside. Measure and cut the black sprinkler tube into 8 x 18 inch sections (larger if you want a wider circumference).

Assembly: Connect 4 white “T” connectors and four 18 inch black sprinkler hose piece to make two separate circles (top and bottom frame). Once the top and bottoms are complete you can attach the four side posts. If everything lines up and looks good, it’s time to prime and glue. If not trim and make necessary adjustments. With the frame assembled it’s time to zip tie the mesh in. Wrap the mesh around the inside. Having the PVC side pipes outside the pen gives the baitfish less places to get stuck while swimming and ensures their longevity. Cut to fit with a slight overlap. Start zip tying the mesh to the side supports working your way up the side posts. Zip tie the pool noodle inside the bait pen. The lid will rest on the noodle when closed. Cut and fasten the bottom mesh.
To make the lid take left over black sprinkler pipe and measure inside the top opening on top of the Styrofoam float. Cut and secure into a circle with male to male coupler and glue. Connect the mesh with zip ties and trim. Secure the lid to the pen using the heavy duty zip ties as hinges. Don’t over tighten these. You need some play so the lid will open. There are many options to secure the lid. You can simply tie it shut or use a bungee. Add a 3/8ths inch line to secure it to your boat or dock.
| HELPFUL HINTS |
|---|
|