Step up your photography game with these 20 pro tips for taking better photos this season.
By following these 20 tips, you can take magazine-style photographs with your camera phone or GoPro and avoid spending substantial money for professional camera equipment. Many excellent and inexpensive waterproof point-and-shoot cameras are on the market and are a great choice for boaters. To narrow your search for a waterproof camera, any point-and-shoot over six megapixels will make fine 8”x10” print enlargements.
- Photograph In The Field
This may sound obvious, but have your cellphone charged and ready. Then be prepared to sacrifice some fishing time to capture quality images. Photos taken on the water with a live fish are the most challenging, but they also look the best. Have you ever noticed what back-at-the-dock or back-at-home photos look like? They show gutted, faded, stiff, dry fish held in front of a marina, garage, vehicle, or kitchen sink—in general they’re not very appealing.
- Tell The Whole Story
Don’t just snap “hero shots” of an angler grinning with his or her prize catch. People who enjoy fishing photos are interested in more than just the result. Shoot a few images at sunrise as the boat is pulling away from the dock. But remember, beautiful scenics, which always look so compelling to the naked eye, often result in disappointingly flat photos. So try having something in the foreground for perspective; for instance, the bow of your boat heading toward sunrise, an angler gazing out at a scene, or the stern of the boat with the wake churning behind. For surfcasters, photograph your buddy trudging down the long beach with rod in hand. Snap photos of the guide rigging the tackle or running the boat. And photograph the battle, the landing, and the releasing of fish.
- Take Multiple Photos
The more shots you click the better your chances of getting that great photo. A rule-of-thumb is, “the more people in the photo the more shots you should take.” That’s because of the increased chance that someone will have his or her eyes closed, be moving, or have a stupid expression on their face. Multiple images of the same scene also increase your odds of focused and properly-exposed photos.
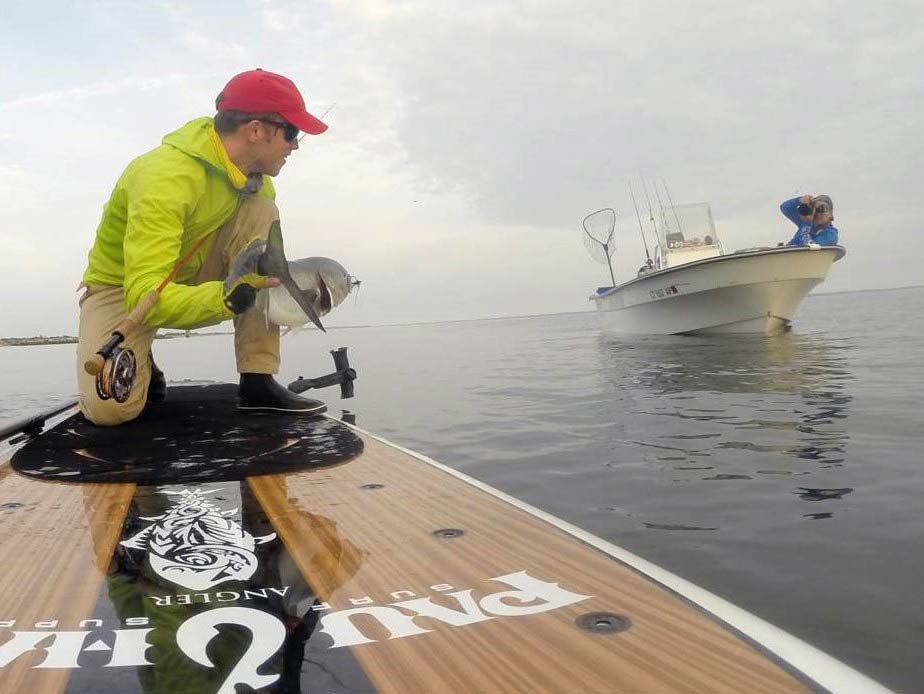
- Have Someone Doing Something
Instead of photographing that worn-out scenario of the proud angler grinning at the camera and shoving the fish toward the lens so it looks bigger, have him or her doing something that doesn’t appear staged. A simple one is to tell your angler to look at the fish instead of the camera. If two people are in the photo, have one person showing the fish to the other person. An angler could also “pose” with the fish by landing, unhooking, measuring, tagging, weighing, or releasing it. In other words, interact with the fish not with the camera.
- Watch The Background
Don’t include anything in the background that detracts from your photo. Watch for parts of other people, beverage bottles, buckets, and fish blood. Be sure a rod doesn’t protrude from behind an angler’s head like an antenna. And remember to keep the horizon level, which is very difficult to do instinctively if the boat is listing.
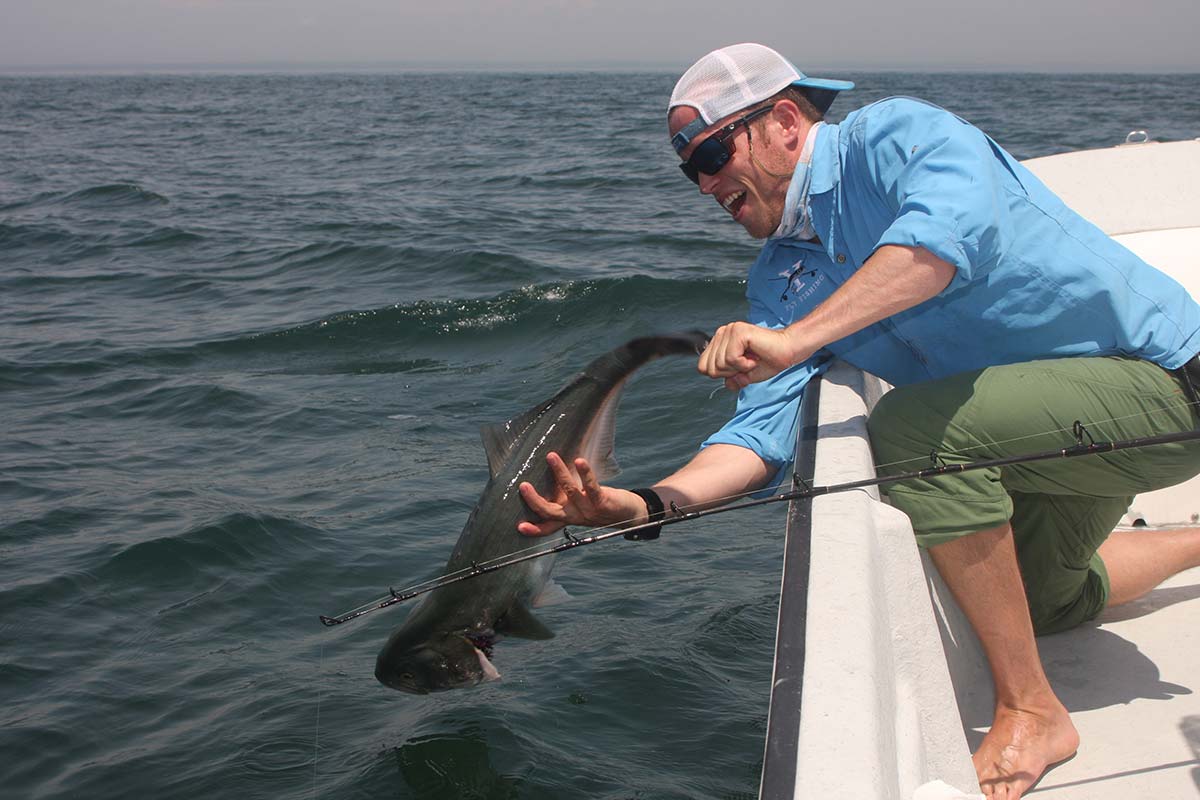
- Use Different Angles
Most pictures are taken at eye level; instead, try shooting up or down at your subject. Kneel on the deck while the angler stands with the fish. Or ask the angler to kneel on the deck while you stand. On large boats, shoot down from the bridge or from the steps leading up to a bridge. A great action angle—but the most difficult—is to lean over the gunnel and photograph along the boat side as a fish is lifted from the water or released; this usually requires several attempts, multiple shots, and a willing buddy to nail it. Try setting your camera to “burst mode” or “continuous shooting mode,” which fires multiple frames per second.
- Eliminate Hard Shadows
A “hard shadow” is one that blackens a portion of the subject, usually the face. Hats are the most common cause of hard shadows with a bright sun overhead. To fix that simply ask the angler to flip around or remove his cap—or use a “fill-flash.”
Using a fill-flash means setting your camera to fire the flash during bright conditions when it’s not normally required. The flash lightens or removes distracting and concealing shadows on sunny days, and it makes fish sparkle on overcast days. Strong backlighting can trick your camera’s auto exposure meter and result in a darkly-lit subject. Set your camera phone to use the flash all the time to provide even lighting. If you’re using a point-and-shoot, switch to the “portrait” mode on the scene selector and set the flash on. Get in the habit of noticing where the light is coming when you plan the image. You can usually just switch places with the angler or turn the boat to remedy the back-light problem.
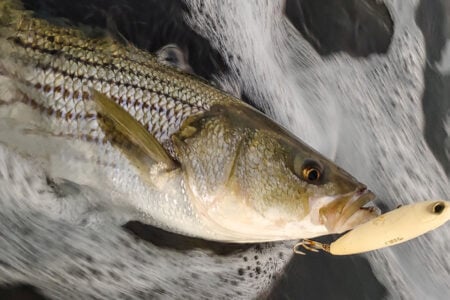
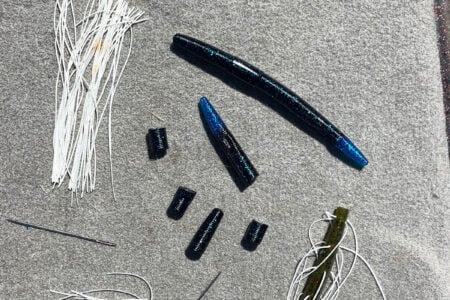
- Include The Tackle
Rather than taking all your shots the same way with a person holding just a fish, include some tackle. Ask the angler to hold his or her rod across the fish or leave the fly or lure in its mouth. This creates photos that are varied, informative, and interesting.
- Concentrate On Composition
Many snapshots show an angler too far away with a lot of empty space around him or her, particularly with the fisherman’s head centered in the frame. Instead, move closer to the person or use the camera’s zoom feature to fill the frame with the subject.
Another bad tendency is to always hold a phone camera vertically. This often frames shots poorly. For example, an angler who’s standing and holding a large fish under the gill plate is a vertical subject, but an angler who’s holding a big fish horizontally (or two people holding a fish between them) is best framed horizontally, so turn your phone camera turned sideways or in a “landscape” position.
- Position Fish In A Variety Of Ways
Rather than the angler holding his or her fish the same way, try various poses with the fish. An open-mouth, head-on shot of a big fish is a real attention grabber. Try lifting the fish about two-thirds out of the water and shoot the photo as if it were just being landed or released. Or try holding the fish at an upward diagonal across the angler’s body with the fish’s eyes as high as the angler’s eyes. Then remember to tell the angler to look at the fish’s head not at the camera.
- Use The Rule Of Thirds
If you intend to—or can only—fit part of the fish in the picture it’s more visually pleasing to photograph either the front third or front two thirds of the fish. Never cut a fish exactly in half with the frame.
Similarly, when shooting seascapes, never cut the image in half with the horizon. The horizon line should always be either at the top third or bottom third of an image, and always shot horizontally.
- Focus On The Fish
Because a fish is almost always the subject of a fishing photo, focus on it, not the angler. More specifically, you should focus on the fish’s eye. Do this by learning to us the AF/Lock or Auto Focus Lock feature on your camera phone. If your subject is off-center in the frame, which would normally be the case if it’s a fish’s head, your camera set on auto mode will guess where to focus, which is usually on the angler behind the fish. The default camera mode will focus on the center of the picture, so the fish’s head—if off to the side—might be out of focus. You can lock the focus on the subject and then recompose/reframe the shot and shoot.
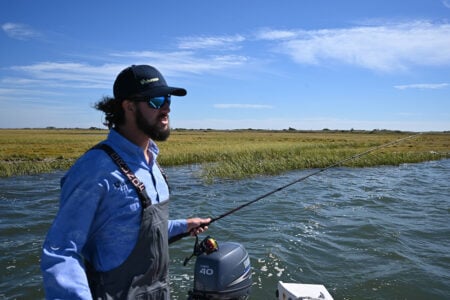
- Wear Colorful Clothes
While most fishermen fish in dark clothes, you’ll notice that many quality magazine photos show the anglers neatly dressed in clean, colorful clothes. Anglers in black or dark blue jackets can cause overexposed photos; likewise, a white or yellow shirt may reflect too much light and cause underexposed images. Clean any blood off the fish and angler before snapping the picture.
- Lose The Sunglasses And Smokes
You can better capture the joyful expression of an angler holding his or her big catch without sunglasses. Also ask anglers to put down the beverage, cigar, or cigarette when posing. If the fisherman is shirtless, have him throw one on and even tuck it in. It’ll add class to your picture, especially if destined for framing.
- Shield the camera lens.
If the sunlight is hitting your lens directly, you’ll get lens flare or glare hotspots. Simply use your other hand to block the sunlight from directly hitting your lens.
- Keep Your Lens Clean
You handle your phone so frequently it’s bound to get smudges. Even the smallest smudge, dust particles, or salt spray on that little lens can greatly affect the quality of your cellphone pictures. Any microfiber lens cleaning cloth, like used for eyeglasses, will clean well.
- Use High Resolution
If your camera has the option, and most point-and-shoots do, set your function to the highest resolution/quality JPEG, and set the image to the largest size. You’ll hold fewer photos stored on the memory card, but you’ll be able to enlarge them to any size later while keeping the fine detail.
- Hold Still
Tell your buddies to stay put until they see the flash go off. There’s often a delay between pressing the shutter release and the shutter taking the photo—this is the major drawback to some point-and-shoot or cellphone cameras and makes action shots more difficult to capture.
- Underwater Images
Most waterproof point-and-shoot cameras can take excellent shots in shallow water. Hold the camera just below the surface while a friend tries to lead the hooked fish in front of the camera or holds the fish underwater in front of it. Take a lot of photos—hopefully a few will be properly framed and focused. And remember to wear the safety wristband!
- Make Memories And Gifts
Once you learn to create great images you can have them inexpensively printed and framed for awesome wall hangings. An excellent company for this is easycanvasprints.com.