A needlefish designed by a Long Island legend.
Nat Piazza was from the old school of surfcasting. He didn’t want any fanfare and kept to himself, but many that knew him revere him as one of the best there was. During the 1980s—when the needlefish craze was in full effect and supply wasn’t even coming close to meeting demand—many anglers set their minds to making their own; Nat was one of them.
I’ve made it pretty clear in my writing that I am more than just a little obsessed with needlefish, and the thing that drew me to making Nat’s is that this plug was designed before there was an accepted format for making one. My friend Teddy was close with Nat during the 1980s and has a pretty good stash of his plugs. I know Nat put a lot of time into tweaking his designs; Teddy has a metal-lip swimmer that has an odd piece of wire attached to the line tie; when he told Nat he was going to take it off Nat told him—firmly—“I put that there for a reason, leave it the hell alone!”
Knowing this and that Nat was such a great fisherman, I felt that his needle might be uniquely effective. Furthermore, Teddy sang the praises of this seemingly simple plug. He was even generous enough to give me one from his personal stash. As is the case with all of these articles, this build will be my interpretation of this classic plug. There are things about it that I simply cannot find out, but my years of experience building lures and dissecting designs ensures that I at least come very close to the original.
To make my job easier, Teddy just happened to have about a half-dozen unfinished needles from Nat the he had planned to convert to a weedless design. A brief inspection of one of these blanks gave me a huge head start. Right off the bat, I could tell that they were made from birch; I could see exactly where the belly weights were located and their size. They were also marked with a pencil line, showing where the tail weight ended so that Teddy wouldn’t drill through the lead accidentally. I spoke to Teddy about writing this article and he said, “I think that would show nothing but respect for Nat, otherwise his design would be lost. I think he would’ve really liked to know you were writing about it.”
The Build
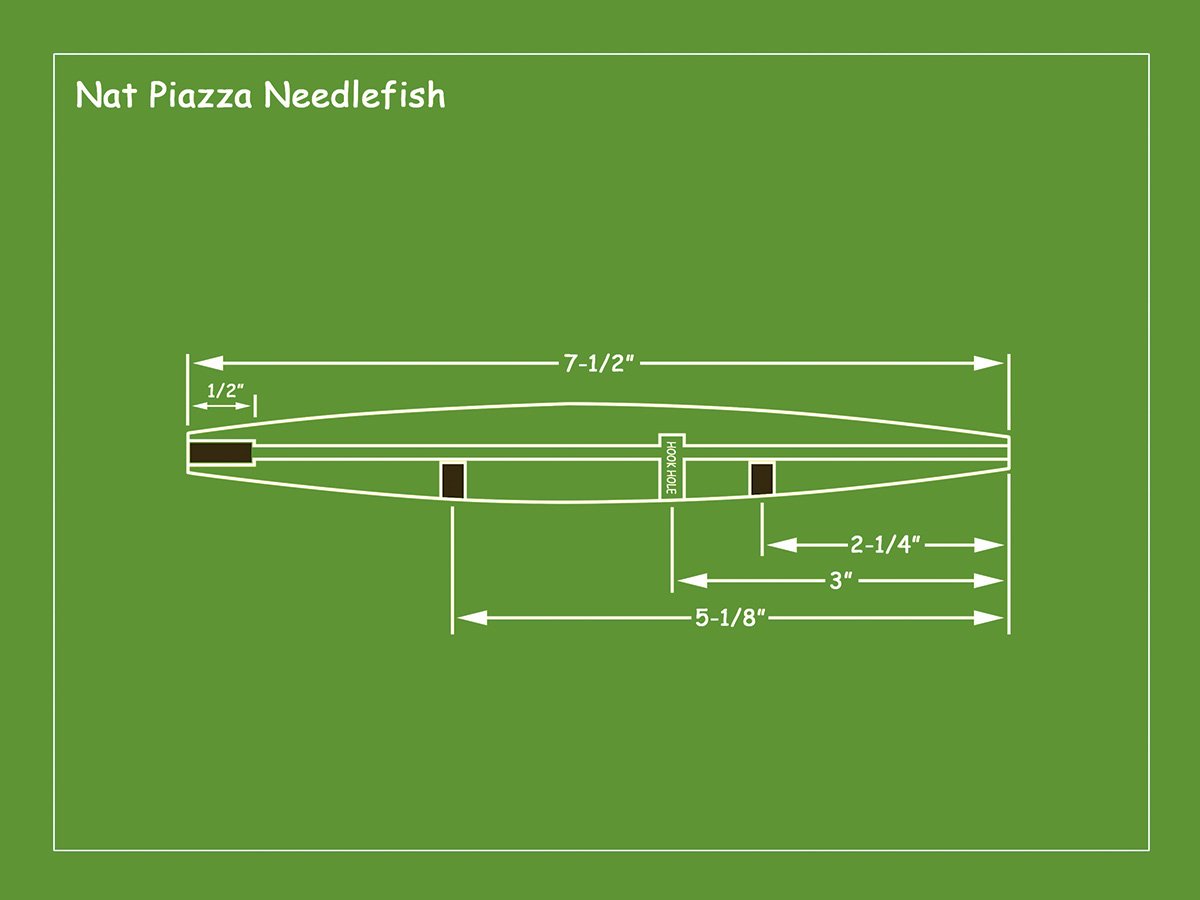
This needle is made from birch, has a maximum diameter of 7/8-inch and measures 7-1/2 inches overall. The shape itself falls somewhere between a Super Strike Needle and a Wadd. I made mine from 1 X 1 pieces and I cut them to 8-1/2 inch lengths so I could leave both ends square to make working on them easier.
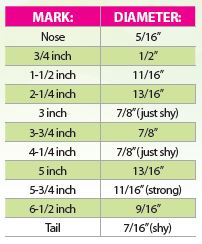 Once you have your blanks cut, find the center at both ends and set one spinning in the lathe. Using a gouge, round the corners off of the middle sections of the blank—leaving about 1/4-inch of each end square—then power down the lathe and grab your ruler and pencil. Begin by marking the head and tail, these marks should be 7-1/2 inches apart. Because of the fluidity of the design, there are no obvious spots to check your measurements, so instead, we’re going to make a mark every 3/4-inch and I will give you a corresponding diameter for each one.
Doing this perfectly—freehand—is no easy task. My advice is just to get as close as you can, the balance of a needle is more important than exact shape, so don’t go filling the burn bin because your diameters are inconsistent—the most important ones to get right are the tail, 3-inch and 5-inch marks, these marks have weights added and an accurate diameter is important. Sand the bodies on the lathe with strips of 150 and then 220 grit sandpaper and fire up the drill press.
Pressing Issues
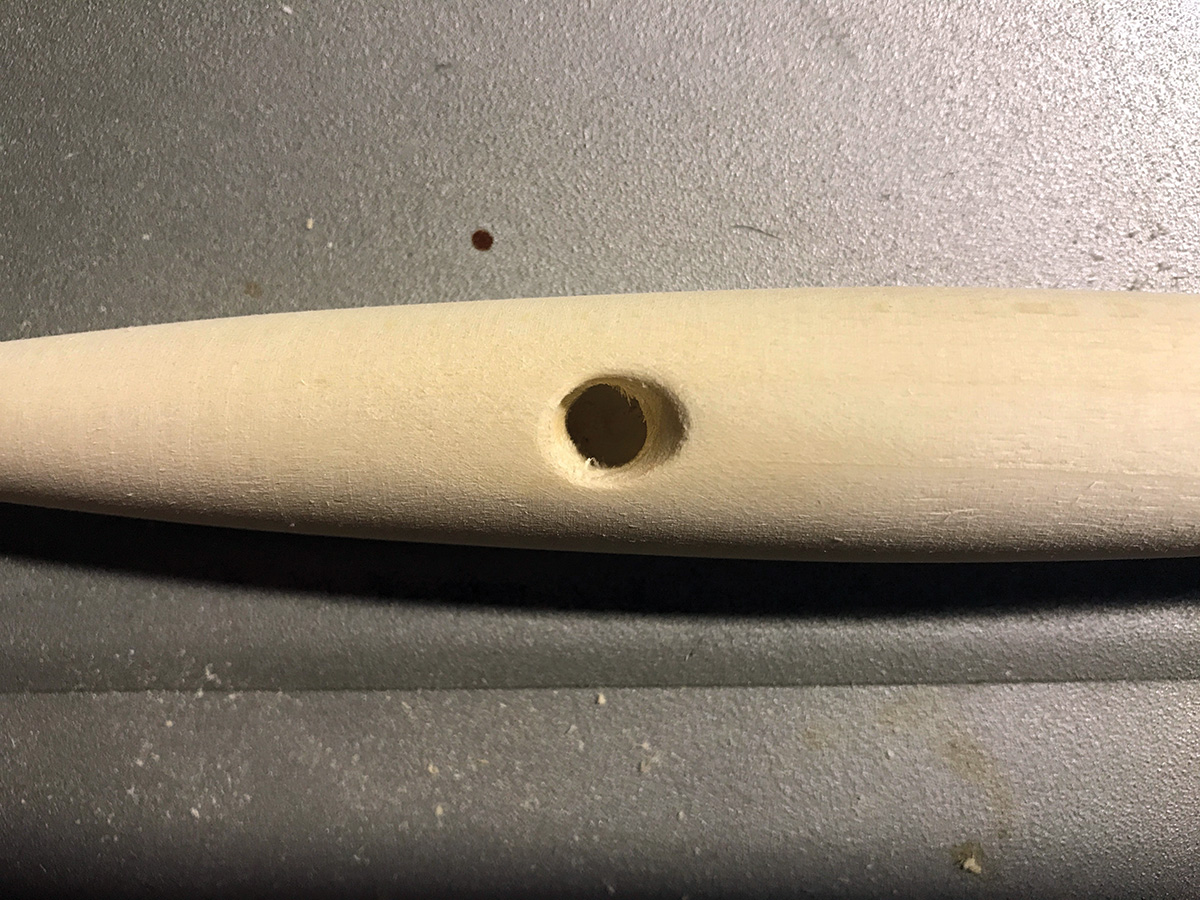
Simplicity is a beautiful thing and Nat made it easy on us with the hook and weight holes, because they are all the same diameter. I would suggest setting up a fence on the drill press so that your holes can be centered automatically—(as long as your square blanks were cut accurately). Drill three holes—two of them just shy of halfway through at 2-1/4 inches and 5-1/8 inches back from the nose and another at 3-inches back, 1/8 inch past halfway through. Nat went for style points with his needle by re-drilling the hook hole with the body angled to 45 degrees—drilled to a depth of roughly 1/4 inch. This removes the sharp edge on the hole and limits damage to the wood when a fish is hooked. This step is optional, but definitely a cool touch. You could also just ‘scallop’ the hole with a Dremel and get the same effect.

At this point you can thru-drill the plug, just do this as you would any other plug, but use an 8-inch long, 5/32-inch diameter bit. If you don’t know how to thru-drill you can find an instructional video made by ‘yours truly’ at TheFisherman.com.
Once you have thru-drilled the body, cut the square end off of THE TAIL ONLY and go back to the drill press. Using the same 5/16-inch bit, drill a 1/2-inch deep hole in from the tail—along with the thru hole—to house the tail weight. Now cut the square off the nose end, give the whole plug a once-over with some 220 sandpaper and give the body a sealer bath. A 60/40 mix of oil-based polyurethane and mineral spirits is the accepted sealer for surf plugs; I specify interior, high gloss urethane because of its higher solids and hardness, and I add a splash of Penetrol to encourage optimal penetration. Be sure to blow all the dust out of the holes before sealing. I bathe them for three minutes; this is not because I believe the bodies will soak more sealer in, it’s to ensure that all trapped air has time to escape, every surface that will be exposed to water must be sealed or else the plugs will split. Wipe the bodies down and hang them to dry in a warm, dry place for at least two days; when sanding produces fine, white dust they are ready for the next step.
Lead & Paint
There are no commercially-available weights that are perfect for this build, so you’re either going to have to make some or modify an existing weight. The easiest way to get there is to buy the .39-ounce tail weights from NJ Tackle and cut them on a band saw to a length of 3/8-inch (wear safety glasses.) Epoxy the weights in and cover them with the filler of your choice. Once the filler dries, sand it smooth and sand the sealer lightly as well. Then prime the bodies with Painter’s Touch All-Purpose Primer and let it dry for 36 hours.
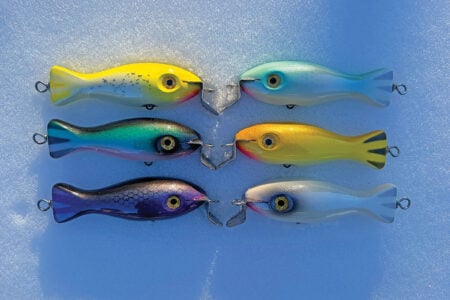
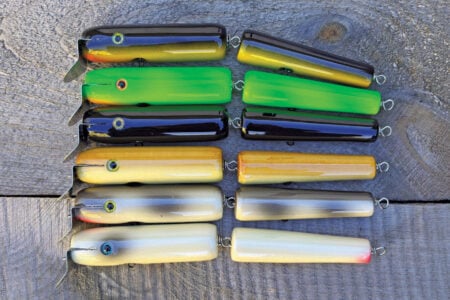
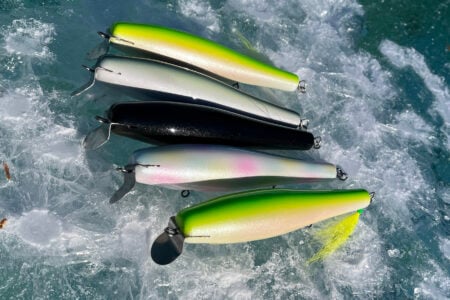
Nat painted his needle in very simple colors: bone, white, olive, silver, gray… etc. One thing I did notice on his is that he fogged them with metallic paints like silver, gold or copper, probably trying to replicate that sand eel shimmer. Of course, you may paint yours any color you like. When the paint has dried, give your plugs a coat or two of some kind of protective clear finish—my recommendation is bar top epoxy.
Assembly
When the clear finish has cured, wire the plugs as you would any other (video available at TheFisherman.com). Drop a #3 Krok swivel into the belly hole and send a 12-inch pre-bent thru-wire through a nose grommet and then through the plug—threading the swivel on the way by. Here again, there is no commercially available tail weight that is perfect for this build, so cut one of the .39-ounce weights from NJ Tackle in half and slide it over the wire and into the hole in the tail.
The last step before wrapping the tail loop is a 3/8-inch tail grommet for a nice, finished look.
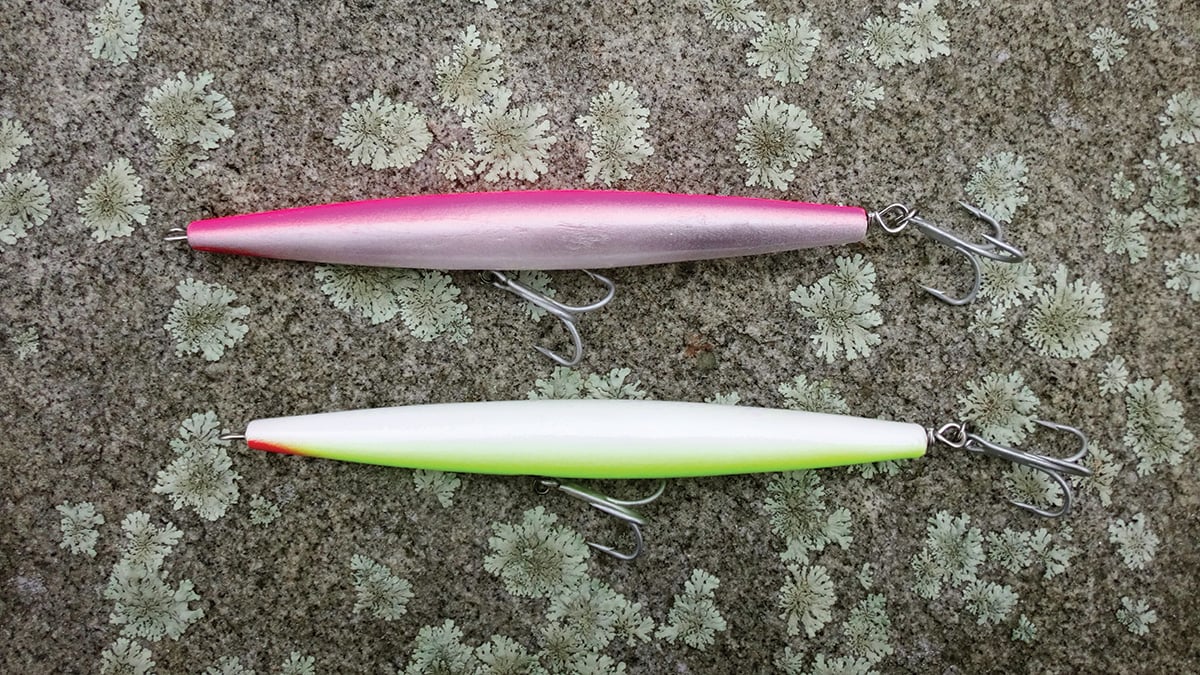
Nat used 2/0 trebles on his needles; call me a barbaric, but I’m going with 3/0s, I like some extra gap in case Bertha comes calling. I suggest cutting the belly hook and using a size 5.5H split ring on the tail. Feel free to experiment with single hooks and dressed tails, but I’m old school—two trebles, no feathers.
At this point, you have a replica of a needlefish made to the exact specifications of an O.G. sharpie, designed before the needlefish had really made its mark. As a surfcaster with more than 20 years in the wash, my goal is always to get a new pitch, a look the fish haven’t seen, and the Nat’s Needle hasn’t swum in at least two decades. Count me in on that.