Although most Fisherman readers are familiar with the washing, waxing, bottom painting and polishing aspects of basic fiberglass boat maintenance, another requirement is a rudimentary knowledge of how to perform a handful of minor repairs to the exterior skin of your vessel, which is the gelcoat, and the materials located directly under this thin skin’s protective surface.
Gelcoat is a material used to provide a high-quality finish on the visible surface of a fiber-reinforced composite. Many marine craft are manufactured using composite materials with an outer layer of gelcoat, typically .02 inches (2 mils) to 0.03 inches (3 mils) thick. Gelcoats are designed to be durable, providing resistance to ultraviolet degradation and hydrolysis. The gelcoat surface of your boat is the shiny, hard, durable outer skin that protects the inner laminate from the ravages of saltwater, ultra violet rays, water intrusion, etc., but only if it is intact and in good condition.
Problems and Solutions
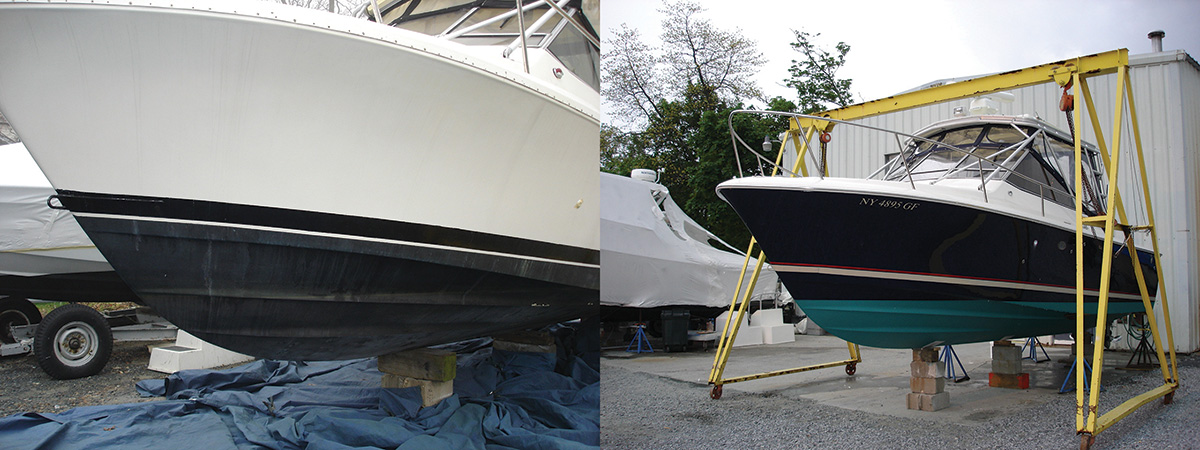
Potential trouble arises after your boat has seen a number of seasons of use and minor problems start to crop up that require your attention. The most obvious of these are the usual chips or pock-marks in the gelcoat finish that occur in 90-degree corners and the bend or radius of certain parts of the hull, cockpit sole and deck where the manufacturer could not fully support the gelcoat’s fragile, eggshell like skin with the fiberglass reinforcement underneath. Dropping a sinker on the cockpit floor, or bumping the hard edge of a water ski or the brass/aluminum gimbal of a trolling rod on a fiberglass part, can cause chips and divots in the gelcoat finish, among dozens of other scenarios that typically happen during your normal activities out on the water with family and friends.
 The bumps, knocks and minor collisions that occur when maneuvering your vessel in and out of its dockside slip, mooring or on/off the trailer at the ramp can also cause chips in the hull’s exterior gelcoat, exposing the FRP substructure beneath the skin coat. If left untreated, these openings to the internals of your boat’s construction matrix can allow water intrusion, which in turn might compromise the integrity of your vessel’s laminate and cause external blisters to form on the gelcoat skin.
Other boating accessory installations, like transducers, rodholders, cup holders, marine electronics, antennas, rails, etc. all require drilling, screwing and/or through-bolting into the boat’s protective gelcoat surface. So what do you do when it’s time to move that part somewhere else or to totally remove it from the boat?
 Screw Holes, Topside: One of the most common scenarios in the average boater’s life is how to fill in screw holes for items like yoke mount electronics, Bimini top U-hooks, cockpit seats, rodholder mounts, etc. The majority of these holes have typically been machined with a drill bit or other device. One type is a blind hole, where there is an opening on the top side of the entry hole, but no exit hole on the bottom. The second type of hole goes clear through the gelcoat skin, fiberglass and whatever substrate material might be underneath, like plywood, balsa or foam coring.
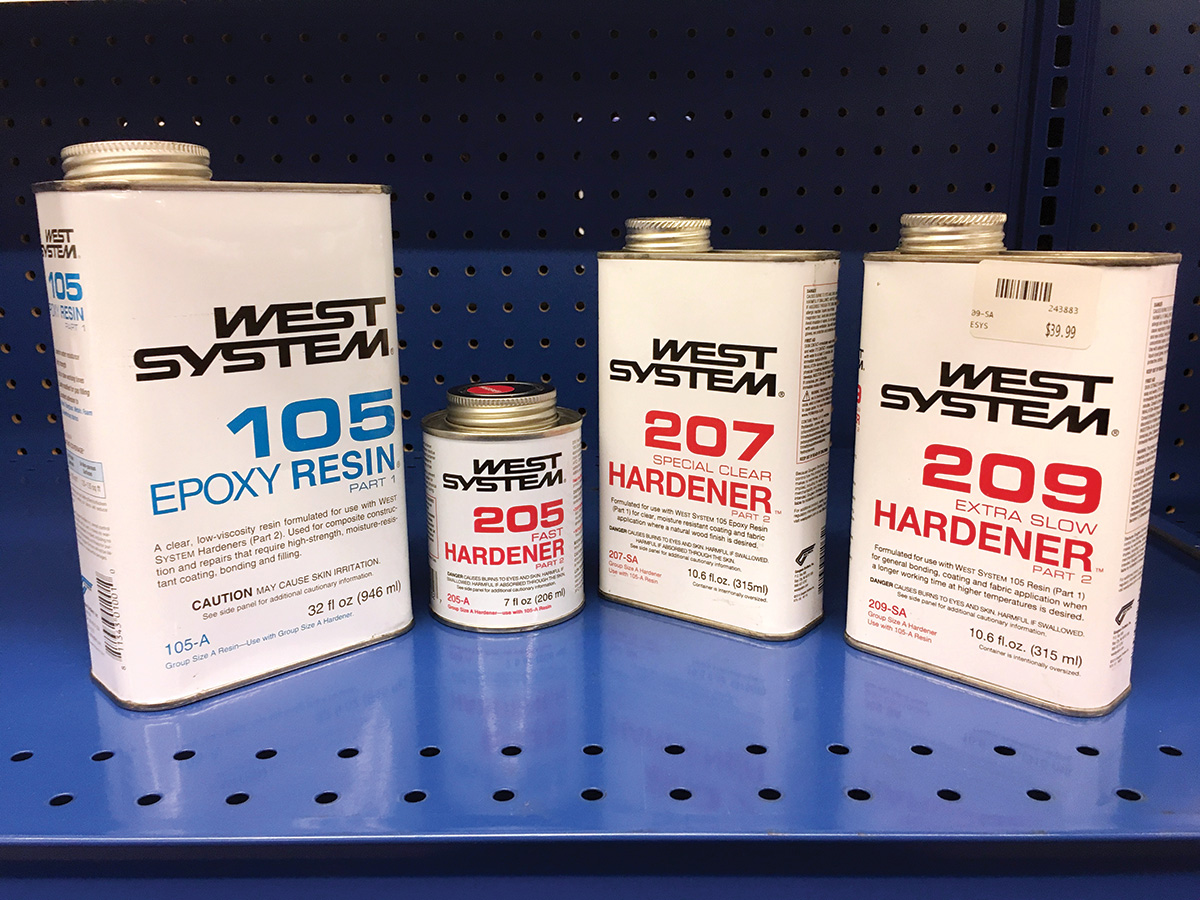
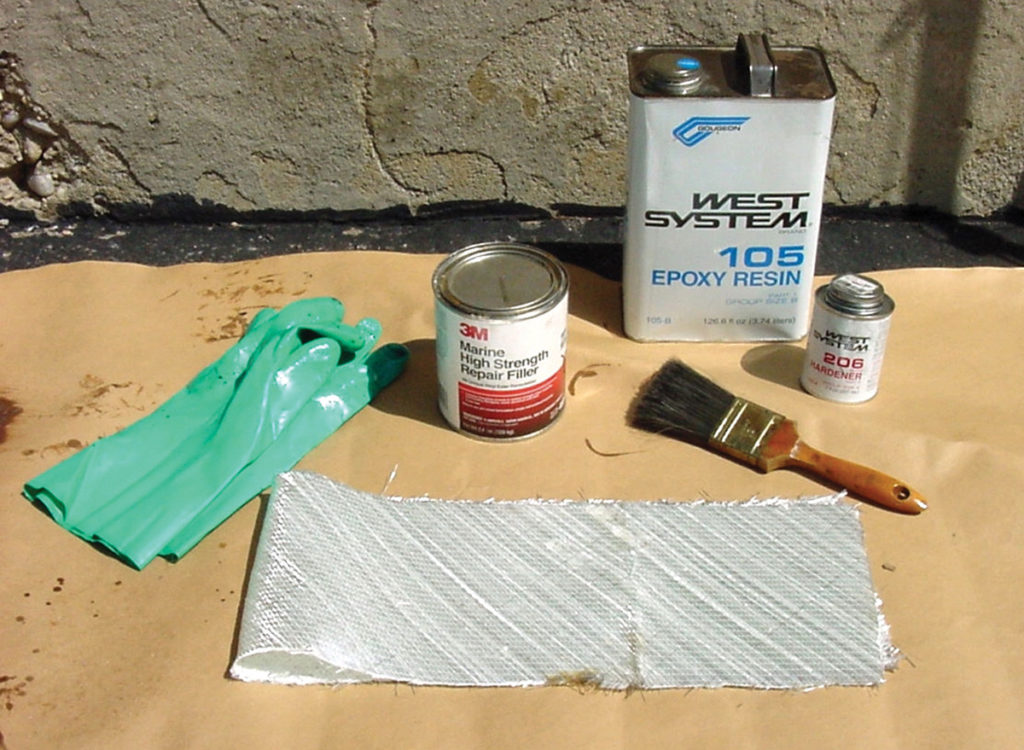
To get a professional solution on how to repair this type of gelcoat and substrate intrusion, I reached out to Gougeon Brothers, the makers of West System epoxies, who referred me to their excellent periodic newsletter resource, Epoxyworks (issue 21). The following is their best advice on how to fill up those unwanted screw holes.
 A #8 self-tapping screw (just over 1/8” in diameter) is removed from the deck of a boat. The deck has a 1/8-inch thick fiberglass skin with a plywood core. This is a low-risk repair. The hole is small in diameter, the skin is relatively thick compared to the hole diameter, and the skin is backed by dense core material (plywood). If this repair fails, the worst thing that will happen is the plywood core may rot someday.
To begin the repair, ream the hole with a drill bit slightly larger than the existing hole to expose clean, fresh laminate and wood. Then chamfer the hole with a countersink. If the hole goes entirely through the area and out the other end, then do this on both sides of the hole if you can reach the backside. The chamfer softens the sharp edge left from the reaming operation so the repair is less likely to telegraph through the final finish. Additionally, when the hole is chamfered on both sides, a mechanical lock is formed when the hole is filled. In thicker laminates, removing the screw may result in a blind hole, a hole that does not go completely through the laminate. In this case, use a syringe to fill from the bottom of the blind hole. If the hole is deeper than the length of the syringe nozzle, use a soda straw to extend the length of the nozzle. Trying to force thickened epoxy into a blind hole with a putty knife always leaves an air bubble at the bottom of the hole. Filling from the bottom forces all air out of the hole. Use 404 High-Density Filler or 406 Colloidal Silica Filler to thicken the epoxy. Fiberglass laminate is hard and strong and using 404 or 406 Filler creates a hard, strong epoxy filler, which more closely matches the characteristics of the laminate. These fillers make epoxy difficult to sand so clean up around the hole as thoroughly as possible to minimize sanding time. Follow the standard two-step bonding techniques for using West System epoxy. Wet out the hole with neat epoxy first.
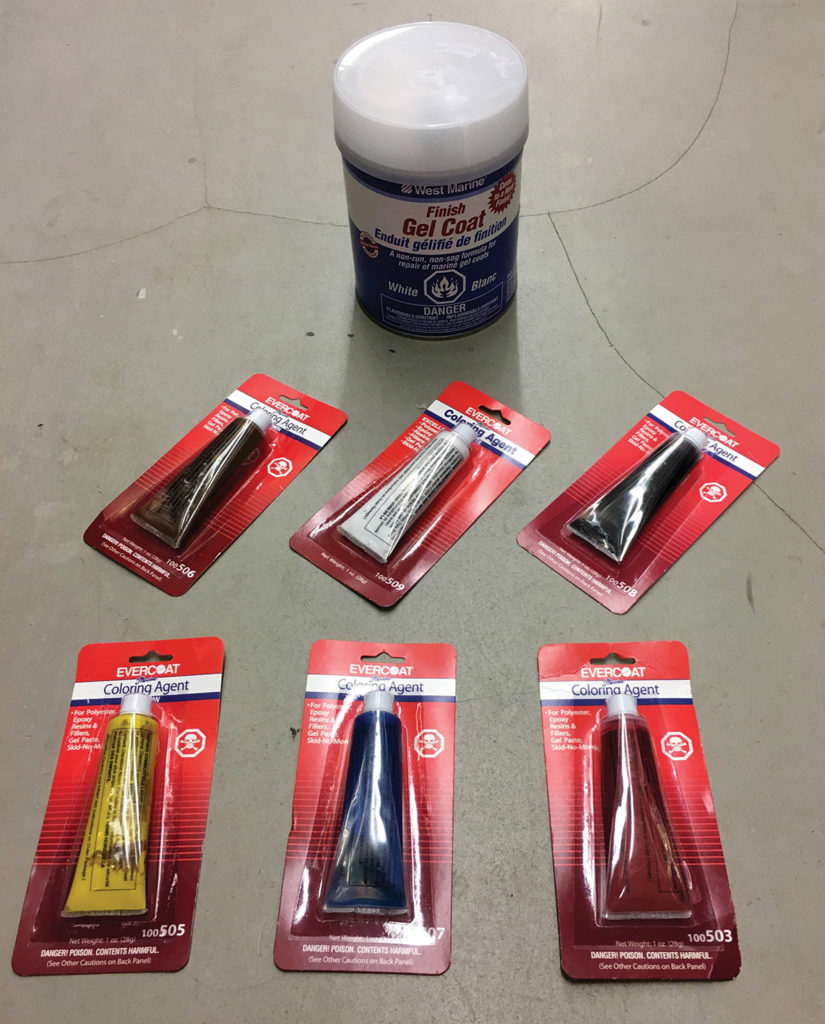
 As an aside to the comprehensive Gougeon Brothers solution detailed here, I have had excellent luck in the past with similar repairs using all-in-one 3M’s High Strength Marine filler in place of the West System epoxy and added fillers. No matter which brand you prefer, both are professional grade products and will get the job done. The finishing step for filling up these holes is to sand the topside with progressively finer sandpaper (150-200-320-400), clean off with an acetone-soaked cotton cloth, and then dab some finish gelcoat over the hole with a small paint brush or narrow foam brush that color matches your vessel’s gelcoat and you should be done.
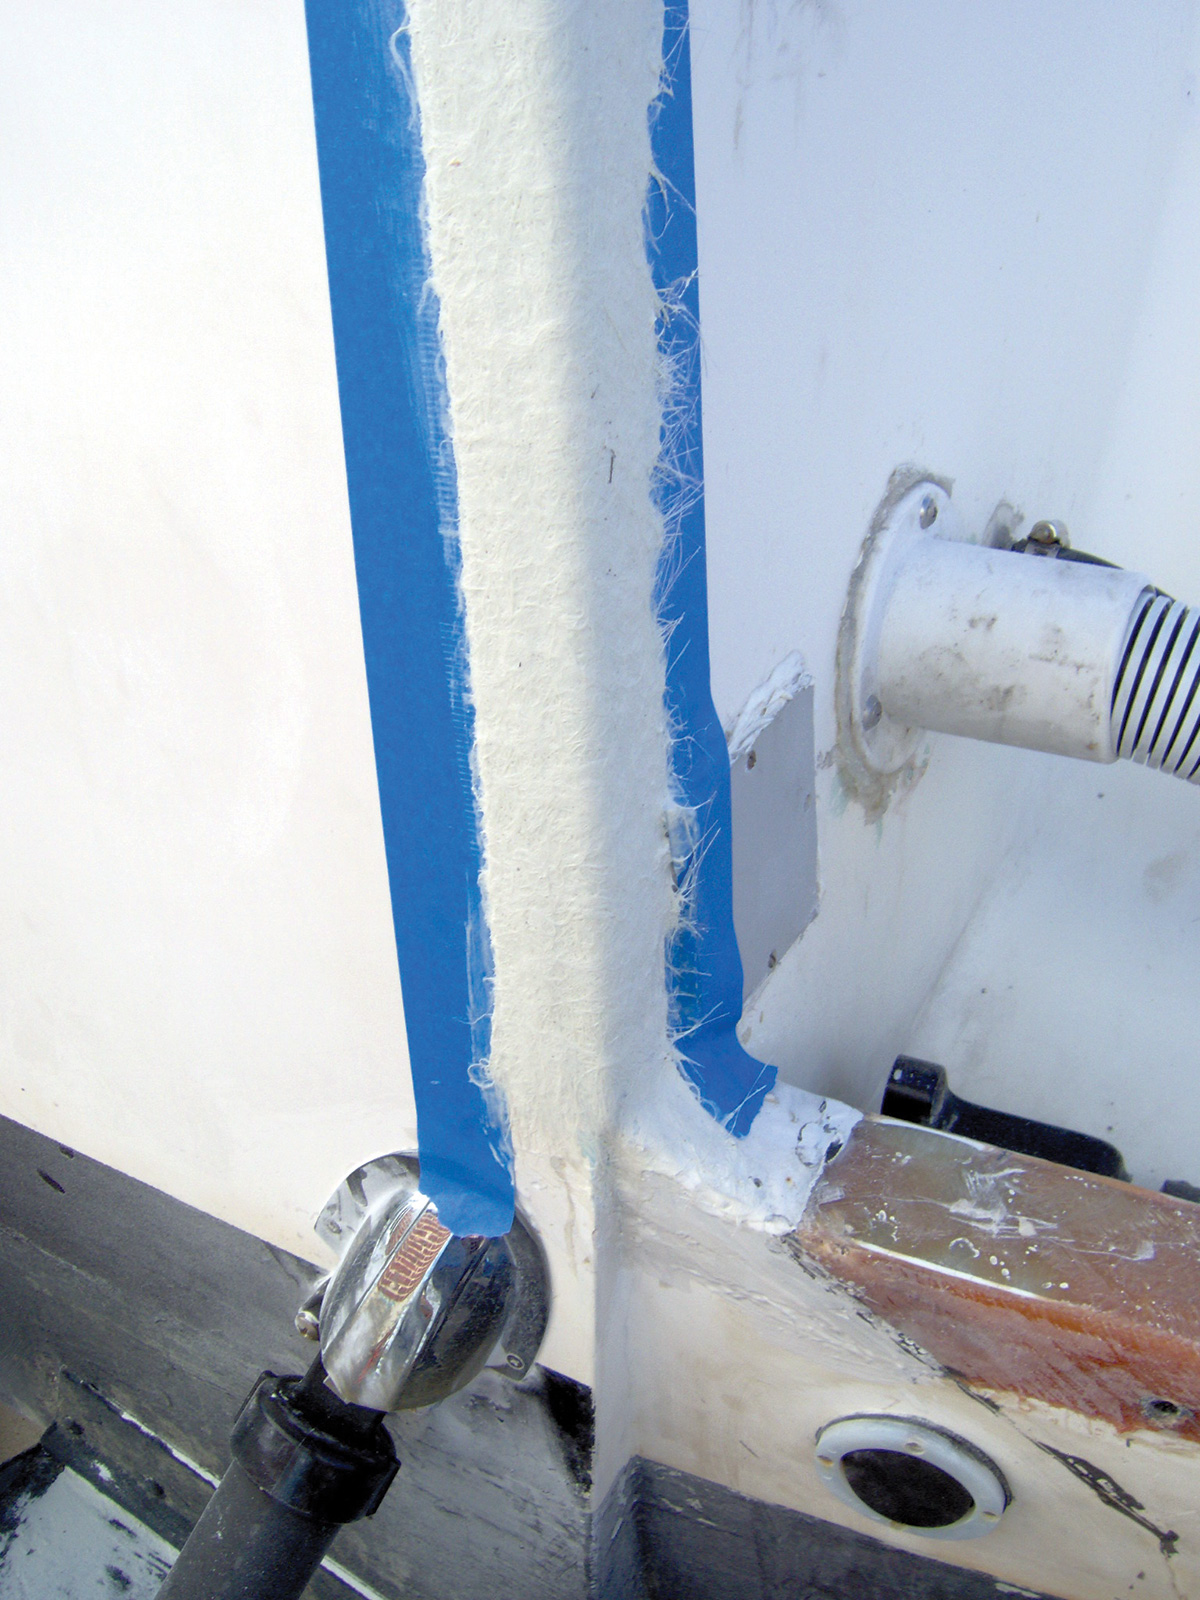
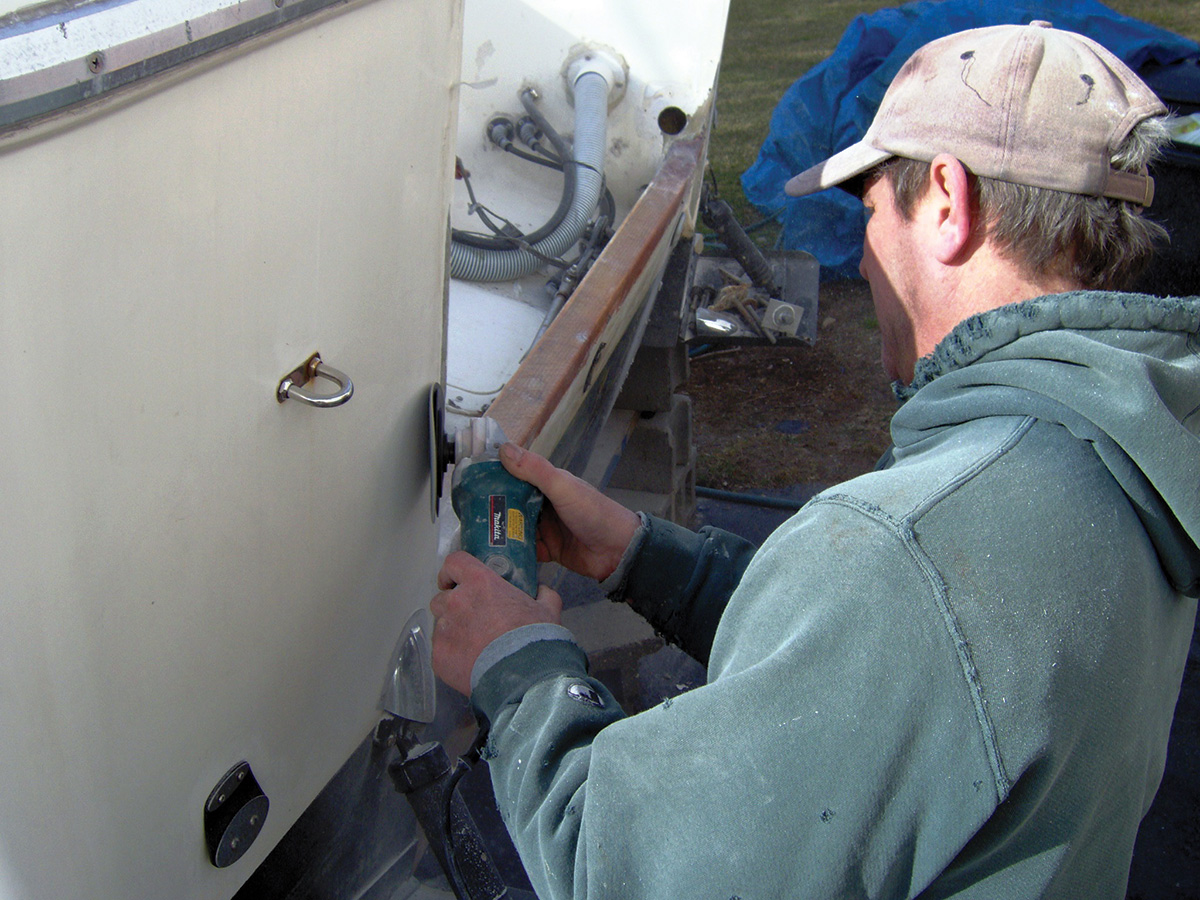
 Chips And Pock Marks: Unsightly chips and pock marks in your boat’s gelcoat finish typically occur in the curves, corners and hard 90-degree angle areas in the cockpit liner and deck. To prepare the area for repair, take an ice pick or the flat blade of a slotted screwdriver and poke around the edges of the hole, breaking off any remaining unsupported gelcoat until you reach a hard supported substrate underneath. Next step is to clean the area off to remove any remaining loose chips and dust and then finish up with an acetone soaked rag and let it dry out. Mask off the area to be repaired with removable painter’s tape or Frogtape and then mix up a batch of no-sag epoxy filler as described above, which can include either the West System two-part epoxy and silica filler, or the pre-made 3M Marine High Strength Repair Filler. If it’s a large area, you might have to do more than a single application to get even coverage, but try your best to jam as much of the epoxy filler into the hole as possible with a flexible sheetrock knife or plastic applicator. Once it’s dry, sand it down with progressively finer sandpaper until it’s as smooth as a pane of glass and then do the acetone wipe one more time before dabbing the area with a layer of gelcoat that’s matched to your boat’s finish. As a helpful hint, I usually taper the volume of filler so that it’s slightly below the level of the area outside of the repair, to leave some volume for the gelcoat, which I apply to slightly above the surrounding area of the repair. When you sand the gelcoat down after it dries, it should be totally even with the areas that were outside of the repair area. Finish it up with some buffing compound and a layer of protective boat wax and you are good to go.
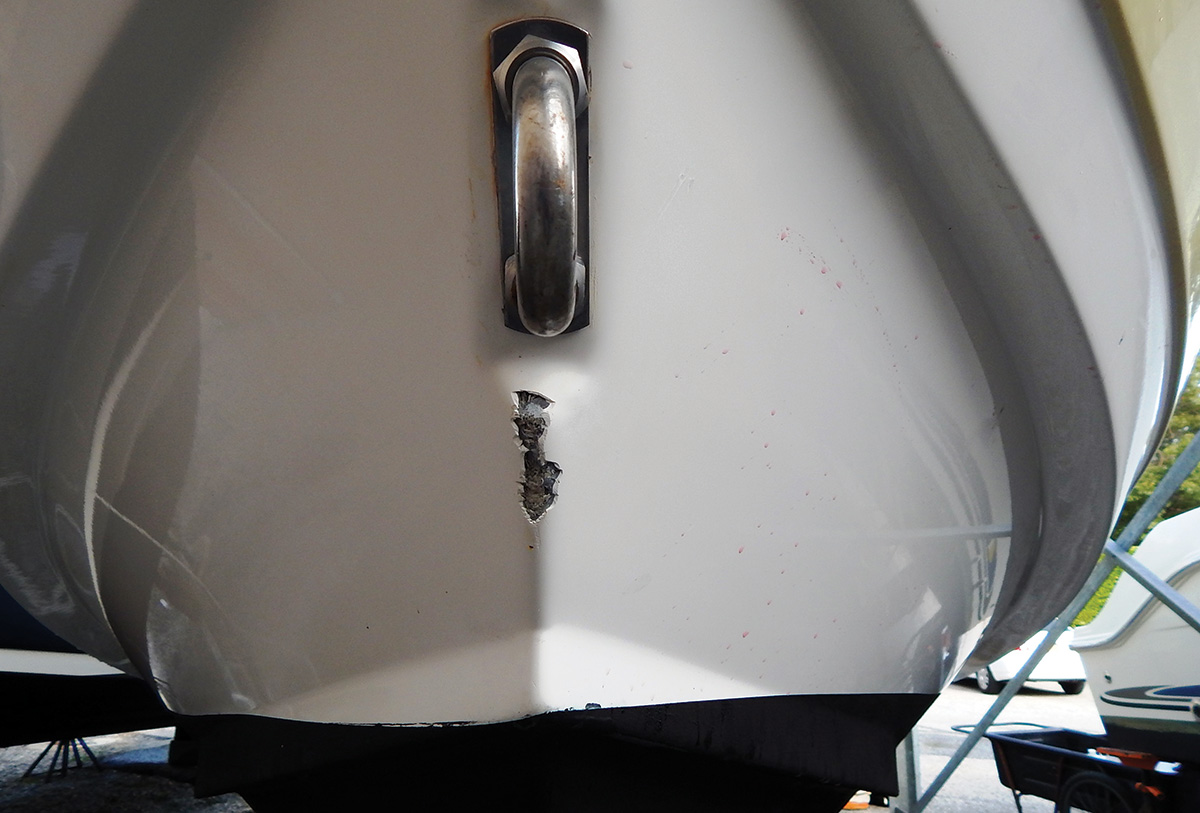
 Gouges And Chips: Whenever you come across gouges and chips in the hull, this is usually an area that requires immediate attention, due to the constant hydraulic pressure that moving water puts on the damaged spots. The danger here is that a constant stream of seawater can get into your fiberglass substrate through the openings in the gelcoat and cause future problems.
 The solution to this malady is similar to how we solved problem #2. The techs at 3M recommend cleaning the gouged areas above the waterline with boat soap and a pressure washer to remove any organic materials. A final pass with an acetone soaked rag will eliminate any of the inorganic stuff. Next step is to block or hand-sand the gouge with 80-grit sandpaper, with the intent to dish out or bevel the repair area. Mix up an appropriate batch of the 3M Marine High Strength Repair Filler for the task and apply an initial light coat, followed by heavier build coats. Allow the mix to cure and then sand and feather the area with progressively finer sandpaper. Get it super smooth and then apply a coat of gelcoat, buff out with rubbing compound and add a coat of protective wax.
When in doubt, gather some intel from the manufacturers’ websites for further instructions, diagrams and helpful videos. YouTube has dozens of videos from do-it-yourselfers performing these tasks, so let the internet be your friend and see it done by others before attempting any of these simple fiberglass repair projects yourself. If you have any questions, reach out to me at www.marceejay.com.
| ESSENTIAL TOOLS & ACCESSORIES |
|---|
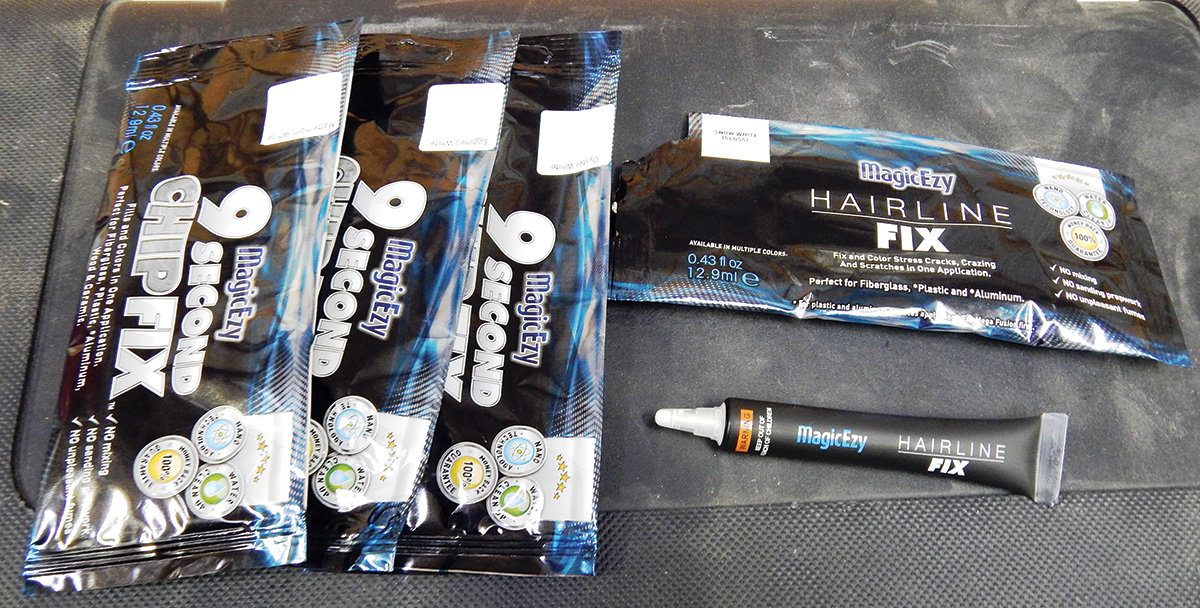
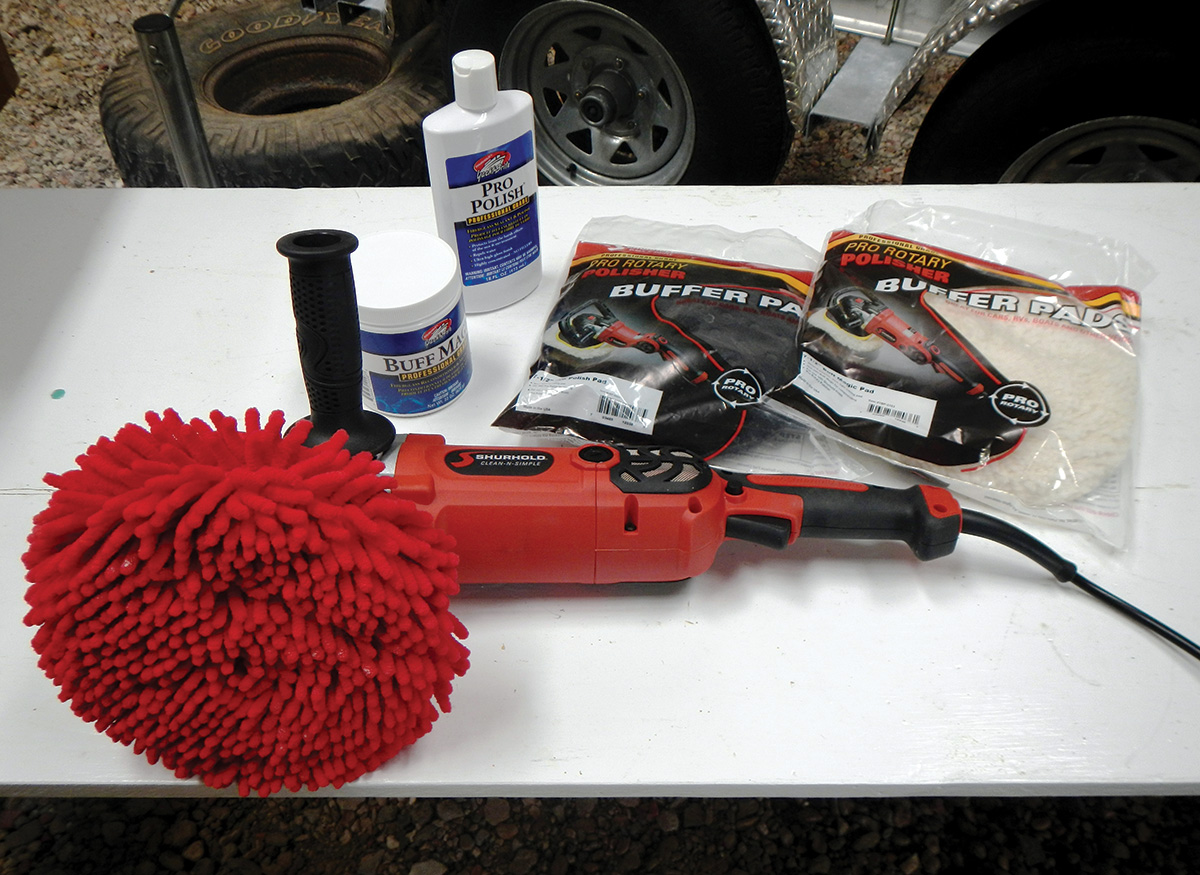
There are some essential tools and accessory items that will come in handy when performing elementary gelcoat and fiberglass repairs. My short list is constantly being tweaked, but consists of the following core materials:
Armed with these materials and a modicum of tech knowledge and the hard lessons and successes from past experiences, I can usually handle 90 percent of the fiberglass and gelcoat repair issues that are typical of the boating and fishing lifestyle. |
 Sandpaper sheets (assorted grits from 80 to 1200)