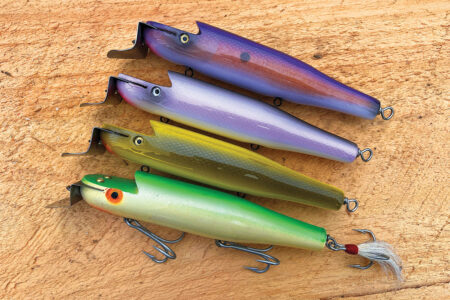
From crafting molds, to blending unique custom colors, pouring soft plastics is a rewarding way to pass the winter months.
I began pouring my own soft plastics for use in the surf, kayak and by boat several years ago. It has allowed me to get exactly what I was looking for out of a soft plastic. There are plenty of great soft plastics available on the market, but hand-pouring soft plastics allows you to connect with your fishing on a deeper level. For me, there is a great sense of pride in catching a big fish on something I’ve made myself. Through my quest of pouring my own plastics, I’d like to thank my buddy, Gabe Ravizza of Gravity Tackle (creator of the 13.5-inch GT Eel) for the help he has given me along the way.
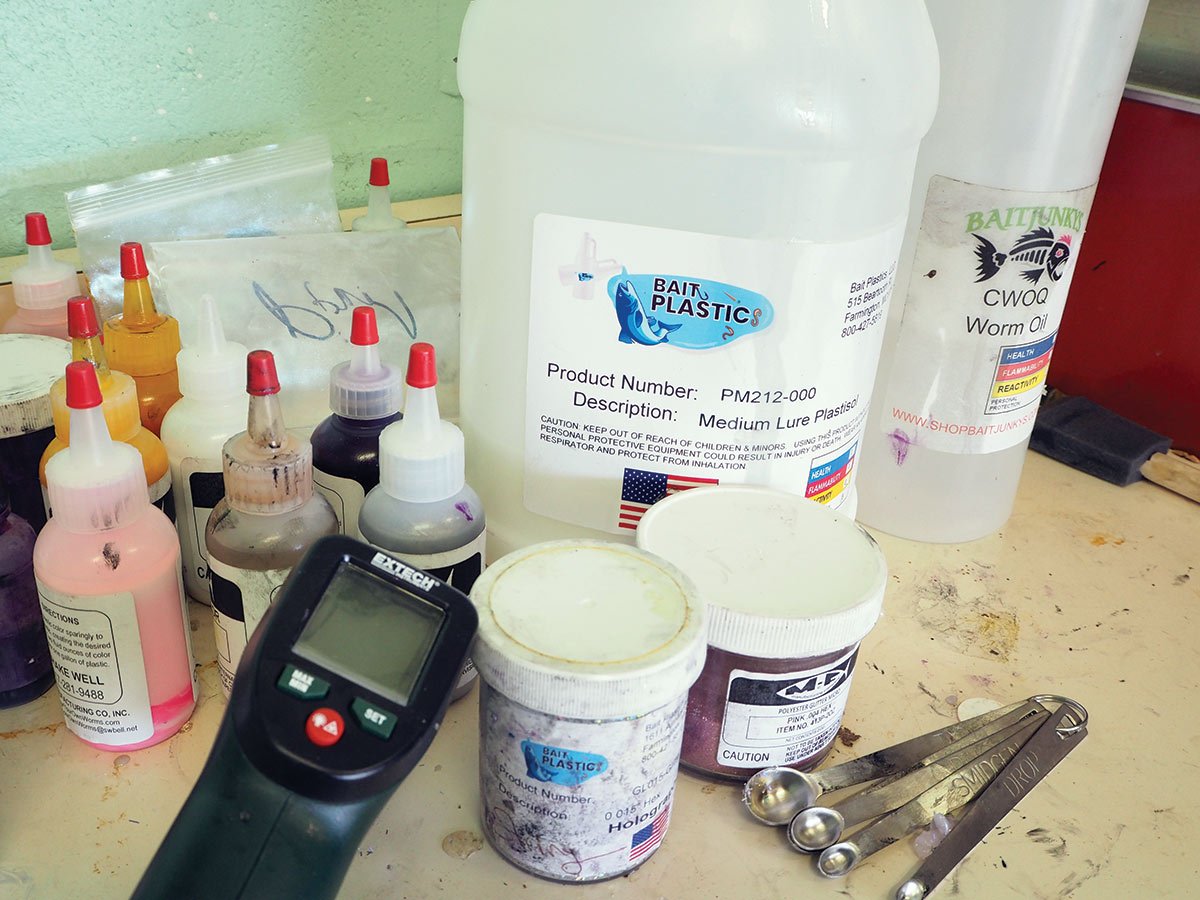
To get started with pouring your own plastics you’ll need some supplies and safety equipment. Outside of Plastisol, pigment, glitter, scent, worm oil and a mold you will need the following equipment: a microwave to heat the liquid Plastisol, a glass-measuring cup to heat the Plastisol (do not use plastic as it will crack), metal mixing spoons (do not use wood, they add moisture and create bubbles), leather gloves, a respirator, safety goggles, and a well ventilated workspace. You want to make sure you dedicate a microwave to pouring plastics; do not use a microwave that is also used to cook food.
It is also important to cover your limbs when pouring. Even in the summer I wear a long-sleeve sweater when pouring plastics. I’ve spilled hot Plastisol on myself while wearing a sweatshirt and it still was not fun. I couldn’t imagine the pain of a direct spill on my skin. The stuff sticks like napalm so expect to get burned if it makes contact with any exposed skin. In a rare case, it could “burp” in your mixing cup. I’ve only had this happen to me once when I was mixing several different types of recycled plastics together. Always work in a well-ventilated area such as outside or in an open garage. If you are going to pour during the winter, make sure to warm the molds and mixing cups prior to pouring. If you pour hot plastic into a cold mold it could crack (especially when using plaster.) The simplest way I have found to do this is to store them indoors prior to use. Wear a respirator and safety goggles to keep the fumes produced by the plastic from getting into your eyes, nose, and mouth.
When it comes to choosing a liquid Plastisol, the number of options available is overwhelming. I started off by buying a gallon of MF Plastic’s Regular Plastisol based on what Mark was using. Since then, I’ve tried several different brands of plastisol with my favorite being Bait Plastic’s #212 Medium. Plastisol is typically available in soft, medium, and hard (also known as saltwater from many brands.) You can also purchase blends such as soft/medium or medium/hard. The softer the plastic, the more action it will have but the quicker it will tear off the hook. I like a medium plastic because it gives me great action at a reasonable level of durability. Try different Plastisols and use what you are most comfortable with or what produces your desired results. Many are available in quart size containers that make a great trial size before settling on a specific brand. I’ve noticed slight characteristic differences between the major brands of Plastisol. My overall experience with the Bait Plastic’s product has been great.

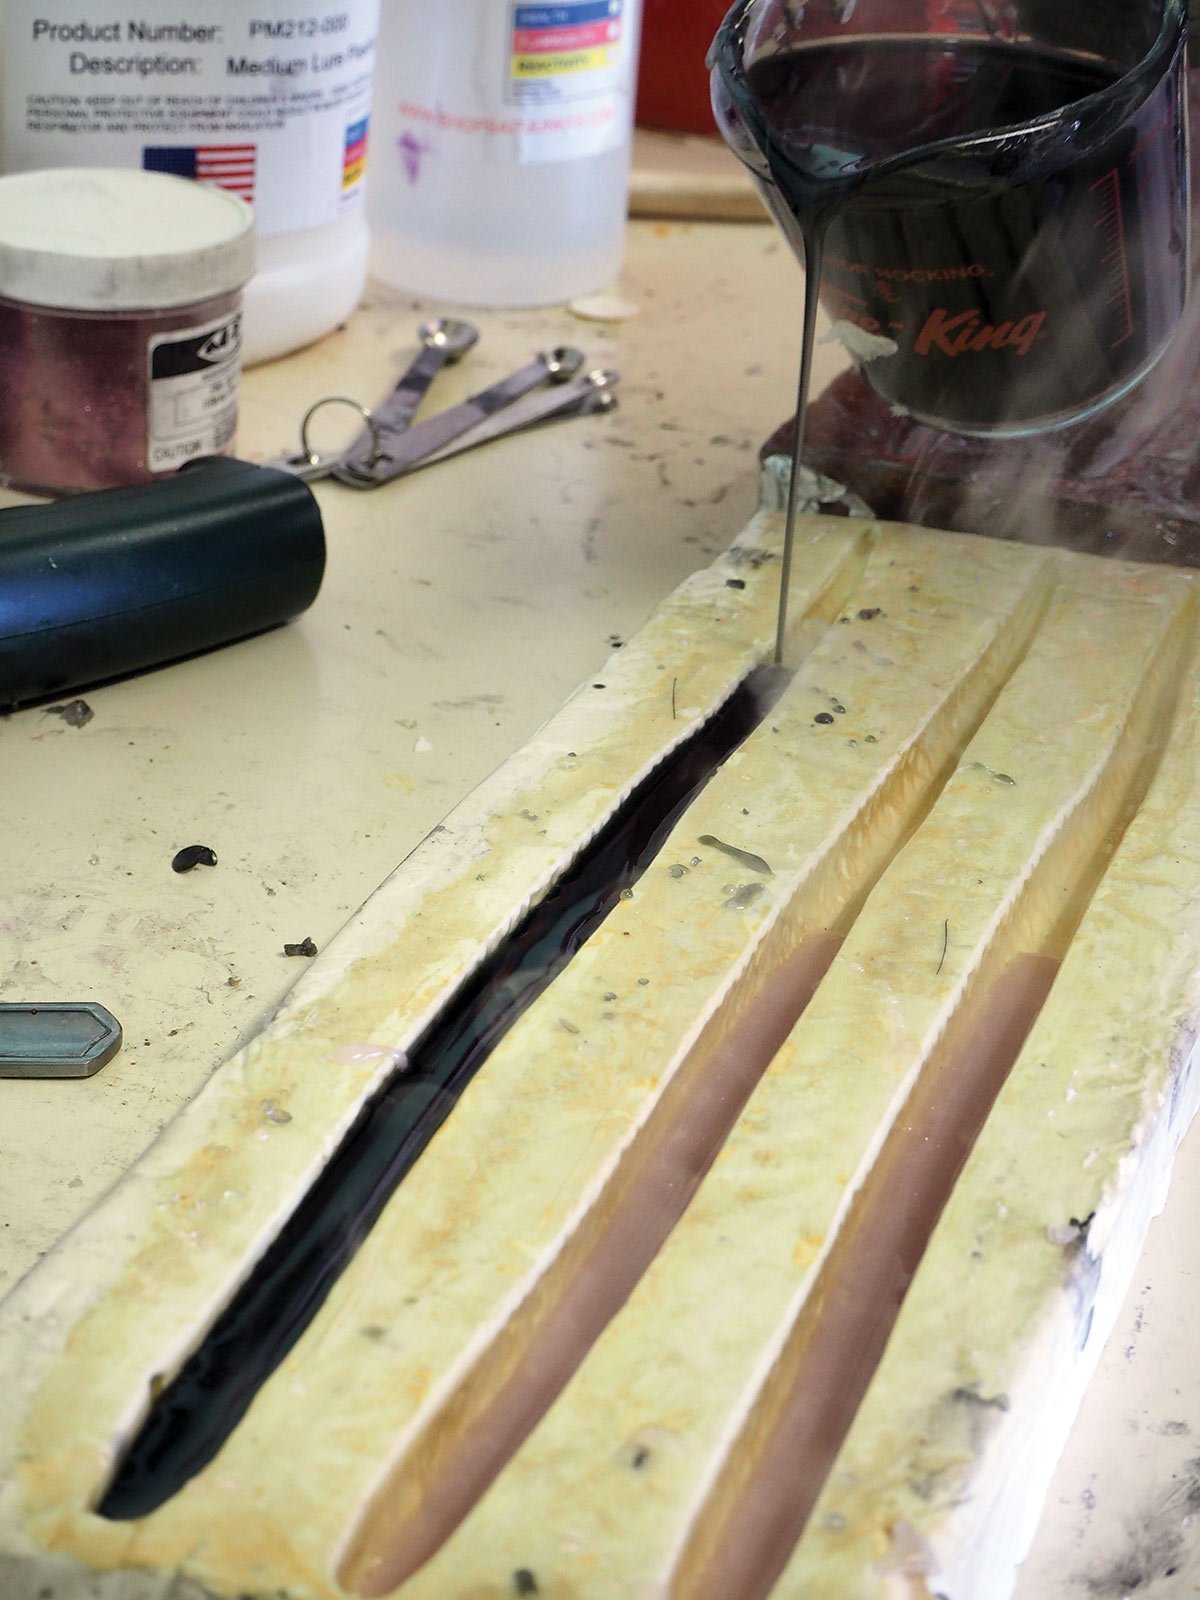
There are several different materials used for open-pour molds. Plaster, resin, silicone and aluminum tend to be the four most common mold materials. Many shapes of molds for both fresh and saltwater plastics are readily available in both silicone and aluminum. An online search can yield many different molds available to purchase, but I wanted something different so I make my own molds by casting the desired bait I wish to make. I’ve casted molds with both plaster of Paris and fiberglass resin. Plaster is easier to mold but takes more time to produce since you must seal it. Resin is more difficult to use but once it is cured, the mold is ready to go.
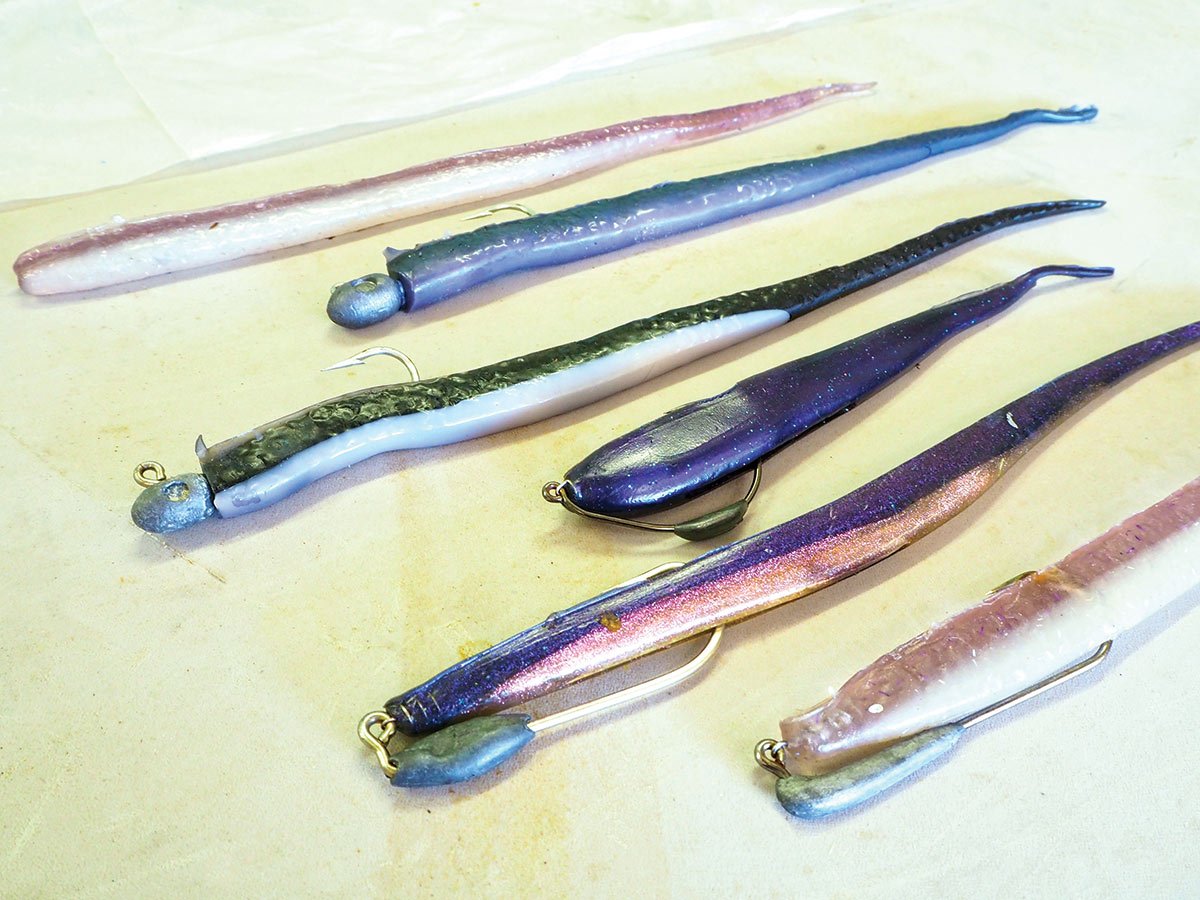
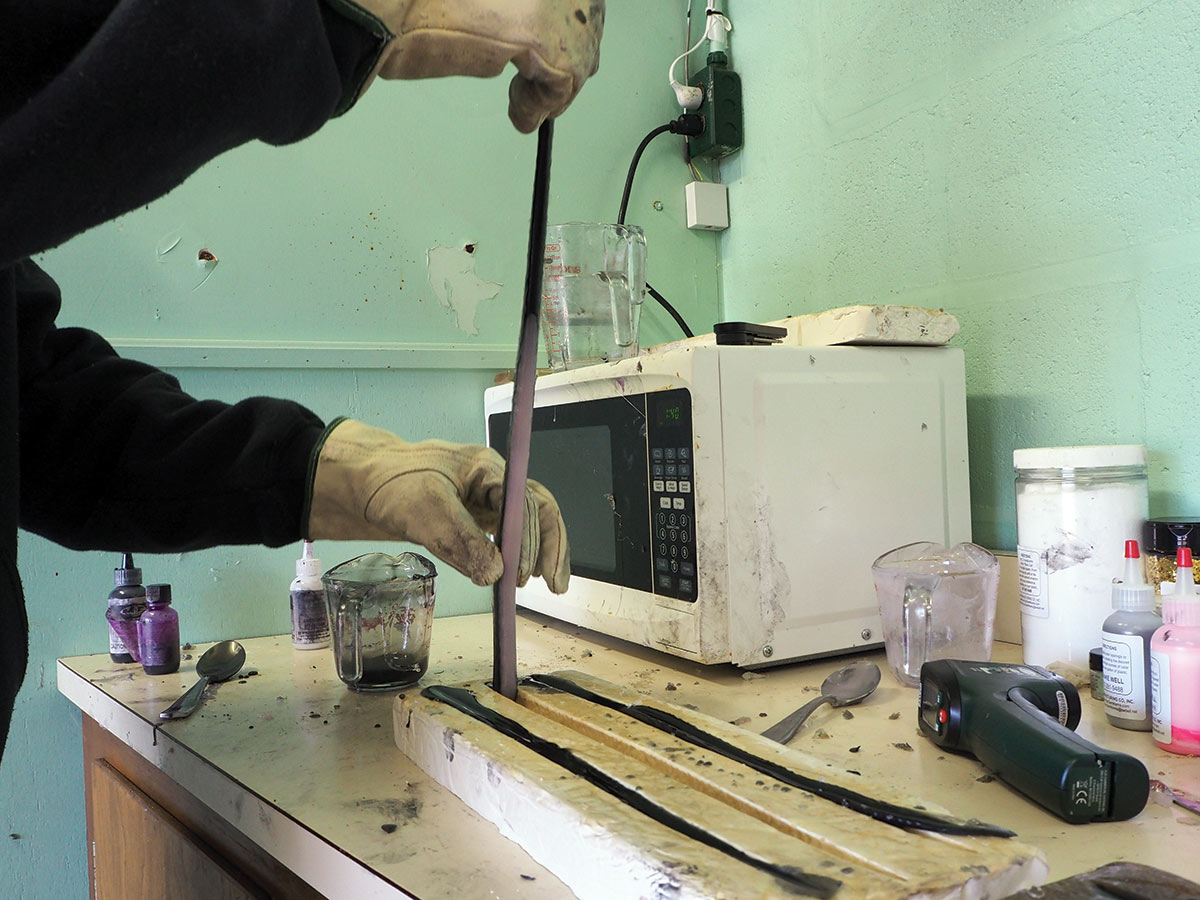
The actual pouring process is very straightforward. Heat up a cup of Plastisol in a microwave until it has turned from liquid to molten plastic. I do this in 1.5 – 2 minute intervals, stirring in-between. Once I get the plastic to the appropriate temperature I add my desired color and any glitter to the mix and stir well. I then put the mixing cup back in the microwave for another 30 seconds or so before doing one final stir and then pouring into the mold. Optimal temperature varies by Plastisol manufacturer but is somewhere between 300-400 degrees. The Plastisol will start to turn yellow if it is heated beyond its optimal range, so keep a thermometer handy to get the plastic to the correct temperature.
Pouring the plastic without making a major mess can be somewhat of an art. Before pouring each batch, I brush a light coat of worm oil into the mold cavities. This helps the baits release once they’ve cured. When pouring, I start at the head and work my way towards the tail. If I’m pouring two colors in one mold I pour the belly color first and then wait 30 seconds to a minute before pouring the top color. This keeps the two layers from blending together. Timing is everything when getting to the last portion of the mold, especially with a small tail that comes to a point like an eel. The more times that you pour, the less trimming there will be afterwards as you will develop a feel for when to stop.
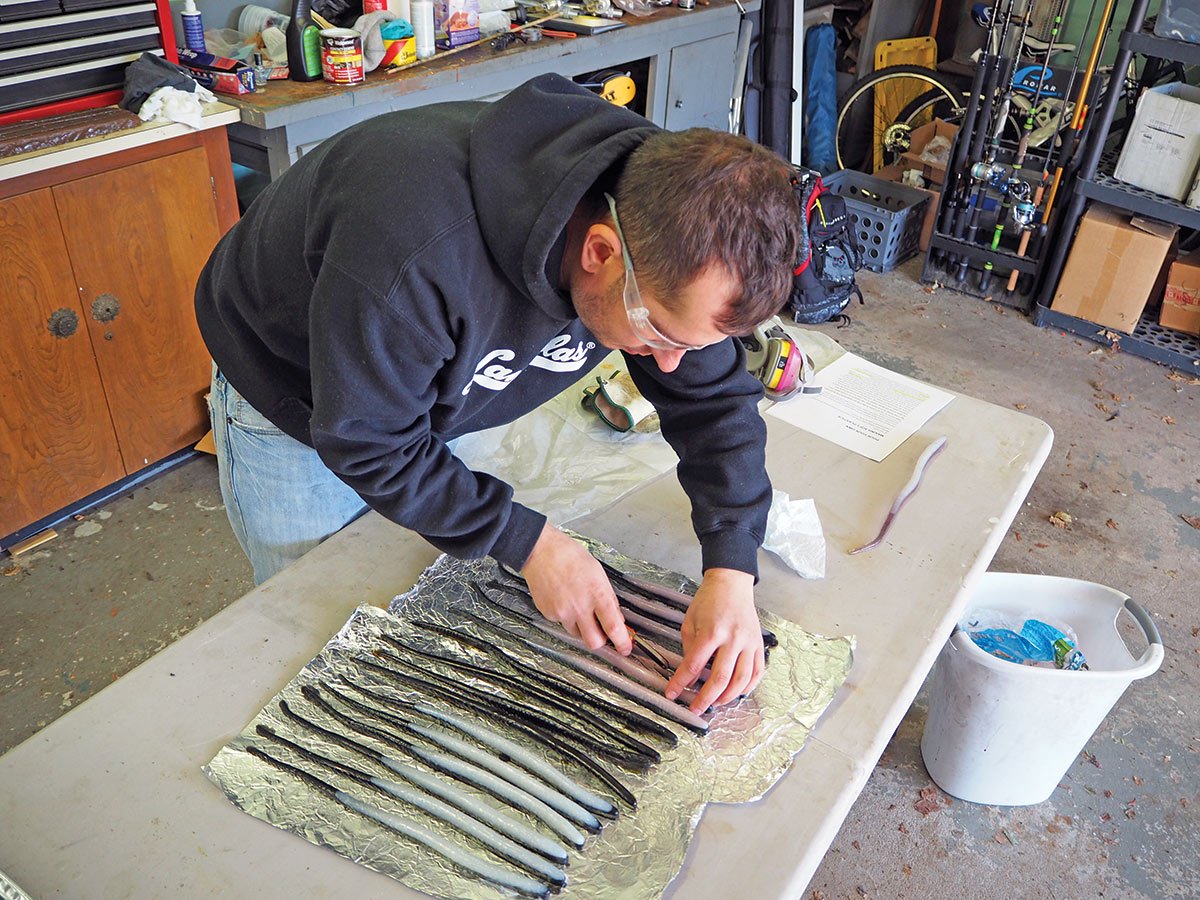
While the molds are cooling, I start getting my next batch of plastic ready. Usually by the time I’m ready to pour again, the first set of baits are ready to be pulled from the mold. I let them sit upright for a day or two before taking them fishing so that they retain their proper shape. After the baits sit, I soak them in scented worm oil to make them even more enticing to the fish. My go-to scent is shad, even in eel baits, as it produces the best results of the several scents I’ve tried. You can also add salt or other additives to your mix to increase weight and adjust buoyancy. Pouring is a great way to pass time during the off-season when cabin fever sets in, just be sure to take safety precautions and wear the appropriate safety equipment.
| MAKE A MOLD |
|---|
|
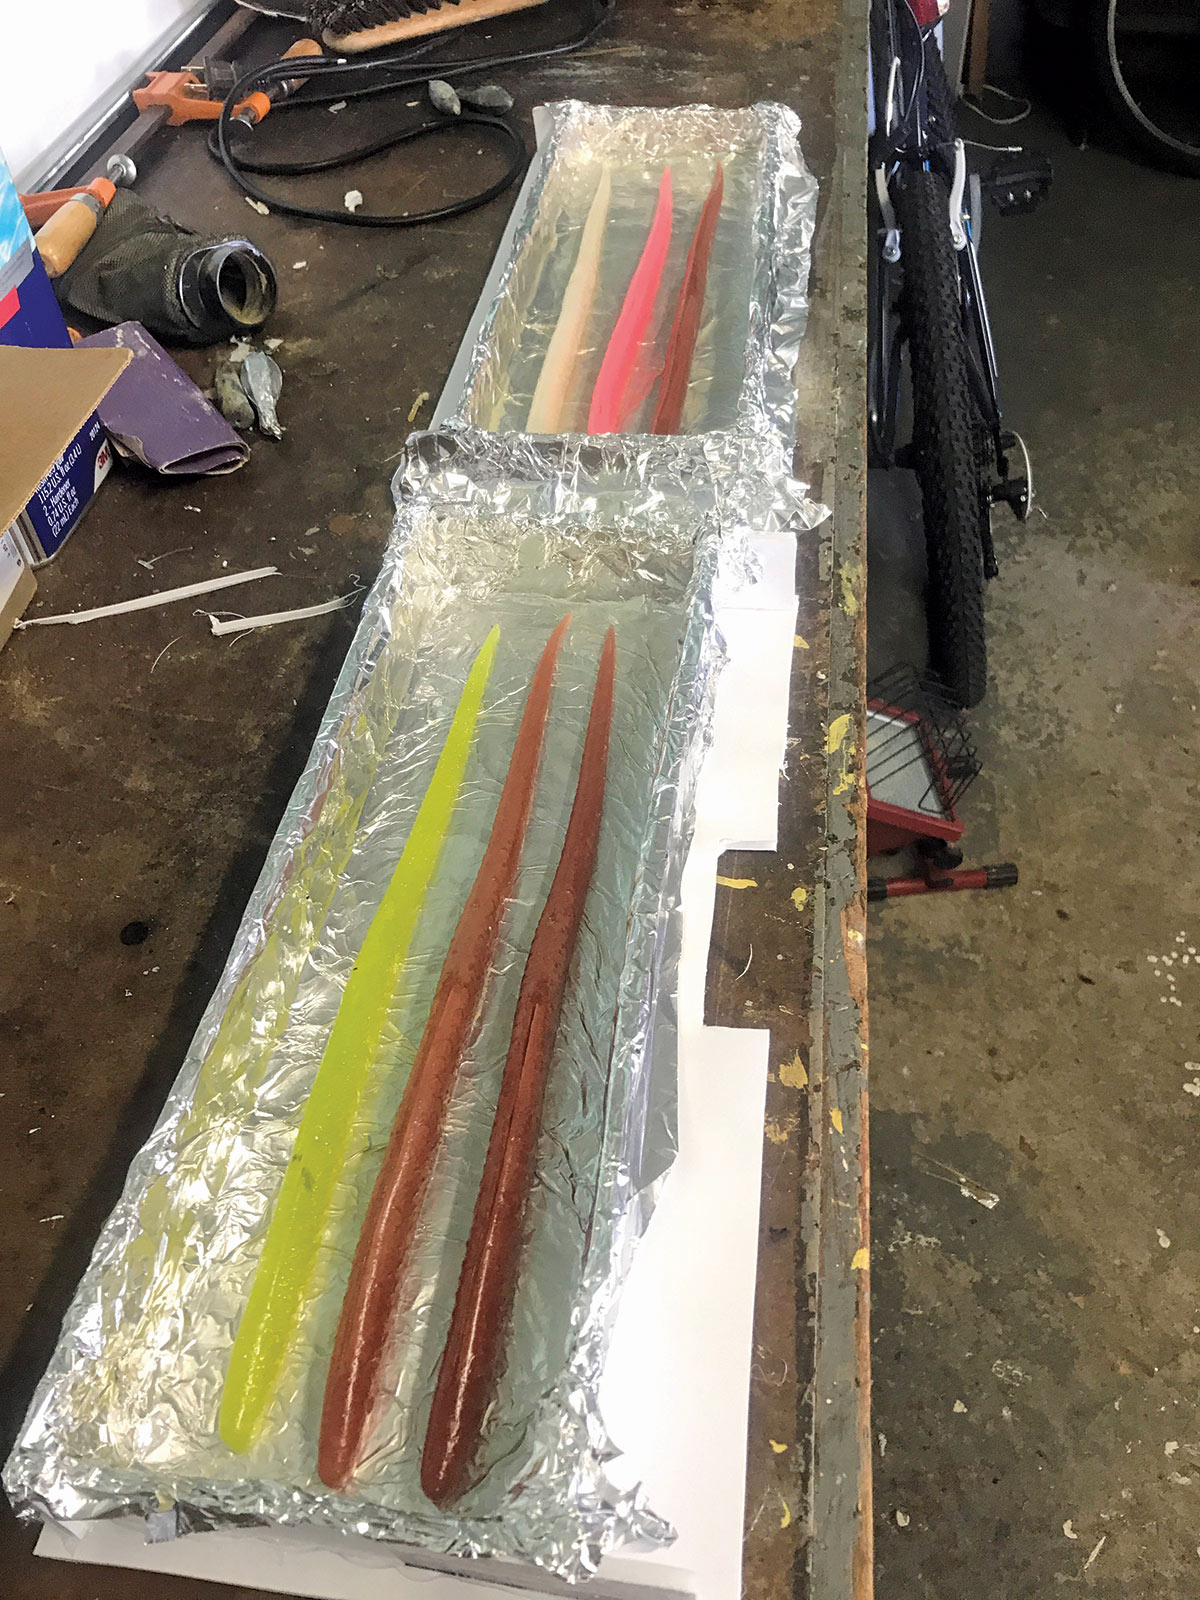
Making your own mold is very easy. Just make up a casting tray either with a plastic container, baking tray, or even a cardboard box lined with aluminum foil. I have found the best way to cast a mold is to make a box out of foam board using hot glue to tack it together and lining it with aluminum foil to help with releasing the mold after it has cured. This allows me to make it just big enough for what I need so that I am not wasting extra plaster or space. The bait being casted must be held down inside the mold box otherwise it will float up when pouring the POP. This can be done with glue, double-sided tape or thin-gauge pins. You just need something that will keep the bait down inside your casting box. I have found putting a strip of double-sided carpet tape on the bottom of the mold and using thin gauge pins to help keep the bait in place while pouring works well. I start by pouring my plaster of Paris mixture around the baits, then on top of them. Make sure to shake any air bubbles out of the mold before it sets up. Once it has cured you can pull the mold from the casting box, flip it upside-down and pull the baits out. Before sealing the mold, it must be fully dried. You can do this by leaving it in a dry place for a week or putting it in the oven at around 200* for 2 hours. Don’t let it get to hot or stay in for too long as it could crumble. After the mold has fully dried, I coat it with a high-temp epoxy. The epoxy coating gives the mold a smooth feel allowing the poured baits to release easily and give them a glossy look.
|
 For the DIY pourer, plaster of Paris (POP) is a great place to start for making your own mold as it is affordable and easy to cast with. The downside of plaster is that is must be sealed and fully dried out before sealing. Many pourers use Modge Podge to coat their POP mold, but my findings were that I would have to wait too long between pours to let it cool down otherwise the glue would lift from the mold. I ended up using a high-temp-rated epoxy to seal my POP molds. It required more work initially to seal, but ultimately produces a smoother product and allows more use out of the mold.