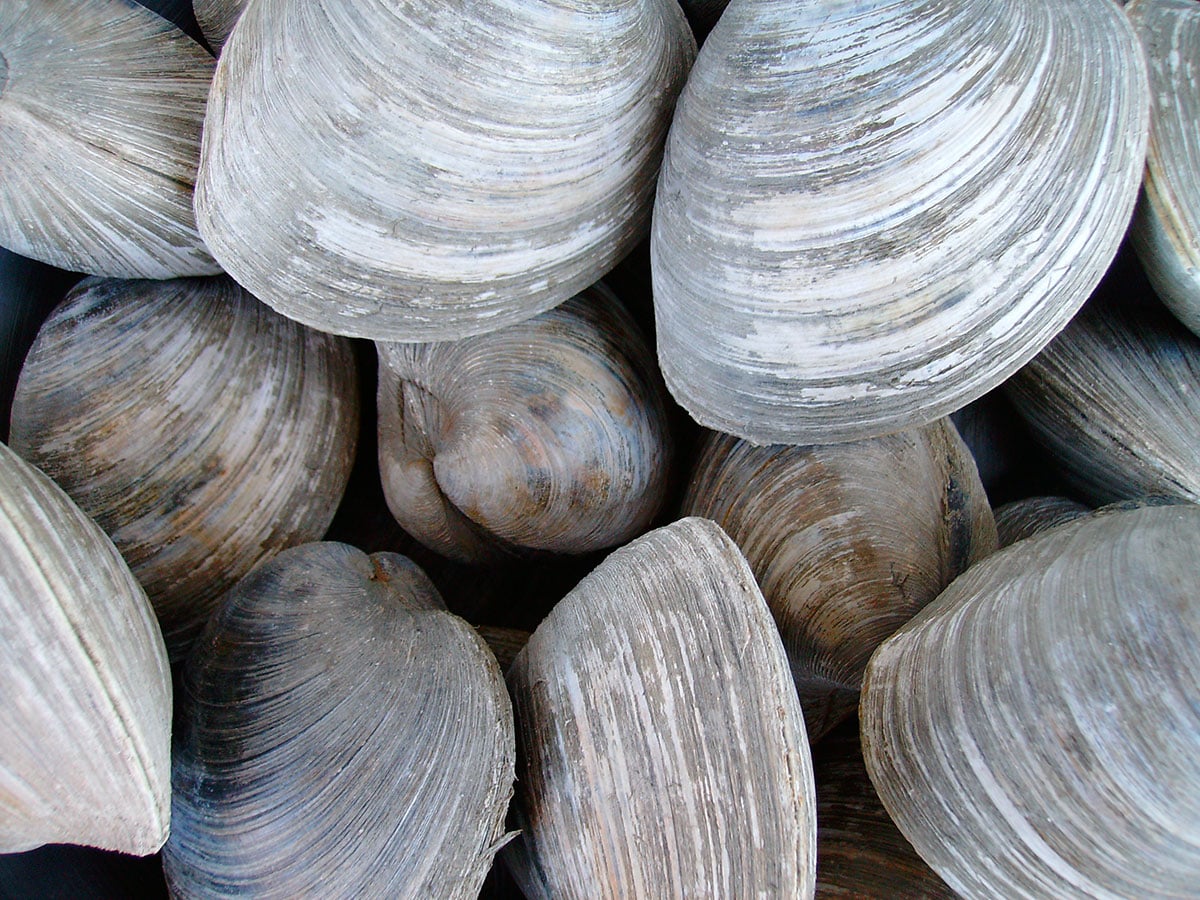
Catching clams, a sure thing at the Jersey Shore.
I have fished for over 75 years enjoying hundreds, if not thousands of trips. Many times, we returned empty handed with no fish for the dinner table. But there is another type of seafood gathering that produces good eating on every trip. I am talking about clamming, and it’s something that can be done by all ages, making it a great family activity.
Even though clams dig into the bottom their entire lives, we locals always called it “catching” clams. Some may call it clam digging, but in my neck of the woods, we “catch” clams. At one time I sold my catch but now clam solely to put fresh seafood on our table and those of friends. I especially enjoy these trips when I can introduce my grandsons to the fun of clamming.
The process of catching a batch of clams is pretty basic, but preparation for these trips is important. Start with a trip to the New Jersey Division of Fish & Wildlife’s licensing website (nj.aspirafocus.com/internetsales) as a valid recreational clamming permit is required. New Jersey residents pay $10, non-residents $20. Youngsters under the age of 14 are charged $2, while a lifetime senior citizen license for residents age 62 and older is $2
In addition to the license, New Jersey has a set of regulations governing the taking of clams, including the establishing of approved waters. To make sure that all shellfish taken in New Jersey are safe to eat, certain waters are off limits for catching clams. In general, this means waters abutting land areas where people live, which includes most of New Jersey. New Jersey participates in the National Shellfish Sanitation Program (NSSP) and provides a continually updated map of approved areas for clamming which you’ll find at www.nj.gov/dep/bmw/nssphome.html (Google “NJ National Shellfish Sanitation Program”).

Where & How
As a general rule, you’re going to need a boat to get to approved areas where clams can be found. One notable exception is the Sedge Islands Recreation Area at Island Beach State Park where clammers can access the waters from parking areas A15 and A21. Locating a productive area to catch clams can be difficult. If you know other clammers, ask them for their advice. Most marinas and bait and tackle shops have clamming wisdom to impart, especially if you are a paying customer.
There are two methods to catch clams. One is using some sort of clam rake, the other is “treading” the clams. Rakes are typically more effective in hard, sandy bottoms, especially shallow water, while treading works best in soft, muddy bottom. But both methods of clamming require gear.
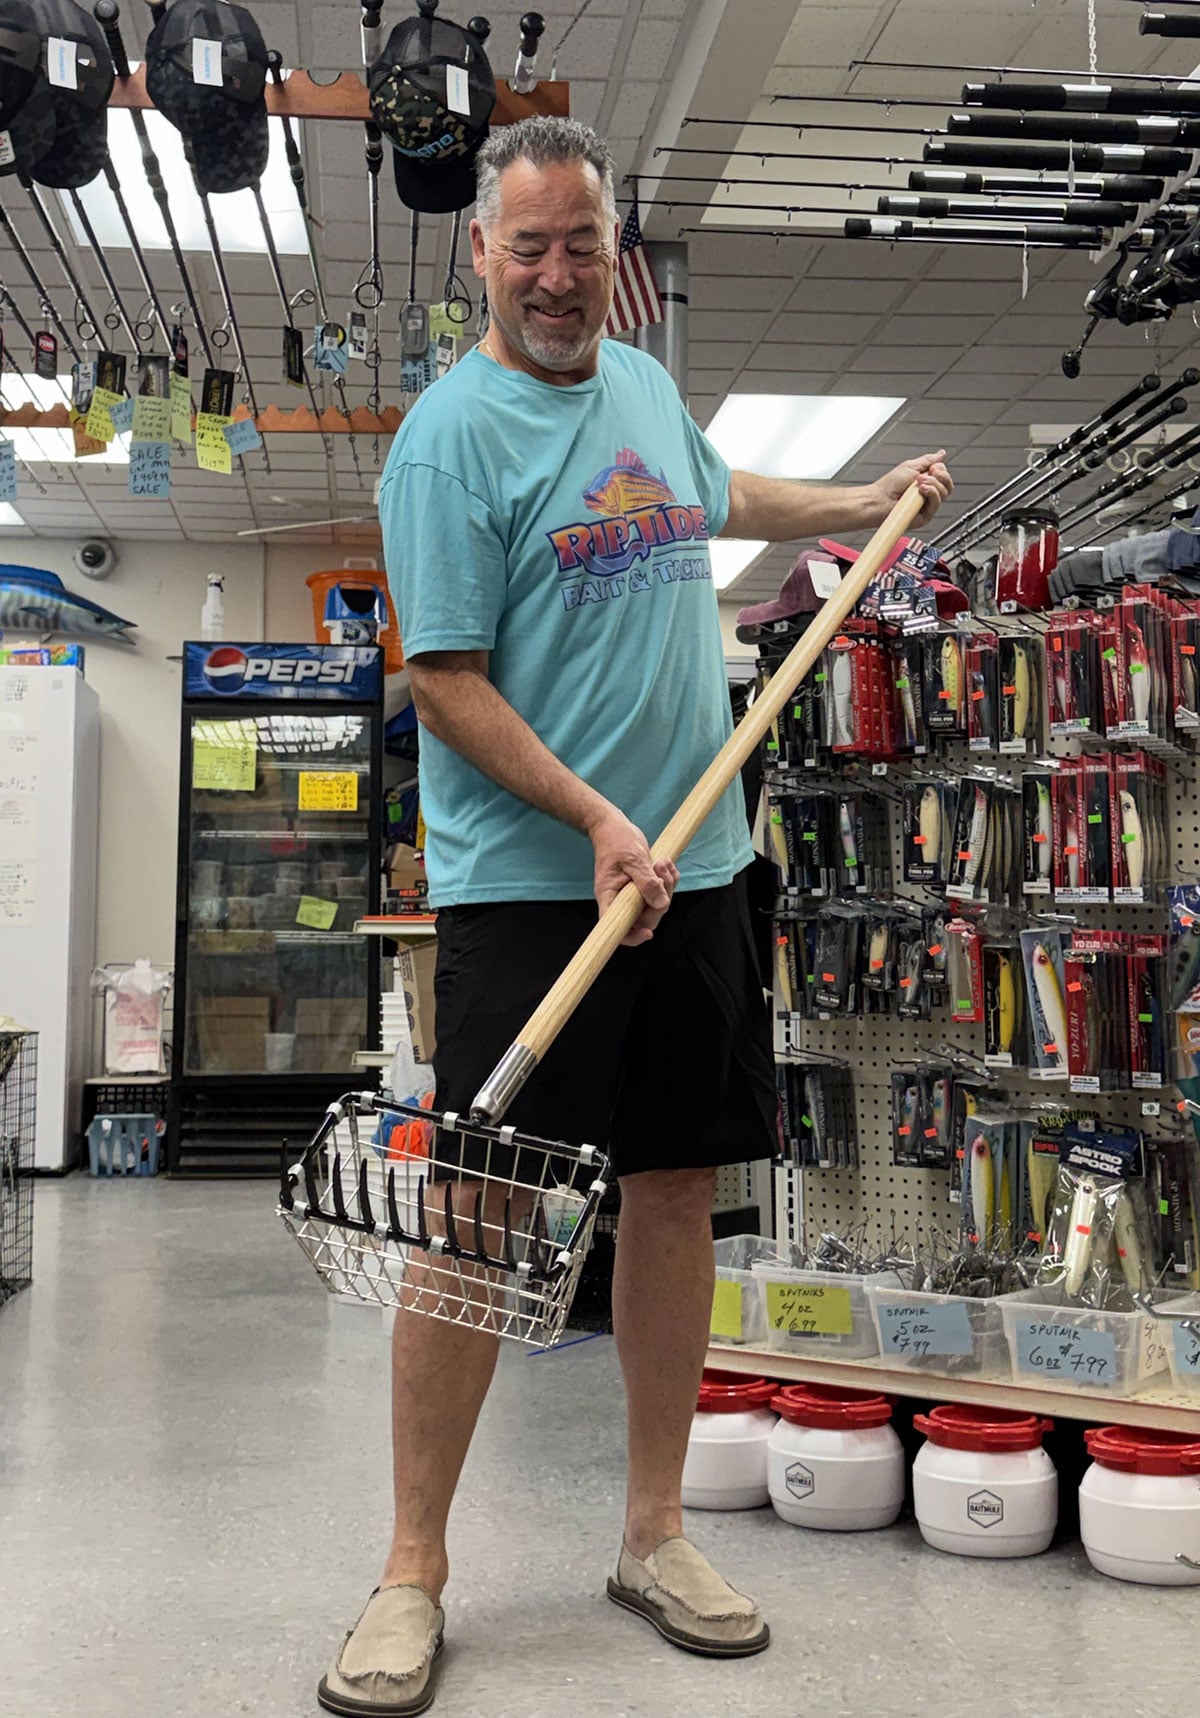
Raking for clams calls for special clam rakes with long curved times that are scraped across the sandy bottom. When the tines strike a solid object such as a clam, there is a clink which can be felt in the rake, and even heard. The rake is used to dig the clam out of the bottom, the basket portion of the rake is turned over, and retrieved with the clam nestled inside.
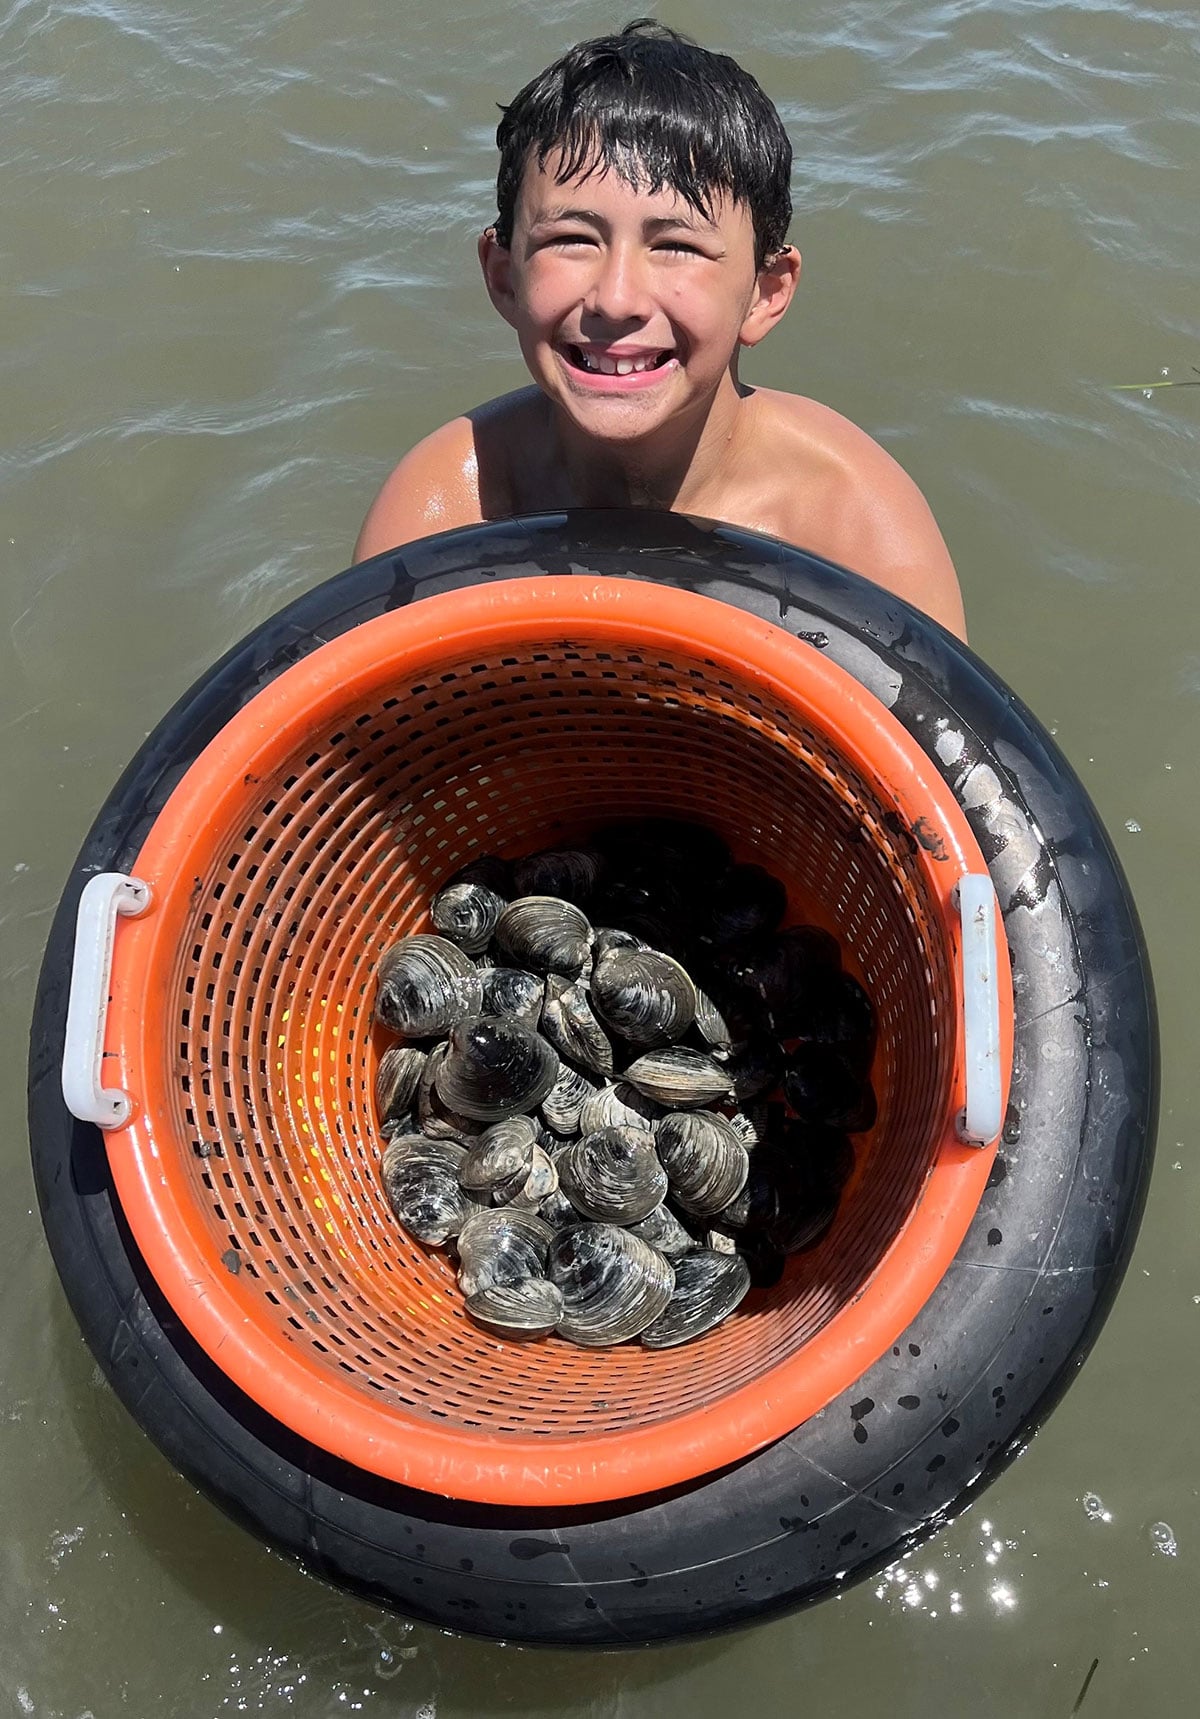
A receptacle is needed to hold your catch while in the water. The preferred one is a basket tied into an inner tube. Pool noodles can be a decent substitute for the inner tube. Rakers tie a line from their waist to the basket, so it does not float away.
Broken shells including clam, mussel, oyster, razor, and conch shells are found all over the bay waters. To prevent foot injury, some type of foot protection is advisable including water shoes, socks, and even sneakers. Treaders find foot protection is vital as it must not only offer protection from shells but should also allow you to feel the clams under your toes. It is also advisable to use protection on the hand that plucks the clam from the mud. Rubber kitchen gloves work well.
Be prepared for two enemies of any clammer. One is the sun, and the other is biting flies, especially greenheads. Strong sunblock is recommended and should be re-applied regularly, especially when getting wet. Insect repellent to ward off flies is important. One way to combat both the sun and flies is wearing a long sleeve shirt.
Do The Shuffle
A female clam can release millions of eggs into the water at a time on a spawn. Ideally, male sperm in the water will fertilize these microscopic eggs. Eggs that manage to be fertilized sink to the bottom to begin their lives as clams. These babies manage to burrow into the bottom and develop a calcium covering. Thus, their life as a clam begins until a clammer comes along.
| AUNT MABEL’S CLAM FRITTERS |
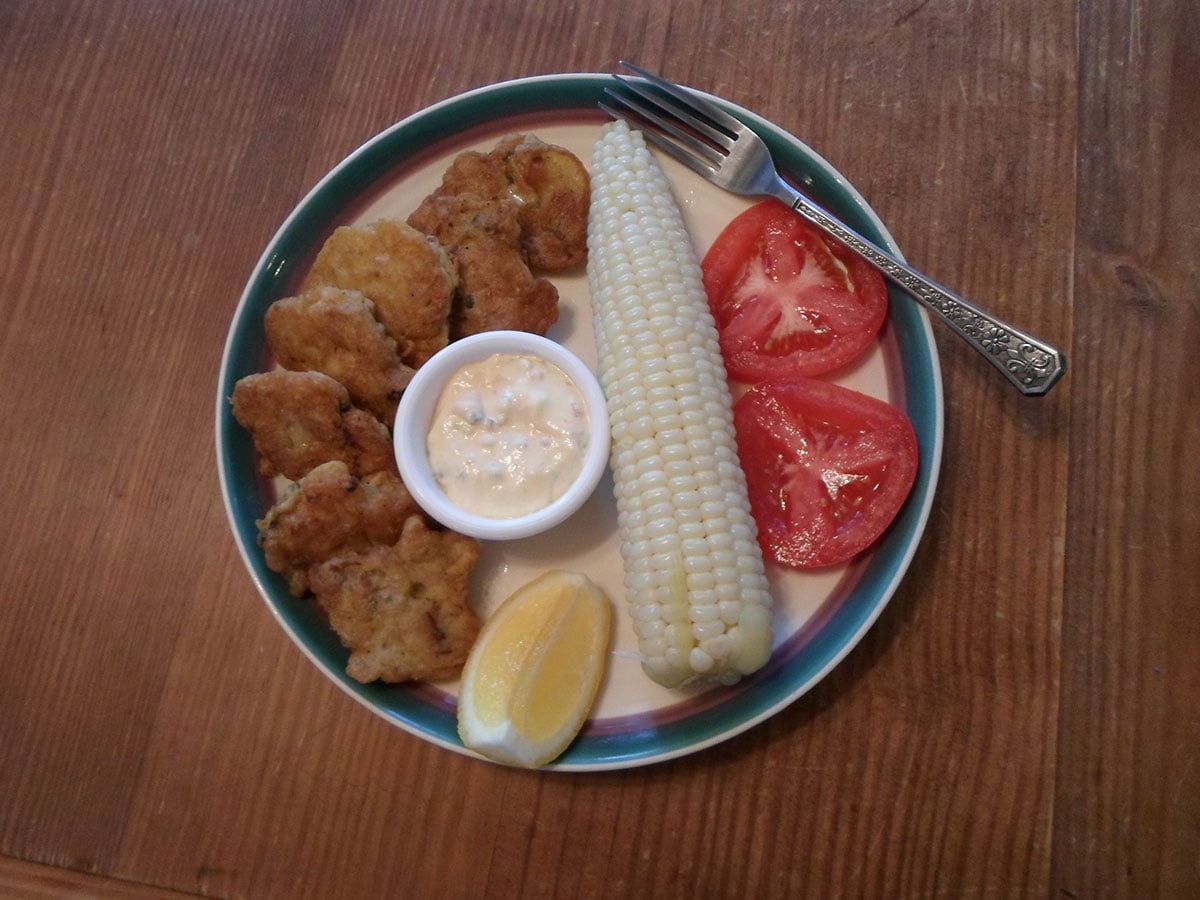
1 dozen ground large clams (juice reserved) Combine the baking soda, powder, and flour. Add drained clams, egg, and other ingredients. The mixture should be thick like pancake batter. If too thick, add a little of the reserved clam juice. Heat a skillet with a quarter-inch of oil. When hot drop the batter in, a tablespoon at a time. Let the mixture settle down and even mash a little with the spoon so it flattens out. When one side is brown, turn over and brown the other. Remove from oil and allow to drain on paper towels. Serve with catchup or tartar sauce. This serves four light eaters or two heavy ones. |
Treading for clams is feeling the clams with your feet and reaching down to grab your catch from the bottom. There are certain important elements in treading to enhance success. As mentioned earlier, treading in a muddy or soft bottom makes it easier to feel the clams.
It is more effective to move backwards. Holding on the floating basket gives you balance. As you move in reverse, push your feet through the mud in a side-to-side motion. A live clam feels much like a golf ball in the mud. First, use your foot to loosen the clam from its surroundings. Then, firmly holding the basket with one hand, do a deep knee bend reaching the other hand down to dig out the clam. If you bend at the waist, both your feet come off the bottom, and you will float away from the clam.
Young children can be successful clammers once you show them the ropes. To get them started, I feel a clam and invite them to it with their own foot. I guide them as they retrieve the clam. Naturally, a little praise goes a long way. When done, wash the worst of the sand and mud from the clams as you check that all your catch are live clams. There will be time later to sort the clams into sizes and give a final washing.
Once the clams are in the boat, it is important to keep them out of the direct sun. This sun is hard on the clams. Clams should be refrigerated or put on ice as soon as possible. They will live longer, and iced clams are much easier to shuck. If a clam opens on its own and “does not close when you touch it should be thrown away. Fresh clams will keep over a week in a refrigerator. Keep the clams out of water while refrigerated.
I sort my clams into three sizes for my use. Little necks, up to 2 inches, are for steaming. Top necks from 2 inches to cherrystone size, around 3 inches, make half shells and casino. Clams over 3 inches go into dishes where the clams are chopped or ground. My favorites are deviled clams, clam fritters, and chowder, both New England and Manhattan.
Resident permit holders may catch clams all 12 months of the year while non-residents are limited to the months June through September. All recreational clammers are limited to 150 clams a day with a minimum size of 1-1/2 inches at their widest points.