A list of start-up items with tips & tricks for future builders.
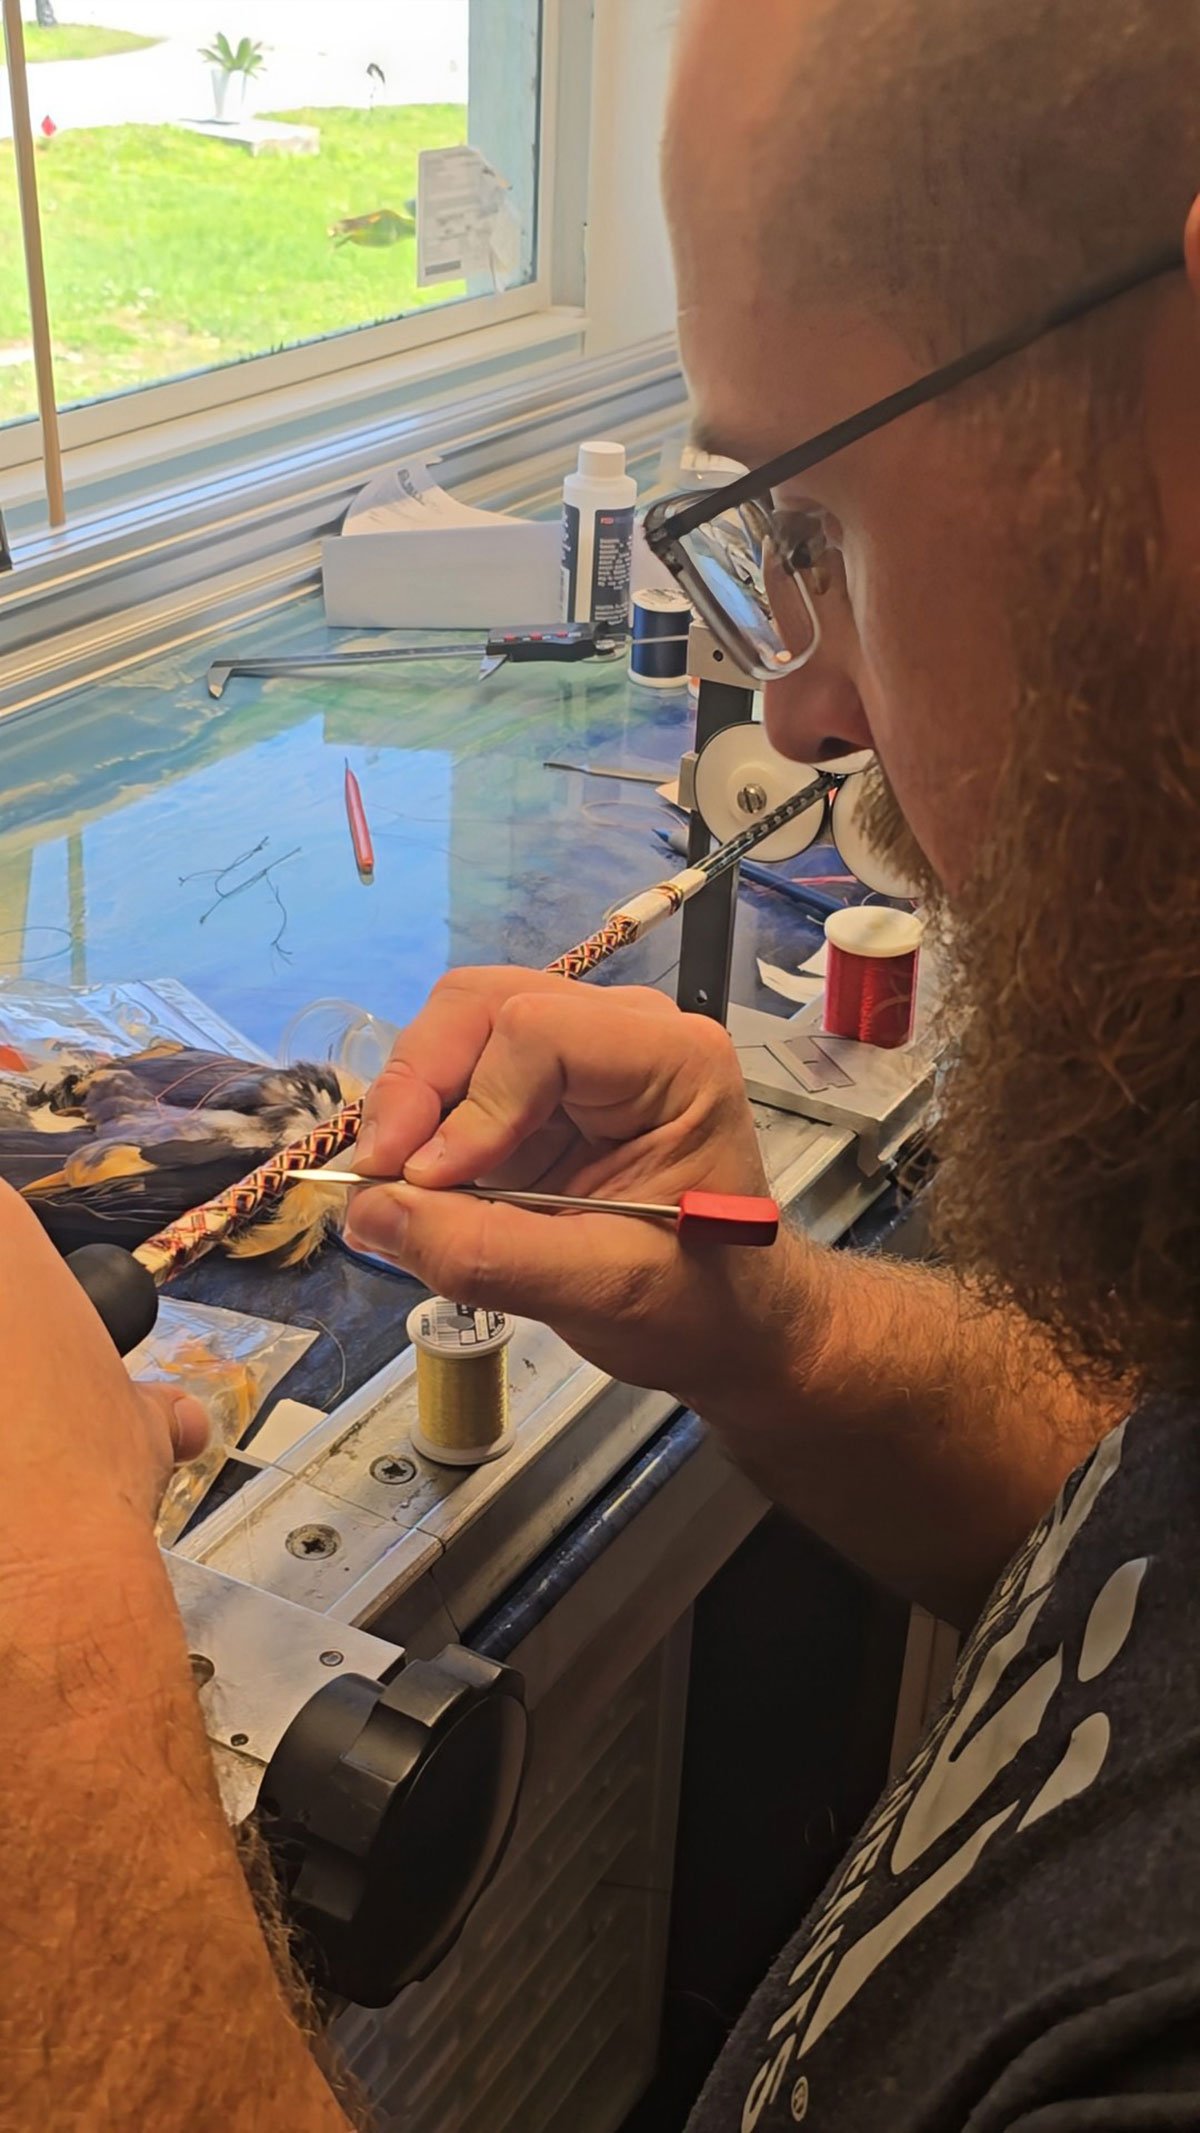
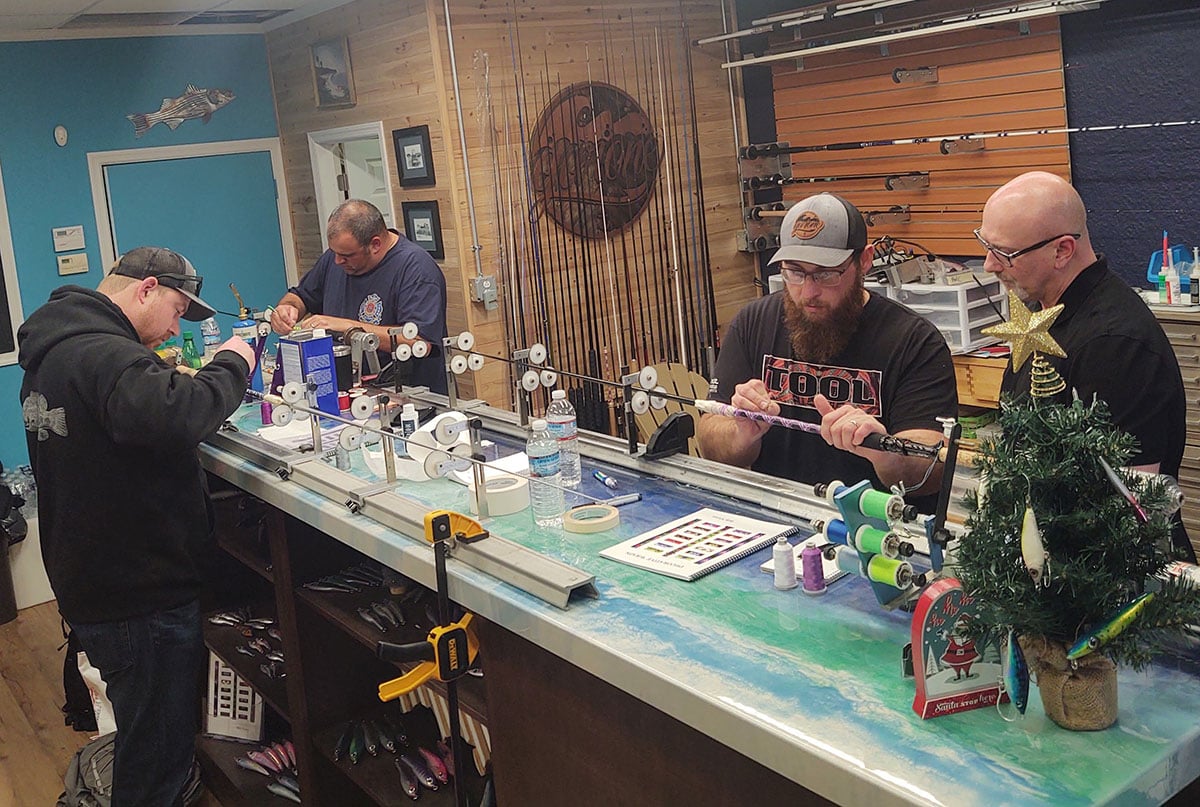
Rod building is a lot of fun, but it can also be intimidating when you’re not sure where to start. When I started almost 20 years ago I had no clue how fishing rods were made. It wasn’t until I met my friend and mentor Steve Kolb that I learned that they’re all made by hand. Steve built me three rods, but my meager college student budget didn’t allow for any more so I decided I would try building my own. I asked Steve if he would show me the basics, and lucky for me he obliged. So, it’s time to pass it along!
Rodbuilding can be as simple or complex as you want it to be, but it all starts with the basics – the tools of the trade. Go on any rod building supply website and you may find yourself overwhelmed by the wide range of tools and equipment available. The good news is that you don’t have to spend a fortune to get started.
For starters, the following 11 items are essentially “must have” items for building a rod.
Rod wrapper or lathe. A rod wrapper is like an extra set of hands which holds the rod blank while you work. Most have a thread carriage or tension device to hold the thread so you can wrap guides. Some are powered by a motor and can also be used to turn grips, apply finish, and wrap guides. When you are starting out I recommend the Flex Coat hand wrapper.
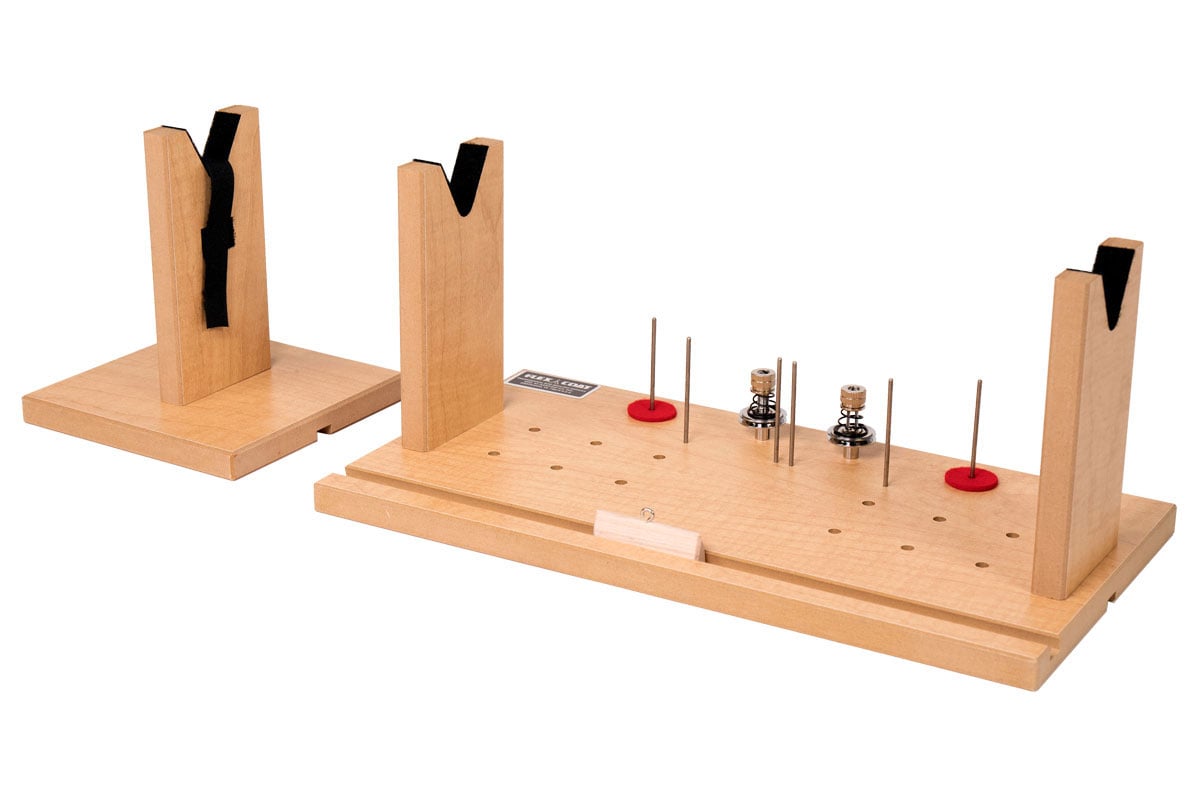
Drying motor and support. The drying motor is a slow rotary motor that turns the rod while the two part epoxy finish cures. This keeps the finish from dripping or sagging.
Tip top gauge. A gauge used to measure the size of a rod blank tip. This comes in handy because sometimes rod blanks do not have the same size tip as what is listed in their specifications
Reamers. Reamers are an abrasive tool that is used to increase the inner diameter of grips. You will need several sizes I like the CRB Extreme reamers from Mudhole. These can be used in a cordless hand drill which saves a lot of time.
Spatulas. No, not the type that you flip pancakes with. These small metal tools are great for mixing and applying epoxy as well as rod finish.
Packing tool. A packing tool is used to pack thread when you’re wrapping guides as well as when you are doing decorative wraps. This tool helps to eliminate gaps in your threadwork; and I recommend The NERBs packing tool.

Burnishing tool. A burnishing tool can help lessen the appearance of gaps in thread wraps by evening the distance between the gaps. I prefer to eliminate gaps by packing instead of burnishing, but there are times when a burnishing tool comes in handy.
Finish brushes. Finish brushes are used to apply finish to the guide wraps and other decorative thread. These can be disposable or more expensive reusable brushes. If you do decide to get reusable brushes make sure to order some U 40 brush cleaner.
Guide alignment tool. A guide alignment tool fits in the reel seat and provides a visual aide to help you line up your guides and tip top with the axis of your reel seat.
Thread pick or needle. A thread pick is very useful to remove lint or other things like a gnat that lands in your finish while it is still liquid.
Propane torch. A clean burning propane torch will help to eliminate bubbles that form while applying finish. You have to keep the flame low and the torch moving at all times so you don’t overheat the epoxy or damage the rod blank. I do not recommend alcohol torches because of the increased fire hazard. If a lit alcohol torch is spilled it can ignite the fuel.

Now that we have the basic essentials, there are another four “optional” items that you’ll eventually want to add in your workshop.
Cork clamp. A cork clamp is used to eliminate gaps between cork rings. This is not needed if you are building with pre-made cork or foam grips.
Thread bobbin. A thread bobbin is a device used to hold a spool of thread and to apply tension on the thread. Most rod wrappers have a built in tension device, so a bobbin is not needed.
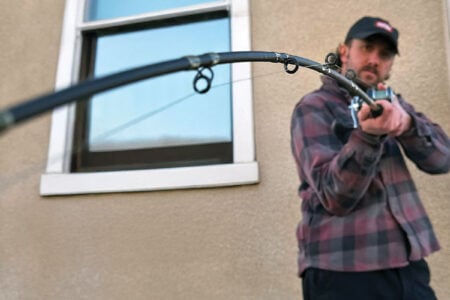
Spine finder. A spine finder is a device used to find the preferred axis the rod blank will bend along. You can find this axis by simply placing the rod butt on a hard flat surface and flexing the blank with one hand on the tip and another at about midpoint of the blank. The blank will “jump” to its natural spine. Mark the spine on a piece of tape wrapped around the blank.
Guide foot file or grinder. A file or grinder can be used to make the slope of the guide foot more gradual. This helps the thread to travel up the guide for more easily. I do not grind or prep the guide feet on any modern Fuji guides. The geometry of the guide foot from the factory make them easy to wrap with size D thread without any prep. Removing the factory coating and exposing bare stainless steel will accelerate corrosion of the guide foot.
Materials & Supplies
Now you know what tools and equipment you’ll need, there are still a few other items you will use in every rod build.
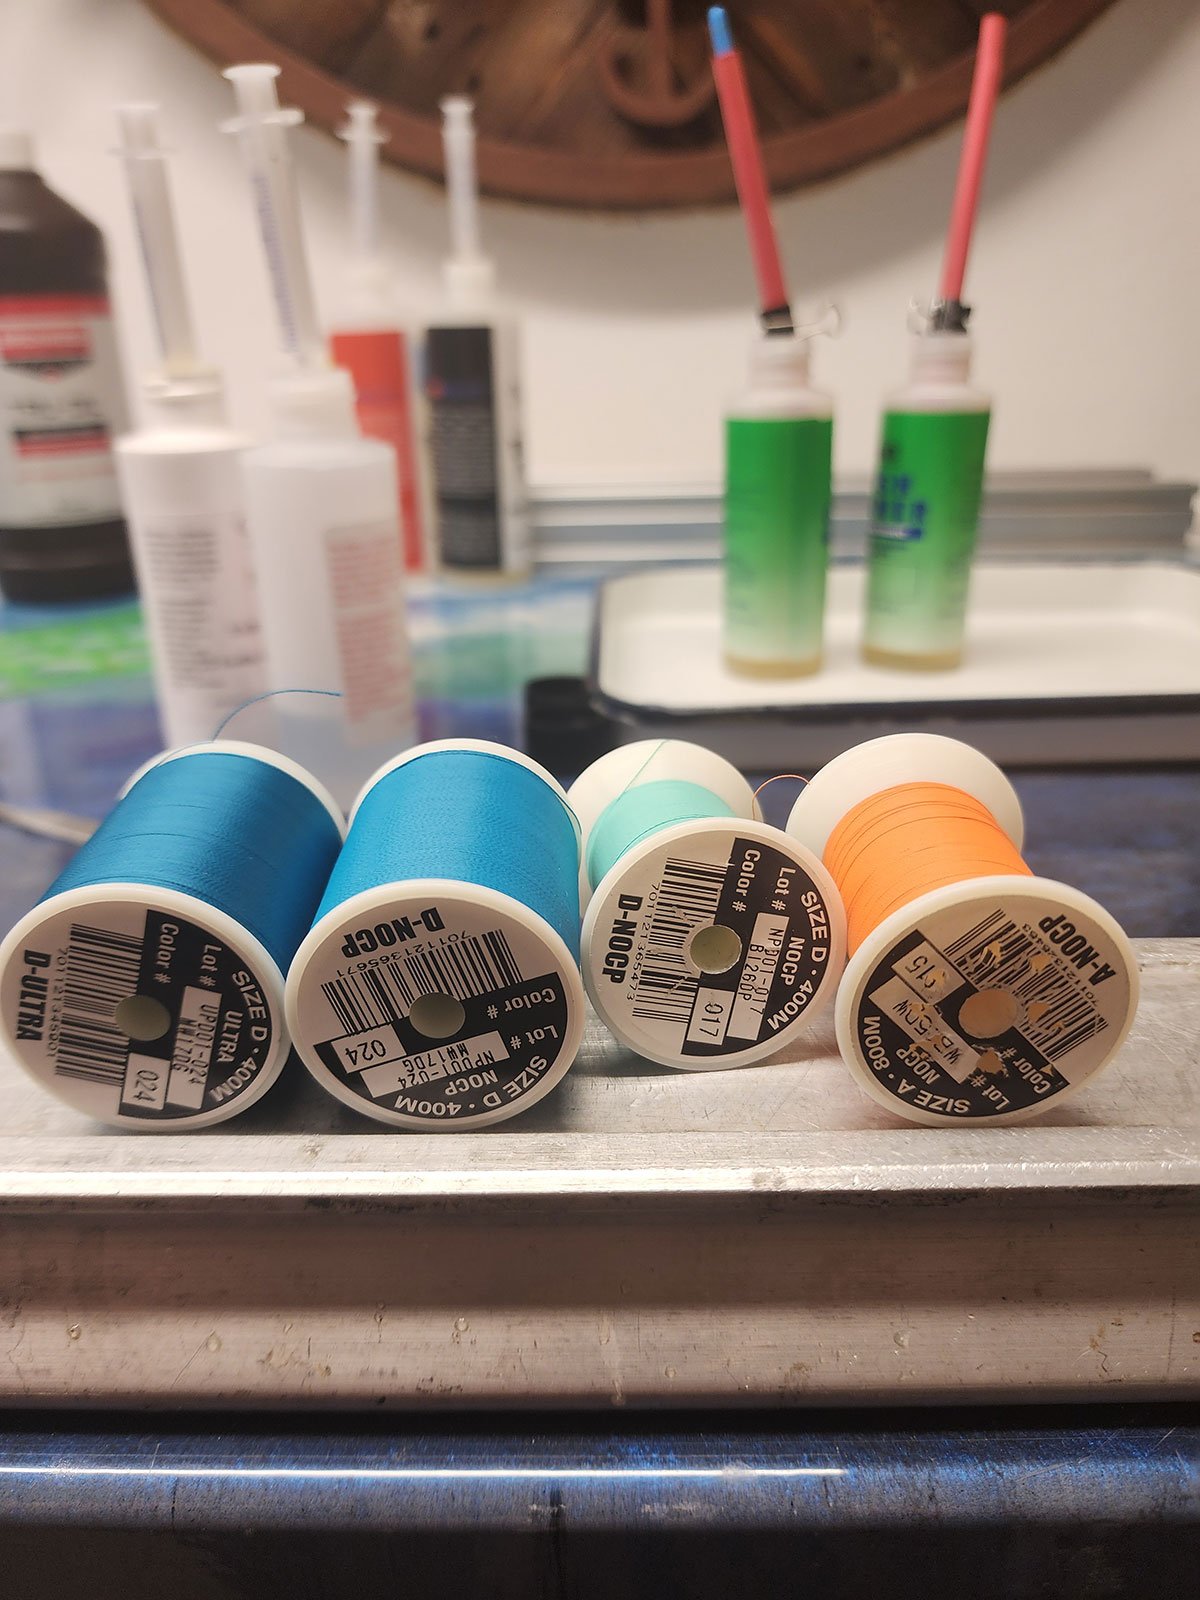
Thread. Make your life easy and buy rod building thread. Rod building thread comes in a variety of sizes, lusters, colors, and materials. Rod building thread uses an alphabetic system to denote size. A is typically the smallest size and D is the largest commonly available. There are also different types of threads and materials.
- Silk thread is typically only used on fly rods. It turns transparent when finish or varnish is applied without color preserver.
- Metallic thread is shiny with a metallic foil wrapped around a core. It is great for under wraps and trim. It is the weakest and most difficult to work with. I do not recommend it to wrap guides.
- NOCP/NCP thread is ideal for a wide range of applications. It does not become transparent under finish and has a flat appearance. I prefer to use it for trim accents when using lighter colors.
- Ultrapoly/Nylon thread is ideal for a wide range of applications. It will become transparent when finish is applied without color treatment. Light colors tend to darken unless they are treated with color preserver or are wrapped over a light colored blank. This type of thread has a lot more depth and luster than NOCP/NCP.
I use Fuji thread exclusively because of its consistent quality, wide range of colors, and ease of use. It is available in Metallic, Ultrapoly and NOCP varieties.
Rod finish. Rod finish is a two-part casting epoxy used to coat and protect your thread wrappings and other decorative enhancements. It has largely replaced varnish. I currently use Gen 4 High build.
Color preserver. Color preserver is a one-part liquid color treatment. It preserves the color of the thread that you see on the spool prior to epoxy being applied. It does this by sealing the thread and preventing epoxy from seeping into it. For this reason I do not recommend applying CP to guide wraps. Overtime guide wraps with color preserver can be more susceptible to delamination and cracking.
Masking tape. Masking tape serves a variety of uses in rod building. It can be used to hold your guides in place while wrapping and also to create arbors which fill the space between the rod blank and the inside of your reel seat.
Guide foot adhesive. Guide foot adhesive is a hot melt designed to hold your guides in place while wrapping. It is an alternative to masking tape or surgical tubing/dental ligatures.
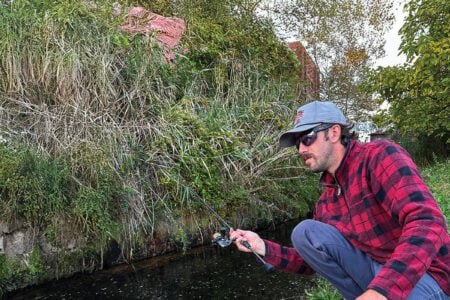
Surgical tubing/ dental ligatures. These little rubber bands are great for temporarily holding guides in place. This comes in handy especially when determining the location of your guides during static deflection.
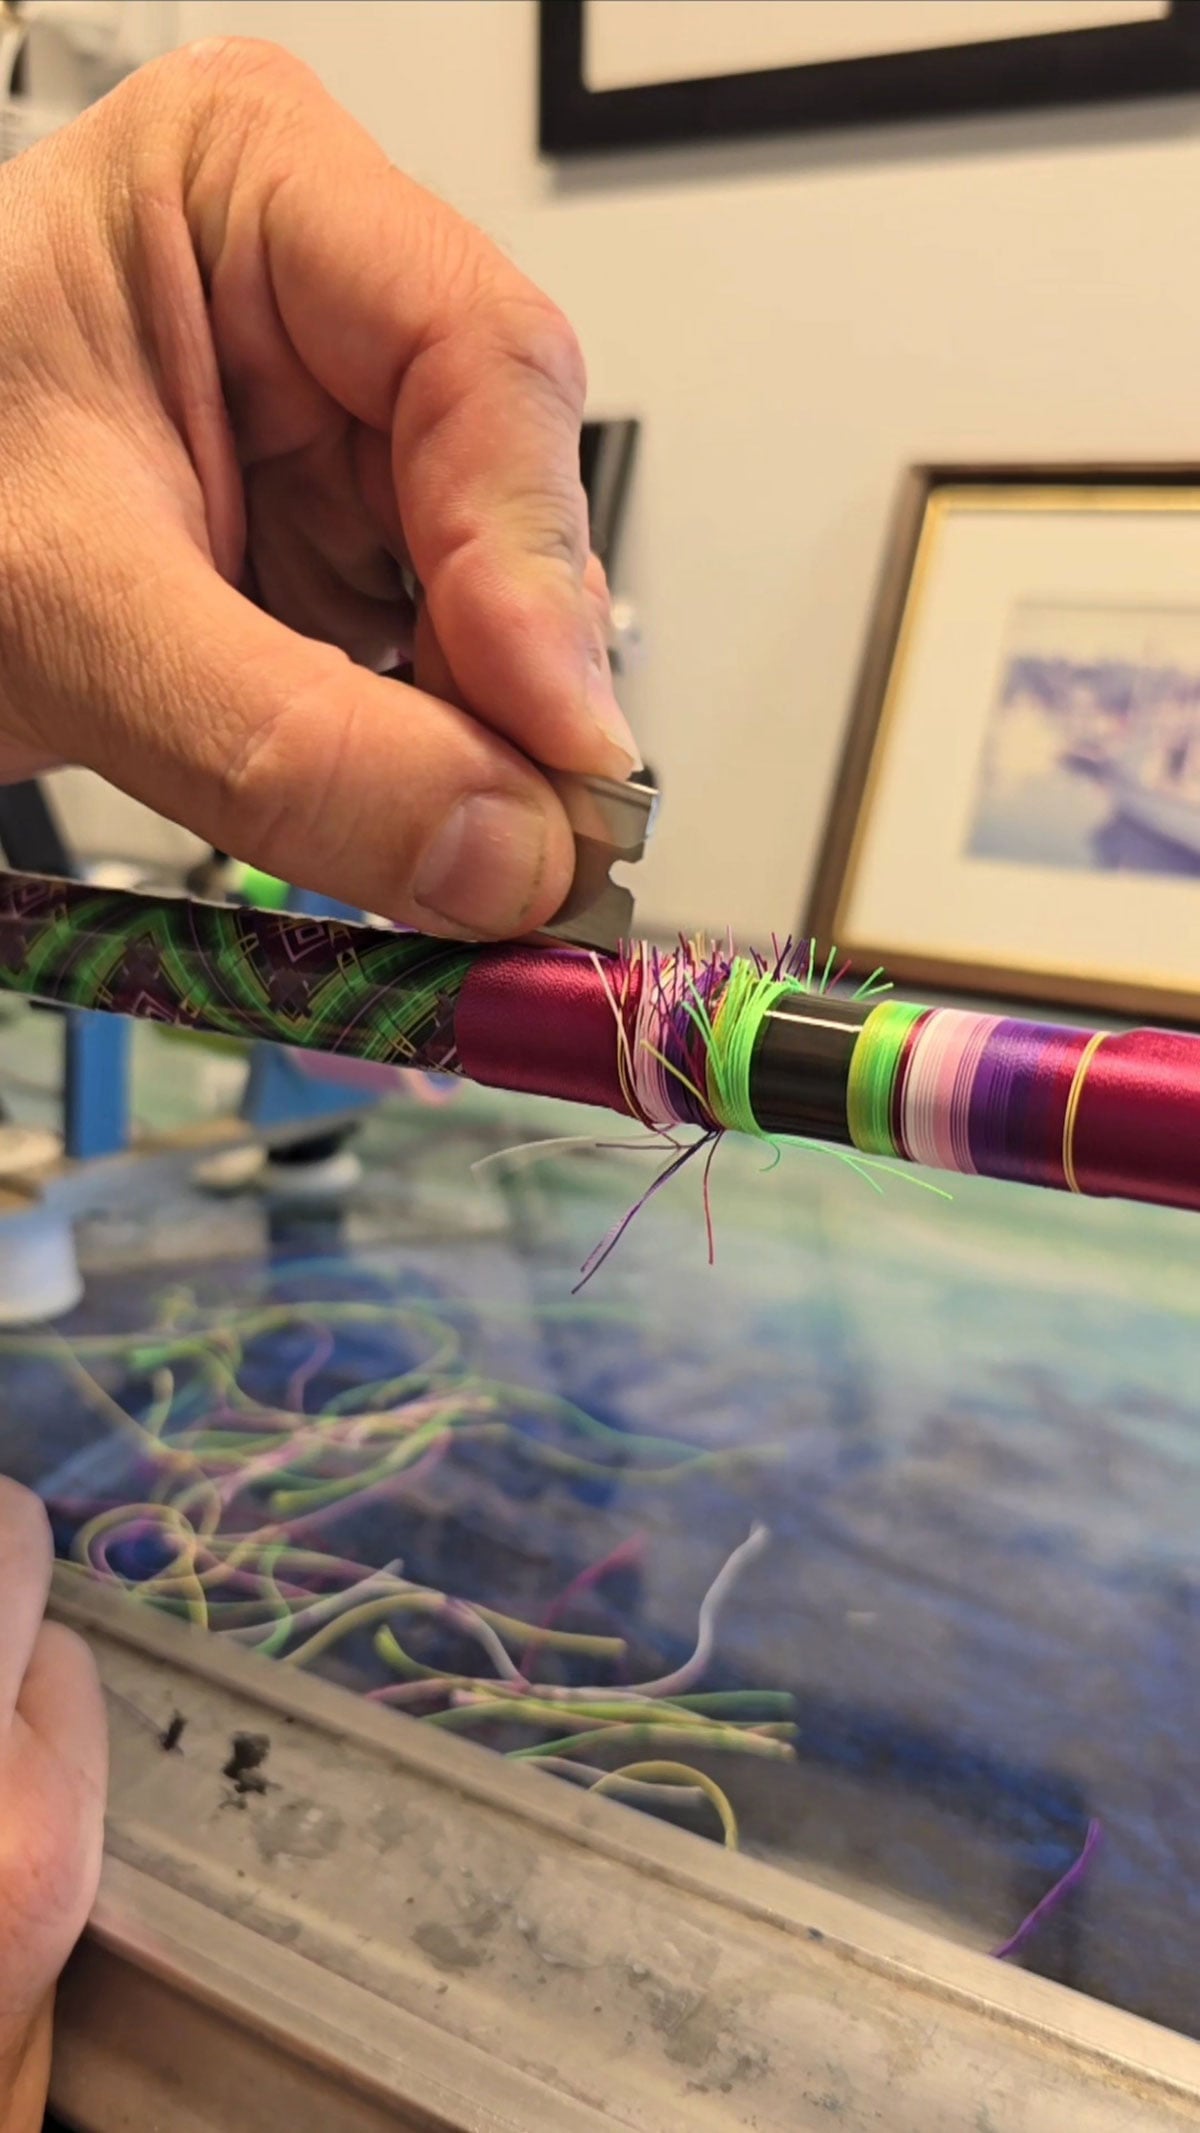
Single edge razor. Serve a wide variety of uses including trimming tag ends, cutting out imperfections in your finish, and also to slice thread and epoxy when performing repairs.
Syringes. Syringes help to eliminate error while measuring finish. Just make sure you do not use medical syringes as they have silicone in them which will contaminate your finish.
Tip top adhesive. Hot melt tip top adhesive is more forgiving to work with than epoxy. It holds the tip top in place but allows you to easily remove the tip if it needs to be replaced.
Brush cleaner. Brush cleaner is only necessary if you are using higher quality reusable brushes. I prefer U 40 brush cleaner.
Rod Components
Now that you’ve got all the stuff you need to build a rod let’s go over the parts you need to assemble it. Of course, the single most influential component of your rod is the blank itself. The blank is like a rod’s DNA, and this is why choosing the right blank for your application is so important. Rod blanks come in all different lengths, powers, actions, modulus, and materials. Check out Building The Best: A Tog & Fluke Combo Rod from the February, 2025 edition of The Fisherman for more on these important principles.
Next up are the guides, starting with the “tip top” which is the guide furthest from the reel. It has a tube that should fit snugly over the rod blank’s tip. Some have a “foot” which is wrapped with thread for added durability. Guides of course are the “eyes” in which the line runs through and connects the line to the blank. They are fastened to the rod blank by wrapping thread on the “foot” (the section of the guide frame that lays parallel with the blank) and the thread is coated with epoxy.
There are a wide variety of guide frame styles and insert materials, in a wide range of prices. For beginners who are not looking to spend a lot, guides with Concept-O rings are an excellent option, while Alconite rings offer increased performance with excellent value. If you are someone who goes for the best on the first go, titanium SIC or Torzite are the pinnacle of rod guide technology.
Rod guides are measured by the outer diameter of the guide ring in millimeters. A great rule of thumb for the number of guides to use is the length of the rod in feet +1 plus a tip. A 7-foot rod would have eight guides plus the tip top. Where those guides go are determined by a process called static deflection.
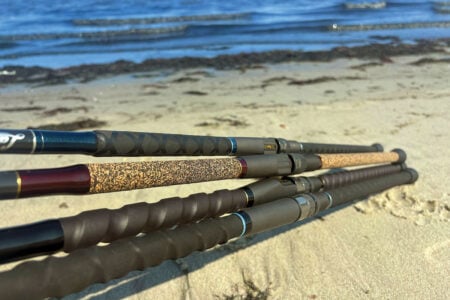
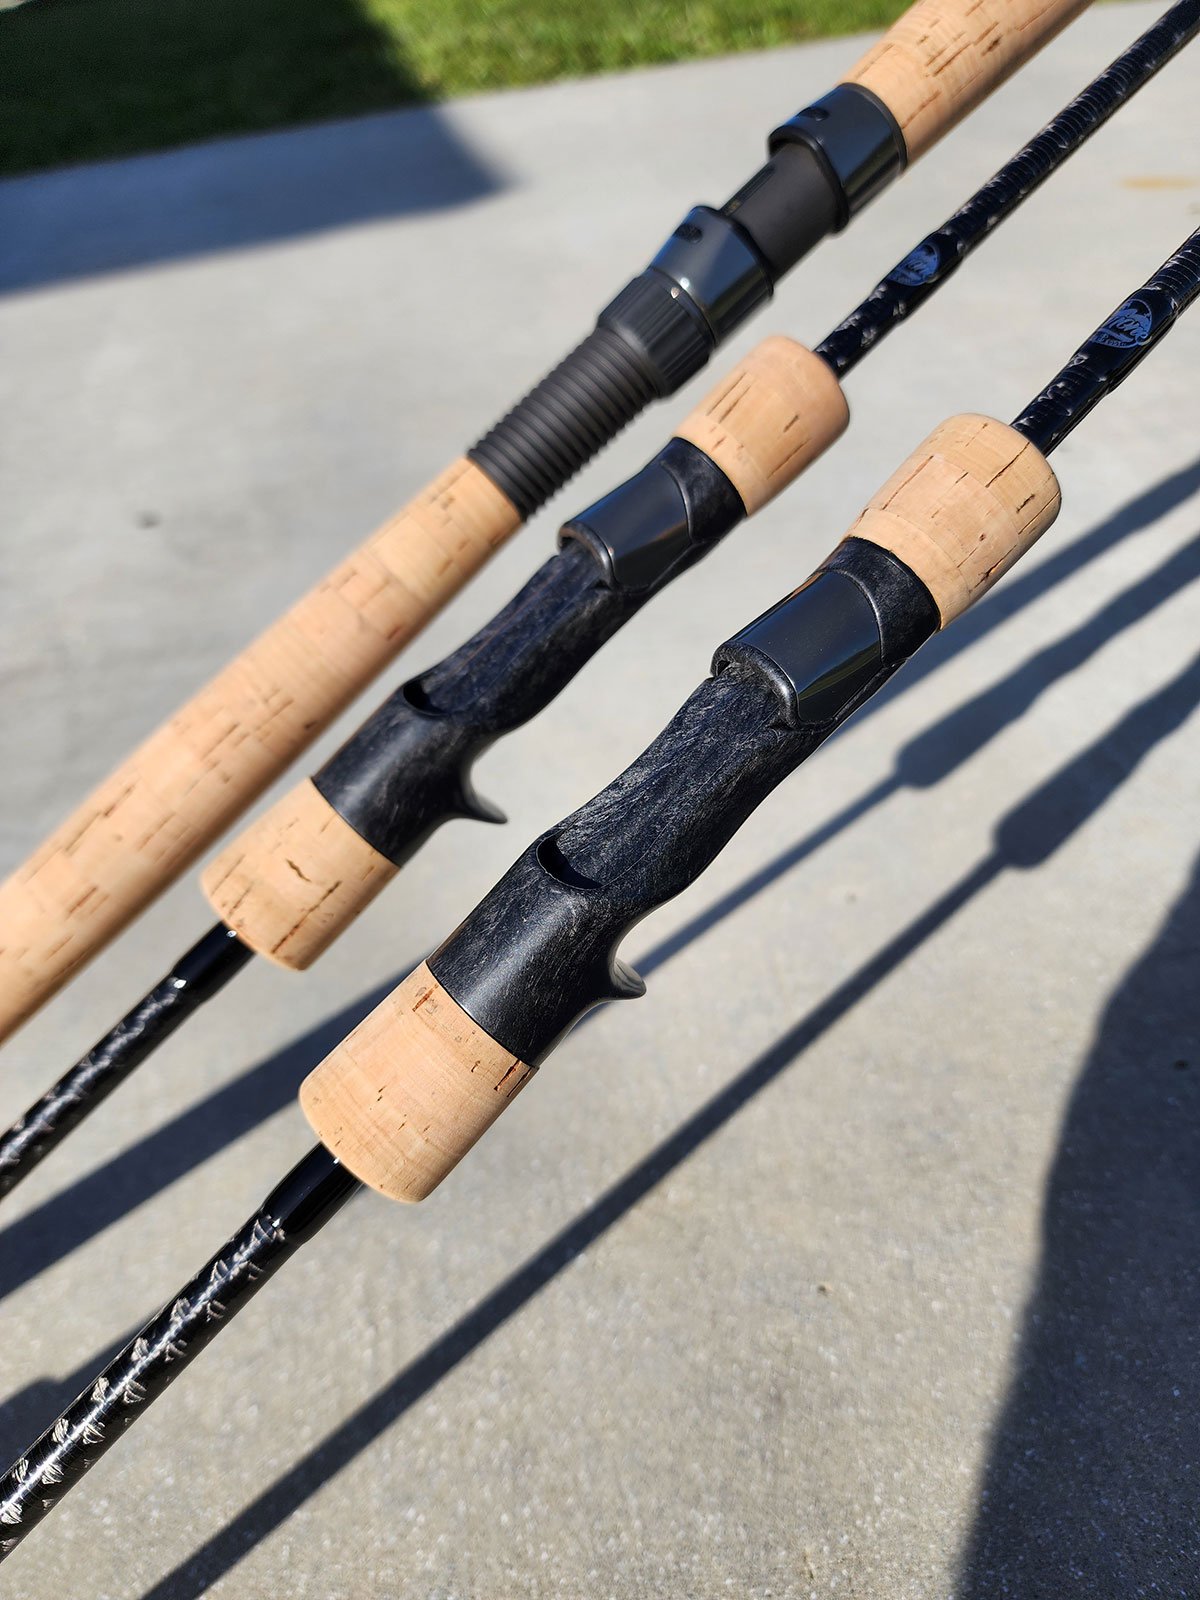
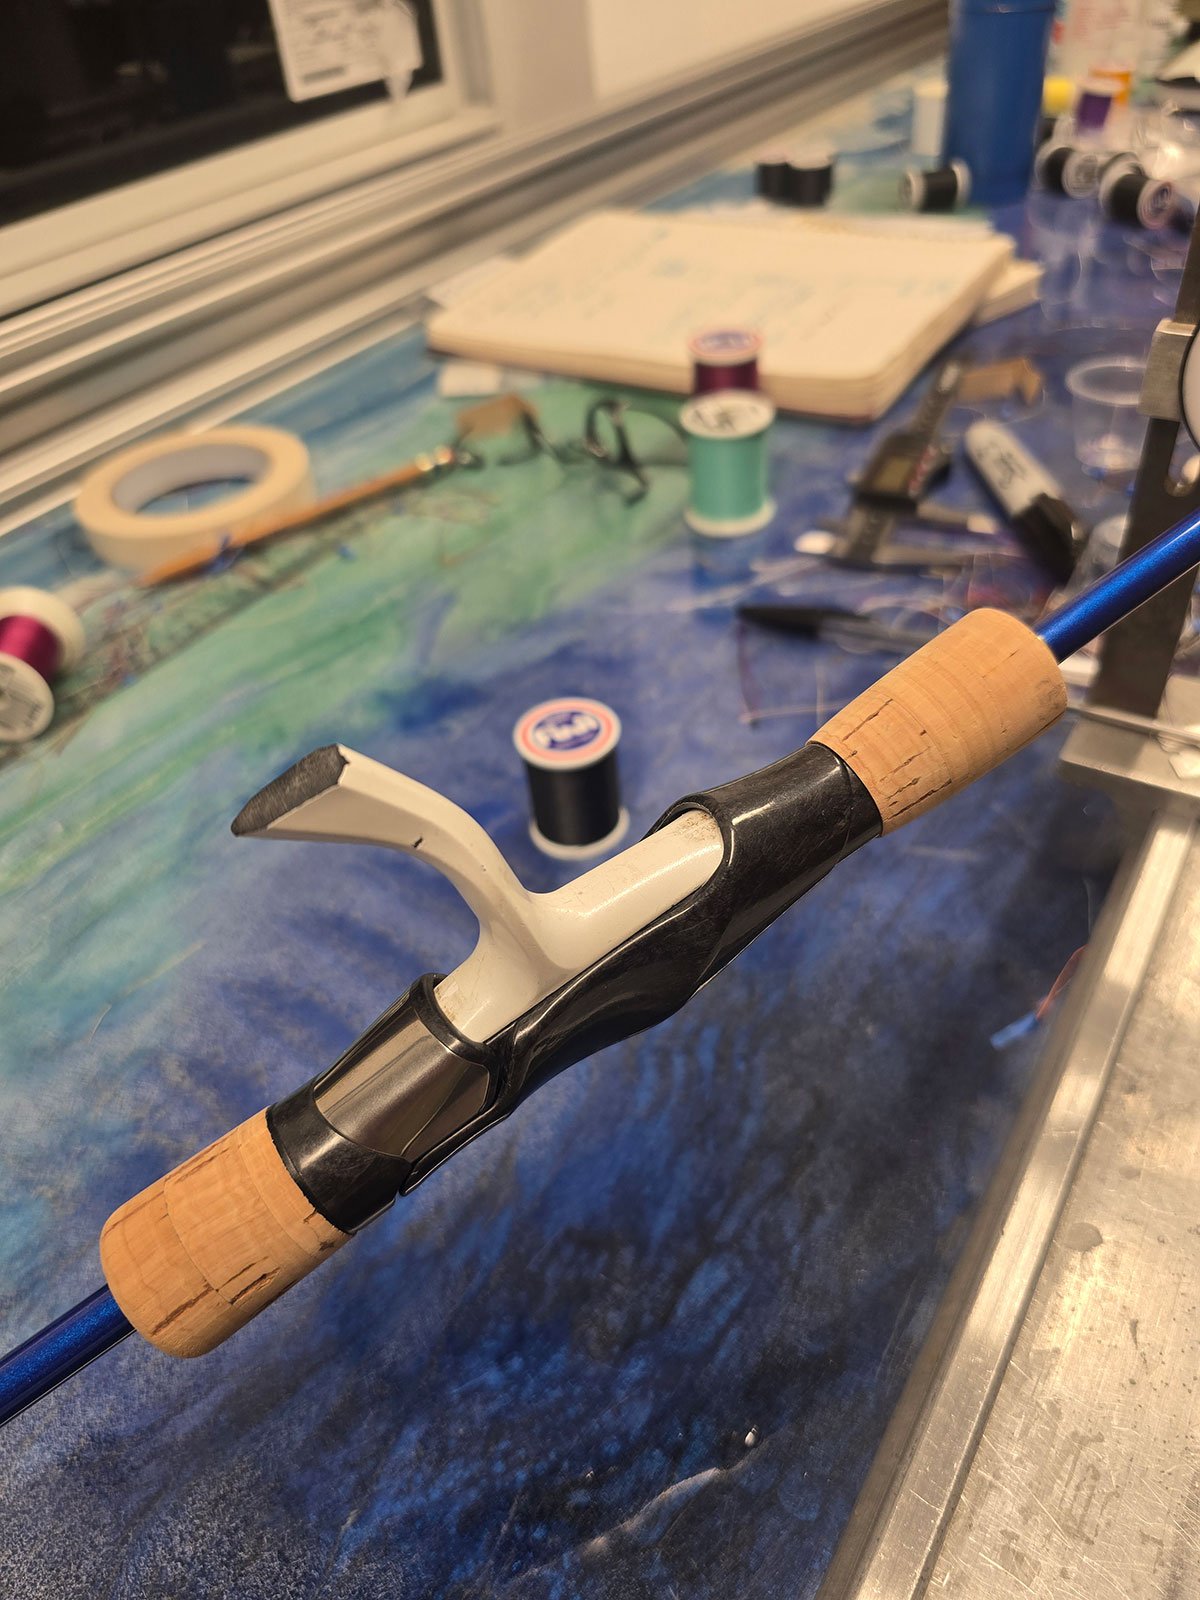
Next is the handle section is the area intended for the angler’s hands to hold the rod. This area includes the foregrip or front grip, reel seat, rear grip, and rod butt. Popular grip materials include carbon fiber, cork, and foam (EVA and Hyperon). Grips should fit snugly. When sizing grips always choose a size smaller than the blank diameter in the area the grip will be installed. Use reamers to get the size close, then use epoxy to lubricate and slide the grips into place. The thin film of epoxy that allowed the grip to slide into place will also form a strong bond once it cures.
Reel seats should be chosen for comfort and also sized to the blank. I like to use polyurethane arbors when there is more than 5mm difference in the blanks outer diameter and the reel seats inner diameter. When it is less, I make three masking tape arbors to center the reel seat before bonding with epoxy.
Feel free to reach out if you have any questions. Find me on Facebook and YouTube @garonecustomrods or Instagram @garonerods.