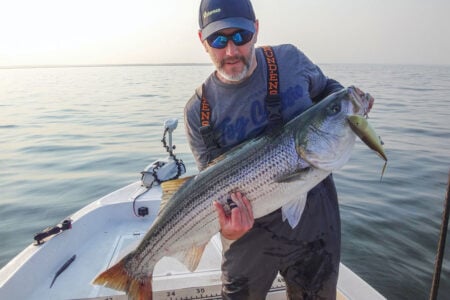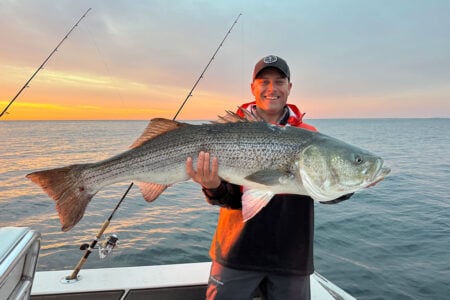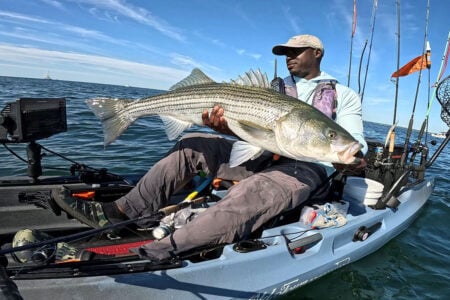
A productive pattern for both conventional and fly tackle enthusiasts.
A few years ago I received several samples of a new fly tying product called Magnum’s Dragon Tails, and I must admit that I have not been the same since I received them. I have designed a number of flies and jigs using these tails, and I am sure that you can come up with more of your own after using them as well; what follows is a pattern for the fly guys and one for the spin fishermen.
The Fly
When selecting a hook for the Sea Snake Fly, you first need to decide how long you’d like the pattern to be once complete. If you are going to troll the fly, a bigger body, which adds more weight, would be the answer. For this application I use a 5/0 Long Shank Gamakatsu Hook. For more conventional fly-casting with a shorter body, I like to use a 1/0 SL 12S Gamakatsu hook. These are two super hooks that work well and are easily set.
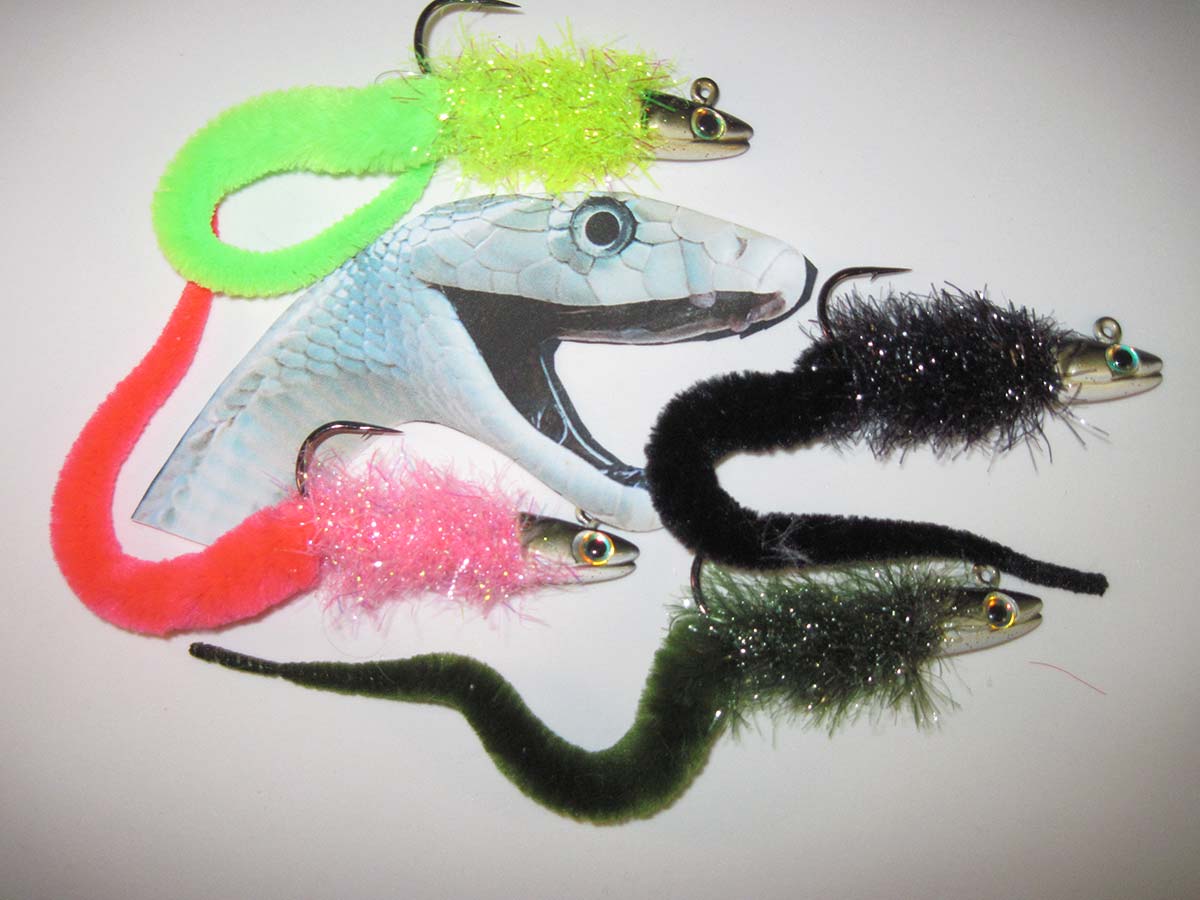
Once you have your hook selected, gather the remaining supplies which include a supply of Dragon Tails, Estaz material or other body materials, metal or plastic heads and thread (color to match your fly.)

Step 1:
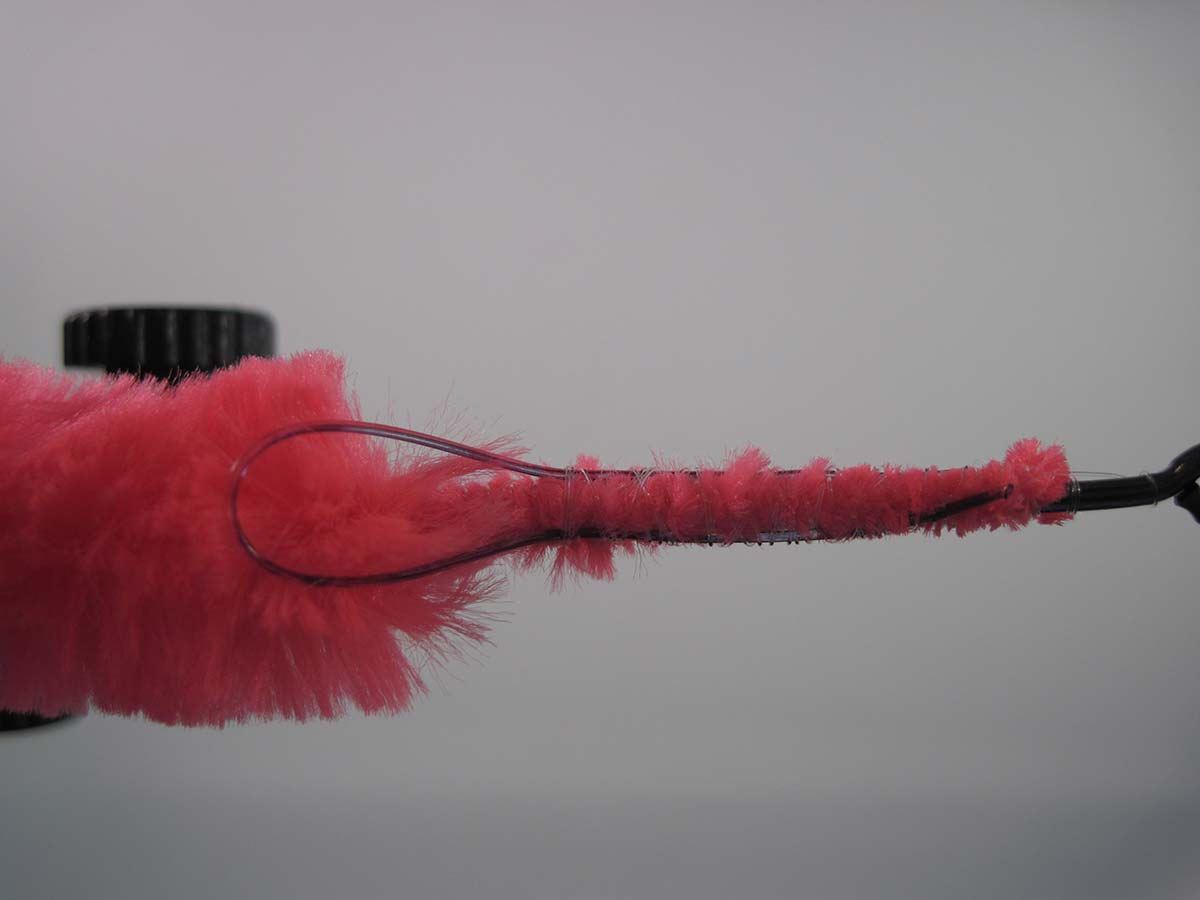
After placing your hook of choice in your vice, lay down a thread base and tie in the tail. If you look at a Dragon Tail, you will notice that one end is tapered larger than the other. At the thicker end there is a small taper, and you can use it for tying on the hook or cut it off and tie on the thicker part of the fly. Try different ways to see what works best for you.
Step 2:
Tie in a small loop on top of the tail (I use a 3-inch piece of 40-pound monofilament) and pull the tail through the loop. This stops the tail from twisting around the hook on the cast.
Step 3:
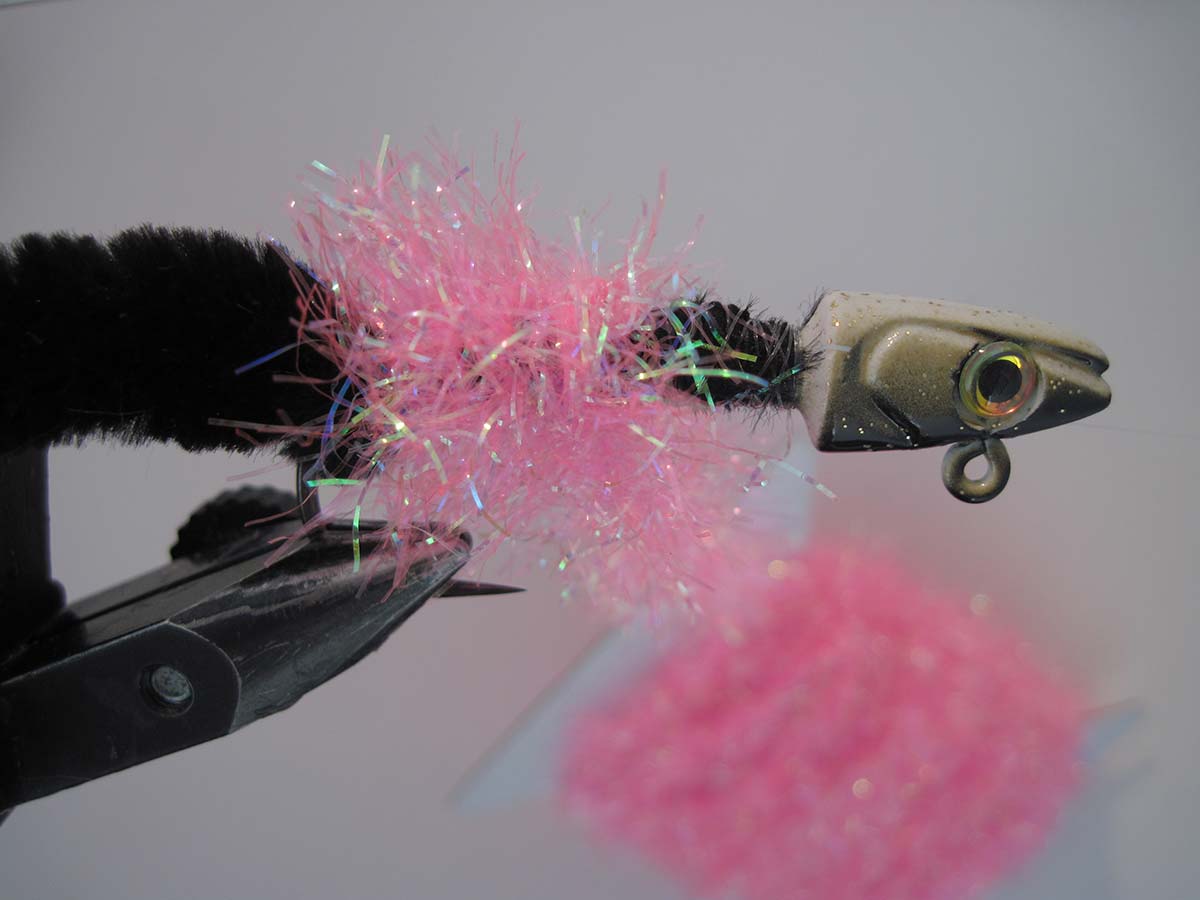
Tie on your body material up the shank of the hook. The options for body material are almost endless and can include Body Wrap, Zonker strips, Estaz (my favorite) or just about anything you can imagine to give the fly a bit of body and bulk.
Step 4:
If you wish to add a head, now is the time to tie one in. For metal I use a Large Fish Skull and for plastic a # 7 Plastic Fish Skull. If you are skipping the head then tie off the thread, coat with head cement and head to the water.
The Jig
Not everyone fly fishes, and some days it is almost impossible to deliver a fly due to cranking winds and currents for even the best of fly fishermen. I have learned the hard way and now keep a spinning rod rigged with a jig head ready at all times.
To build the Sea Snake Jig, you need to start with a jig head and gather the same supplies as the fly version (Dragon Tail, body material and thread.) Everyone has their own opinion on which head to use, and every person is right in their decision. Heads can be poured in your garage, bought online or at your local tackle shop. For me, I’d rather just buy some pre-poured and painted jig heads and use those produced by Bill Hurley Lures (www.codandstriperlures.com.)
Step 1:
Secure your jig of choice in a fly vise, upside down, so that the hook is facing the floor. I have found that the easiest way to tie jigs is upside down. Lay down a base of thread and tie in the Dragon Tail.
Step 2:
Over the tail tie in a loop (I use a 3-inch piece of 40-pound monofilament) and pull the tail through the loop. This helps stop the tail from winding around the hook.
Step 3:
Tie in your body material over the tail and monofilament loop, wrapping up towards the hook eye. Just like with the fly version, you can use a variety of different materials for the body including Body Wrap, Zonker strips and Estaz (my favorite once again.) For the Estaz I prefer the UV colors as it’s brighter in the water and seems to catch more fish.
Step 4:
Finish the jig by tying off the thread and coating the wraps in some sort of head cement, super glue or epoxy.