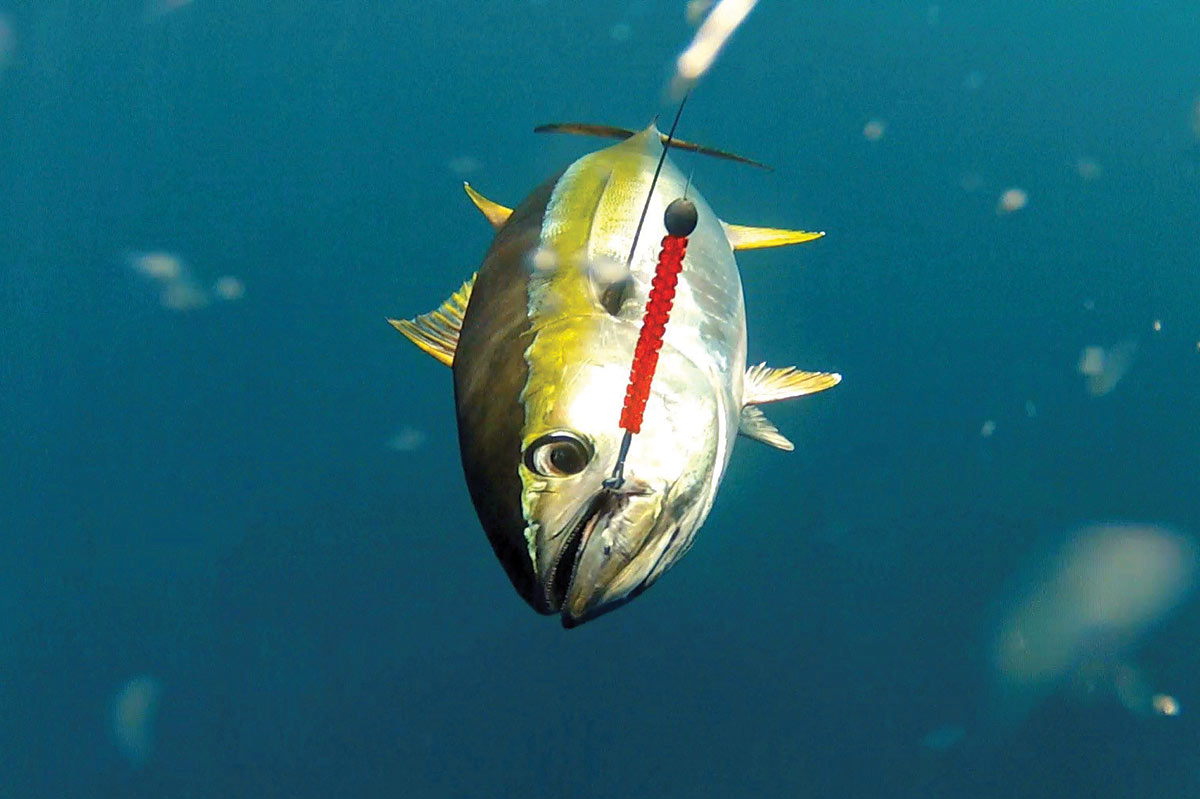
Here’s a great way to study how offshore gamefish like tuna react to your trolling spread, and to get some exciting underwater footage.
Deploying a GoPro camera into your trolling spread is an exciting way to get a new prospective and some amazing footage. Using a trolling dredge set behind a keel weighted GoPro housing is the best way to get your camera in a steady and controlled position filming the strike zone. Sliding baits down the trolling line (like you do when using a planer) is a simple way to get a bait in the camera’s frame. Just use a thin rubber band for the breakaway. Another great option is to secure the camera in the middle of the dredge. This gives a nice back drop for the recording and will attract fish right in front of the camera. Using a scaled down dredge makes it easier to work with.Make sure the battery is charged and the SD card has plenty of room and recording time.
Blind Recording Vs Calculated
You can simply drag around your camera and hope for great footage. Using the time lapse still feature is a great option for blind trolling. It enables longer trolling time for both the battery and the SD card. You won’t have video, but you will have amazing underwater stills that you can potentially splice into top water video. Murphy’s Law dictates that when you finally find the fish the battery will be dead or the SD card will be full. To prevent this, it is wise to use the camera when opportunity presents itself. Drop the camera in when things look fishy; when you are marking fish, seeing slicks, or come across working birds, is a good time to start filming. Waiting until you are hooked up to deploy the camera is another option, especially when trolling for tuna. Ideally, you are trying for multiple hook ups anyway.
One advantage of constructing your own housing is that it has an adjustable side angle. This allows the camera to be angled to either side (not just up and down). This is especially useful when trolling past weed lines, floating debris, lobster pots, whales, bait balls or surface feeding fish. Before setting it out, check the angle through the phone application to ensure the housing side isn’t in your shot.

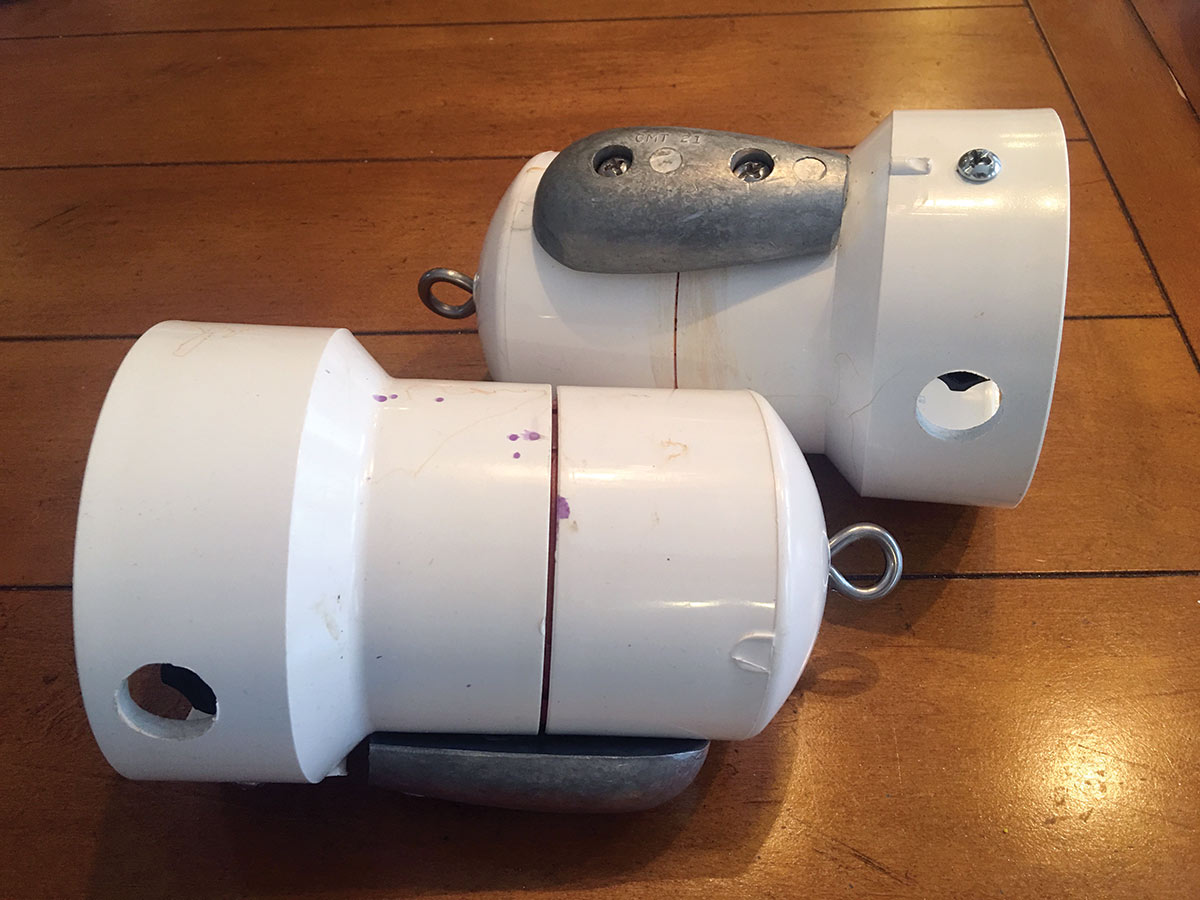
Constructing the Housing
Using stainless steel components in a saltwater environment is a must. Drilling holes with a drill press is highly recommended but not necessary, just pay extra attention that your holes are square. Using a small bit first to drill a pilot hole will also help. A 13/64-bit is the perfect size for 1/4 x 20 hardware. This will provide a snug fit. You will have to screw the bolts in but this eliminates the need for sealants.
Drill a 13/64-inch hole in the center of a rounded 3-inch PVC end cap. Slide a flat washer onto a stainless-steel eye bolt and begin screwing it in. As the bolt shows itself on the inside, add another flat washer and a nylock nut. Continue screwing down the bolt and tightening the nut until fully secure.
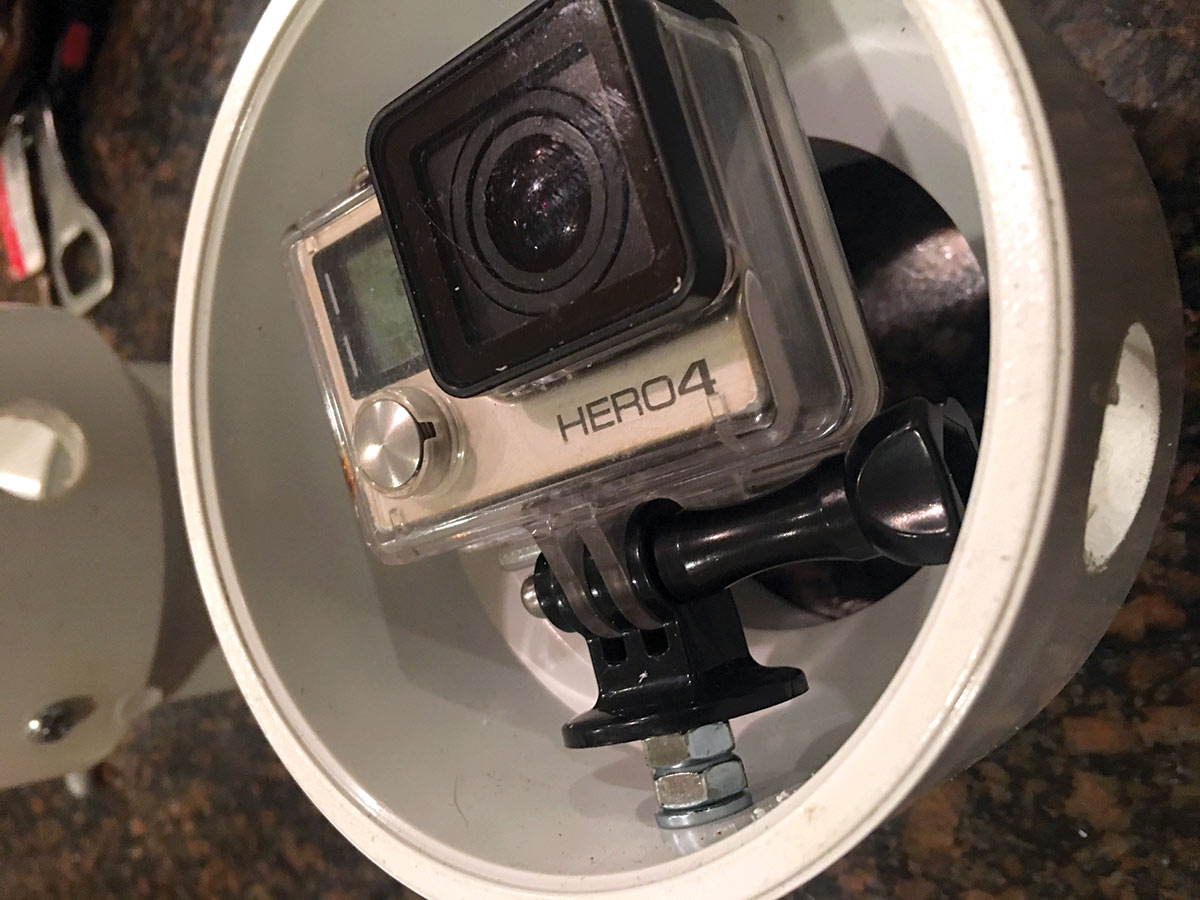
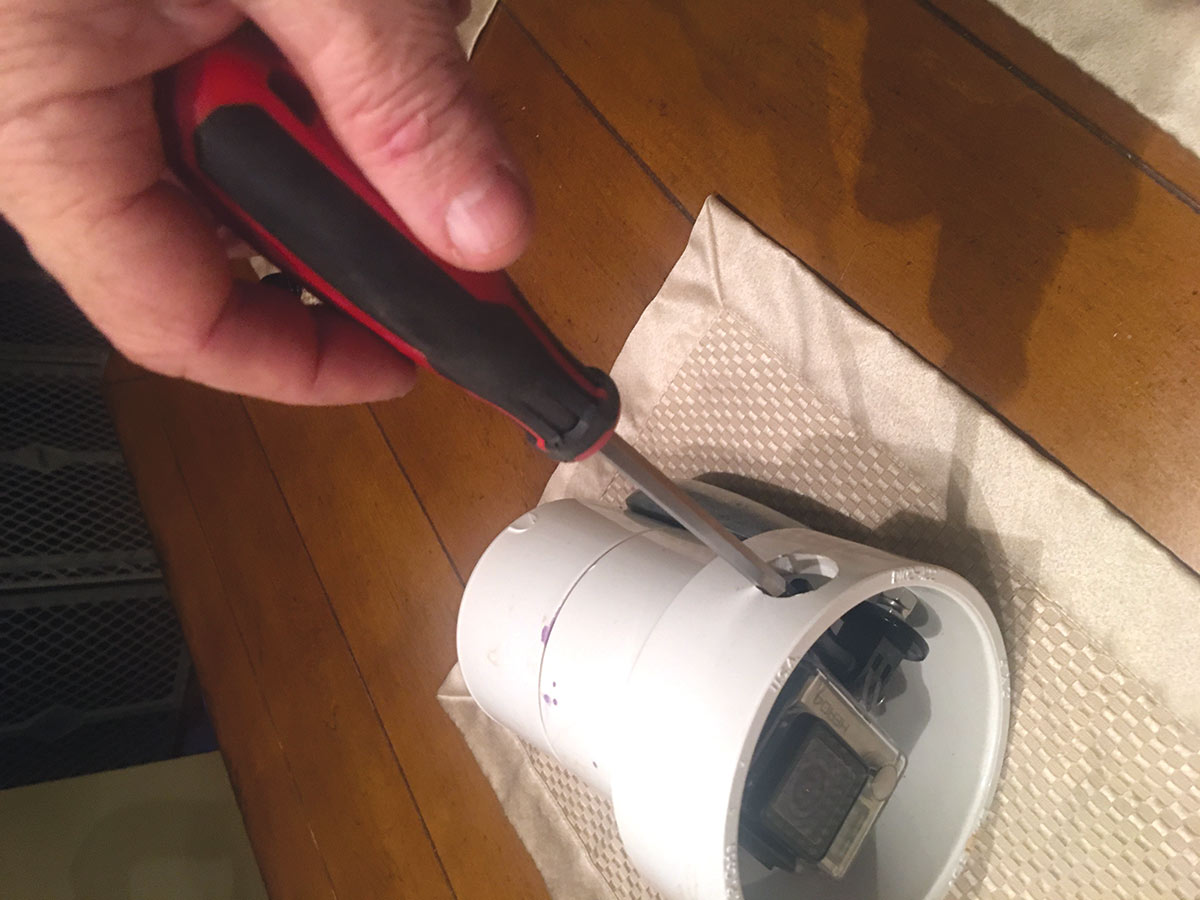
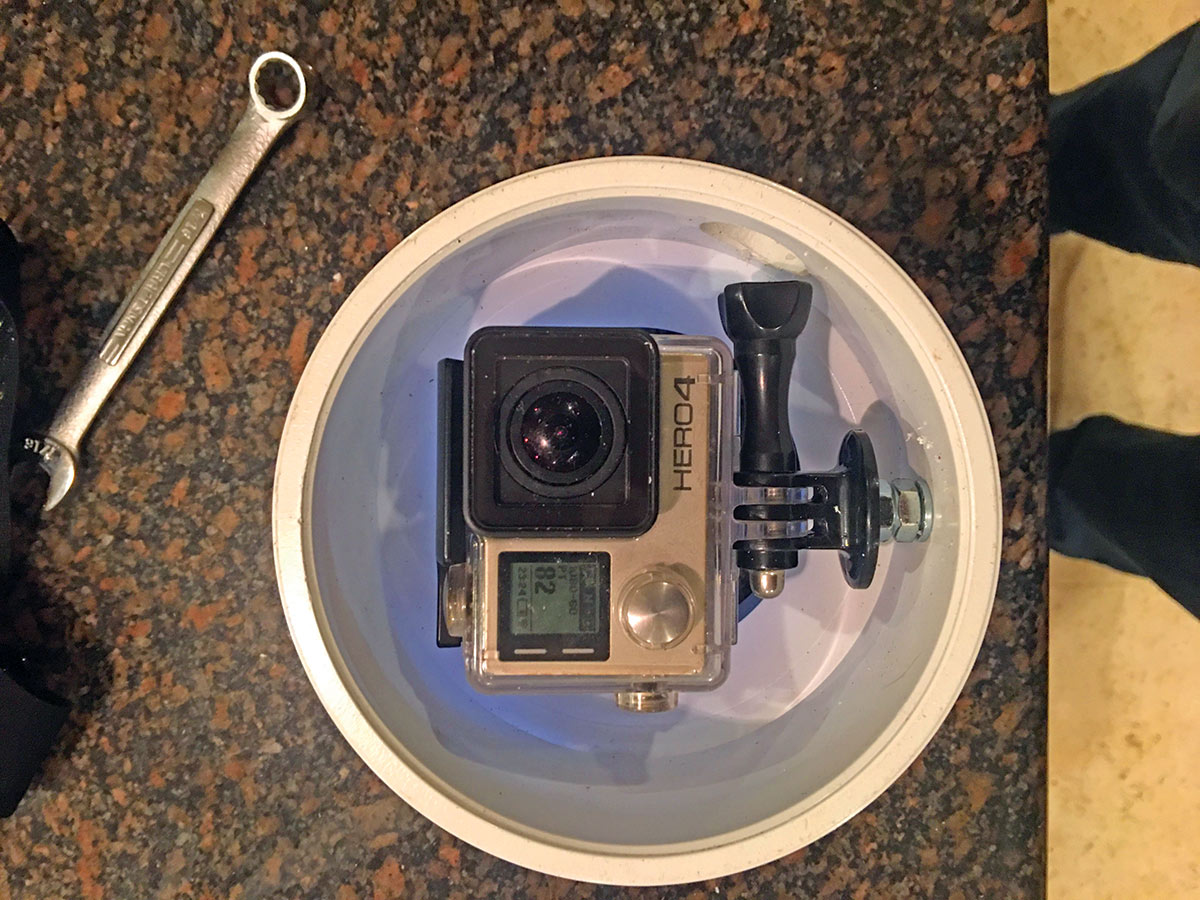
Drill a 13/64-inch hole in the middle of the 4-inch ring of a 4- to 3-inch PVC reducer. Pay special attention that this hole is square. This is what the camera will be mounted to. From the outside, screw a 1/4 x 20 1-inch bolt into the housing. Secure it with a nylock nut. Add a regular nut and then the tripod mount base. The second nut will be used to lock the base in your desired position and allows for the side to side view. With the tripod mount in place mark the spot for the 1/2-inch adjustment knob hole. The hole is used to allow the knob to go into and out of the tripod bracket. When the camera is in place it also allows you to tighten the camera bracket knob with a screw driver. Remove the tripod base and drill the 1/2-inch hole. Drill slowly and sand any burrs or sharp edges.
Cut a piece of 3-inch PVC approximately 3 inches in length. Your goal is to have the end cap and camera housing butt up against each other. Clean off burs, then prime and glue the end cap and housing together. Once dry, measure and trim a tear drop zinc (keel weight) so it sits flush on the bottom of the unit. Line the keel weight up with the camera mount bolt, then mark and drill two mounting holes. Secure the weight with 1.25-inch long1/4 x 20 screws, flat washers and nylock nuts. Having a bolt on either side of the glue seam will ensure the housing never separates.
Reinstall the tripod mount and lock it in place with a 7/16-inch open end wrench. Install your camera and you are ready to go.
The most important thing to remember when trolling a GoPro, is to not just stop the boat and then reel in the camera. GoPros are not dive cameras and are only rated to 1 atmosphere. If it drops below 33 feet, you may ruin the camera. Keep the boat in gear and reel it in. If you stop, the keel and trolling weights will drop the camera quickly into the trouble zone.
| Supply List for GoPro Housing |
|---|
|