A custom approach to your next trout rod.
For many anglers, trout fishing is about finesse, light line, and a direct connection to the fish. That same philosophy carries into rod building. Crafting a trout rod to your exact preferences doesn’t just give you a tool for the stream — it gives you a piece of gear that feels like an extension of your hand.
While factory rods certainly get the job done, there’s something deeply satisfying about taking the time to wrap and finish a rod yourself. Each step — from picking the blank to laying thread on the guides — makes the finished piece feel more personal. When you finally hook a trout on your own build, the sense of pride is unlike anything else in fishing.

Foundation of the Build
Every rod starts with the blank, and this is where personal fishing style dictates the choice. For small-stream fishing where accuracy matters, I went with a Rod Geeks MXPN54ULFR blank, measuring 5 feet, 4 inches ultralight in fast action. The length keeps the rod nimble in tight quarters, while the action helps protect light leaders and drive small hooks home.
The blank sets the tone for the entire rod. A fast-action blank excels at distance casting spoons or small jigs across pools or rivers and it can also be used for tossing small pieces of bait with the addition of a tiny split shot Your choice of blank determines not only how the rod casts but also how it feels in hand after hours on the water.
Comfort Meets Function
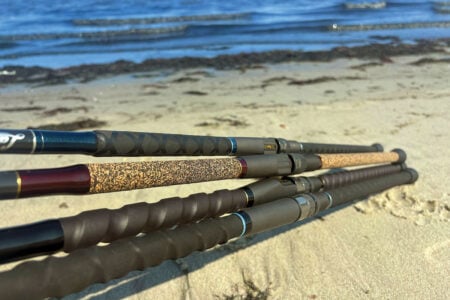
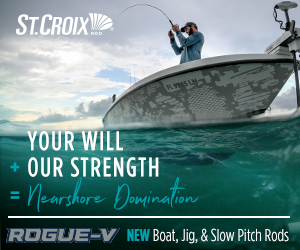
Comfort is crucial when you’re making hundreds of casts or working spinners through pocket water. For the grip, I chose extremely subtle trim pieces and an EVA butt end in a split grip fashion. I wanted to give this rod a modern grip feel so instead of traditional cork I went with the BGKSE EVA butt and carbon fiber foam cored trim pieced below and above the reel seat. With this rod being as light as it is, keeping the weight down with these minimalistic pieces was essential to this build for me.
The reel seat is an uplocking DPSSD16CC which not only locks the reel securely but also balances perfectly with the blank because of its smaller size — perfect for those 500 to 1000- sized reels An uplocking seat also keeps everything streamlined and clean. Getting this section right makes the rod comfortable and responsive in your hands. The DPSSD is one of the more popular and standard styles used on rod builds for years now and it’s comfortable in my hands so I stuck with it. I also know this tiny seat will fit small trout reels without any issues at all.
Controlling the Line
| GUIDE SPACING |
| Tip – 3-1/4 – 3-3/4 – 4-1/2 – 5 – 6-1/2 – 7 – 7-1/2
|

Trout fishing often means light line (2 to 4-pound test), so smooth line management is critical. I selected the Fuji AT Single-Foot Spinning Guides for this build in sizes 16, 10 and 8 and then finished off with 4 Fuji K-Series KT Single-Foot Running Guides in a ring size 6. The rod was ended off with a Fuji KG Arowana in a size 4 tube and 6 ring. A lighter guide train keeps the rod responsive and improves casting accuracy, which is especially important when dropping a lure into tight seams. All guides used in this guide train were Titanium frames with Torzite rings, keeping the build weight to an absolute minimum, matching the theme of as light as possible.
After spinning the blank, I spaced the guides carefully, using a slightly modified New Guide Concept layout that places more guides closer together for consistent line flow. My initial layout looked a little off with a size 16 starting the train so with the addition of one extra running guide and some shifting I came up with one that worked out well. You can find my guide spacing at the end of this article. This setup helps prevent line slap against the blank and allows light fluorocarbon, braid mono to shoot cleanly through the guides. The end result is longer, smoother casts and better control over delicate presentations.

Thread Work & Aesthetic Touches
| FIND YOUR BLANK |
| When it comes to custom rod building, the blank is the foundation. One popular choice among builders is Rod Geeks, known for offering high-quality blanks at prices that won’t break the bank. Backed by St. Croix’s engineering, Rod Geeks produces blanks with consistent tapers, precise actions, and a wide selection of lengths and powers to match almost any style of fishing. To start your next build visit rodgeeks.com. |
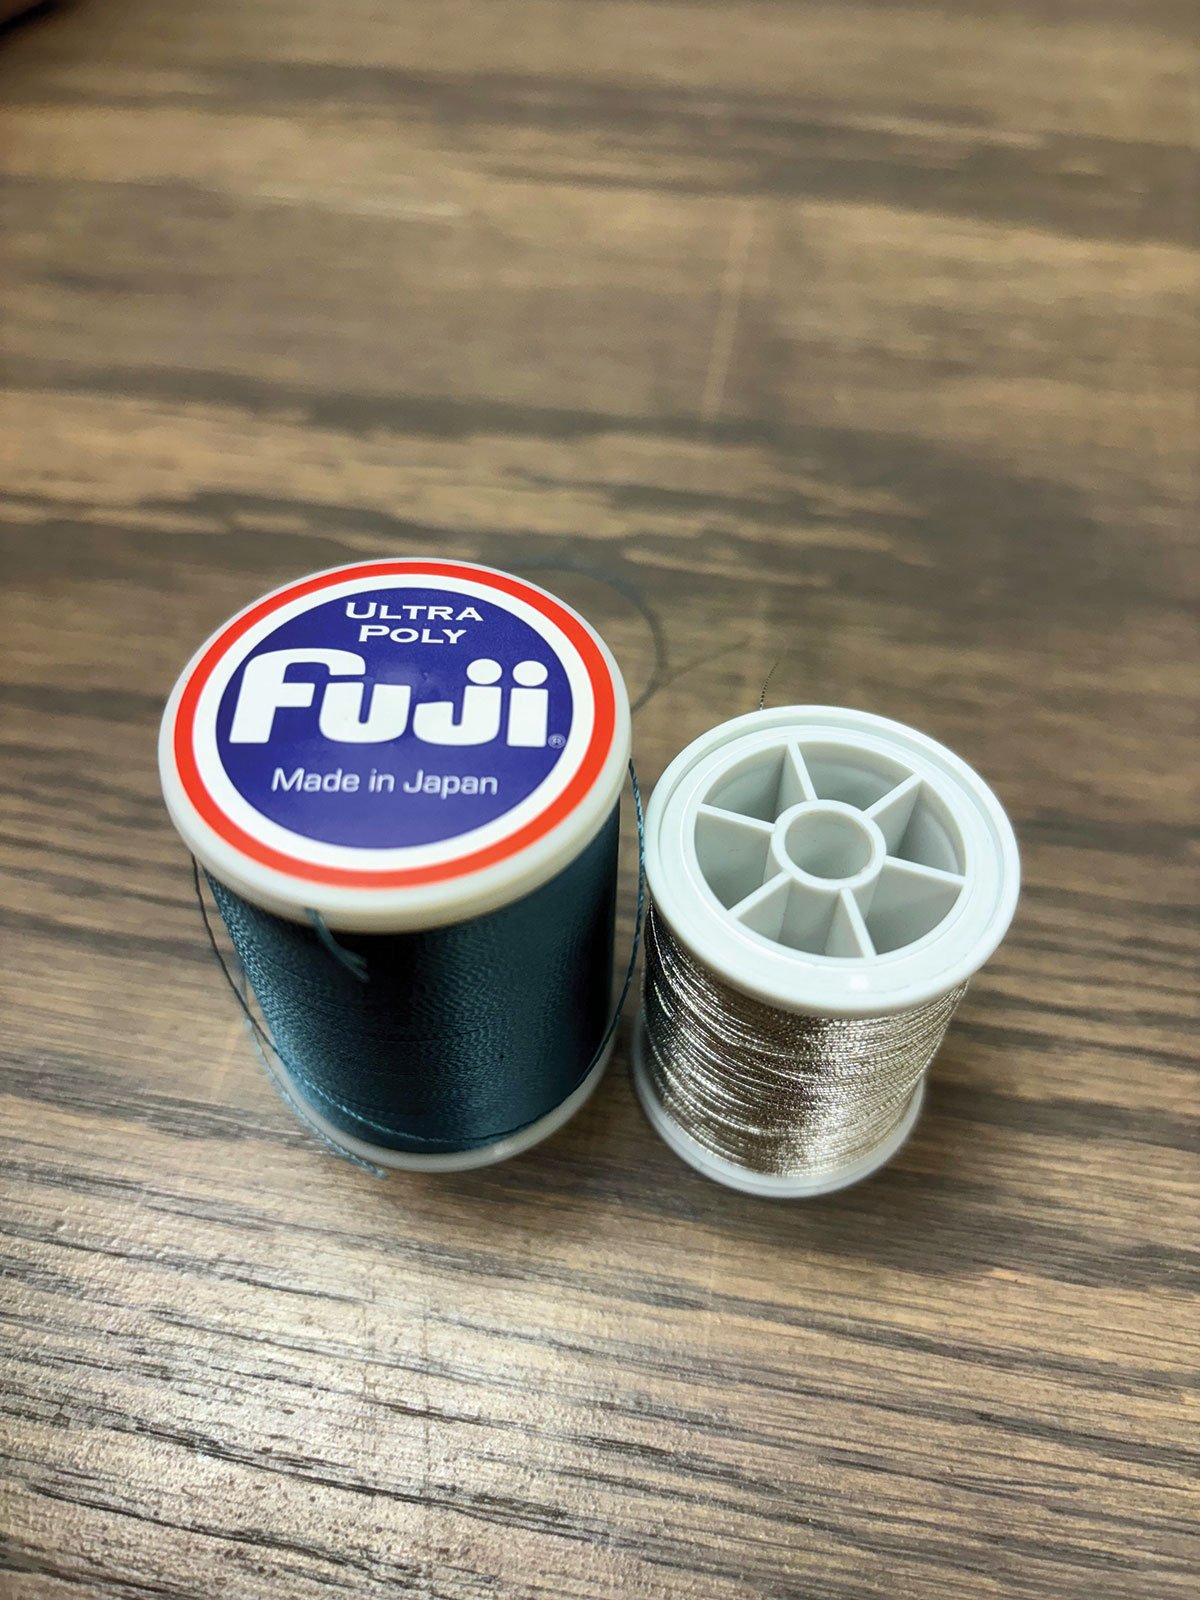
Wrapping the guides gives you a chance to add personality. For this build, I went with Fuji Ultra Poly in Blue Dun accented with silver, which gives the rod a clean and classic look in my opinion Thread choices are where rod building shifts from pure function into art. Also I should note that using A-sized thread is recommended with a light build like this to keep the weight down. I did not color preserve the wraps either. I find that going without the CP gives the wraps a more translucent look and from a durability standpoint no CP allows the finish epoxy to soak into the threads a little bit more.
I added a hook holder above the top trim piece of the reel seat for holding those small jigs and lures. A neat little trick for an ultralight hook holder is using a small single foot fly guide. Also, being that this was a split grip, trim bands should be wrapped on the bottom end of the reel seat and the top of the butt cap to seal everything in. It also looks much better as well.
Epoxy & Details
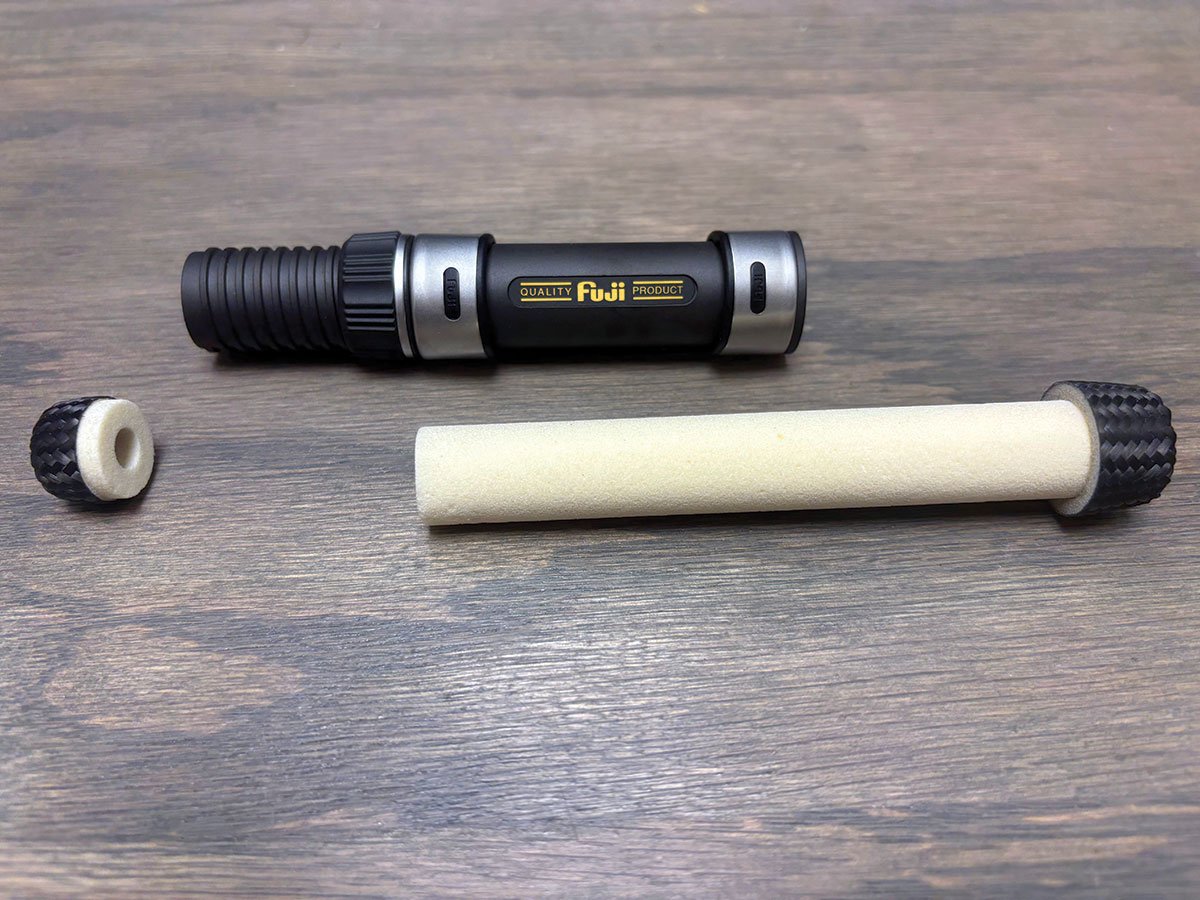
The final step is sealing the wraps with epoxy. I applied thin, even coats of Flex Coat to avoid bubbles and keep the finish clear. It’s tempting to glob it on, but patience pays off — a smooth, glossy finish not only looks professional but also protects the thread for years of fishing. Try to go as thin as possible to a build like this, making sure not to add any additional weight. Be sure to soak the bottle in some hot water before you mix to really thin out the epoxy. Two light coats got the job done for me.
| COMPONENT LIST |
| MXPN54ULFR X 1
TATSG16S X 1 TATSG10S X 1 TATSG8S X 1 TKTSG6S X 4 TKGST6S(4) X 1 DPSSD16CC X 1 BGKSE X 1 CDPS16-01 X 1 CBC16-01 X 1 |
As the rod turns slowly under the dryer, the transformation is dramatic. All the careful prep work comes together in this stage, and by the time the epoxy sets, the rod looks like something you’d be proud to pull off a store rack — except you built it yourself. Hit the epoxy with a torch for a fraction of a second to pop any air bubbles forming and be sure to repeat until no longer necessary.
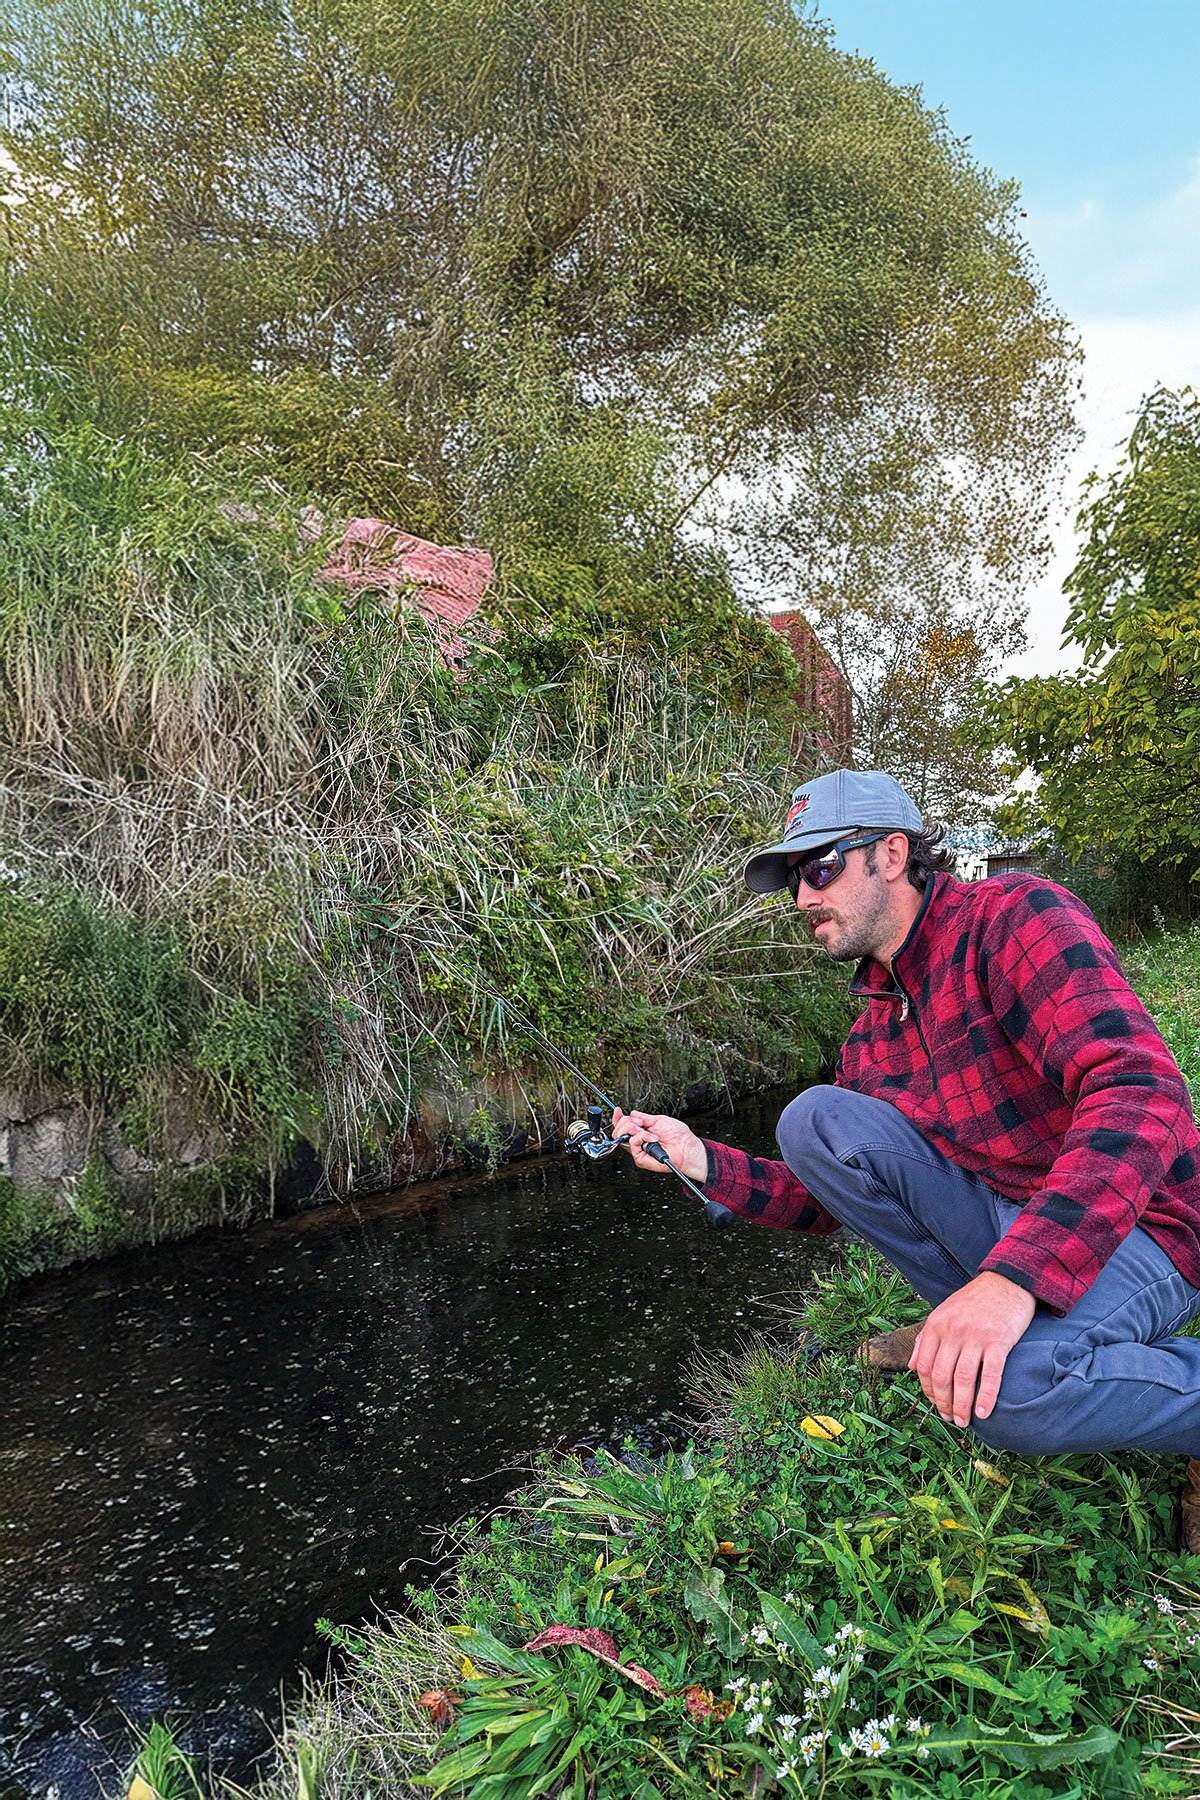
The true reward came when I brought the rod to a local creek by me. Casting a small marabou jig (1/32 ounce) the sensitivity was immediately noticeable — I could feel every tick of the lure which is usually tough with such a light presentation. The rod’s balance and guide spacing made for effortless casts, dropping the lure exactly where I wanted it.
Rod building isn’t just about saving money or creating something unique — it’s about tailoring your gear to match your fishing style and waters. The process connects you to your equipment in a way a store-bought rod never can. Whether you’re drifting bait in the River, flicking spinners into pools, or fishing the yearly trout stocking, building your own rod like this one gives you a deeper connection to the fish you chase.
And there’s nothing quite like catching your first trout on a rod you built with your own two hands. That moment is when all the late nights wrapping guides and carefully applying epoxy pay off.